 DrawRabbit
Drawing guide · Sharks
How to draw a shark in the ocean
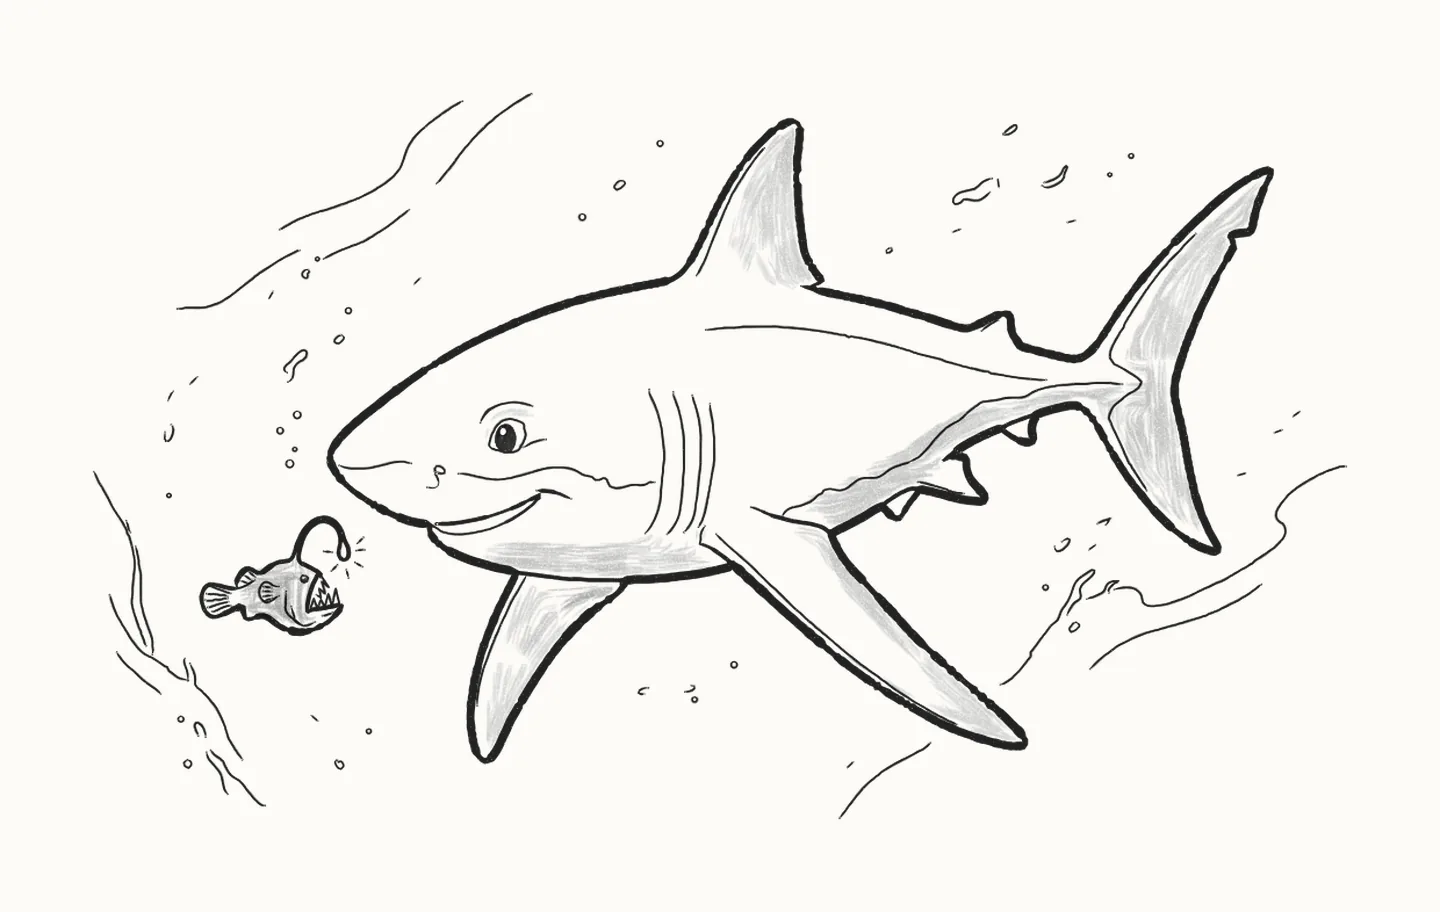
Reggie is swimming down into the deep, and a little anglerfish lights the way. In 49 steps you’ll draw a shark in the ocean, using a pencil and paper: two curves for Reggie, then his fins and gills, the anglerfish with its glowing lantern, and the rocks and specks of the deep.
How do you draw a shark in the ocean?
To draw a shark in the ocean, start light: two curves for Reggie’s body meeting at his nose, triangles for his fins and a tall shape for his tail. Draw his head and top fin, a smile with a little crease at the corner, the side fin, then his belly and the far fin hanging behind it. Go along his back over a little fin, round the tail and back under him past a big fin and two small ones. Add an almond eye with a brow, four curved gills, a long line high along his side, the wavy pale line where his white belly starts and fine creases on his fins. Then the anglerfish below his nose: its back, the curved stalk and the lantern, a wide open mouth with sharp teeth, its eye, side fin and tail fin, and six dashes of light round the lantern. Sketch the deep loosely: rocks, a ledge far above and specks floating all round. Rub out the guides and go over Reggie and the anglerfish. The lantern is the only light, so shade the anglerfish dark around it and shade Reggie on the sides furthest from it, then fill in both eyes, leaving the glints white. It takes 49 steps with a pencil, paper and an eraser.
You need a pencil, paper and an eraser49 stepsBeginner
Draw a shark in the ocean, step by step
In colour: what to draw nowGrey: already drawn
Draw everything in pencil, lightly at first. Save all 49 steps to Pinterest
-
Step 1 of 49Guide lines
Reggie's guides
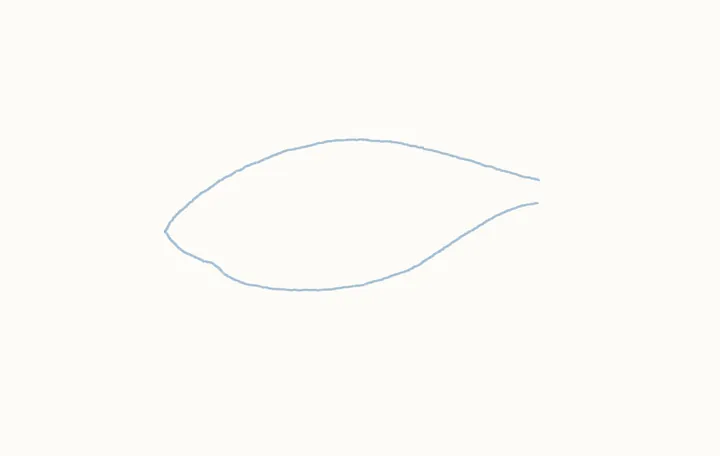
Reggie swims into the deep, where a little anglerfish lights the way. Lightly, two body curves: they meet at his nose, a quarter in and halfway down, and end three quarters across, at his tail.
Draw these lightly: they’re only there to help, and you’ll rub them out in step 38.
-
Step 2 of 49Guide lines
Fin and tail guides
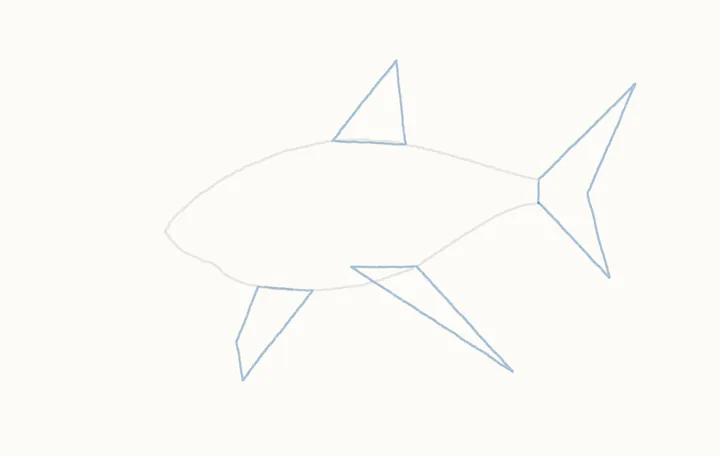
Fin triangles: tall on his back, long and slanting back from mid-belly, narrow under his chest. Tail: up to a high point, in to the middle, down to a low point, back.
Draw these lightly: they’re only there to help, and you’ll rub them out in step 38.
-
Step 3 of 49
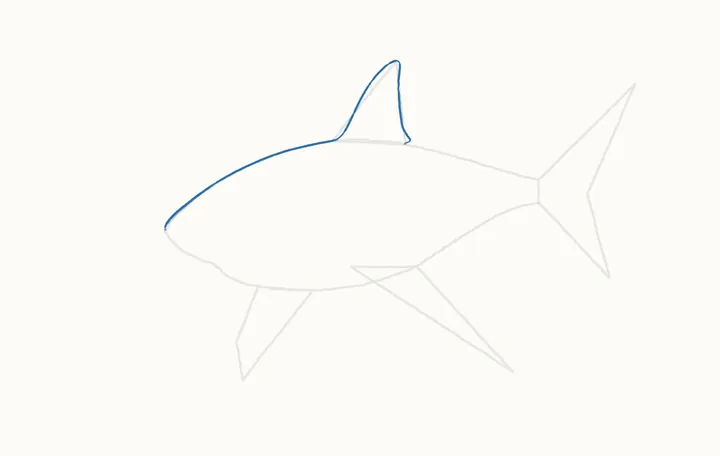
His head and top fin
Now the real lines: from his nose, follow the back curve over his head to the top fin. Go up its front edge to the tip, and down its back edge.
-
Step 4 of 49
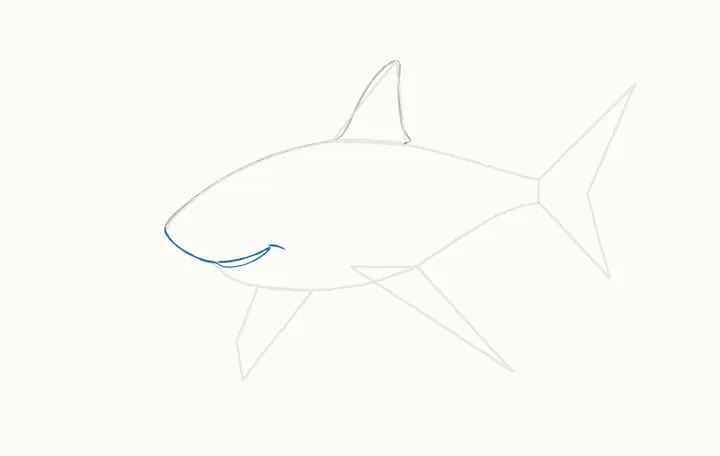
His smile
From his nose again, round his chin, along his lower lip to the corner of his mouth, and back along its top edge without lifting. Then a little crease out from the corner.
-
Step 5 of 49
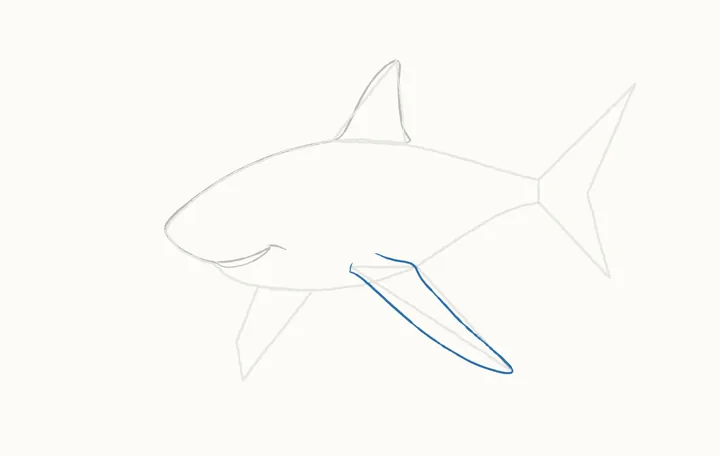
The side fin
The side fin comes before the belly. From the belly curve, halfway along, down its front edge to the long point, back up its other edge, and forward a little where it joins him.
-
Step 6 of 49
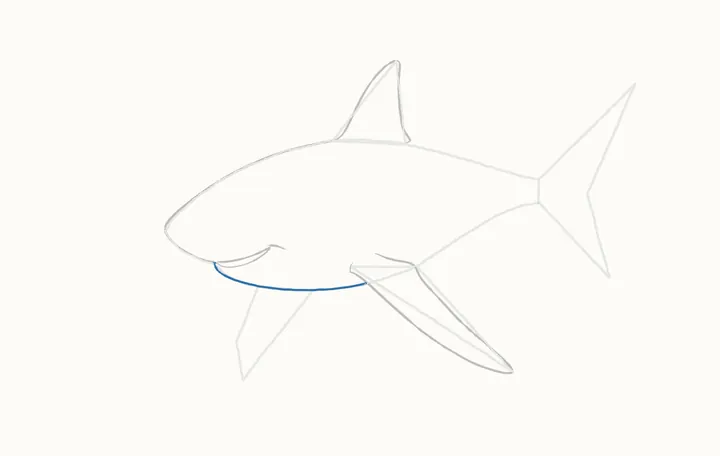
His belly
From the side fin's front edge, follow the belly curve forward to his chin and stop there.
-
Step 7 of 49
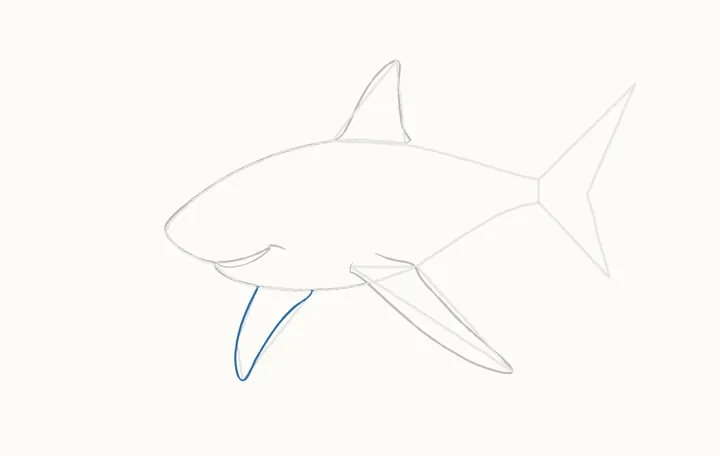
The far fin
His far side fin hangs behind the belly: from the belly just below the corner of his smile, down to a narrow point and back up.
-
Step 8 of 49
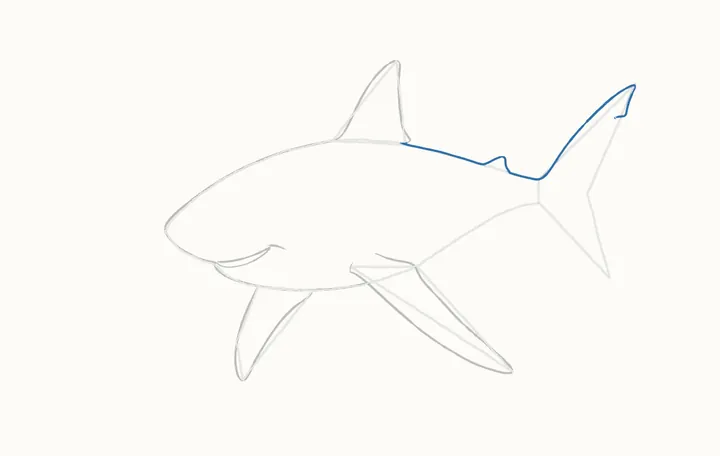
On to his tail
From the top fin's back edge, along his back and over a little fin, then on up the tail's top edge to its point, and down to a small notch.
-
Step 9 of 49
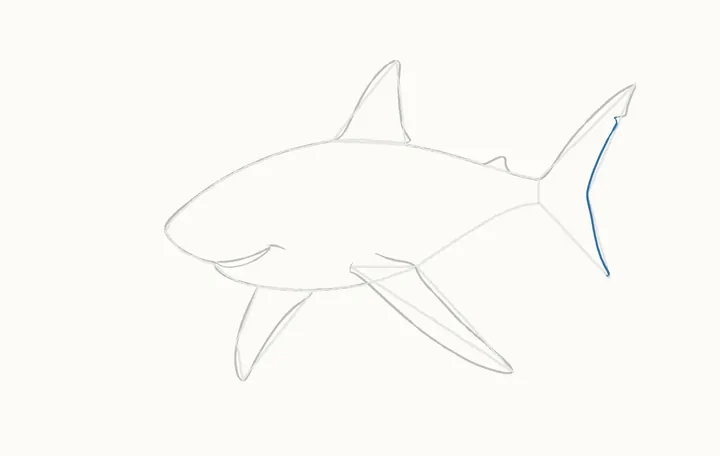
The tail
From the notch, down the tail's long back edge, in towards the middle and out again to the bottom point.
-
Step 10 of 49
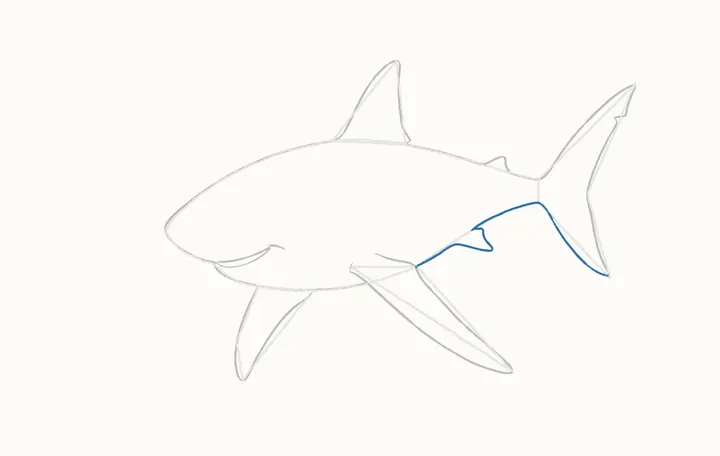
Underneath
From the bottom point, along the tail's lower edge and under his body, round a big fin and back, then on to the side fin, without lifting.
-
Step 11 of 49
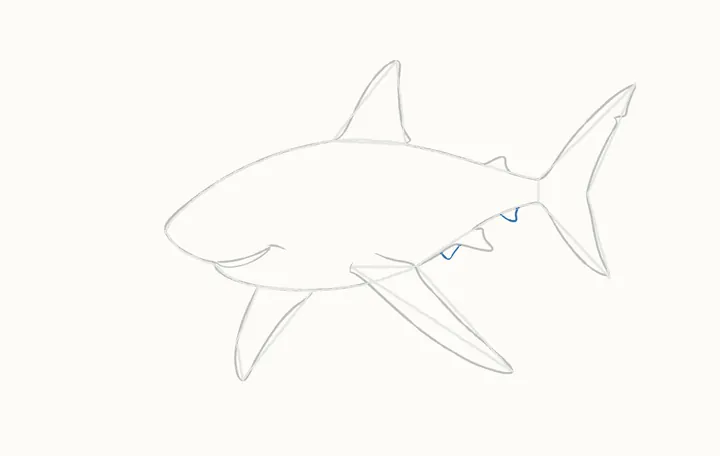
Two small fins
Two small fins hang from that line, each drawn from its front: a little one just in front of the big fin, then one near the tail.
-
Step 12 of 49
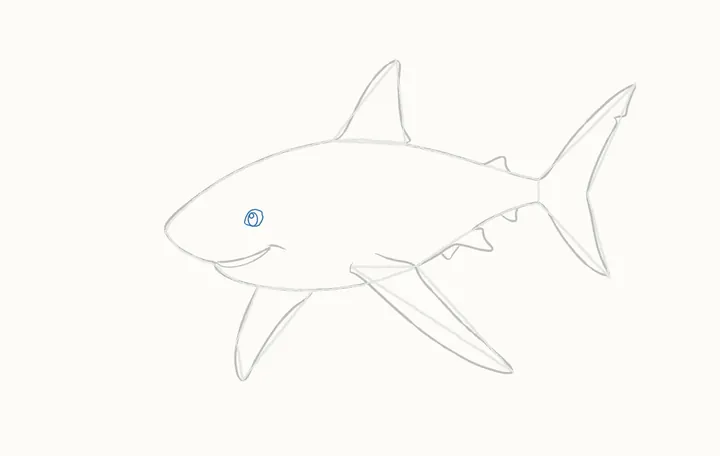
His eye
Above the smile's middle, an almond eye: from its pointed front corner, over the top and back under. Inside it, a tall oval, then a small circle in the oval's top left for the glint.
-
Step 13 of 49
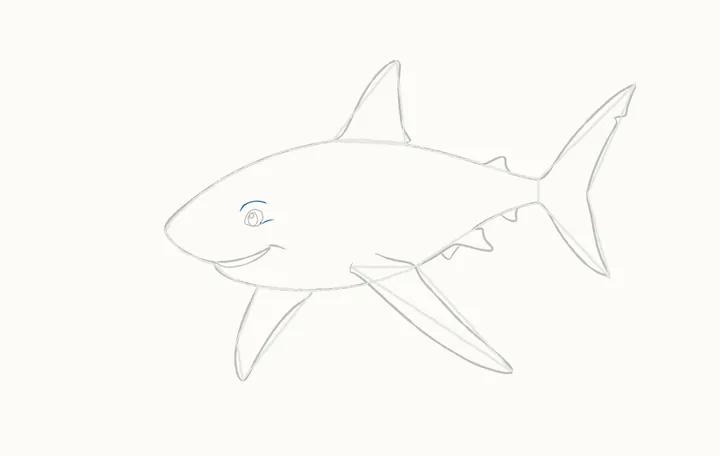
Brow and eye line
Above the eye, a curved brow from front to back. Then a line sweeping out from the eye's lower back corner.
-
Step 14 of 49
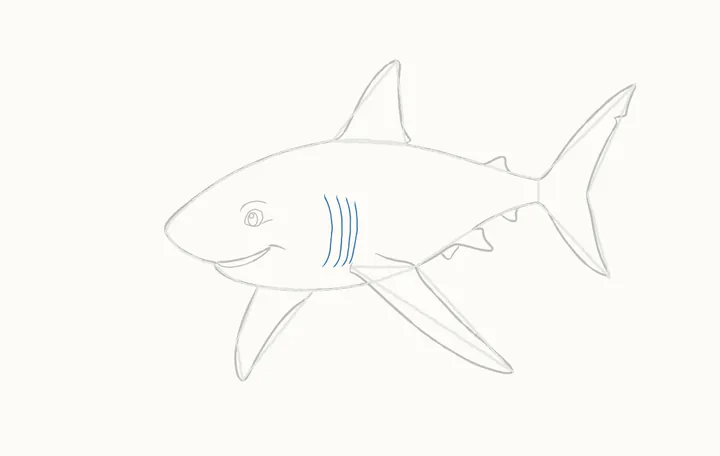
His gills
Behind his head, four curved gill slits, each drawn up from the bottom. Start with the one nearest his eye.
-
Step 15 of 49
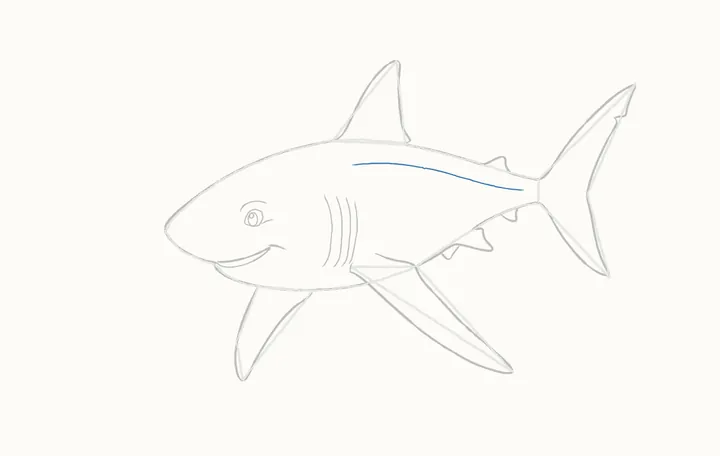
The line along his side
A long, light line high along his side, from above the last gill back towards the tail.
-
Step 16 of 49
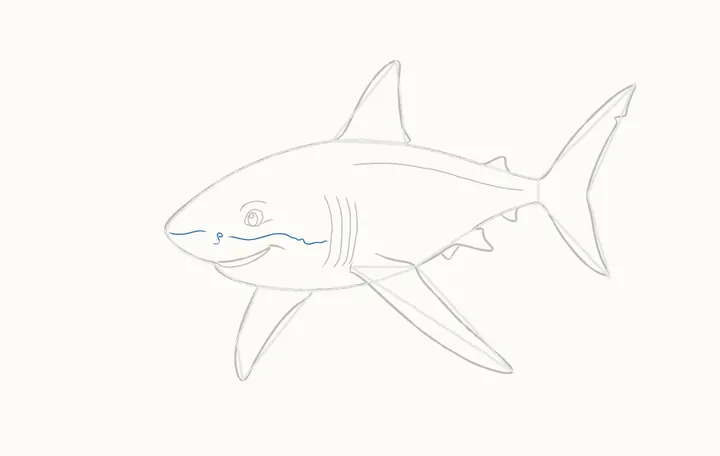
The pale line at the front
Now the edge of his pale belly: a short line back from his snout, then a little curl for his nostril. Then a wavy line from beside it back to the first gill.
-
Step 17 of 49
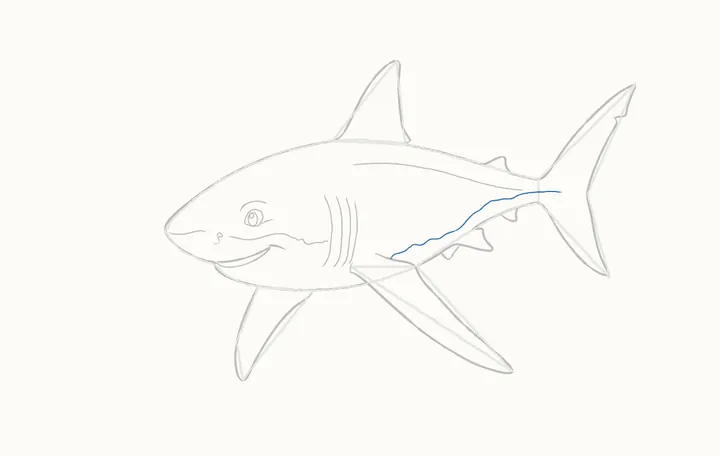
The pale line behind the fin
The same wavy edge goes on behind the side fin: from its root, back along his body into the middle of the tail.
-
Step 18 of 49
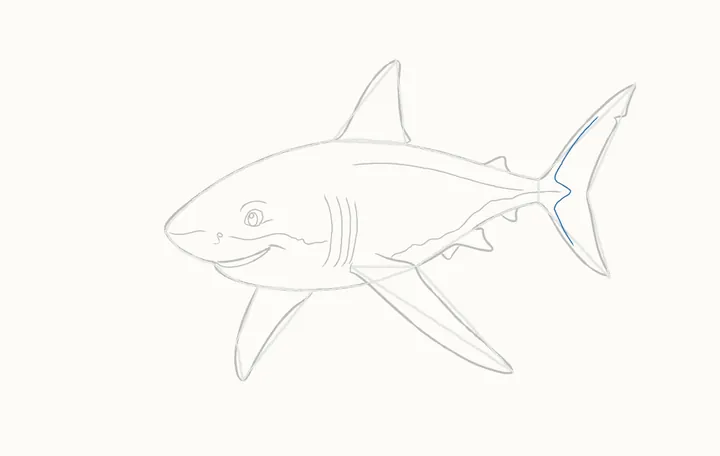
The tail's inner line
Inside the tail, a line just inside its front edge: from near the top point, down to a V pointing right in the middle, and on down the lower half.
-
Step 19 of 49
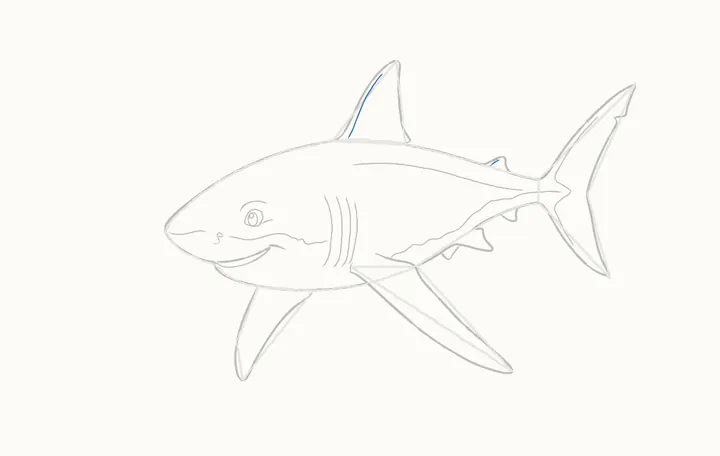
Creases on his top fins
A fine crease up the top fin from its root, just inside its front edge. Then a short one up inside the little fin on his back, near the tail.
-
Step 20 of 49
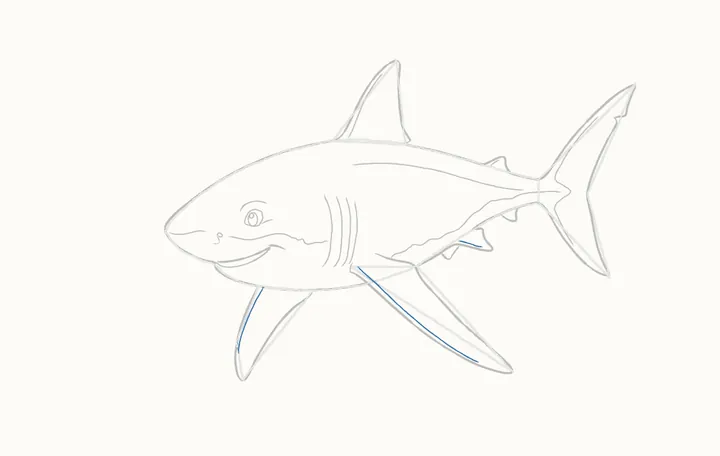
Creases on his lower fins
A crease down the far fin from where it leaves him, one down the side fin from its root, and a short one along the big fin underneath.
-
Step 21 of 49
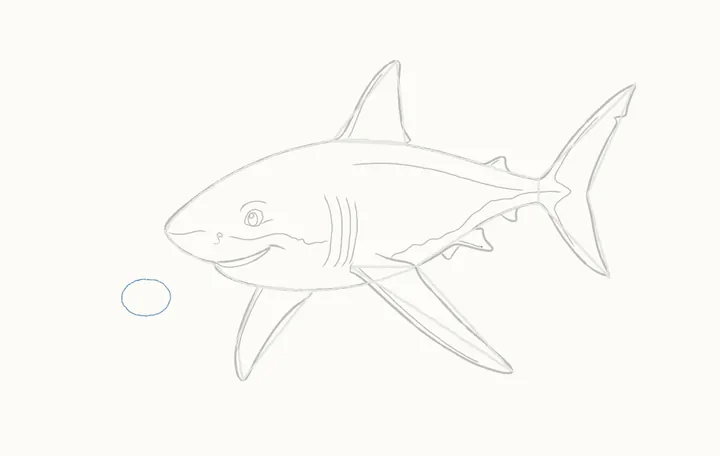
Placing the anglerfish
Now the anglerfish, below Reggie's nose and a little in front: an oval for its round body, about as wide as the far fin is where it joins him.
-
Step 22 of 49
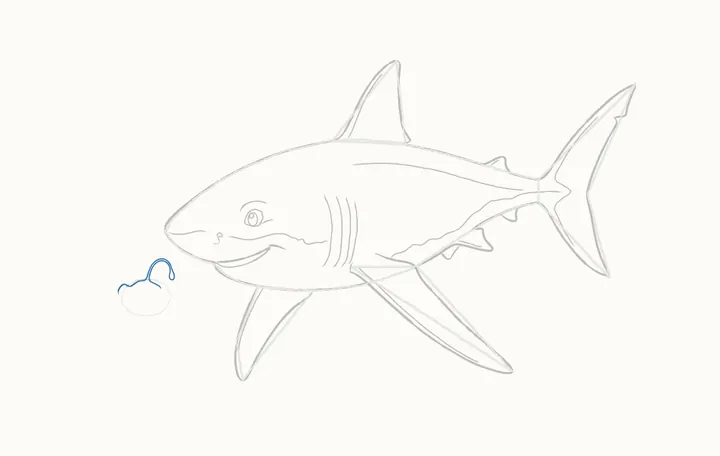
The anglerfish's back
From where its tail will join, up over a small fin and along its back, up the curved stalk, round the drop of the lantern, and back down to its head.
-
Step 23 of 49
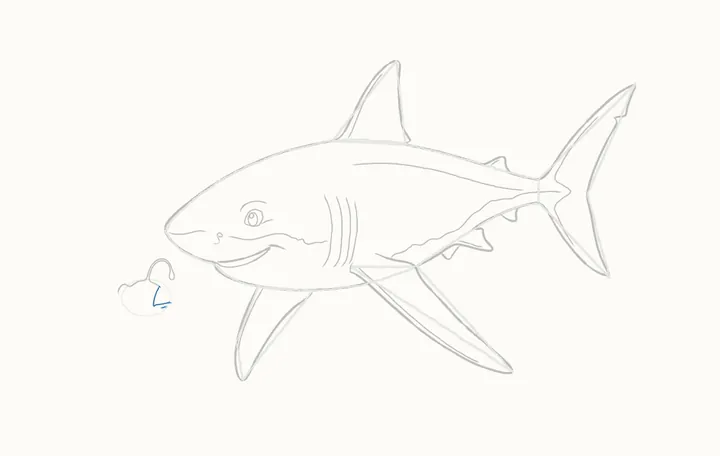
Its mouth
From the top of its head, down the back of its wide open mouth and out along the gum to the tip of its jaw, without lifting. Then a short line just under the gum.
-
Step 24 of 49
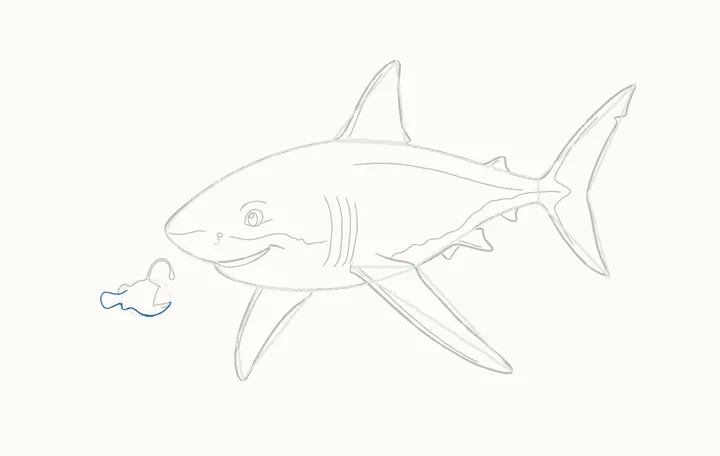
Belly and tail
From the tip of the jaw, round its belly to the tail, then on round the tail fin's wavy edge and back along to the small top fin, without lifting.
-
Step 25 of 49
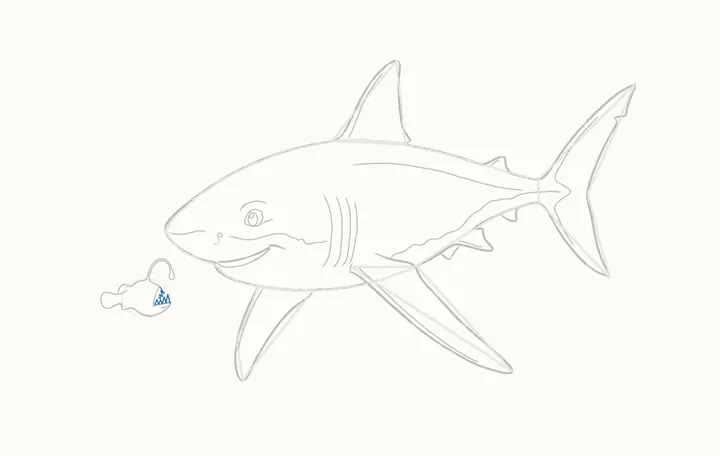
Its teeth
Four sharp teeth stand up along the gum, from the back of the mouth to its tip. Then three more point out from the mouth's back edge, top to bottom.
-
Step 26 of 49
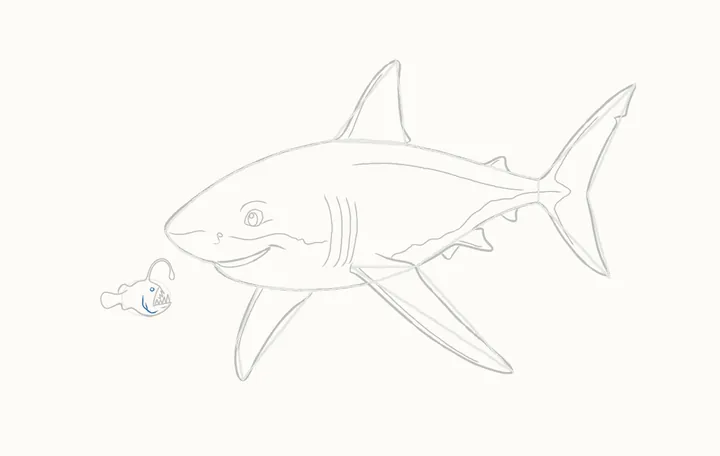
Its eye and cheek
A small ring for its eye, just behind the top of its mouth. Then a curved cheek line below the eye, round to its chin, and a little line inside the bend.
-
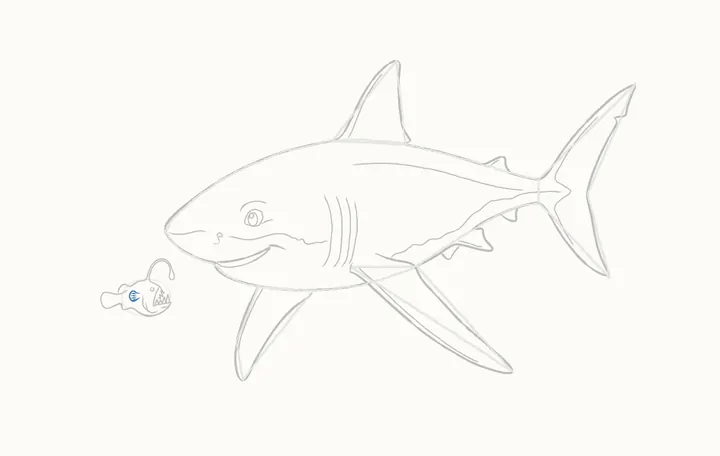
Step 27 of 49
Its side fin
Its side fin, just behind the cheek: a small C shape from the top round to the bottom, then four short lines inside it, top to bottom.
-
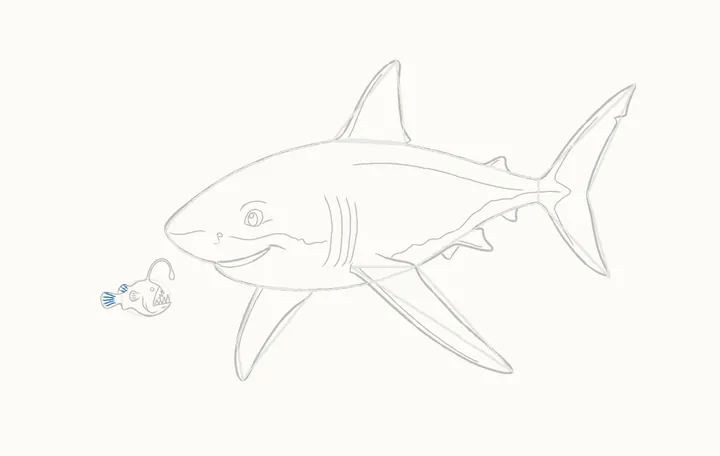
Step 28 of 49
Fin lines
Five lines across the tail fin, top to bottom, each from its root out to the wavy edge. Then three short ones in the small top fin.
-
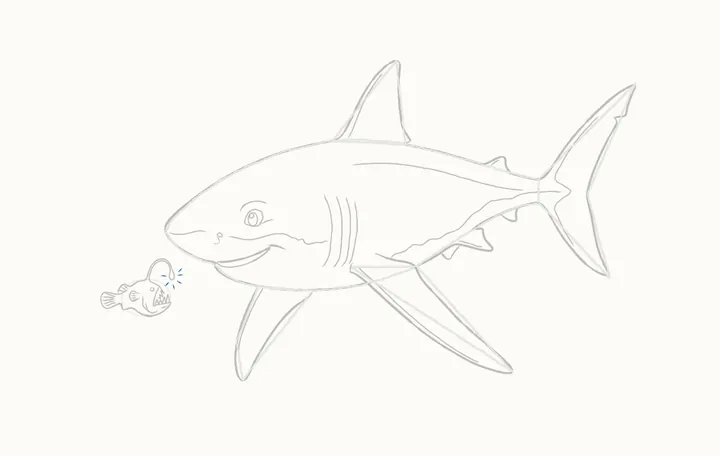
Step 29 of 49
The glow
Six short dashes of light round the lantern, each drawn outwards: one on its left, then three down its right side, and two below it.
-
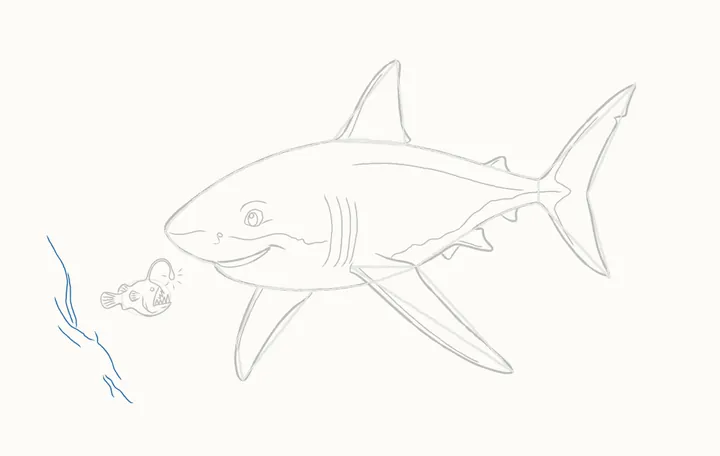
Step 30 of 49
Rocks on the left
The deep around them, drawn light and loose. Left of the anglerfish: a line slanting down to the right, two running up from it, then four shorter lines below, sloping the same way.
-
Step 31 of 49
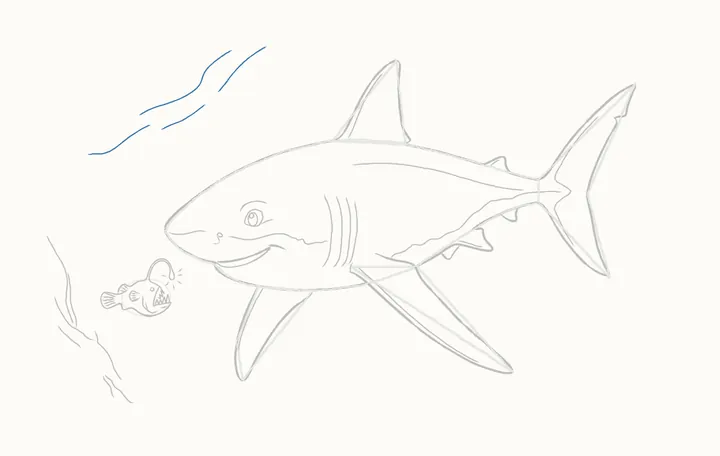
The rocks above
The ledge far above, top left, in four long, faint lines: two in a row along the bottom, from the left, then two above them, each sloping up to the right.
-
Step 32 of 49
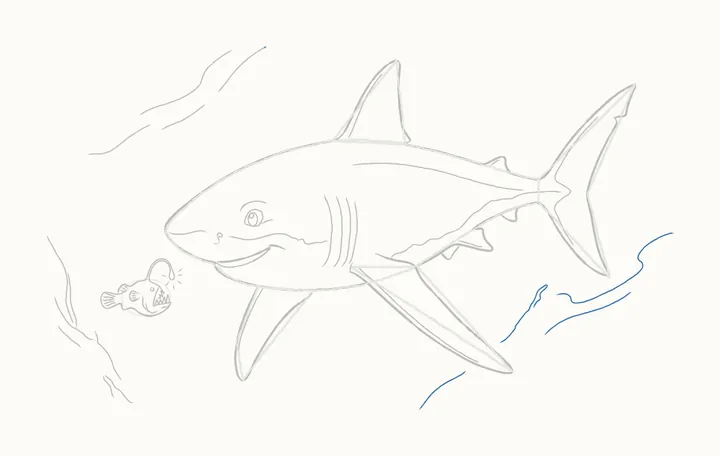
Rocks below him
Rocks below him: a faint line slanting down-left from under the side fin. Then a line up to a rounded top and back, and two long lines sloping up to the right, lower first.
-
Step 33 of 49
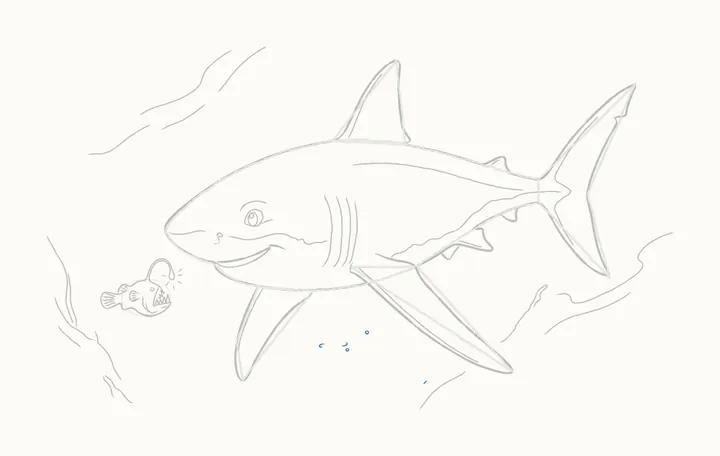
Specks below him
Specks below him: five under his belly and side fin, left to right.
-
Step 34 of 49
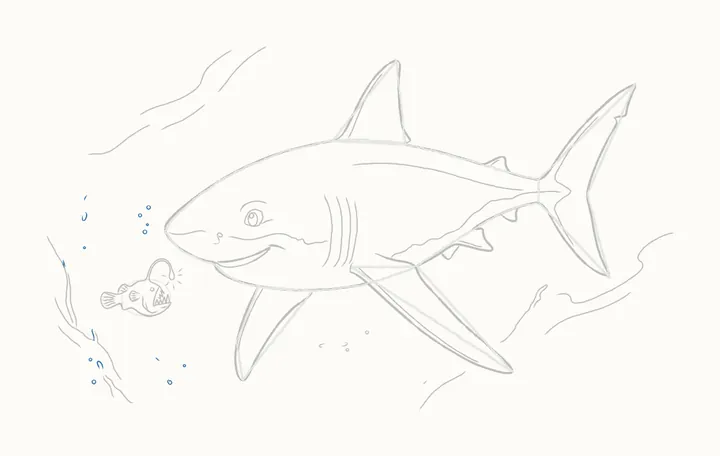
Specks round the anglerfish
Specks round the anglerfish, rings, dots and curls: four in a column in front of Reggie's nose, eight down the far left (one a dash off a rock line), then three below the anglerfish.
-
Step 35 of 49
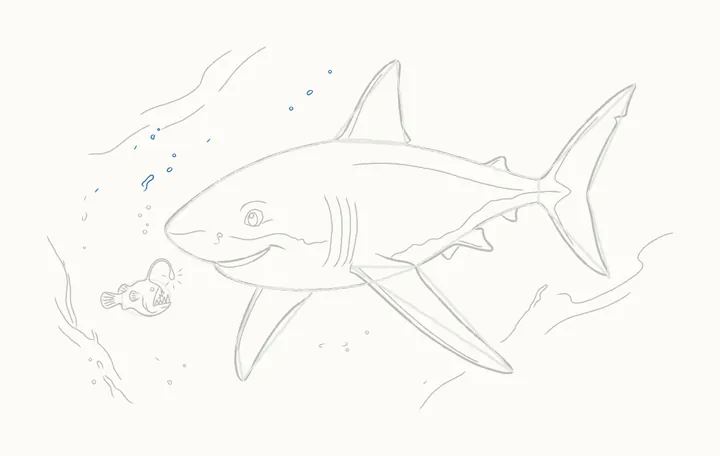
Specks above his head
Eleven more above his head, left to right, from the rock ledge up towards the top fin: rings, dots and dashes, and one thin wisp, a long loop.
-
Step 36 of 49
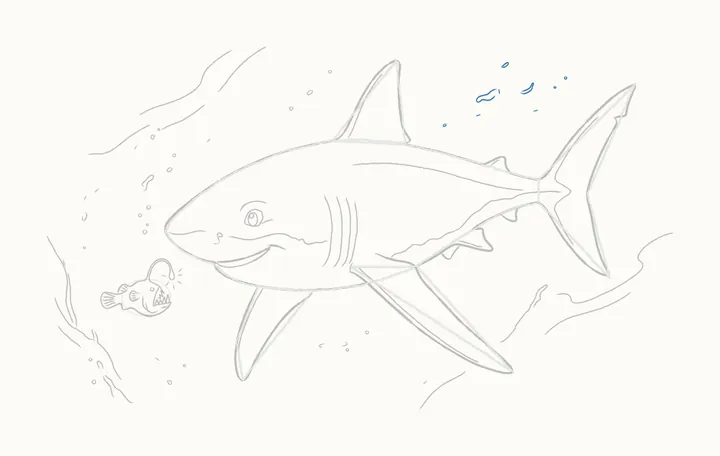
Specks above his tail
Nine between the top fin and the tail, left to right: rings, dots and dashes, and three thin wisps, the first the longest.
-
Step 37 of 49
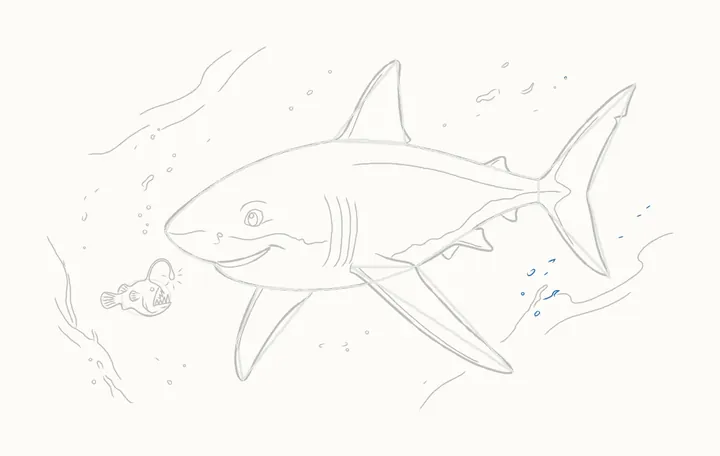
Specks by his tail
Last, nine by his tail, left to right: rings and curls round the rocks under it, one wisp, then three little dashes to the right of the tail.
-
Step 38 of 49
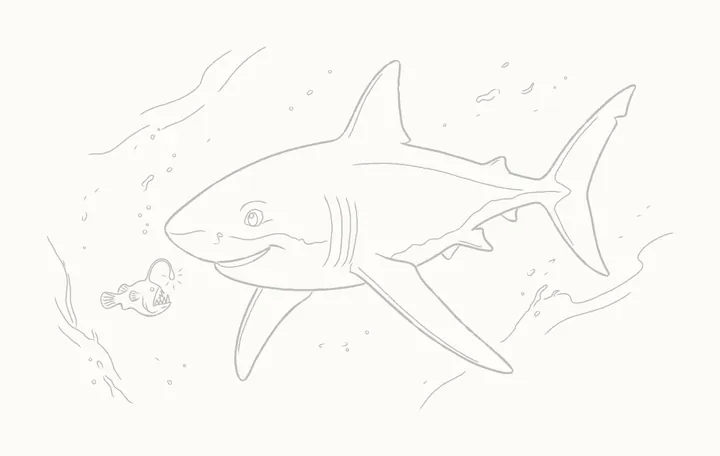
Erase the guides
Rub out the guide lines. Reggie, his friend and the deep stay.
-
Step 39 of 49
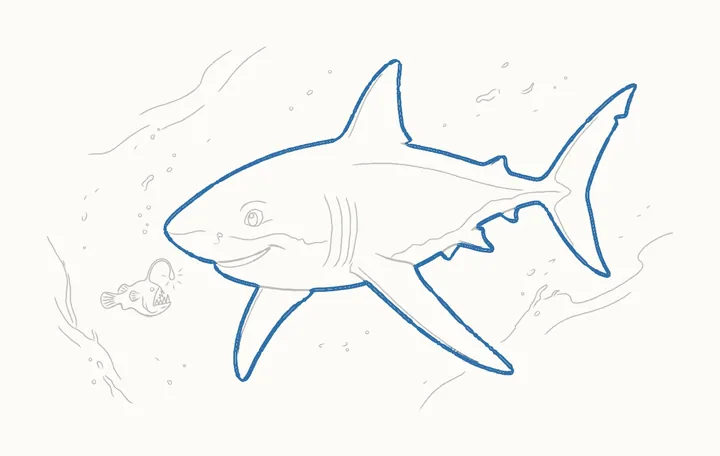
Go over Reggie
Press harder all round Reggie in one line: from his nose over his head, top fin and back, round the tail, then under him and round both side fins to his chin and nose.
-
Step 40 of 49
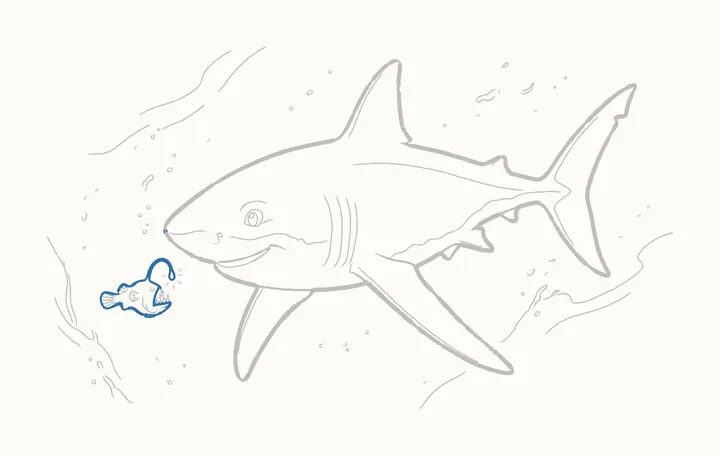
Go over the anglerfish
A firmer line round the anglerfish too, in one go: from its tail over its back, round the stalk and lantern, down its mouth, out along the gum, and round its belly and tail fin.
-
Step 41 of 49
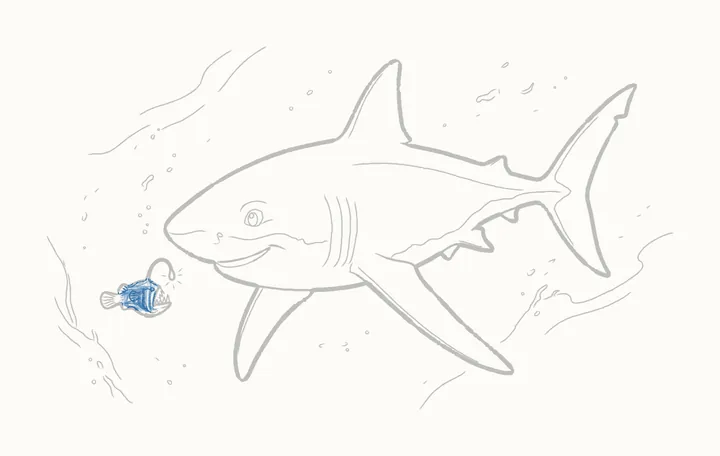
Shading the anglerfish
Shading now, with the lantern as the only light, so keep it white. Shade the anglerfish's body a darker grey, right up to its mouth: the dark around the light makes it glow.
-
Step 42 of 49
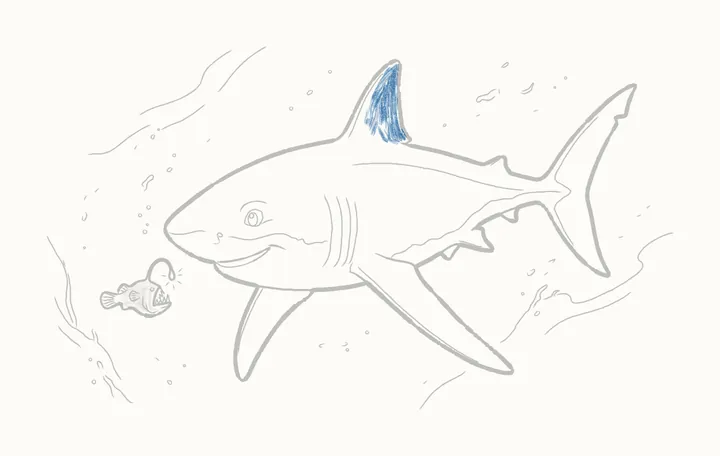
The top fin
Reggie's shadow sides are the ones furthest from the lantern. Start with a soft, even tone in the top fin.
-
Step 43 of 49
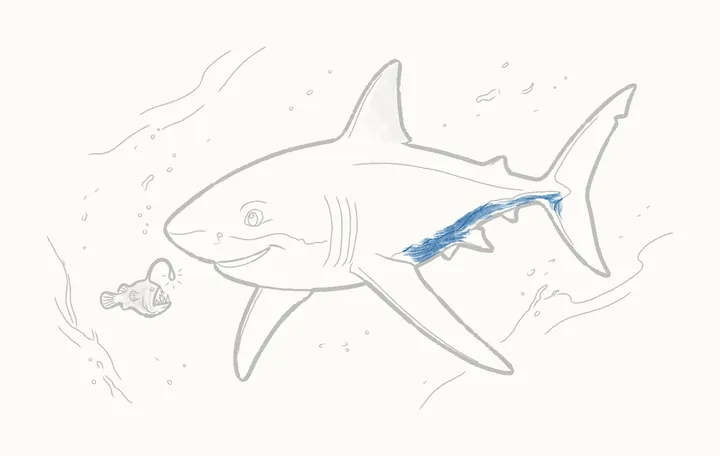
Under the pale line
The same light tone in the band under the wavy pale line, from behind the side fin back to the tail.
-
Step 44 of 49
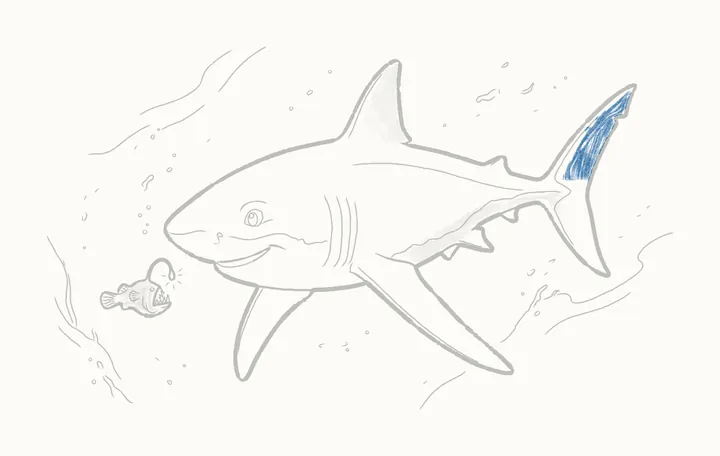
The top of the tail
Then the top half of the tail, the part of him furthest from the lantern: from the middle up to the point, soft and even.
-
Step 45 of 49
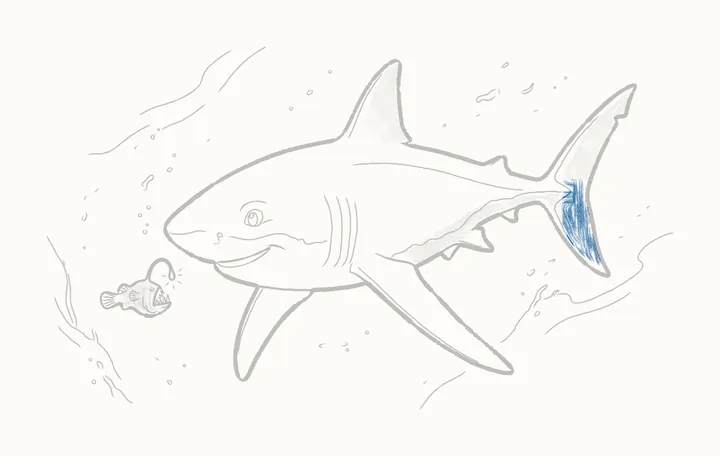
The lower tail
On down the lower half of the tail, along its back edge to the point.
-
Step 46 of 49
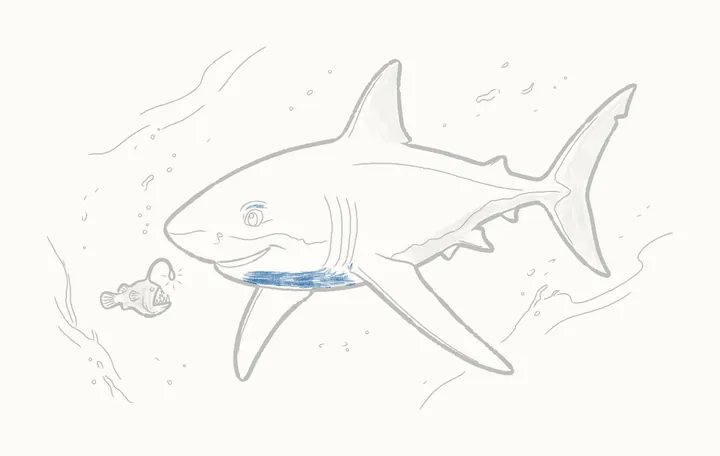
Above his eye, under his chin
A soft touch above his eye. Then a band of tone along the bottom of his belly, from his chin back to the side fin.
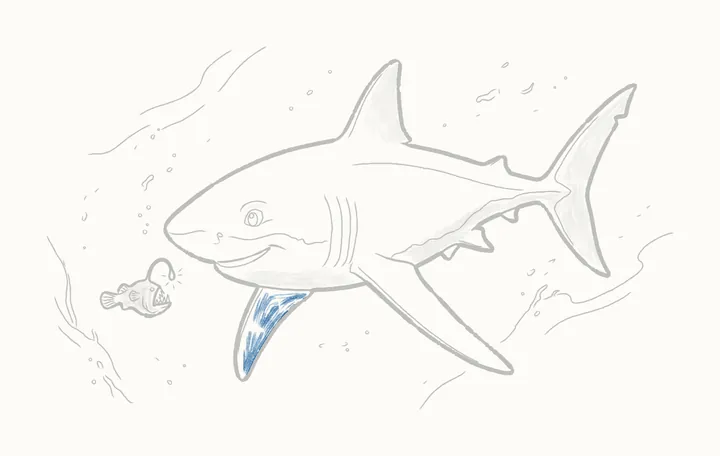
-
Step 47 of 49
Shading the far fin
Tone all over the far side fin, then a little darker at its top, where it sits in his shadow.
-
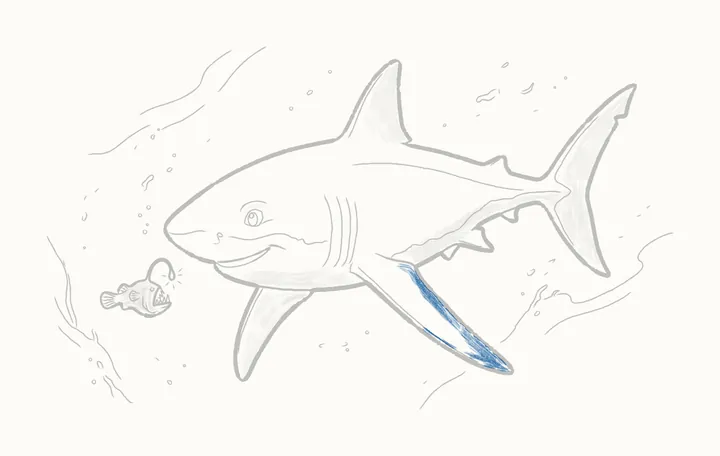
Step 48 of 49
Shading the near fin
Then the near side fin: tone along its top edge, from where it joins him to the tip, and a thin strip by its lower edge, near the tip.
-
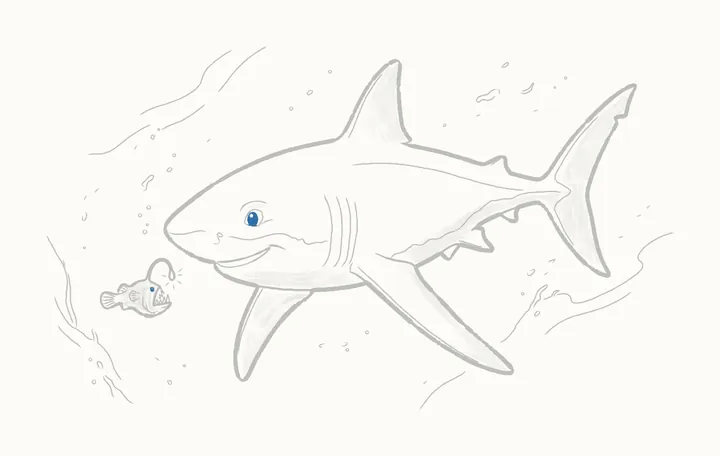
Step 49 of 49
The darks
Last of all, fill in Reggie's tall oval, leaving the glint white, then the anglerfish's tiny eye, leaving a speck of white in it.
-
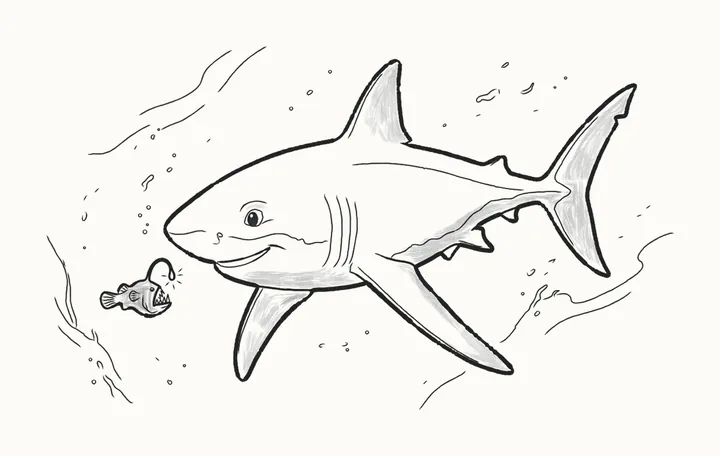
Finished
Your finished shark in the ocean
That’s Reggie! Go over any lines you want darker, then sign your drawing in the corner.
In the DrawRabbit app
Reggie’s world has 9 more drawings
Every animal has a whole world of narrated drawings in DrawRabbit, each one a little story you draw with a real pencil and paper. The first drawing in every world is free.
 Free to start · iPhone and iPad
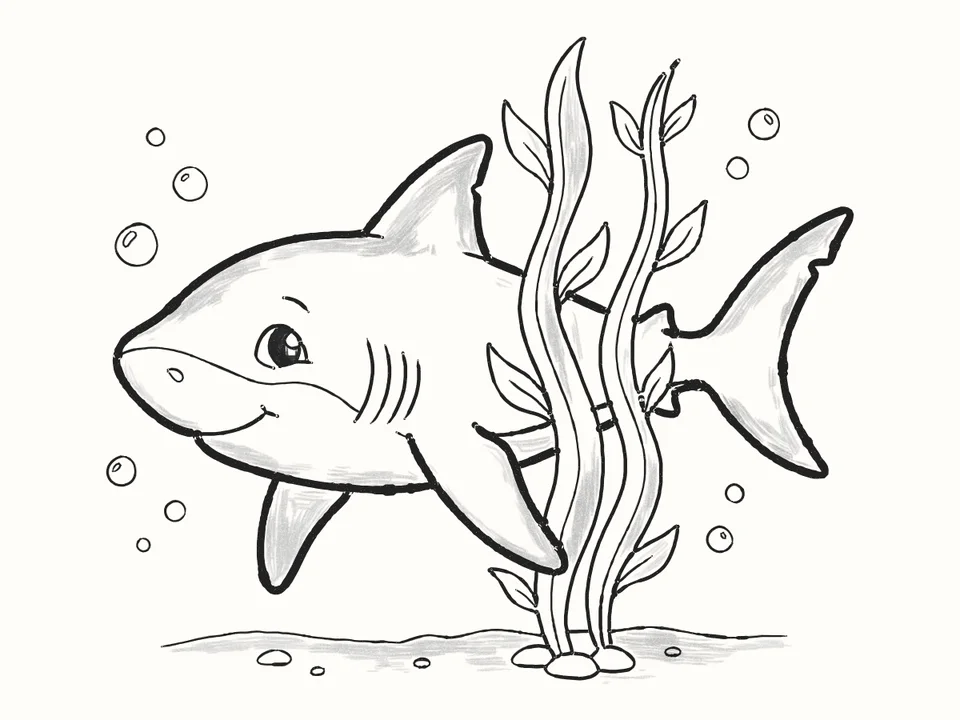 Hide and seek in the kelp
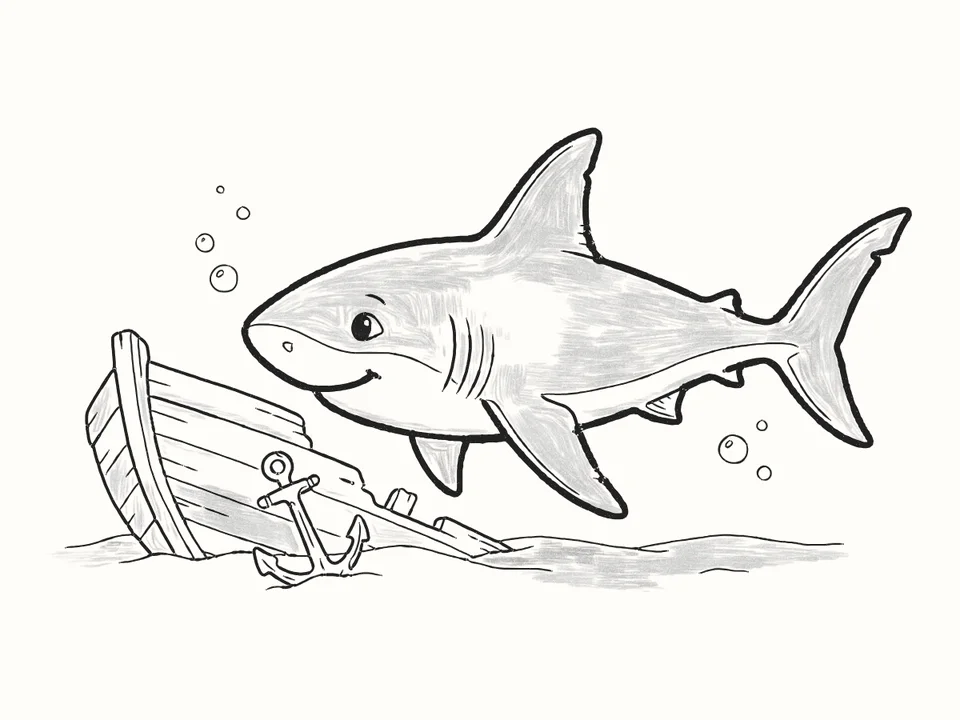 The shipwreck
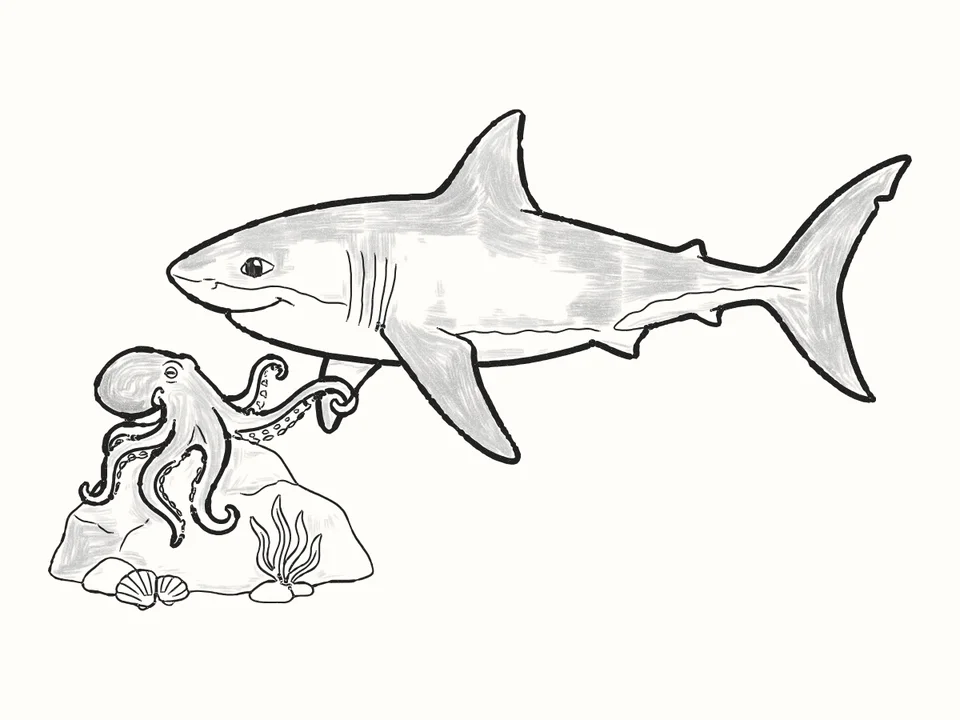 The octopus
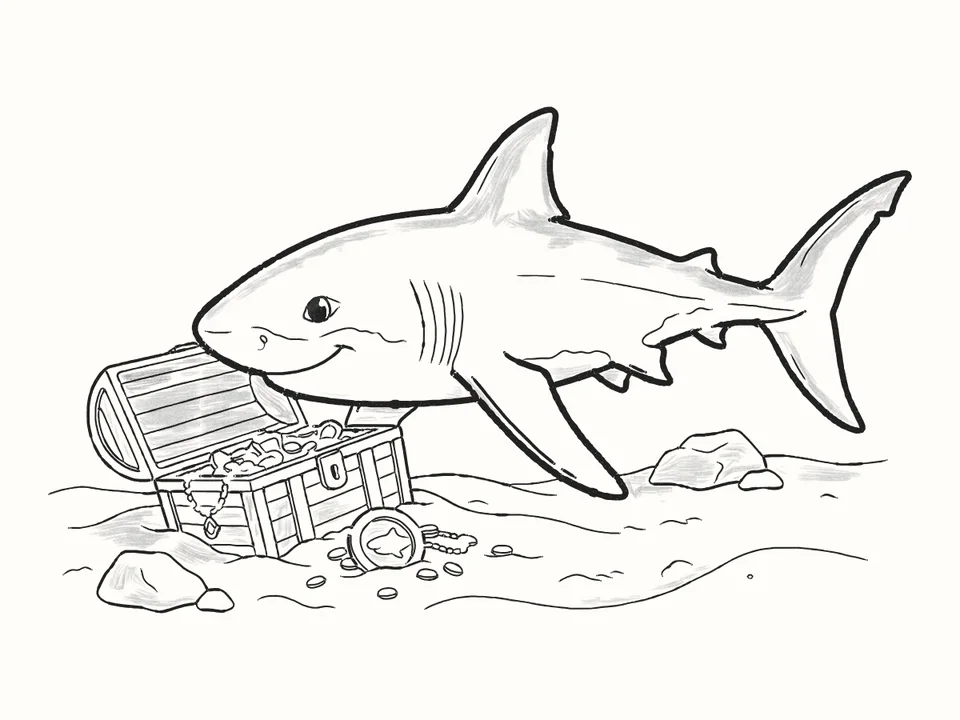 Sunken treasure
Tips for a better shark in the ocean
Two curves to start
They meet at his nose, a quarter in and halfway down, and end three quarters across, at his tail. Keep them light: they get rubbed out in step 38.
The side fin first
Draw the side fin before the belly, then the far fin hanging behind the belly, just below the corner of his smile.
Dark round the light
The lantern is the only light, so keep it white and shade the anglerfish darker right up to its mouth. The dark around the light is what makes it glow.
Shade away from the glow
Reggie’s shadow sides are the ones furthest from the lantern: his top fin, the top half of his tail and the band under the wavy pale line.
Questions
How do I draw a shark swimming?
Two light curves for his body, meeting at his nose, then triangles for his fins and a tall shape for his tail. The side fin slants back from his belly and the far fin hangs behind it, so he looks like he’s gliding forward.
What do I need?
A pencil, paper and an eraser. Draw the first steps lightly: the guide lines are rubbed out in step 38. The rocks and specks of the deep stay light and loose.
How do I draw an anglerfish?
An oval for its round body, then in one line its back, the curved stalk and the drop of its lantern. Give it a wide open mouth with sharp teeth, a small eye, a little side fin and lines across its tail fin, then six short dashes of light round the lantern.
Can kids draw it?
Yes. It’s made for beginners of any age. If reading the steps is hard, the draw-along talks you through each line while it draws.
What is DrawRabbit?
A drawing app for iPhone and iPad: narrated, step-by-step lessons you follow with a real pencil and paper. 95 drawings in 10 worlds, free to start, no account needed.
Keep drawing · Next guide
How to draw a whale underwater
A whale swimming under a storm in 44 steps
Start drawing