 DrawRabbit
Drawing guide · Owls
How to draw a great horned owl
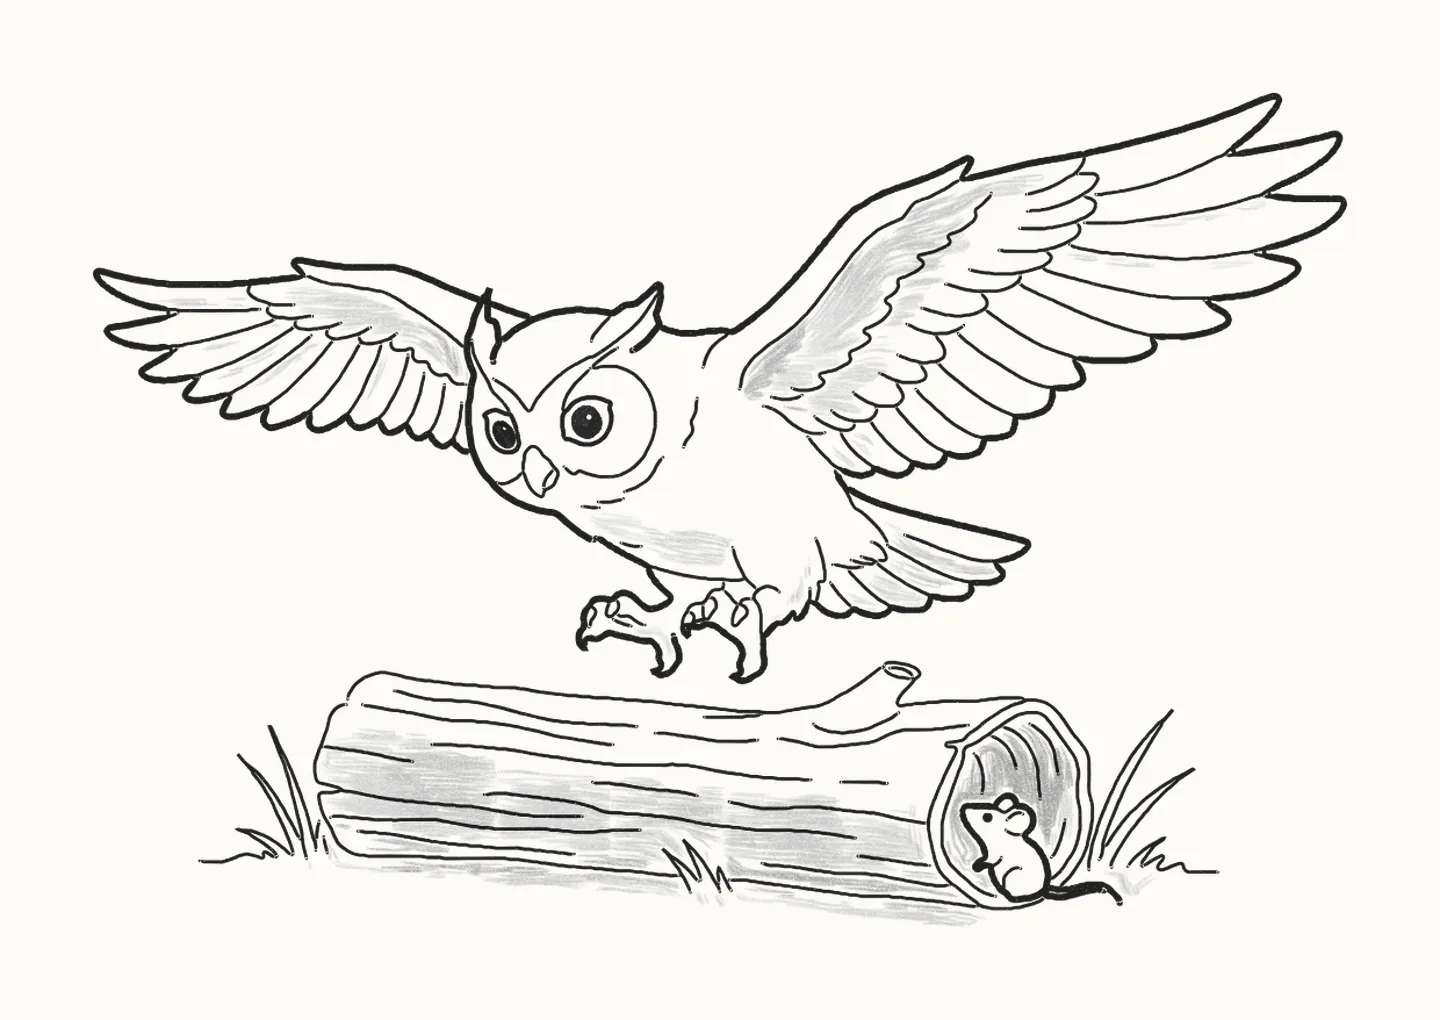
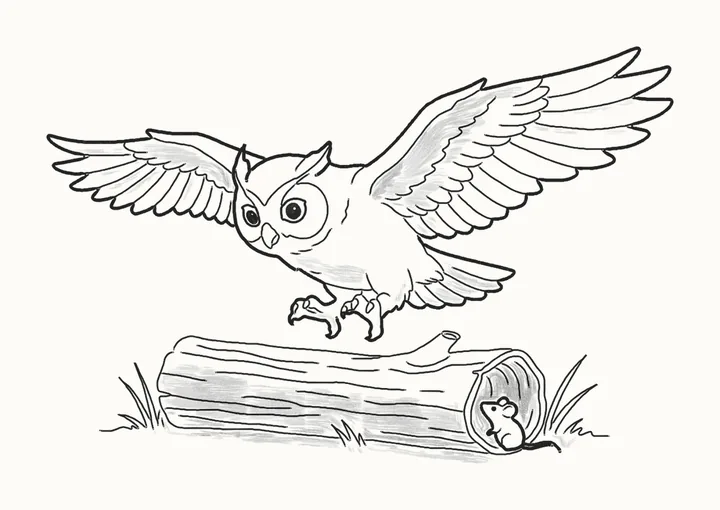
Hazel swoops low over a log, talons out, but the mouse inside it is safe. In 51 steps you’ll draw a great horned owl, ear tufts up and her wings open wide, using a pencil and paper: two ovals and four curves to start, then each wing in layers, the mouse and the hollow log.
How do you draw a great horned owl?
To draw a great horned owl with her wings open, start light: an oval for her head and a bigger tipped one behind it for her body. For each wing, a curve out to the wrist and a long curve where the feather tips reach; the left wing is smaller. Draw her head with its two ear tufts, the brows in one long V, a narrow eye on the left and a rounder, bigger one on the right, the hooked beak and the face disc, then her body. Build the right wing in layers: the leading edge up to the wrist, a wavy line of small coverts, two rows of bigger coverts like roof tiles, then the long feathers, six out to the tip and seven getting shorter towards her body. Do the same on the smaller left wing. Add both feet hanging below her, talons out, the fluffy feathers on her leg and the fanned tail. Then the mouse with its curling tail, the hollow end of the log it sits in, the log with its bark and grain, and tufts of grass. Rub out the guides, go over Hazel and the mouse, and shade softly: the wings, her belly and tail, then the log, lighter than Hazel and darkest inside the hollow round the mouse. Hazel gets no shadow: she’s still in the air. Fill in her big pupils to finish. It takes 51 steps with a pencil, paper and an eraser.
You need a pencil, paper and an eraser51 stepsBeginner
Draw a great horned owl, step by step
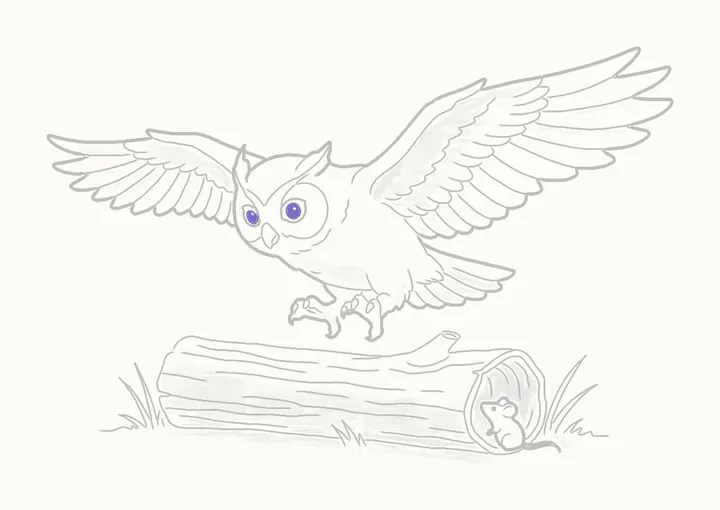
In colour: what to draw nowGrey: already drawn
Draw everything in pencil, lightly at first. Save all 51 steps to Pinterest
-
Step 1 of 51Guide lines
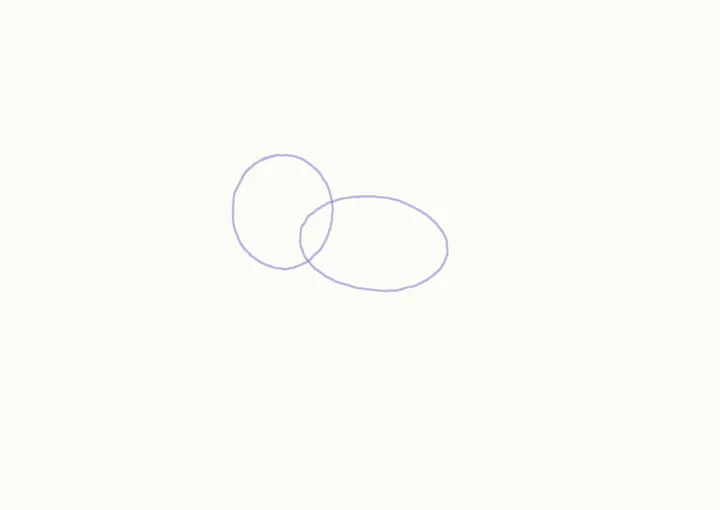
Head and body guides
Hazel swoops low over a log, talons out, but the mouse in it is safe. Start light: an oval for her head, and a bigger tipped one behind it for her body.
Draw these lightly: they’re only there to help, and you’ll rub them out in step 35.
-
Step 2 of 51Guide lines
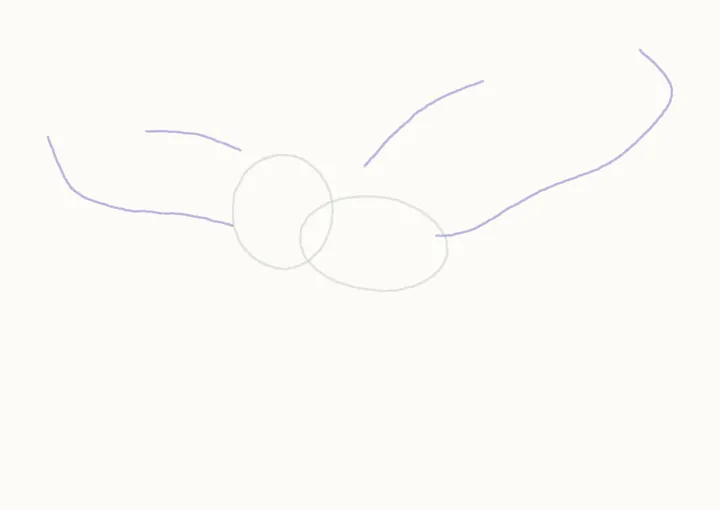
Wing guides
For each wing, a curve out to the wrist (the right from her back, the left from behind her head), and a long curve where the feather tips reach. The left wing is smaller.
Draw these lightly: they’re only there to help, and you’ll rub them out in step 35.
-
Step 3 of 51
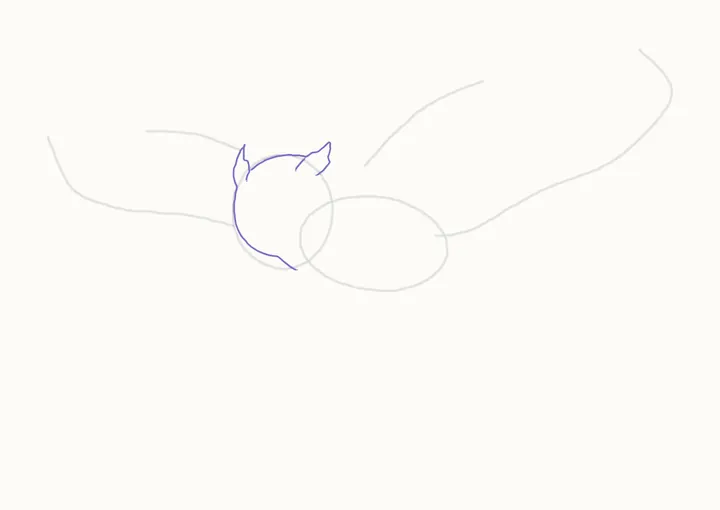
The head
Up the left tuft from inside her head to its point, down its outer edge and her side, under her chin. Then over the top, round the right tuft, and a short line inside it.
-
Step 4 of 51
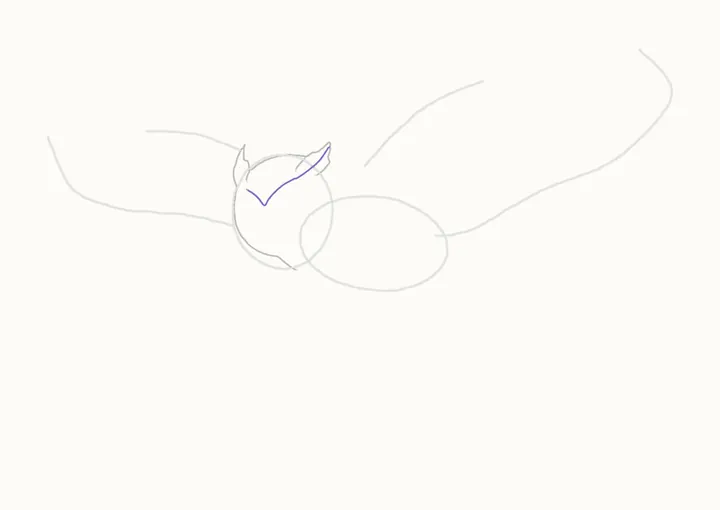
Brows
Her brows, one long V: from inside the right tuft down to a point in the middle of her face, and up towards the left tuft.
-
Step 5 of 51
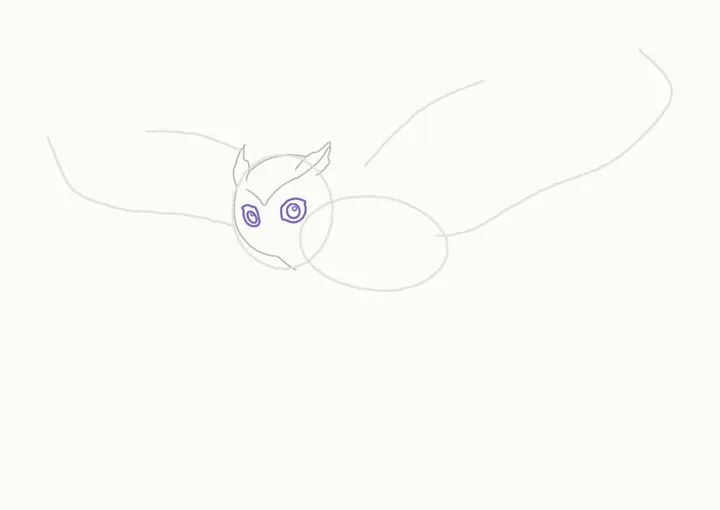
The eyes
An eye under each side of the V, left first: its narrow, tipped outline from the beak side, a big pupil inside, a glint in its top. Then the right eye, rounder and bigger.
-
Step 6 of 51
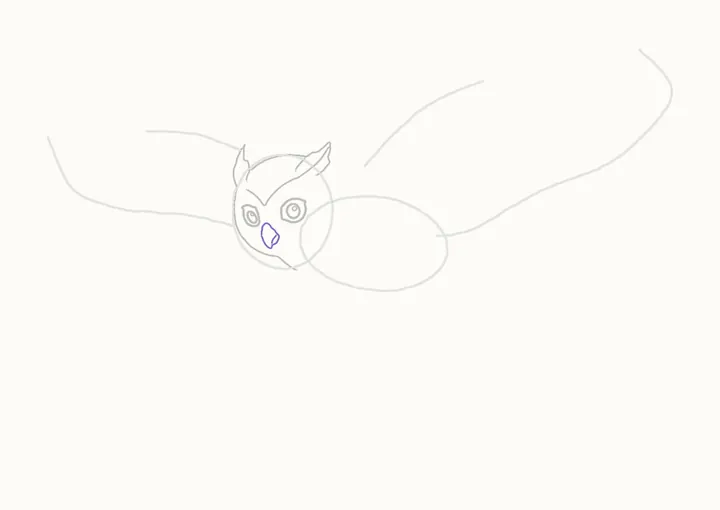
The beak
The hooked beak below the point of the V: over its top, down its right side to the tip and back up. Then a line inside its right side.
-
Step 7 of 51
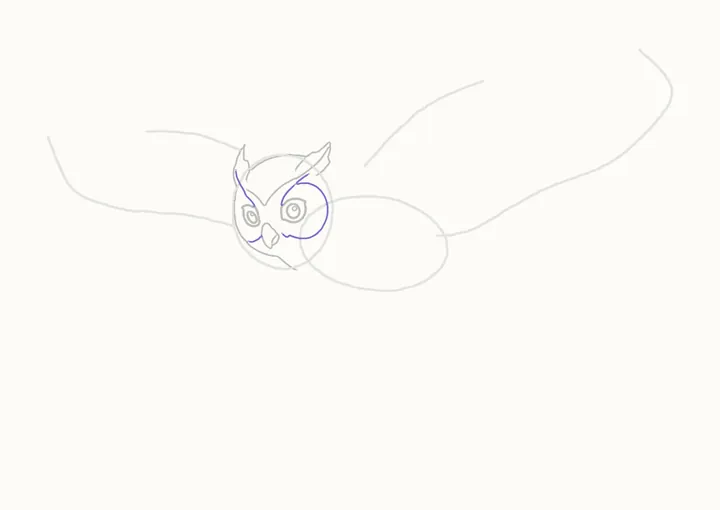
The face disc
Left: a line from under the tuft to the eye; one from the beak to her cheek. Right: from above the brow, round the eye to the beak; a short line down to the eye.
-
Step 8 of 51
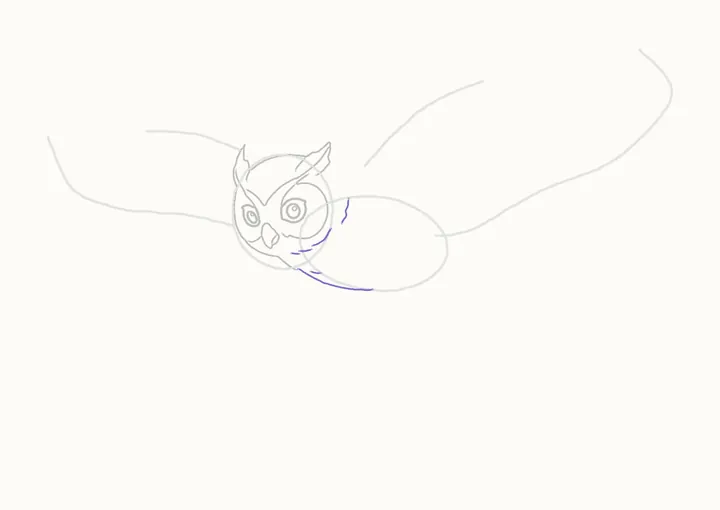
Her body
Under her chin, round her belly to the right. Then five soft lines on her chest: one right of her face, a curve under the right cheek, two short ones, one above the belly.
-
Step 9 of 51
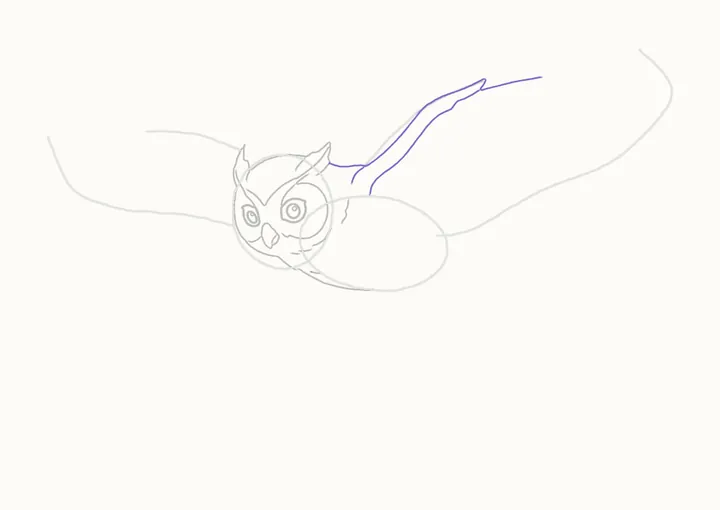
The right wing's leading edge
From the right tuft along her back, up the right wing's leading edge to the wrist's point, into the notch and along the top. Then the line inside, and a curve at her shoulder.
-
Step 10 of 51
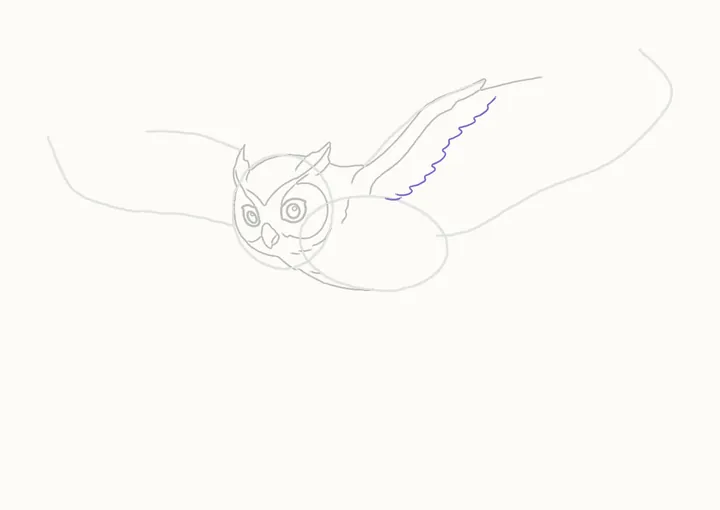
Small coverts
Coverts are the small feathers over the wing's base, like roof tiles. A wavy line of them under the leading edge, from near the wrist to her shoulder, then a short line along her back.
-
Step 11 of 51
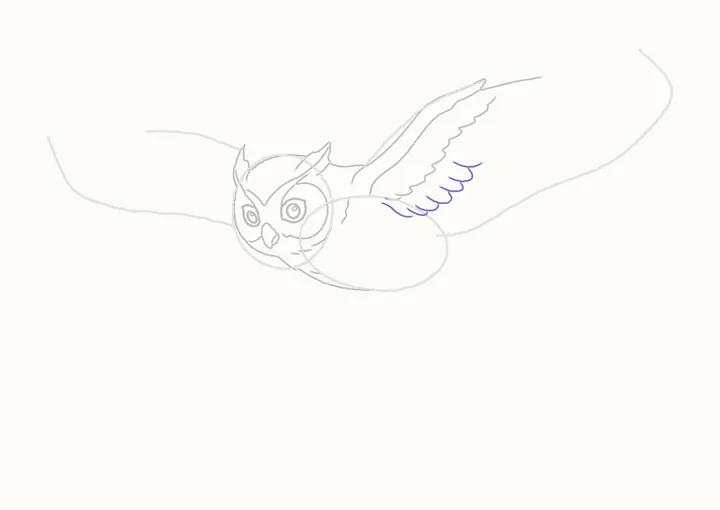
The middle coverts
Seven bigger coverts in a row below them, from the top down: each from the one above, round its end and out to its tip.
-
Step 12 of 51
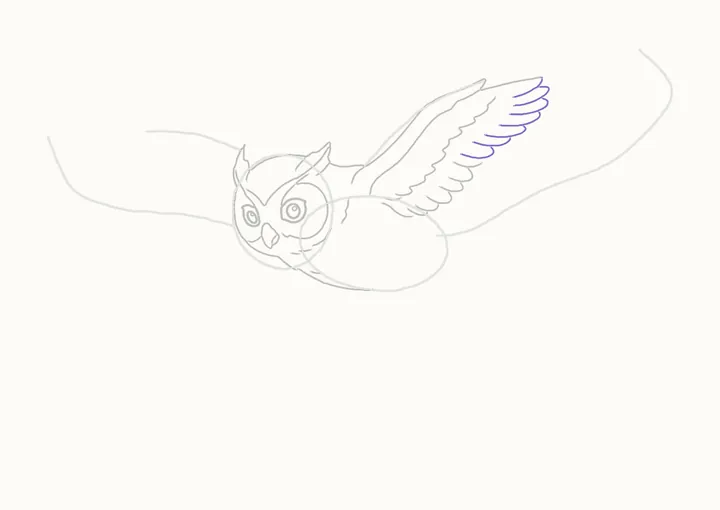
Coverts by the tip
Seven more down the column at the right, from the top line: each from the one above, round its end and out to its tip.
-
Step 13 of 51
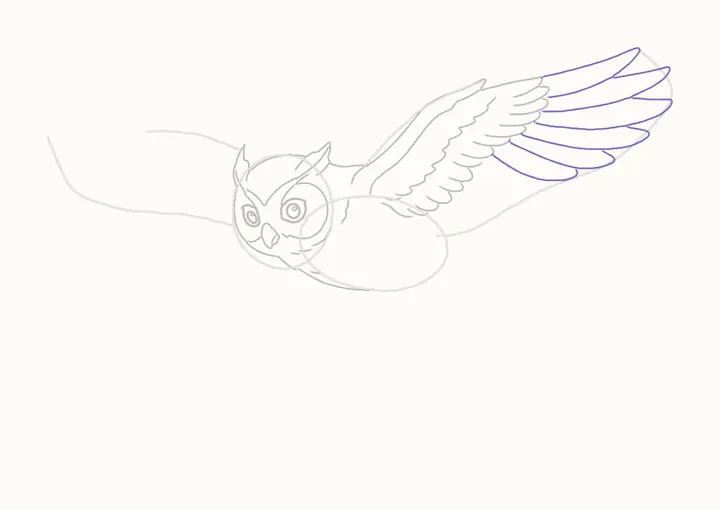
The longest feathers
Now the long flight feathers, six to the wing tip, from the top: each from under the one above, out round its rounded tip and back along its lower edge.
-
Step 14 of 51
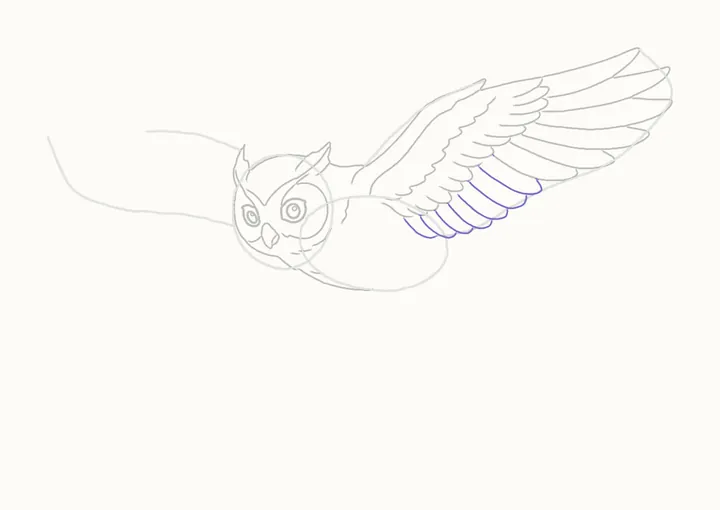
Feathers towards her body
Seven more the same way, each shorter, working in towards her body: from under the one above, round its tip and back to the coverts.
-
Step 15 of 51
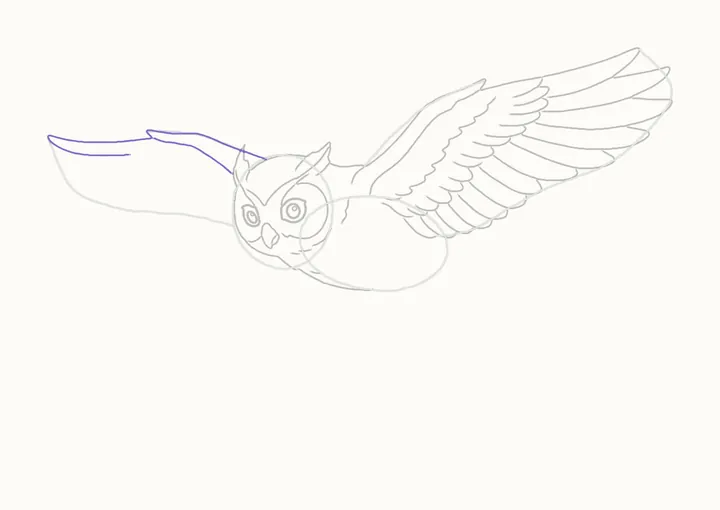
The left wing's leading edge
The left wing is smaller: from her head, behind the tuft, out to the wrist's point, into the notch and on round the top feather. Then the line inside it, back to her head.
-
Step 16 of 51
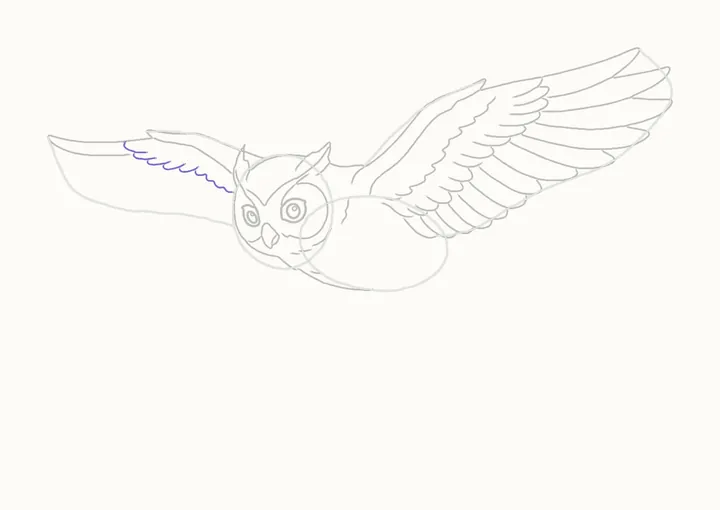
Its coverts
Five coverts under the top feather, from the tip end in: each from the one before, round its end and out to its tip. Then a wavy line of small ones to her head.
-
Step 17 of 51
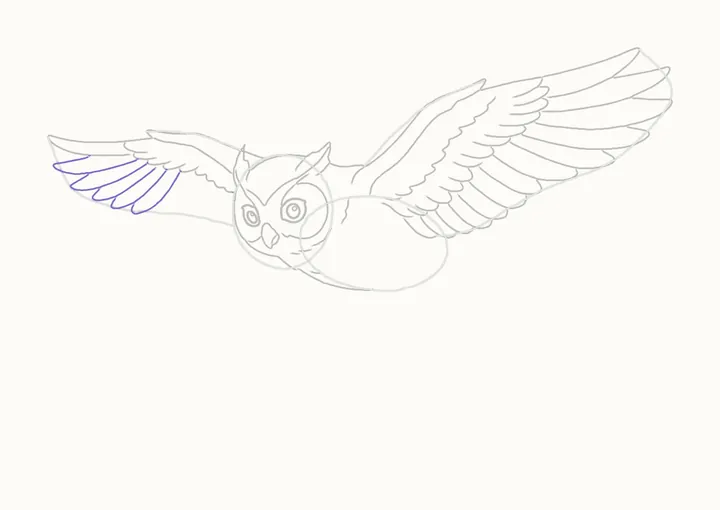
Its long feathers
Five long feathers below the top one: each from under the one before, round its tip and back along its lower edge to the coverts.
-
Step 18 of 51
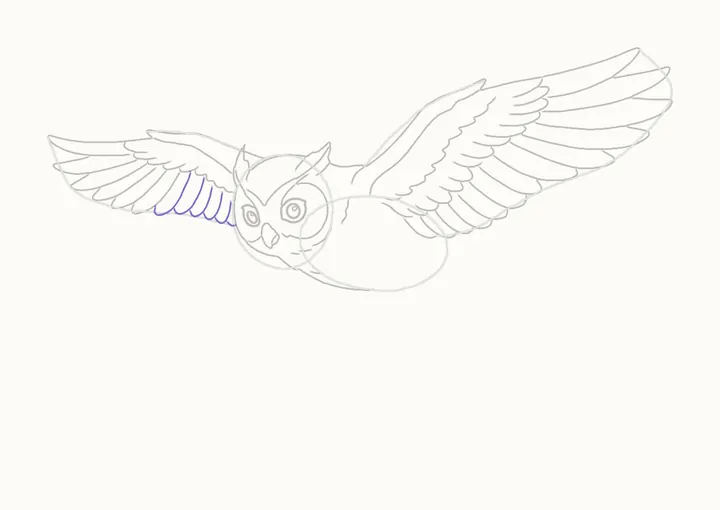
Its feathers by her head
Six more, shorter, in towards her head; the last is just its tip, ending on her cheek.
-
Step 19 of 51
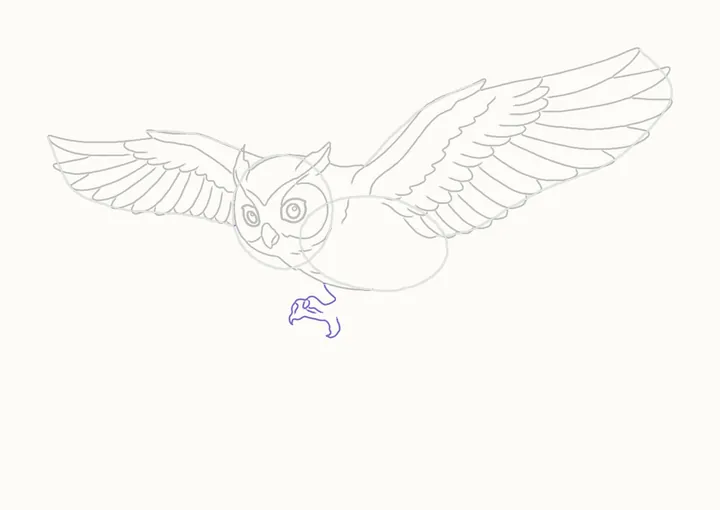
The left foot
The left foot hangs below her chin: from her belly over the toes into the first claw, under to the back claw, up the leg; then a toe line, the second claw, two creases.
-
Step 20 of 51
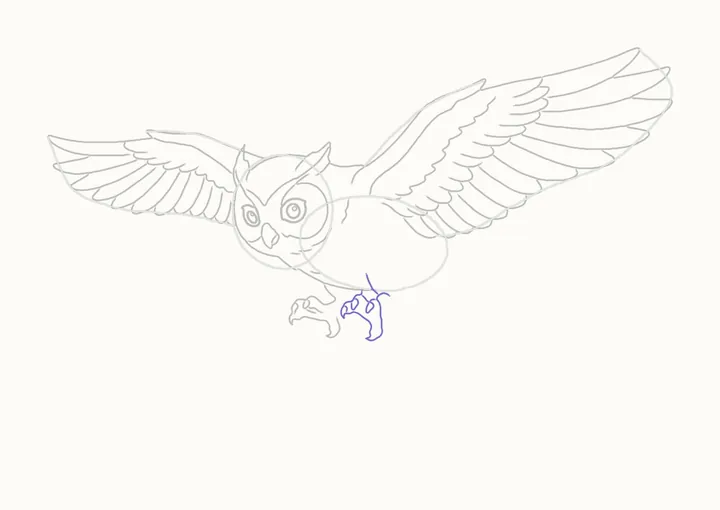
The right foot
The right foot: the thigh line; from her belly over the toes to the first claw, under to the back claw, up the leg. Then a toe line, two claws, a line between.
-
Step 21 of 51
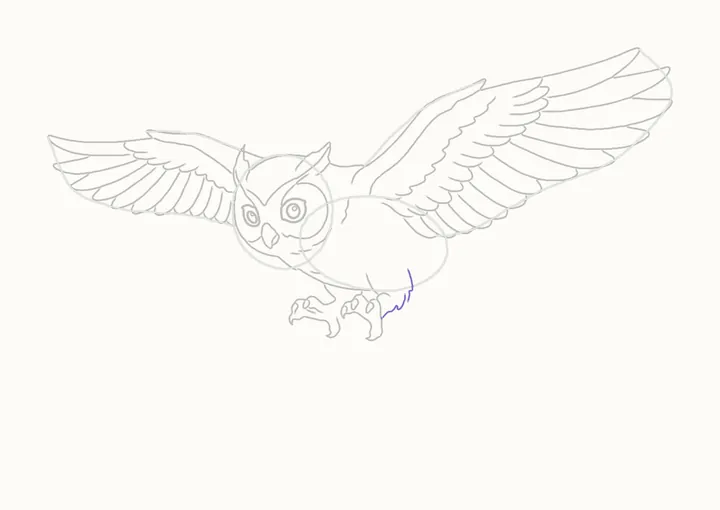
Leg feathers
Fluffy feathers on the back of the right leg: a zigzag up from the leg; then, just right of where it ends, a line up into her body.
-
Step 22 of 51
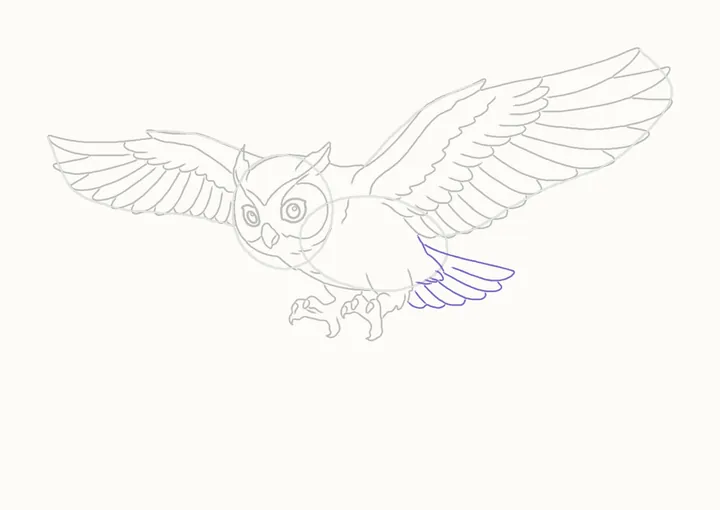
The tail
The tail, fanned behind her legs: her back down from under the wing, the top feather round its tip, then four below it. A line in the last; three fluffy marks at its root.
-
Step 23 of 51
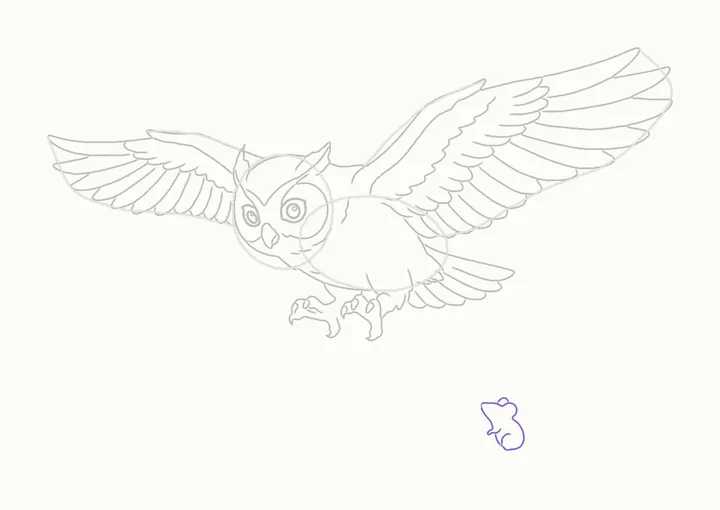
The mouse
The mouse, below the tip of Hazel's tail, low on the page: over its head and big ear, down its back; its back ear. Its chin round the paw, its front, its haunch.
-
Step 24 of 51
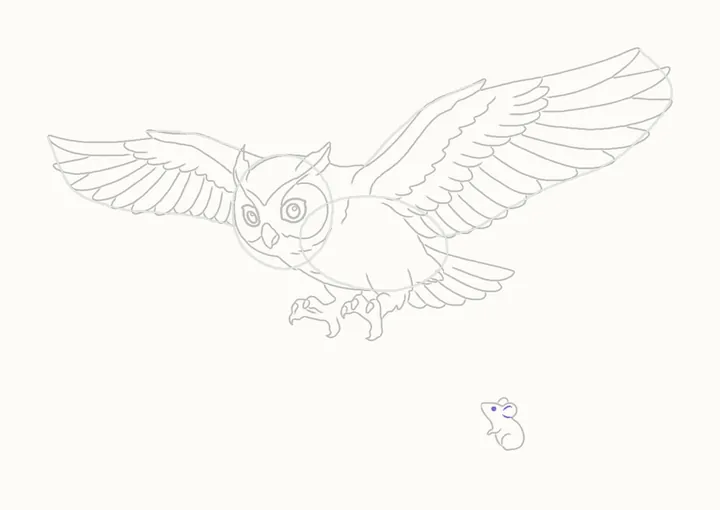
Its ear and eye
Two curved lines inside the mouse's big ear, and a dot for its eye.
-
Step 25 of 51
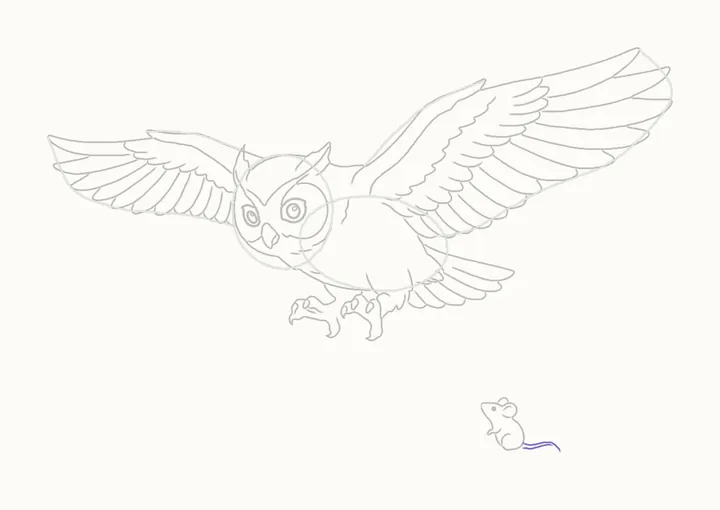
The mouse's tail
Its long thin tail curling out to the right: the top edge out to the curled tip, then the lower edge back.
-
Step 26 of 51
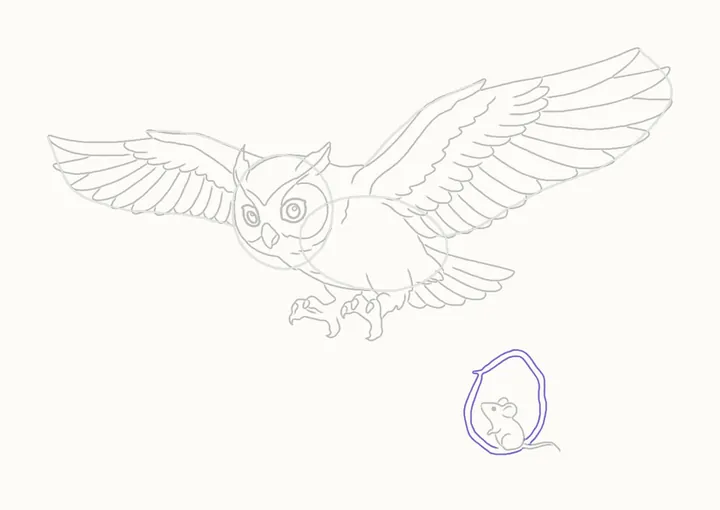
The hollow end
The log's hollow end: the inner rim from the mouse's back up round its head and down to its feet. Then the outer rim, from its tail right round and back.
-
Step 27 of 51
The log
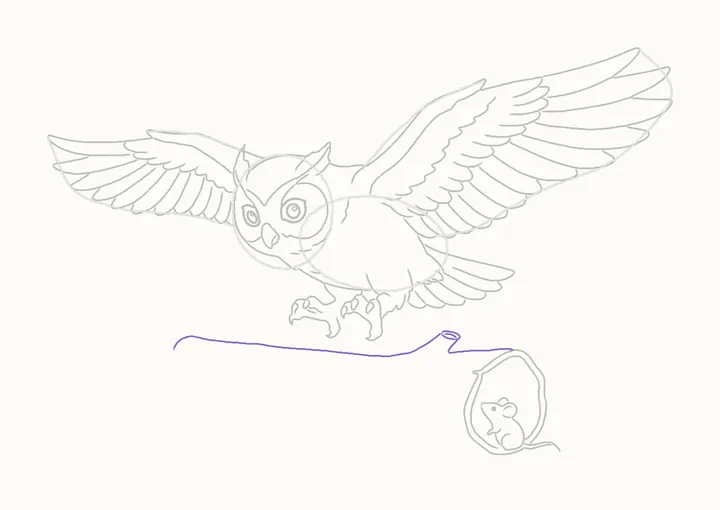
The log, lightly: its top edge from under the left wing's wrist, just below her claws, to the broken branch. The cut end's near edge, a ring in it, over it to the hollow end.
-
Step 28 of 51
A tuft of grass
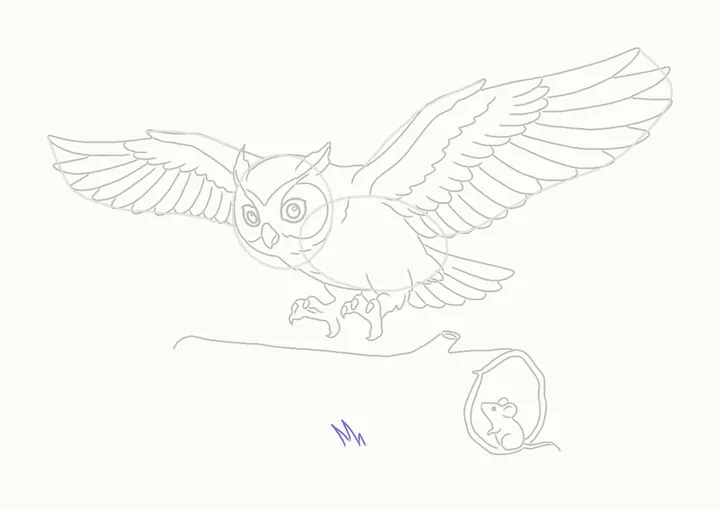
A small tuft of grass in front of the log, below Hazel's right foot: three pointed blades, each up one side to its tip and down the other.
-
Step 29 of 51
The log's left end
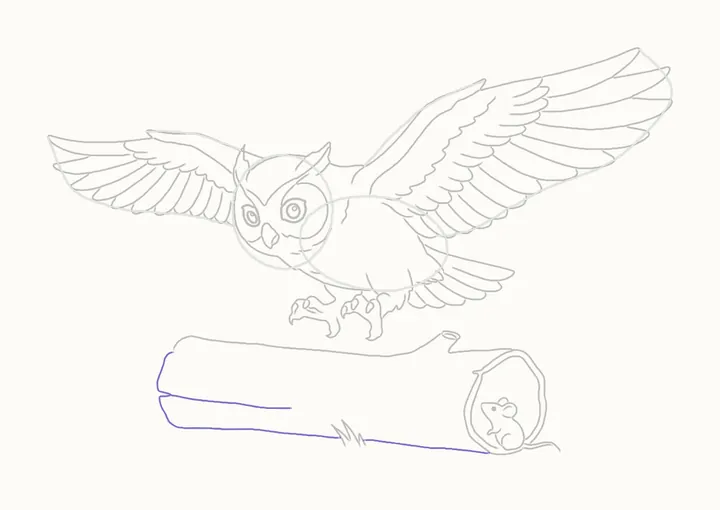
From the top's left corner down the log's end and into a crack. From the crack round the lower end, along the bottom to the tuft; then from the tuft to the hollow end.
-
Step 30 of 51
Bark on the left
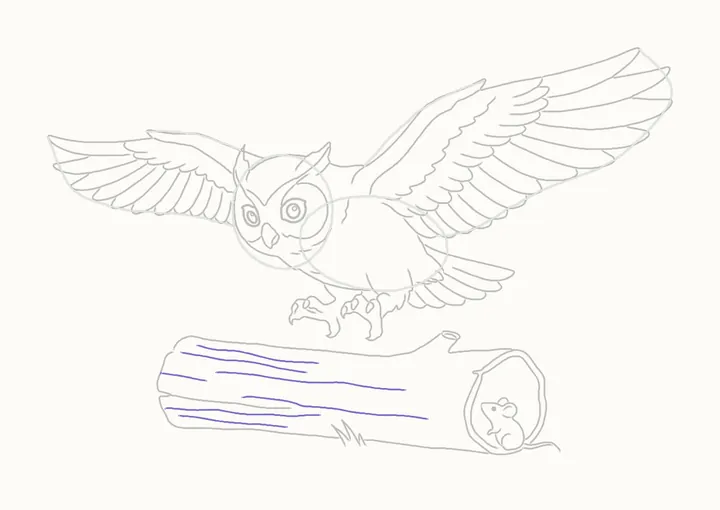
Seven bark lines along the log's left half: a short one at its left end, three long ones from the top down, two low ones from the left end, one from just above the crack.
-
Step 31 of 51
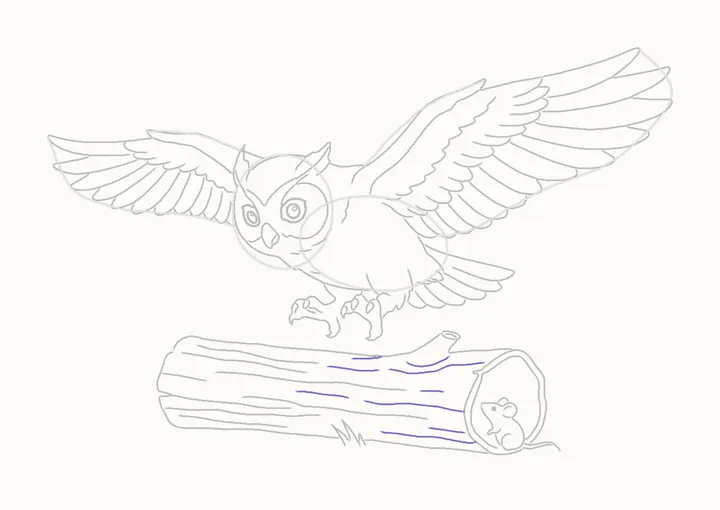
Bark on the right
Nine more on the right half, top to bottom; the ones that meet the hollow end start there.
-
Step 32 of 51
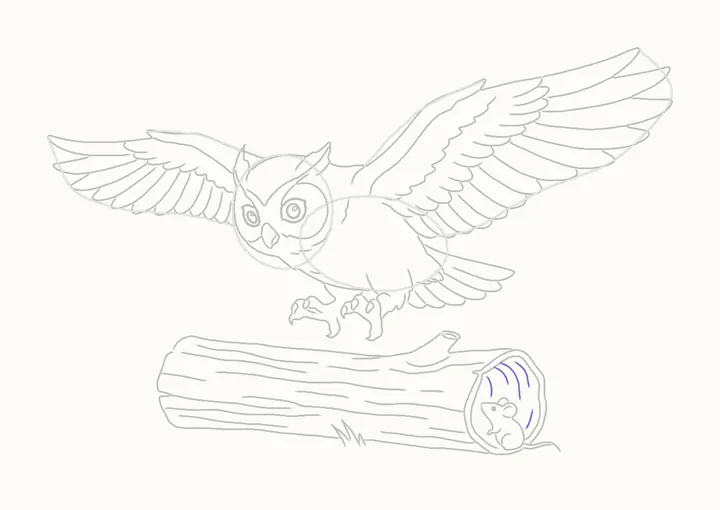
The hollow's grain
Five curved lines inside the hollow for the grain, behind the mouse, left to right.
-
Step 33 of 51
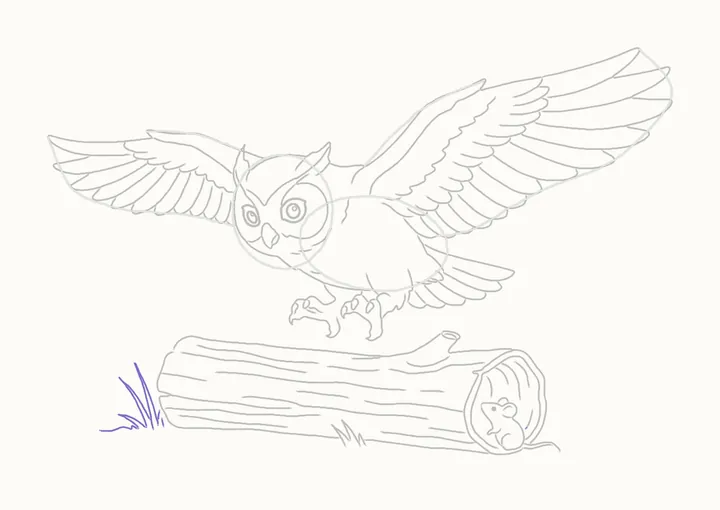
Grass on the left
Last, the grass. On the left: two short blades by the log's end, three long blades, then a wavy line for the ground.
-
Step 34 of 51
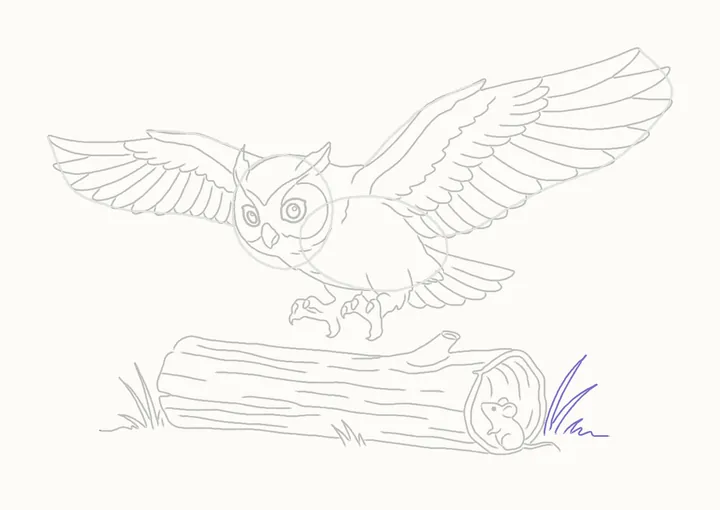
Grass on the right
On the right: a tall blade, a long one leaning out, a small one, and one curling over into the ground.
-
Step 35 of 51
Erase the guides
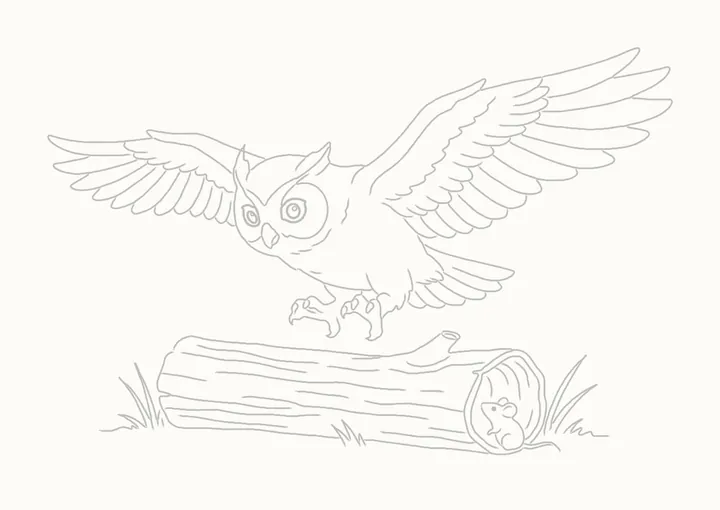
Rub out the ovals and guide curves. Hazel, the mouse and the log stay.
-
Step 36 of 51
Go over her head
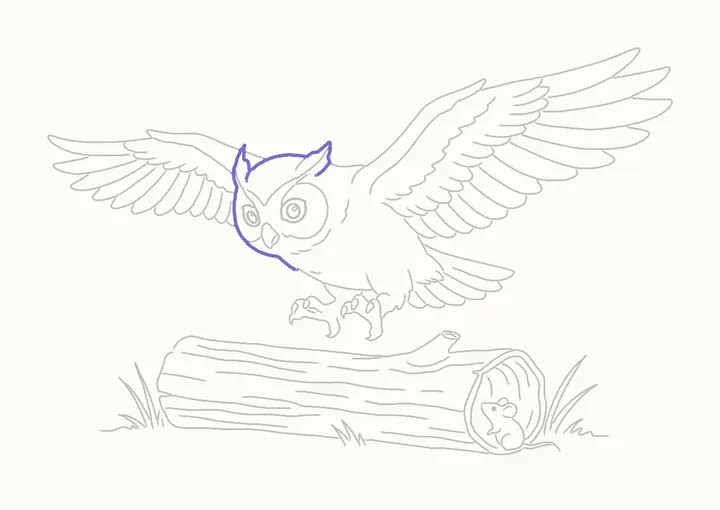
Press harder now, round Hazel's outline. Her head as you drew it: up the left tuft, down her left side and under her chin, then across the top and round the right tuft.
-
Step 37 of 51
Go over the right wing
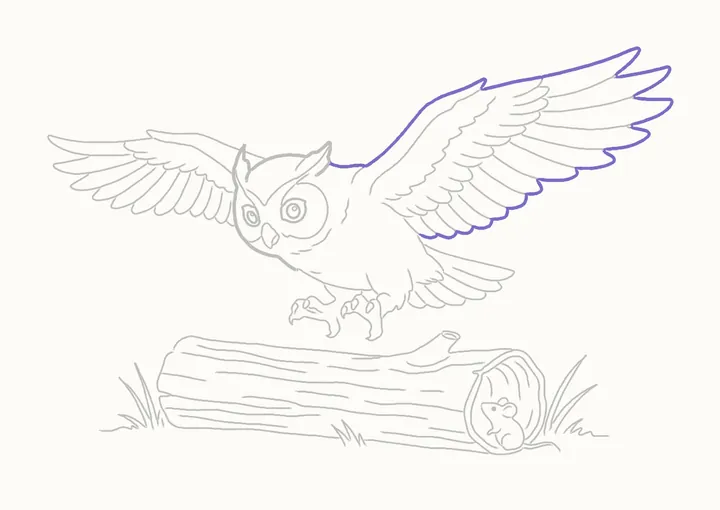
The right wing: up the leading edge to the wrist, along the top out to the tip, and back along every feather tip to her body. The coverts stay lighter.
-
Step 38 of 51
Go over the left wing
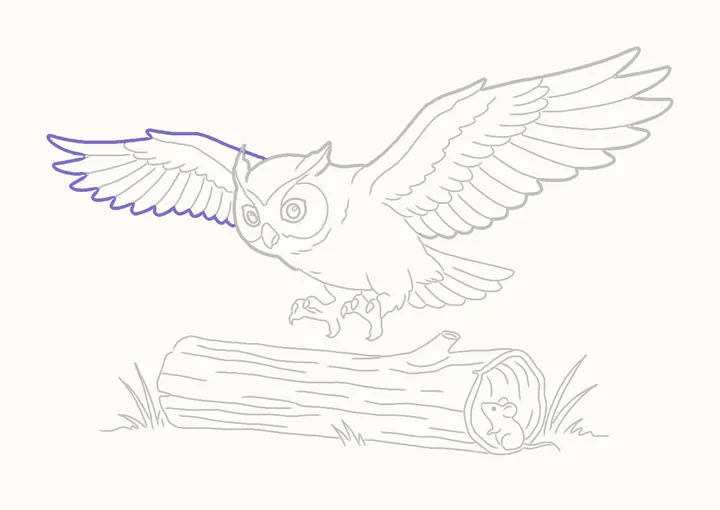
The left wing: out along its leading edge to the tip, and back along the feather tips to her cheek.
-
Step 39 of 51
Go over her feet and tail
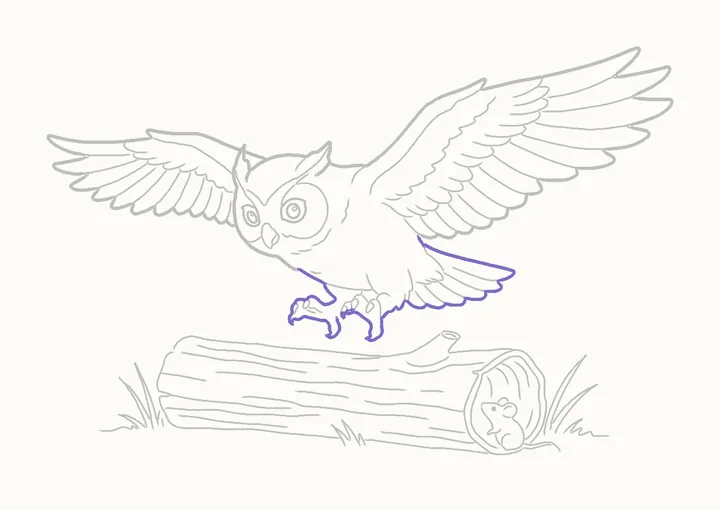
From her belly round the left foot and its claws, then round the right foot's claws, up the back of its leg and out along the tail's feather tips. Leave the log light.
-
Step 40 of 51
Go over the mouse
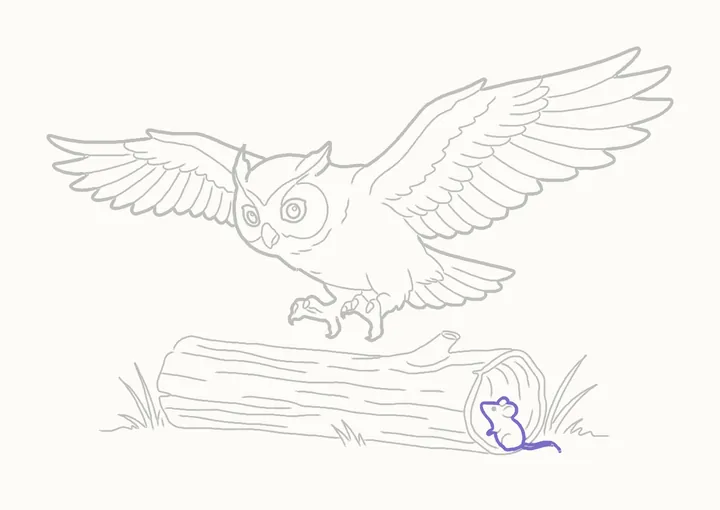
Go over the mouse too, a little firmer: from its nose over its head and ear, down its back, round under and up its front past the paw. Then its tail.
-
Step 41 of 51
Shading the right wing
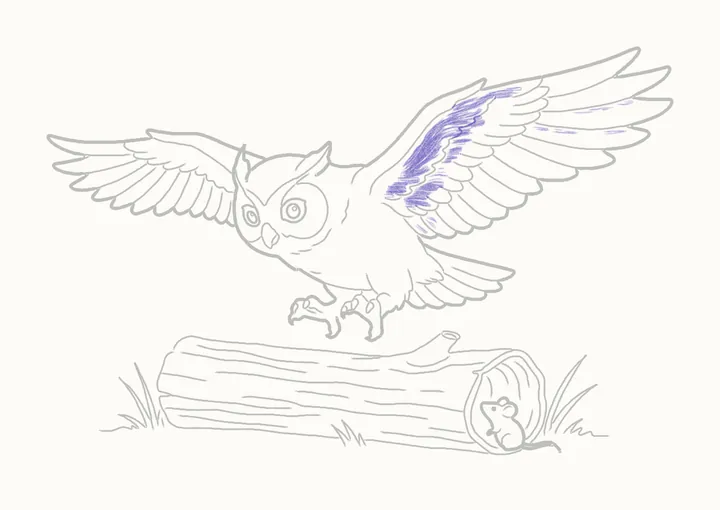
Shading now, soft and light. On the right wing, a band of tone down the coverts just inside the leading edge, and thin stripes on a few long feathers.
-
Step 42 of 51
Shading the left wing
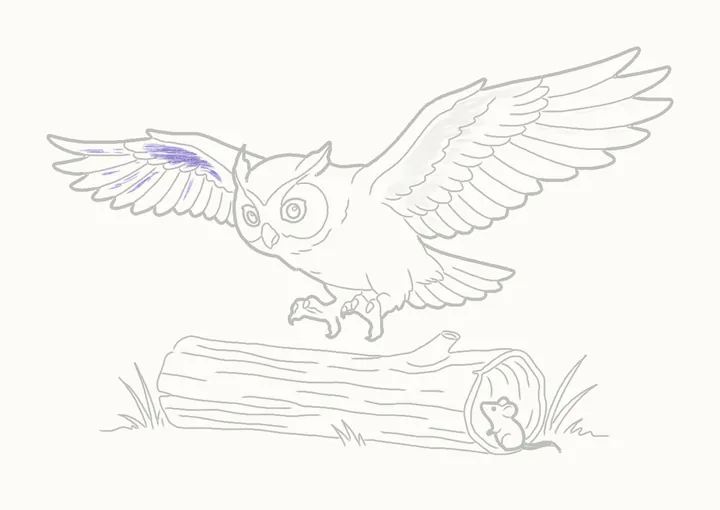
The same on the left wing: a band across its coverts beside her head, and thin stripes along a few of its long feathers.
-
Step 43 of 51
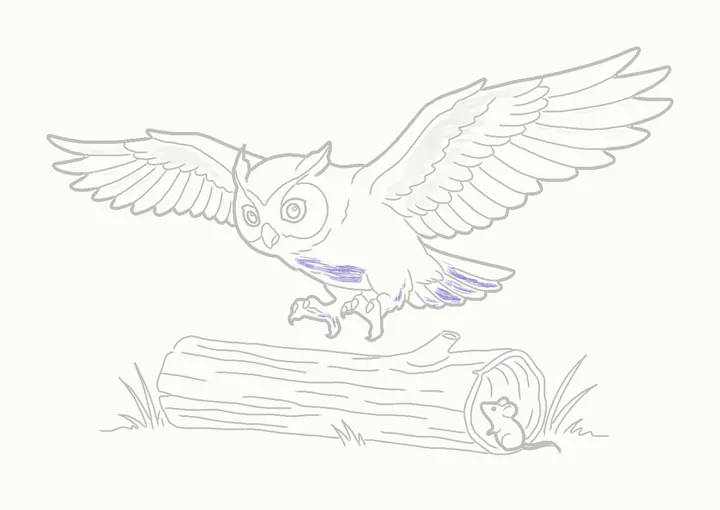
Shading her belly and tail
A light tone under her chin and along her belly, down the back of the right leg, on the tail feathers, and a touch on the left foot.
-
Step 44 of 51
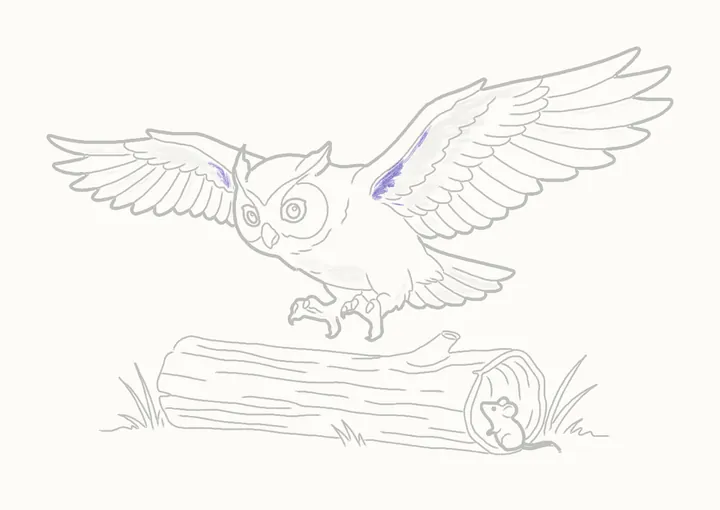
Deeper tones on Hazel
Press a little harder in the deepest places: inside each wing's leading edge, at the right shoulder, and a strip under her belly.
-
Step 45 of 51
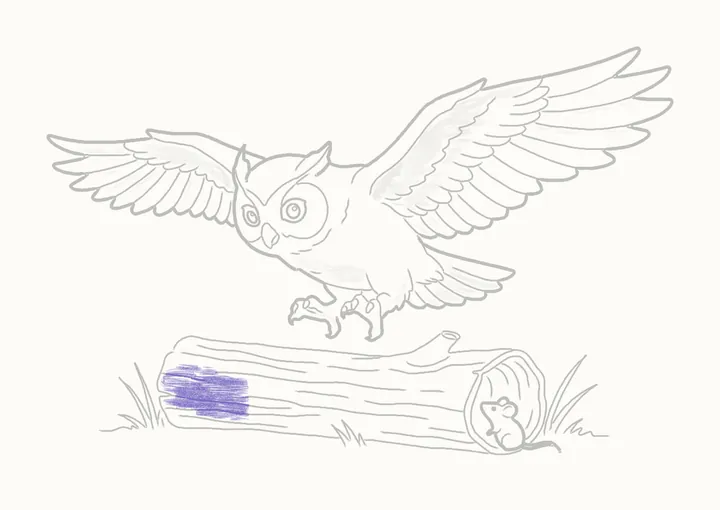
The log's left end
Now the log, lighter than Hazel so she stands out. A soft, streaky tone along the grain at its left end; leave its top white, where the light catches it.
-
Step 46 of 51
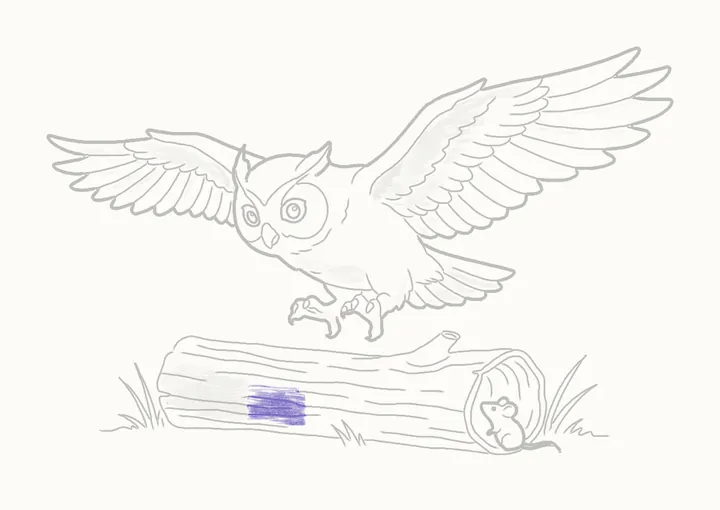
Along the log
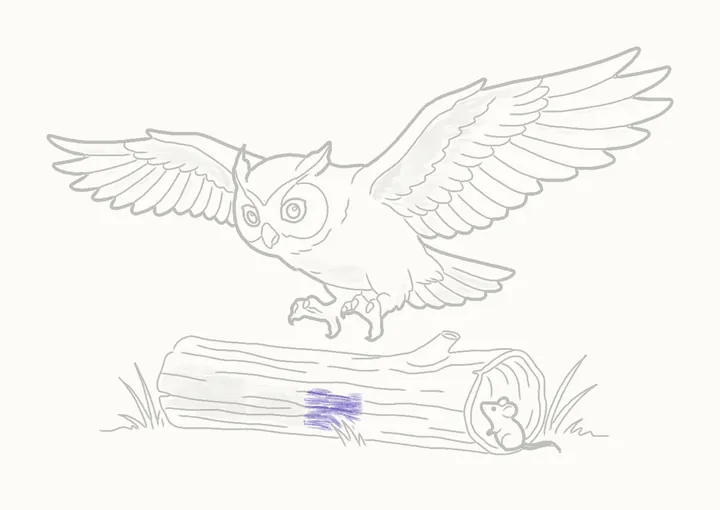
On along the log, the same light tone, the strokes running along the grain.
-
Step 47 of 51
On along the log
Keep going along the log with the same light, streaky tone.
-
Step 48 of 51
Towards the hollow end
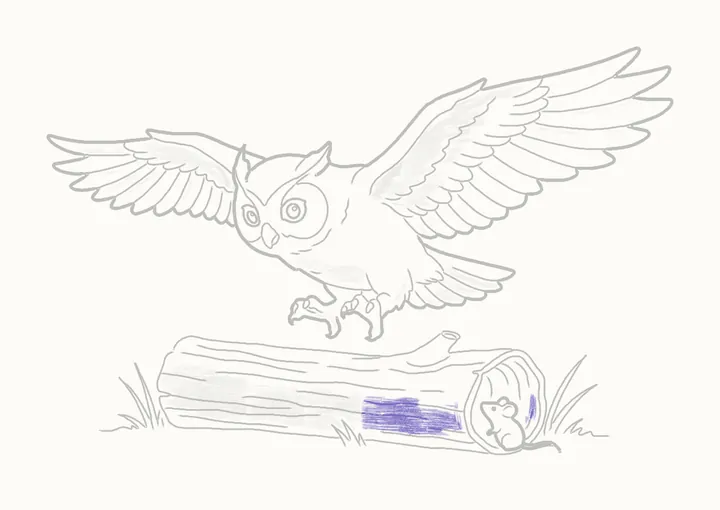
Up to the hollow end, and a little tone inside it, to the right of the mouse.
-
Step 49 of 51
The hollow and the log's underside
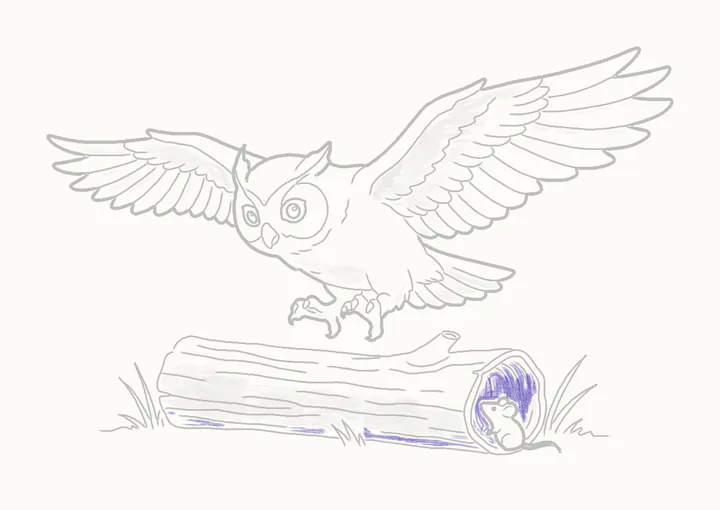
Press harder inside the hollow, darkest round the mouse so it peeps out of the shadow. Then darker strips along the log's underside.
-
Step 50 of 51
The ground
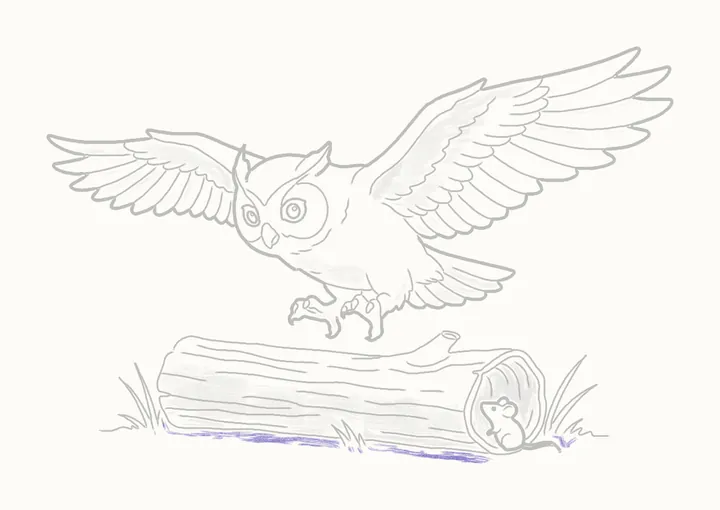
A soft shadow on the ground under the log, so it sits in the grass. Hazel gets no shadow: she's still in the air.
-
Step 51 of 51
The darks
Last of all, fill in each of Hazel's big pupils, leaving its round glint white. The mouse watches her sail past: she missed her catch this time.
-
Finished
Your finished great horned owl
That’s Hazel! Go over any lines you want darker, then sign your drawing in the corner.
In the DrawRabbit app
Hazel’s world has 9 more drawings
Every animal has a whole world of narrated drawings in DrawRabbit, each one a little story you draw with a real pencil and paper. The first drawing in every world is free.
 Free to start · iPhone and iPad
 Peeking out
 First flight
 With Mum in the oak
 Full moon
Tips for a better great horned owl
Two ovals, four curves
An oval for her head and a bigger tipped one for her body. For each wing, a curve out to the wrist and a long curve where the feather tips reach. The left wing is smaller.
Leading edge first
Each wing starts with its strong front edge, out to the sharp wrist and into a notch. The coverts, small feathers like roof tiles, tuck under it, and the long feathers go under them.
Shorter towards her body
On the right wing, six long feathers reach out to the tip, then seven more get shorter as they work in towards her body. Each starts under the one above.
Talons out
Both feet hang below her, talons out, each toe ending in a curved claw. Go over them firmly, but leave the log under them light.
No shadow under her
She’s still in the air, so she gets no shadow. Keep the log lighter than Hazel so she stands out, and press darkest inside the hollow, round the mouse.
Questions
How do I draw an owl with its wings open?
Start with an oval for the head and a bigger tipped one behind it for the body. For each wing, draw a curve out to the wrist, the right one from her back and the left from behind her head, and a long curve where the feather tips reach. Then build each wing in layers: the leading edge, the coverts and the long feathers.
What do I need?
A pencil, paper and an eraser. Draw the first steps lightly: the guide lines are rubbed out in step 35.
How do I draw owl talons?
Draw each foot in one line: from her belly over the toes into the first claw, under to the back claw and up the leg. Then a line for a toe and the other claws, each curved like a hook.
Can kids draw it?
Yes. It’s made for beginners of any age. If reading the steps is hard, the draw-along talks you through each line while it draws.
What is DrawRabbit?
A drawing app for iPhone and iPad: narrated, step-by-step lessons you follow with a real pencil and paper. 95 drawings in 10 worlds, free to start, no account needed.
Keep drawing · Next guide
How to draw a horse eating grass
A horse grazing with her foal in 74 steps
Start drawing