 DrawRabbit
Drawing guide · Whales
How to draw a whale and an iceberg
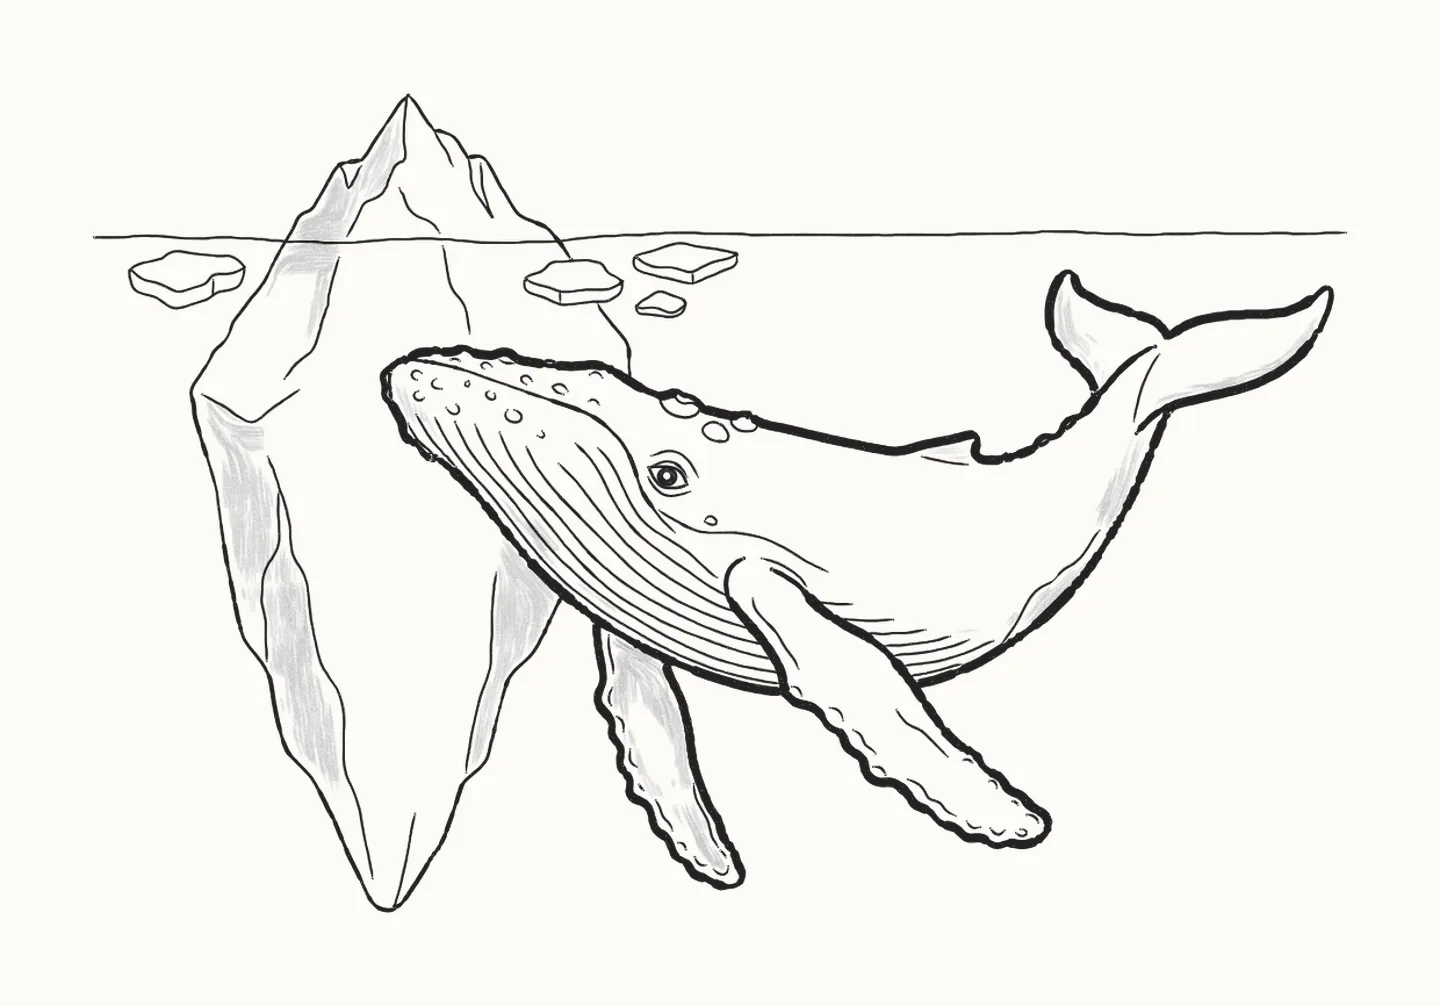
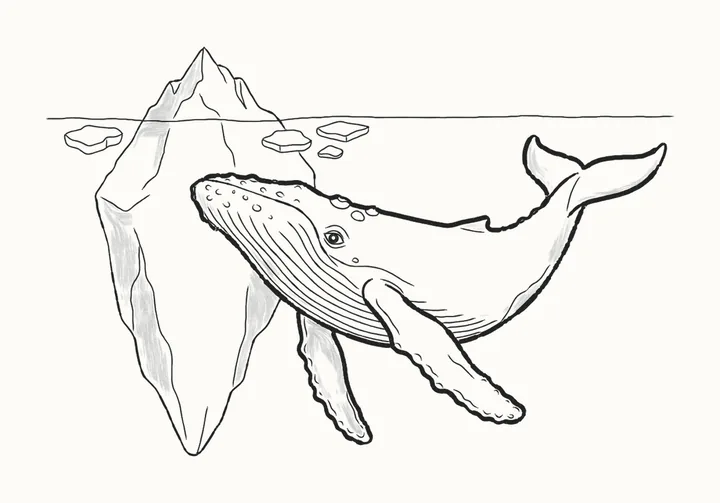
Tide has come north, where icebergs drift. In 40 steps you’ll draw a humpback whale swimming past an iceberg, most of it hidden under the water, using a pencil and paper: two ovals for her, then her long flippers and grooves, and last the iceberg in flat, sharp faces.
How do you draw a whale and an iceberg?
To draw a whale and an iceberg, start light with a long oval for Tide’s head, tipping down to the right, and a body oval across its end, tipped up. Add a long, thin oval for the near flipper, a shorter one for the far flipper and two leaf shapes for her tail. Draw her back in one line round her knobbly snout, over her head and along to the tail, then the near flipper with its knobbly edge, the line under her chin, the far flipper, the tail and her belly. Add the long mouth line, the eye with its brow, barnacles behind it, knobs on her head and jaw, ten throat grooves that carry on behind the flipper, and creases inside the flippers. Then the sea: one level line for the surface, a chunk of ice floating above her head, and the iceberg, from a sharp peak down in long, flat facets to a point far below, with lines for its faces and three more chunks of ice. Rub out the guides and go over Tide only, so the ice sits back. The light comes from the top right: shade her tail, belly and far flipper softly, shade the iceberg’s shadow faces in flat tones, keep its front white, and fill in her iris last. It takes 40 steps with a pencil, paper and an eraser.
You need a pencil, paper and an eraser40 stepsBeginner
Draw a whale and an iceberg, step by step
In colour: what to draw nowGrey: already drawn
Draw everything in pencil, lightly at first. Save all 40 steps to Pinterest
-
Step 1 of 40Guide lines
Head and body guides
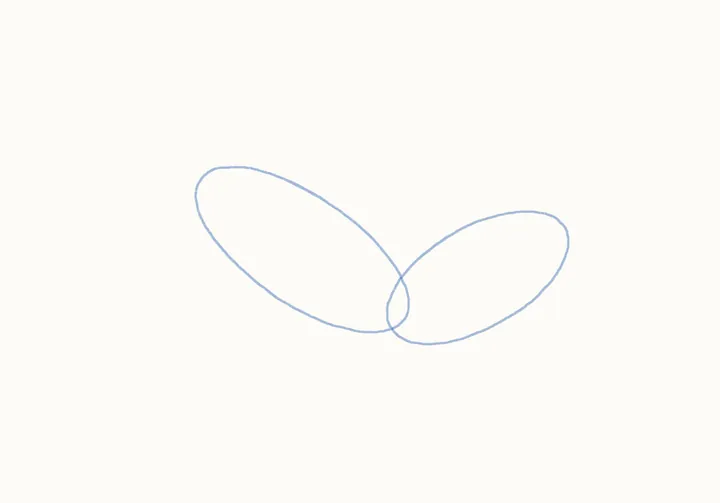
Tide has come north, where icebergs drift. Start light: a long oval for her head, tipping down to the right from left of the middle; a body oval across its end, tipped up.
Draw these lightly: they’re only there to help, and you’ll rub them out in step 28.
-
Step 2 of 40Guide lines
Flipper guides
A long, thin oval slanting down to the right from where the two ovals cross, for the near flipper; a shorter one hanging down from under her head for the far flipper.
Draw these lightly: they’re only there to help, and you’ll rub them out in step 28.

-
Step 3 of 40Guide lines
Tail guides
Above the body oval's right end, two leaf shapes for the halves of her tail: a short one pointing up and a little left, a long one out to the right.
Draw these lightly: they’re only there to help, and you’ll rub them out in step 28.

-
Step 4 of 40
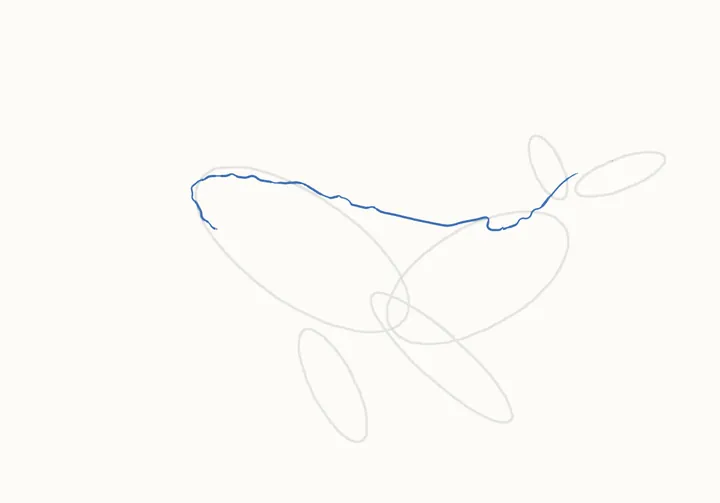
Her back
Now the ink. From under her snout, round its knobbly tip, over her head, along her back and little fin, and up between the tail leaves, stopping at the long leaf's left end.
-
Step 5 of 40
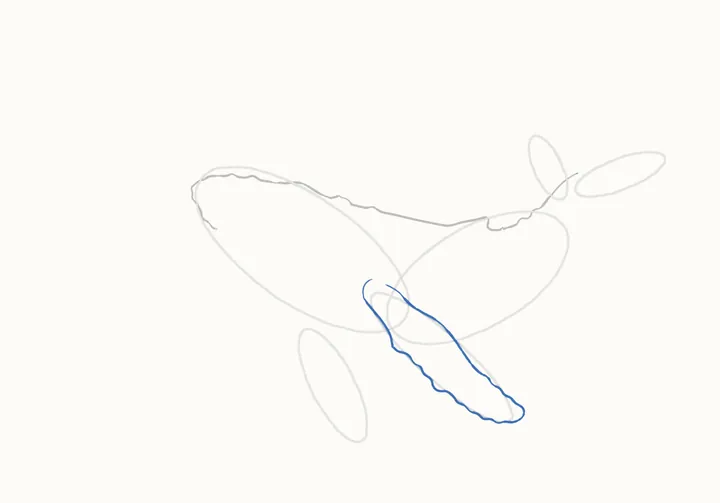
Her near flipper
Her long flipper is in front of everything. From its root, where the head and body ovals cross: along the smooth top edge to the tip, back along the knobbly edge, up its front.
-
Step 6 of 40
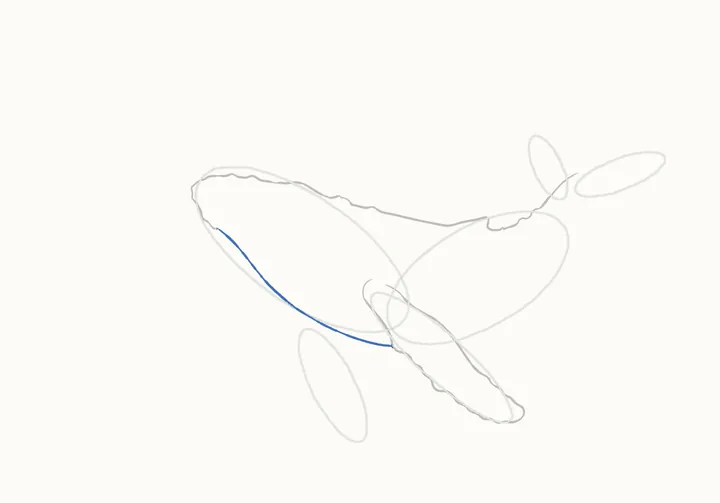
Under her chin
From the bottom of her snout, one long line under her chin and along her throat, to where it meets the flipper's front edge.
-
Step 7 of 40
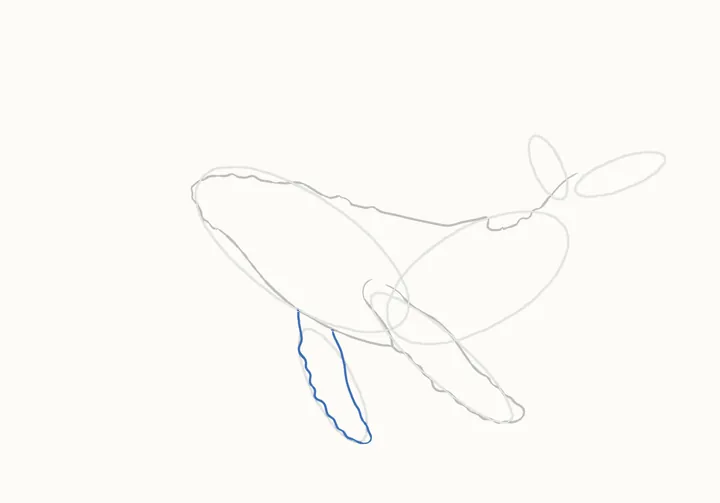
Her far flipper
The far flipper hangs behind her, from the chin line: down its smooth edge to the tip and back up its knobbly side to the chin line.
-
Step 8 of 40
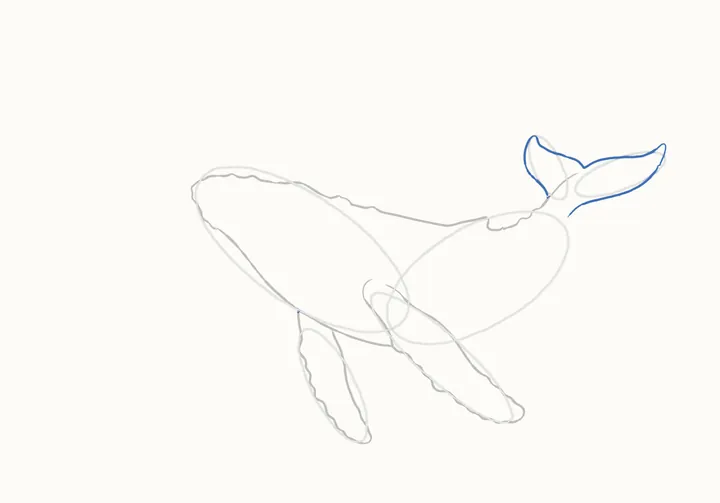
Her tail
Now her tail: from the back line, up round the left half to its tip and down into the notch, then out along the long right half to its point and back underneath.
-
Step 9 of 40
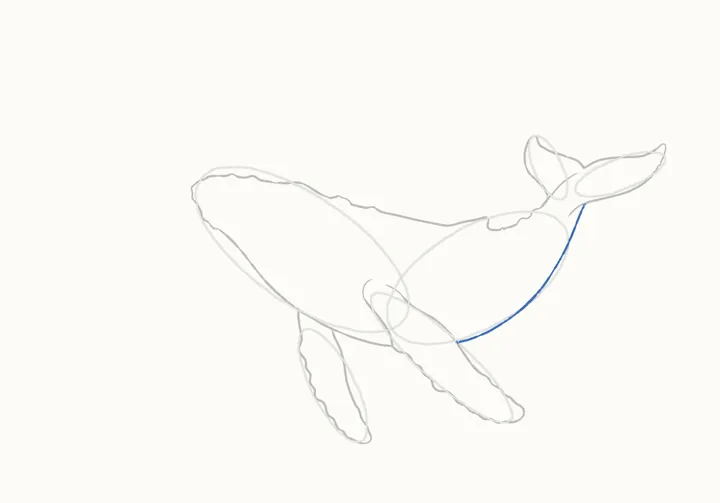
Her belly
From under the tail, her belly in one long, smooth curve down and forward to the near flipper's top edge.
-
Step 10 of 40
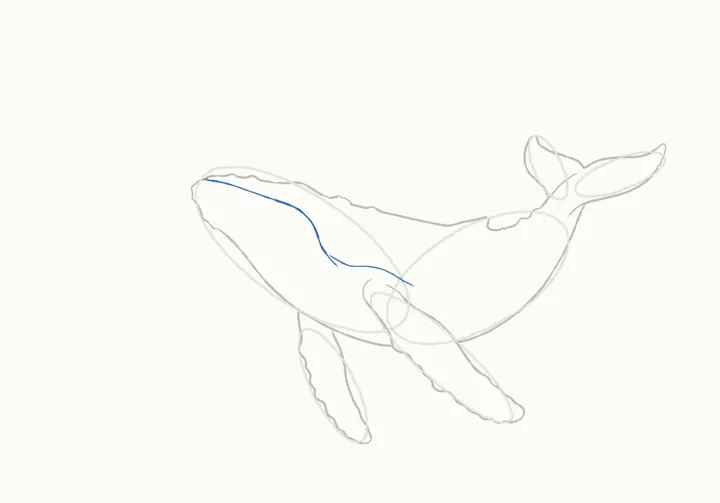
The mouth
From her snout's tip: the long mouth line, back and down, bending low past the middle of the head oval. Then a softer line from near its end towards the flipper's root.
-
Step 11 of 40
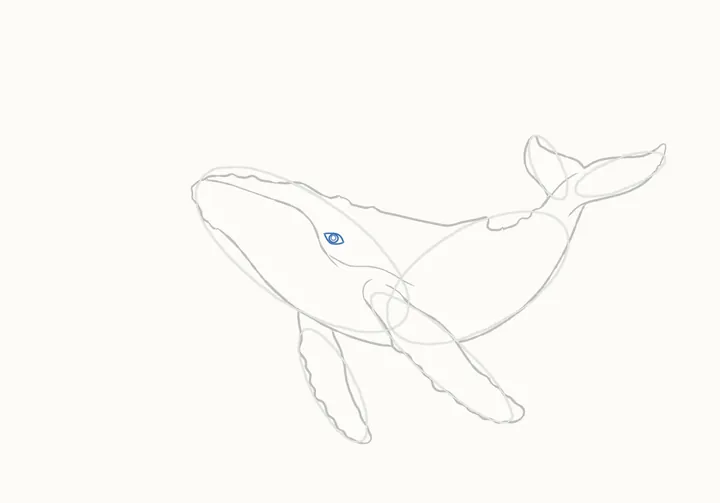
The eye
Her eye sits just behind where the mouth line bends down, above where the softer line starts. Both lids from the front corner, a round iris pressed up under the top lid, a glint inside.
-
Step 12 of 40
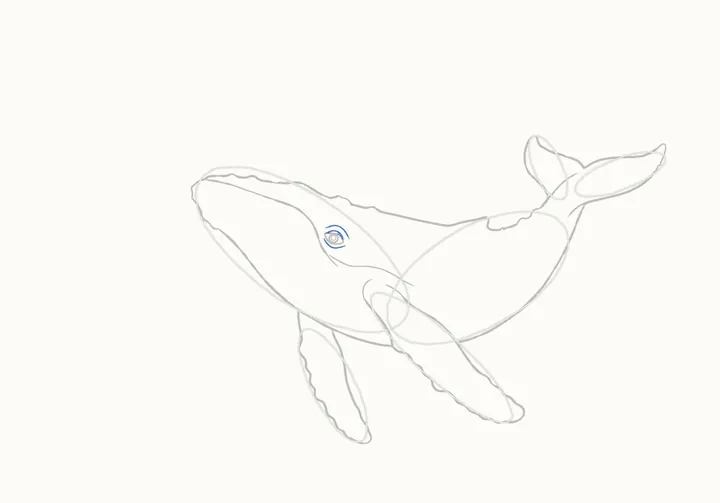
Around the eye
A crease just over the eye, a long curved brow above that, and a curve under it, each from the front.
-
Step 13 of 40
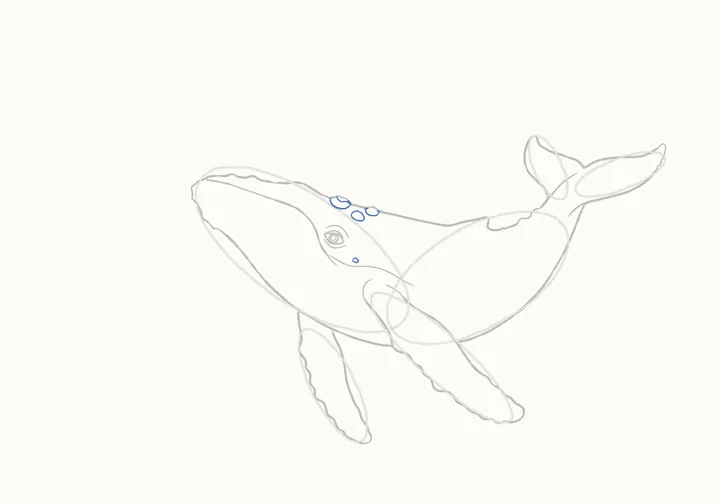
The barnacles
Three barnacles behind the eye: one hanging under the back line, a line inside its top; a small oval below it; one more from the back line beyond; then a small loop under the eye.
-
Step 14 of 40
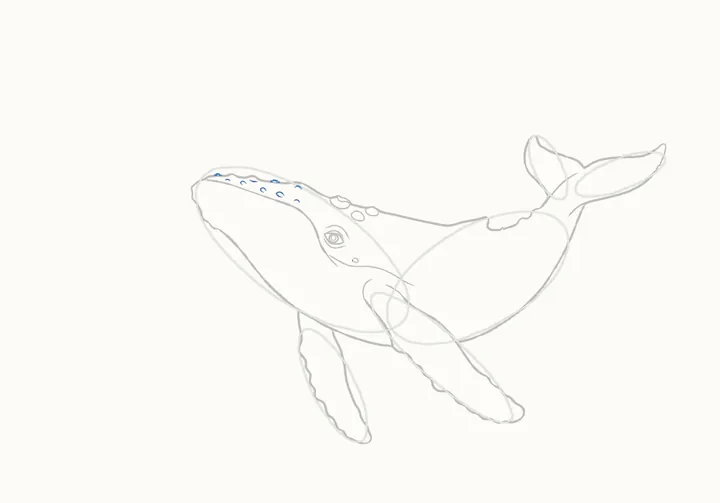
Bumps on her head
Humpbacks have knobby heads. Four small marks along the top of the back line, left to right; then five below them, between the back line and the mouth line, left to right.
-
Step 15 of 40
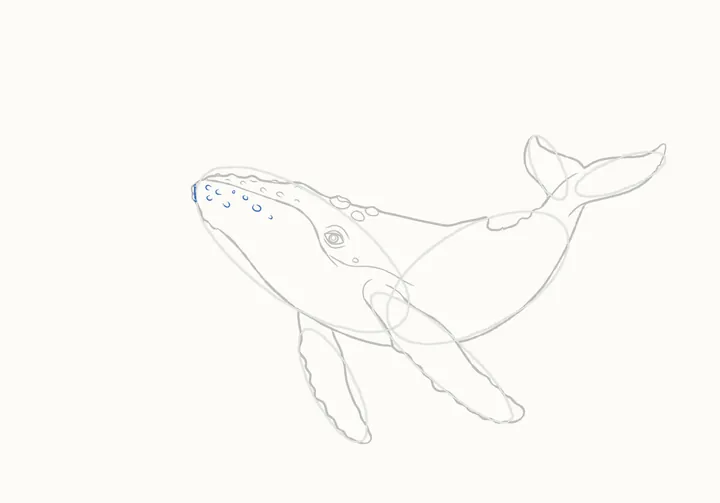
Bumps on her jaw
Below the mouth line: first a short line up the inside of the snout's tip, then eight small knobs along her jaw, left to right.
-
Step 16 of 40
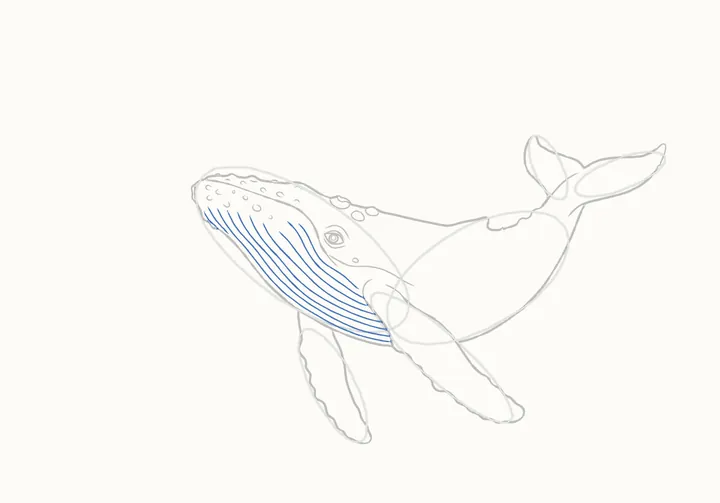
Throat grooves
Ten throat grooves, the top one first: eight long ones, each from the flipper's front edge forward towards her chin, then two short ones by her chin.
-
Step 17 of 40
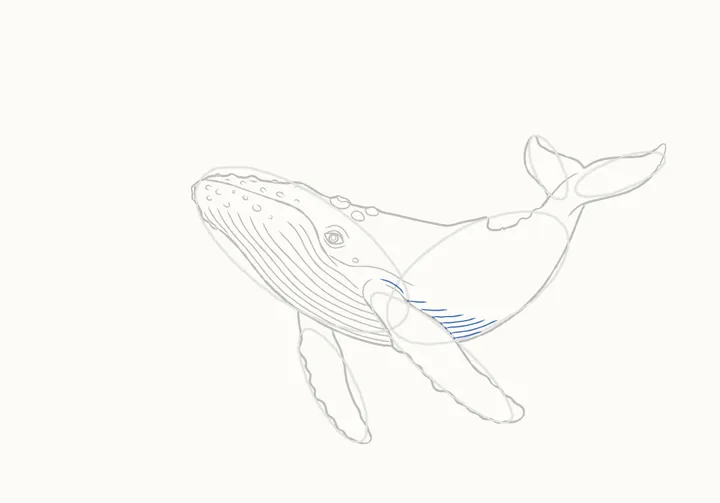
Behind the flipper
A short crease above the flipper's root. Then seven lines behind the flipper, top to bottom, each from its top edge back along her belly, carrying the grooves on.
-
Step 18 of 40
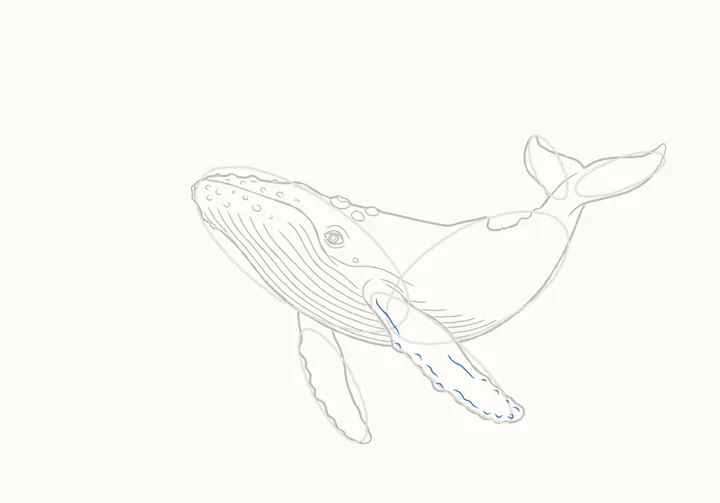
Inside the near flipper
Inside the near flipper: a crease from its root, a curl, a longer crease. Then six marks on the knobbly edge with a crease among them; four by the smooth edge, down to the tip.
-
Step 19 of 40
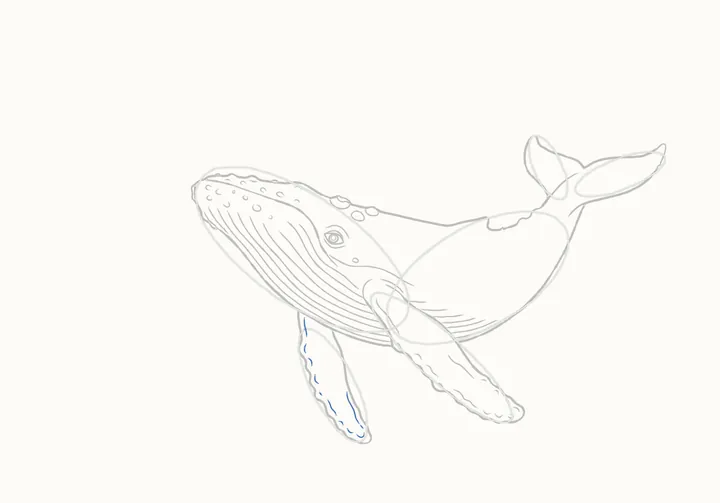
Inside the far flipper
Inside the far flipper: a short line at the top; nine small marks top to bottom, the last few round the tip; then a long line down near the smooth edge to the tip.
-
Step 20 of 40
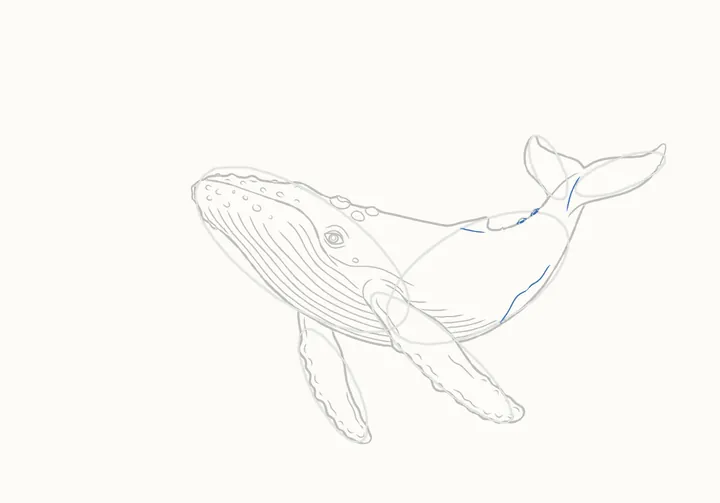
Along her side and tail
A short line under her back before the little fin, two tiny knobs behind it, a line where the tail's right half crosses its root, then a long soft line up her side.
-
Step 21 of 40
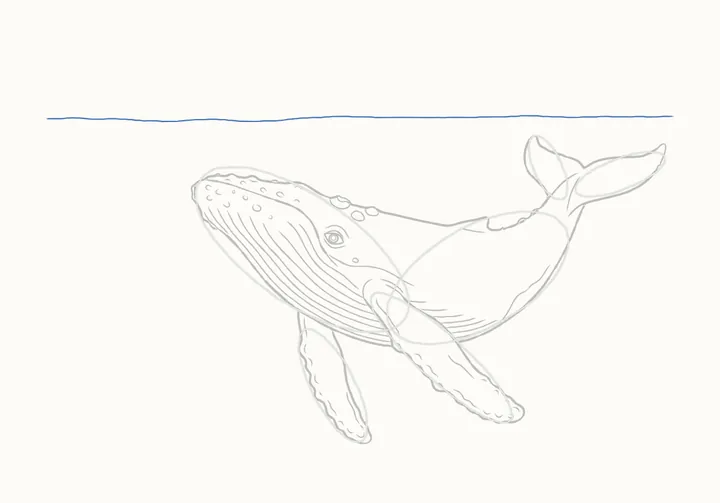
The surface
Now the sea. One long, level line for the surface, right across the paper, a little above the tip of her tail.
-
Step 22 of 40
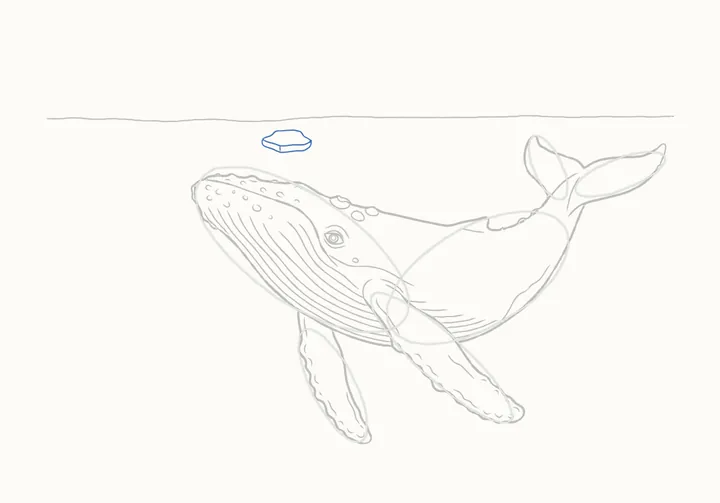
Ice in front
A chunk of ice floats just under the surface, above her head. Its flat top as one lumpy loop, its thick side underneath, and a short upright line on the side.
-
Step 23 of 40
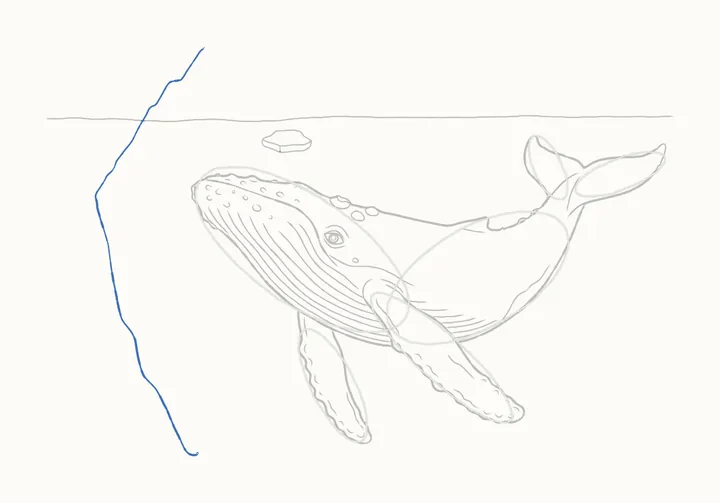
The iceberg's left edge
Now the iceberg. From a sharp peak above her snout: down to a shoulder, then down the left in long flat facets, to a point near the bottom, level with her far flipper's tip.
-
Step 24 of 40
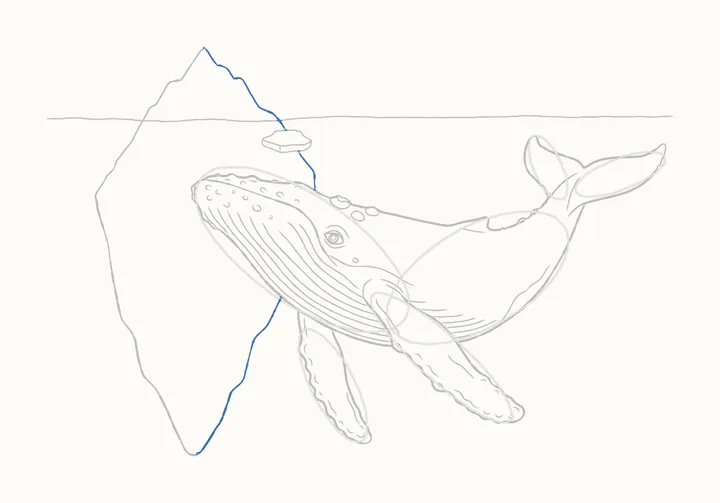
The right edge
From the peak, down the right side to the ice chunk; then from under the chunk to her head, and from under her throat down to the bottom point.
-
Step 25 of 40
Lines on the tip
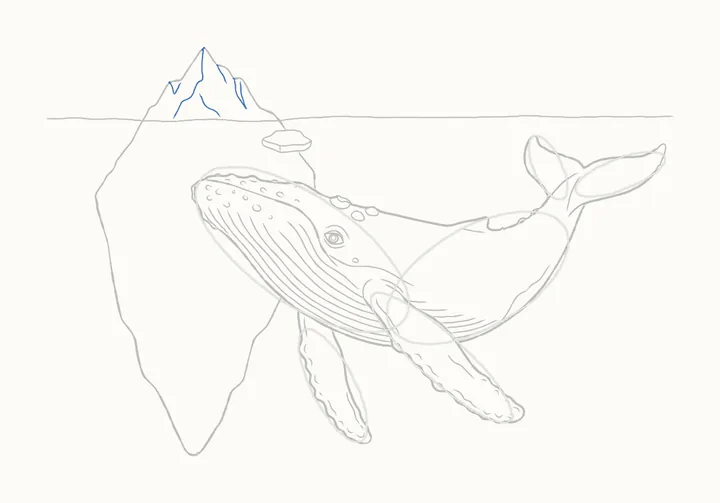
Ice has flat faces and sharp corners. On the tip: a ridge from the peak, a line beside it, a V in the left shoulder, then a line and a V from the right edge.
-
Step 26 of 40
Lines below the water
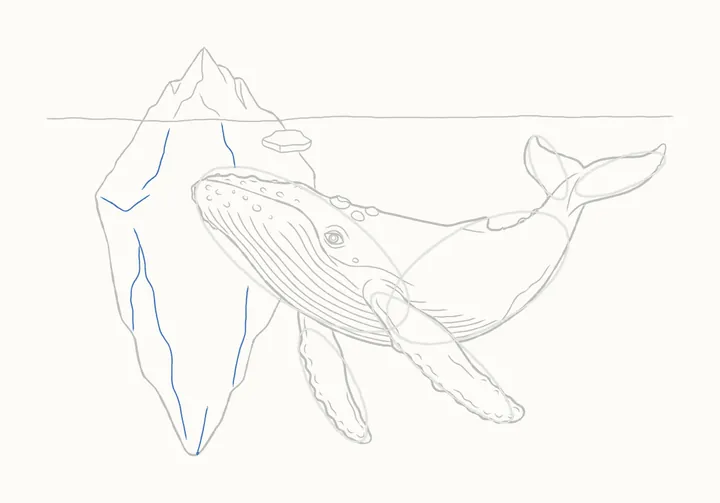
Seven facets underwater. Near the top: a short line, a wide V, one by her head; lower: a long line nearly to the point, its branch, one below her throat, one at the point.
-
Step 27 of 40
More ice
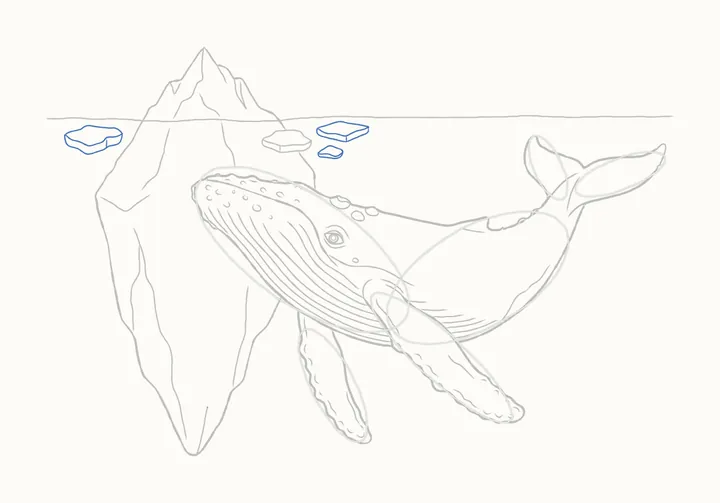
Three more chunks: one far left by the iceberg, then two right of the chunk above her head, stacked. Each a lumpy top loop and its side; the first two get an upright line.
-
Step 28 of 40
Erase the guides
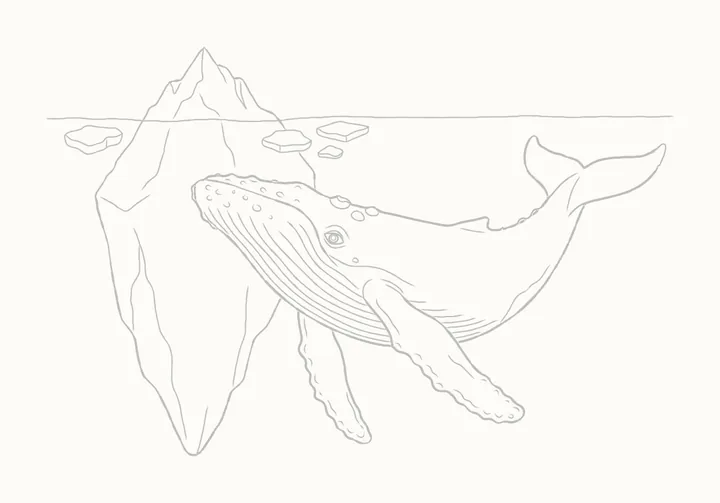
Rub out the guide shapes. Tide, the iceberg and the floating ice stay.
-
Step 29 of 40
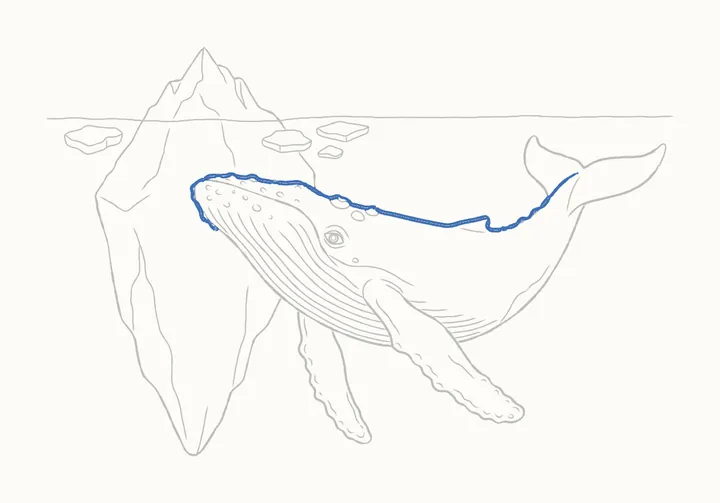
Go over her back
Now press harder, on Tide only. From the bottom of her snout, round its tip, over her head and along her back to her tail.
-
Step 30 of 40
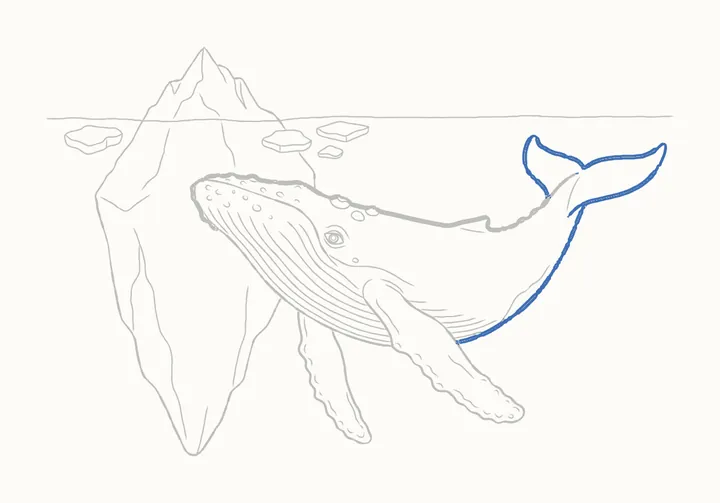
Go over her tail
Then on round her tail, from where the back line ends, and her belly from under the tail down to the flipper.
-
Step 31 of 40
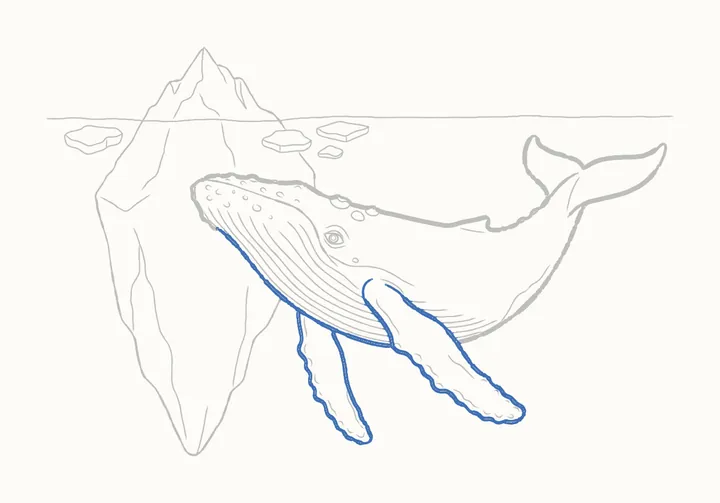
Go over her flippers
Then round the near flipper from its root, under her chin from the snout to the flipper, and round the far flipper. The ice stays light, so it sits back behind her.
-
Step 32 of 40
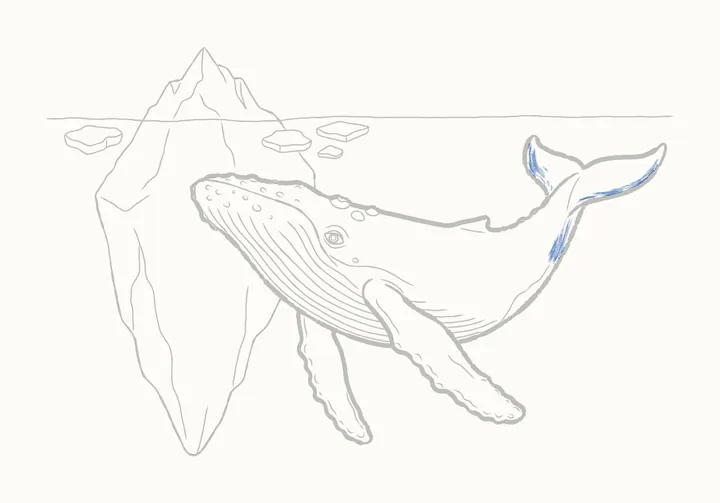
Shade her tail
Shading now, soft and light; the light is above, on the right. A tone on the left half of the tail, a thin strip under the right half, and under the tail's root.
-
Step 33 of 40
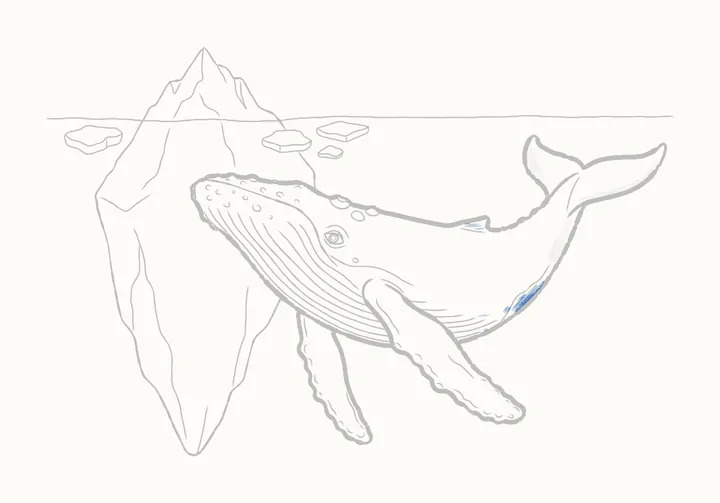
Along her belly
A touch under the little fin, then a soft strip along the bottom of her belly, behind the flipper.
-
Step 34 of 40
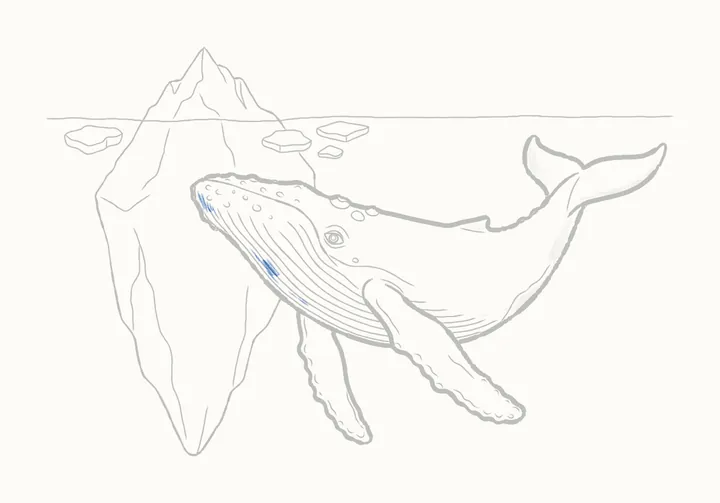
Under her head
Then a little tone under the snout's tip, and a strip between two throat grooves. Keep the top of her head white.
-
Step 35 of 40
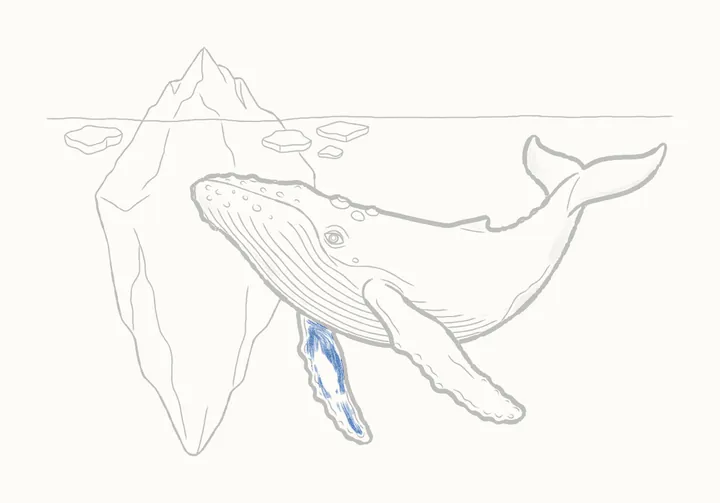
Shade the far flipper
The far flipper is behind her, in her shadow: a soft tone all down it, then on its tip, then a darker patch at its root under her chin.
-
Step 36 of 40
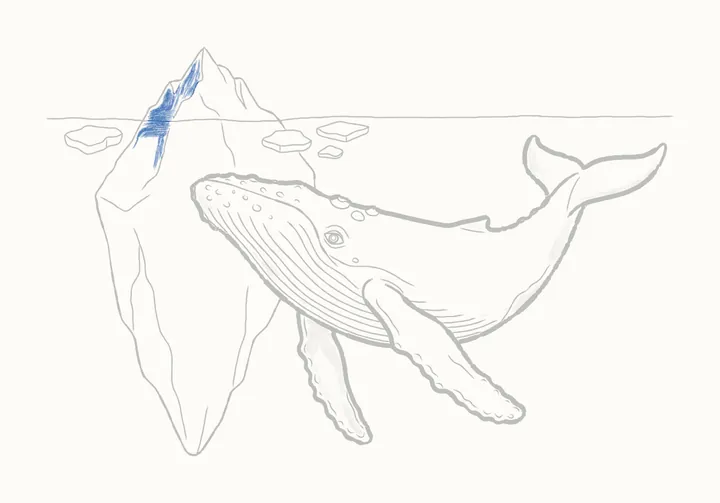
The shadow side of the tip
Now the ice. The tip's left face turns away from the light: a light, even tone from near the peak down past the surface line.
-
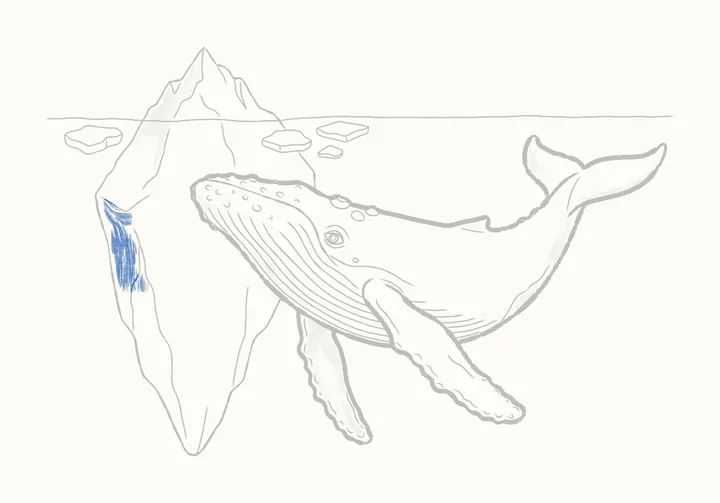
Step 37 of 40
The iceberg's shadow face
The same light tone on down the long left face below the water. Keep its edges crisp: flat planes, not soft curves.
-
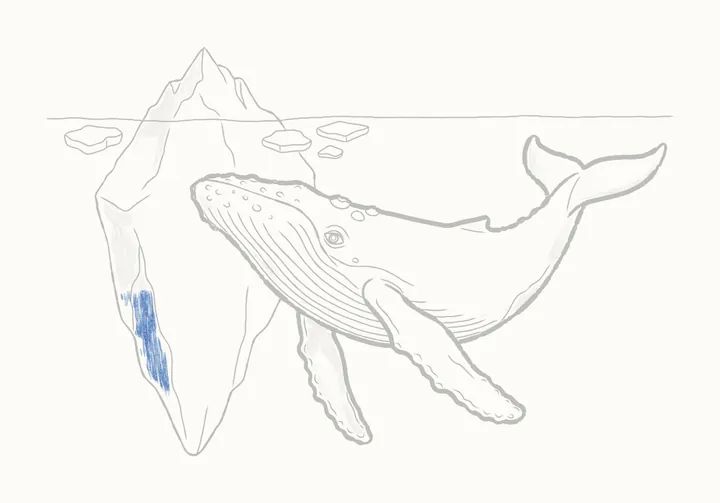
Step 38 of 40
Down to the point
Carry the tone down the face towards the bottom point, stopping cleanly at the facet lines.
-
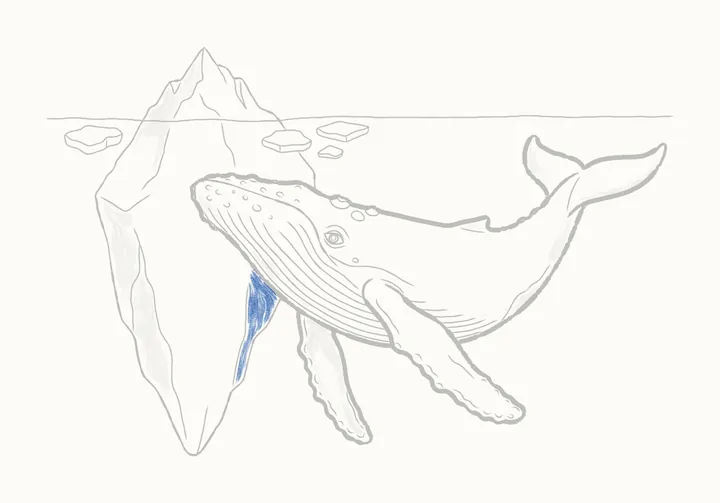
Step 39 of 40
The right face
A light tone down the narrow right face, under her throat. The front of the iceberg stays white, which is what makes it look like ice.
-
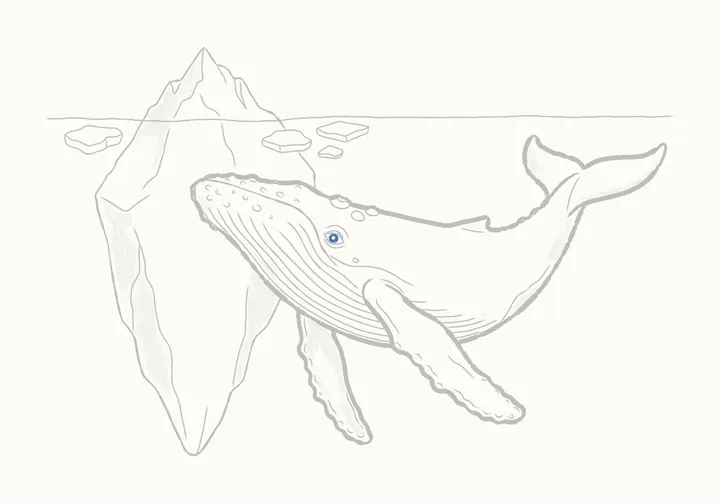
Step 40 of 40
The darks
Last of all, fill in her iris around the glint, leaving the glint white. Tide is in the far north now, among the ice.
-
Finished
Your finished whale and an iceberg
That’s Tide! Go over any lines you want darker, then sign your drawing in the corner.
In the DrawRabbit app
Tide’s world has 9 more drawings
Every animal has a whole world of narrated drawings in DrawRabbit, each one a little story you draw with a real pencil and paper. The first drawing in every world is free.
 Free to start · iPhone and iPad
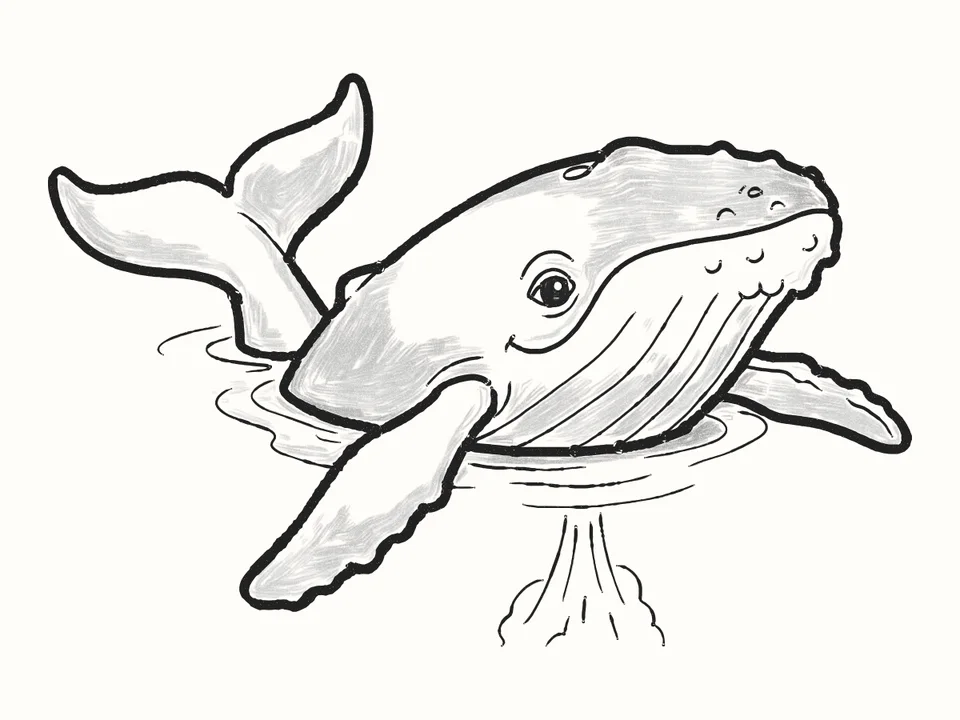 First breath
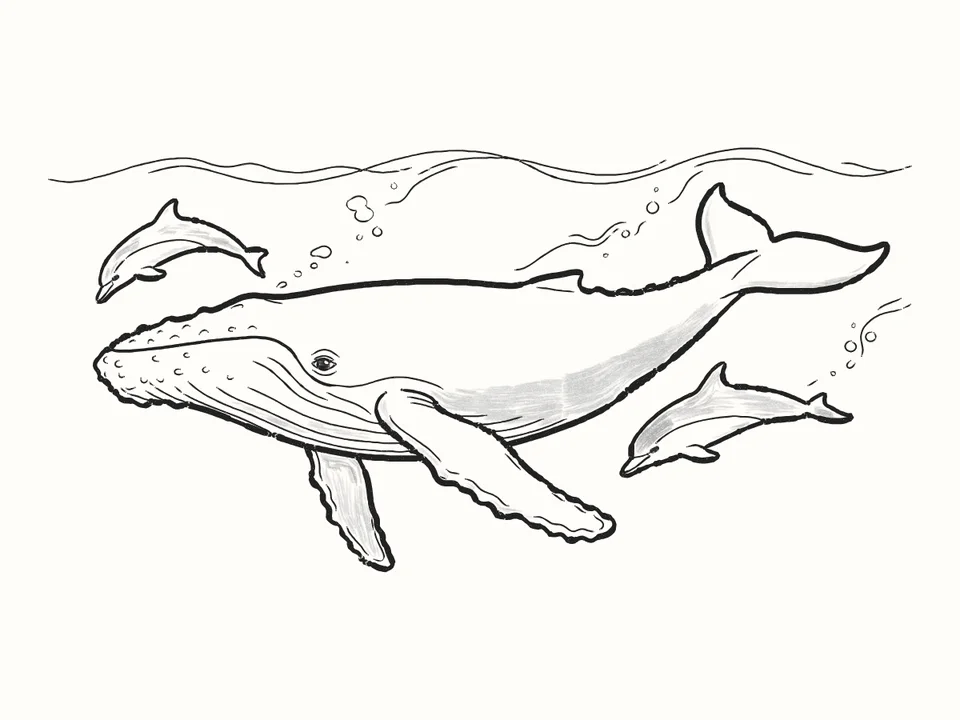 Racing the dolphins
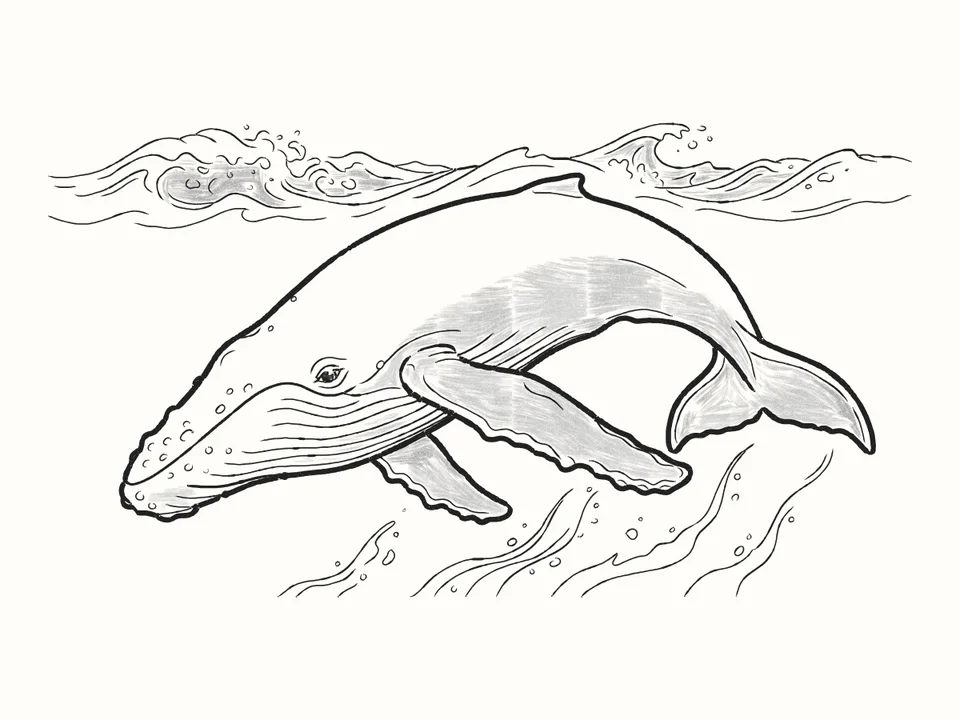 The storm
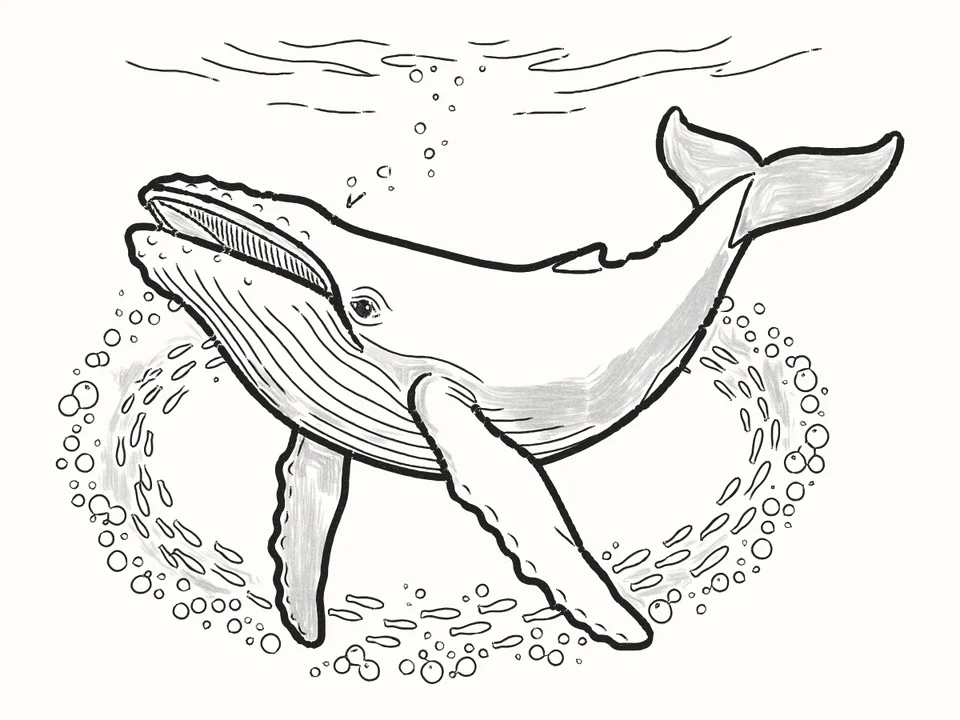 Bubble-net feeding
Tips for a better whale and an iceberg
Two ovals to start
A long oval for her head, tipping down to the right, and a body oval across its end, tipped up. Her tail goes above the body oval’s right end.
What makes a humpback
Knobs along her head and jaw, barnacles behind her eye, ten grooves on her throat that carry on behind the flipper, and long flippers with a knobbly edge.
Ice has flat faces
Draw the iceberg in straight, flat facets with sharp corners, and shade it in flat tones that stop cleanly at the facet lines. No soft curves.
Light from the top right
So the left half of her tail, a strip along her belly and her far flipper are in shade, and so is the iceberg’s left face. Keep the front of the iceberg white.
Questions
Is a whale and an iceberg hard to draw?
No. Two ovals, two flipper ovals and two leaf shapes set Tide’s whole shape first, and the iceberg is all straight lines, so each step only adds a little.
What do I need?
A pencil, paper and an eraser. Draw the first steps lightly: the guide lines are rubbed out in step 28. When you go over the lines, the ice stays light, so it sits back behind her.
How do I draw an iceberg?
With straight lines, not curves: ice has flat faces and sharp corners. A sharp peak above the water, its edges stepping down in long, flat facets to a point deep below, then a few lines across it for its faces. Shade only the faces turned away from the light and leave the front white: that’s what makes it look like ice.
Can kids draw it?
Yes. It’s made for beginners of any age. If reading the steps is hard, the draw-along talks you through each line while it draws.
What is DrawRabbit?
A drawing app for iPhone and iPad: narrated, step-by-step lessons you follow with a real pencil and paper. 95 drawings in 10 worlds, free to start, no account needed.
Keep drawing · Next guide
How to draw an axolotl and tadpoles
An axolotl racing tadpoles in 47 steps
Start drawing