 DrawRabbit
Drawing guide · Whales
How to draw a whale underwater
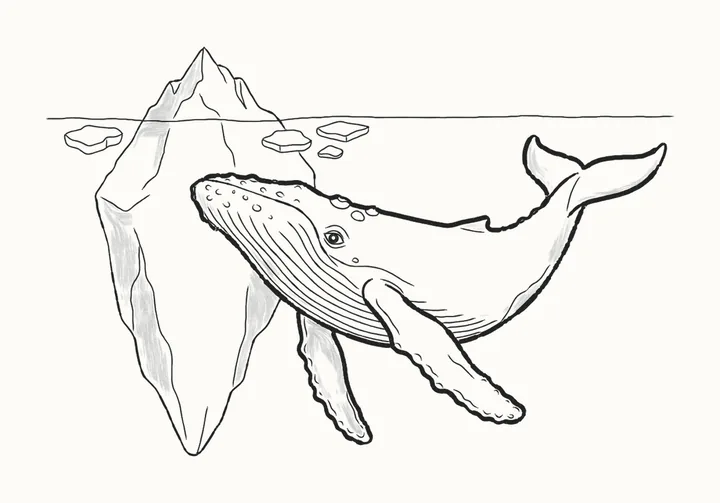
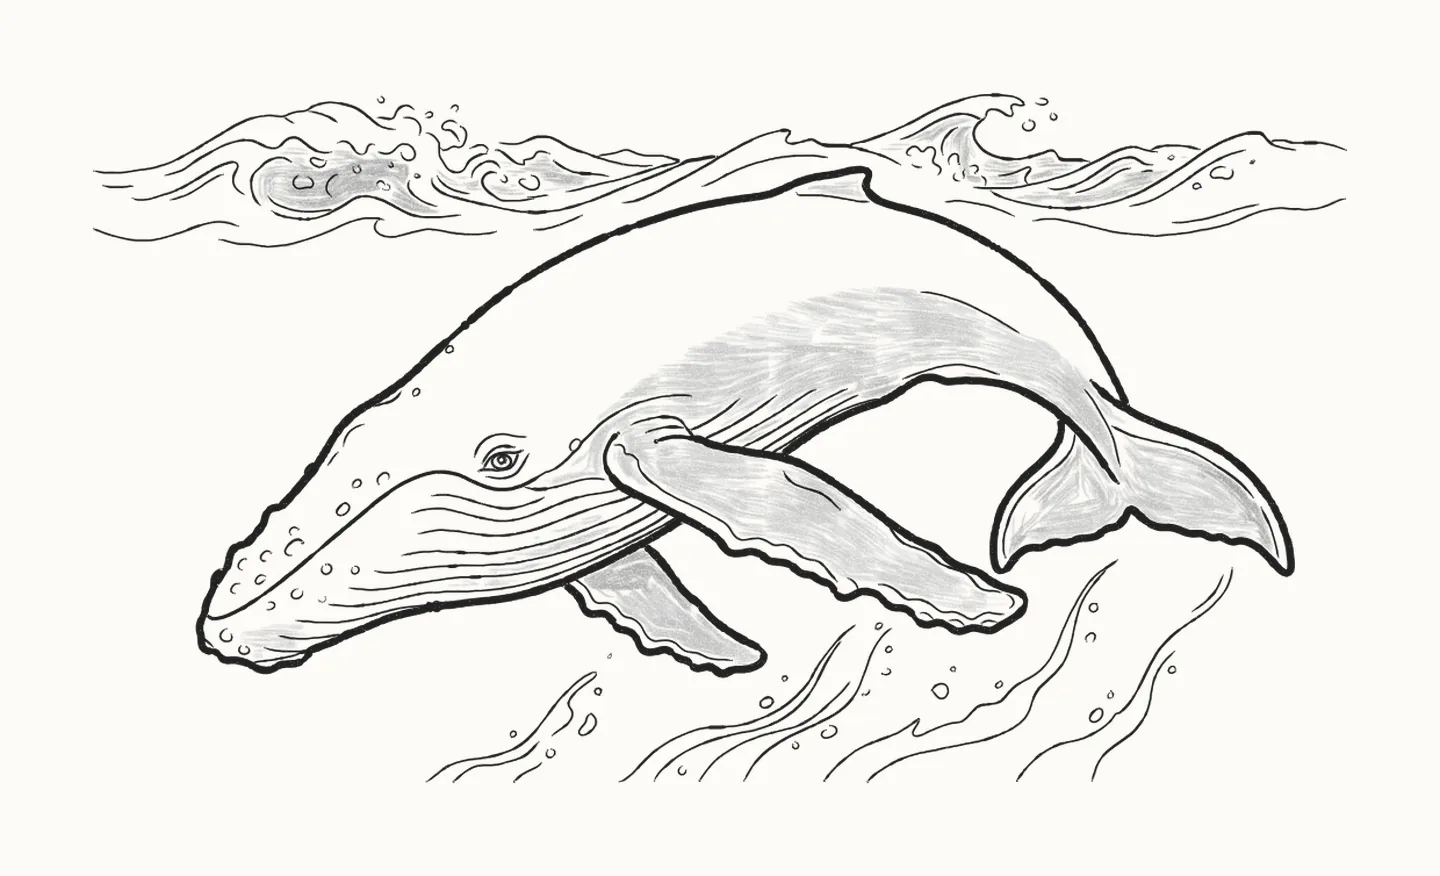
Up top a storm is raging, but down here Tide swims on, calm and steady. In 44 steps you’ll draw a whale underwater, diving beneath the waves, using a pencil and paper: one long arch for her back, then her knobbly flippers, the grooves on her throat, and the storm above her.
How do you draw a whale underwater?
To draw a whale underwater, start with one long, light arch for her back, from her snout up high and down to her tail. Add a long oval for her head, tipped up along the arch, long ovals for the near and far flippers and two leaf shapes for the tail. Draw her back in one line over her knobbly head and the little fin, then the near flipper: along its top edge to the rounded tip and back along the knobbly edge, bump by bump. Add the line under her jaw, the long dipping mouth, the far flipper, her underside and the tail. Then the eye with its brow, the bumps on her head and jaw, lines on her chin, the throat grooves, and lines inside the flippers and along her side and tail. Then the storm, in broken, curling strokes: the wave on the left with its big curl, the wave on the right, foam and spray, streaks of churned water below her and bubbles rising. Rub out the guides and go over Tide only. Shade softly on her shoulder, side, flippers and tail, keep the top of her back white, darken only the deepest hollows of the waves, and fill in her pupil last. It takes 44 steps with a pencil, paper and an eraser.
You need a pencil, paper and an eraser44 stepsBeginner
Draw a whale underwater, step by step
In colour: what to draw nowGrey: already drawn
Draw everything in pencil, lightly at first. Save all 44 steps to Pinterest
-
Step 1 of 44Guide lines
Line of action
Tide dives deep beneath a storm; up top the sea is wild, down here she is calm. Start light: one long arch for her back, from her snout up high and down to her tail.
Draw these lightly: they’re only there to help, and you’ll rub them out in step 30.

-
Step 2 of 44Guide lines
Head guide
A long oval for her head, tipped up to the right: its low left end at the front of her snout, its upper edge along the arch, its right end well past the eye's place.
Draw these lightly: they’re only there to help, and you’ll rub them out in step 30.

-
Step 3 of 44Guide lines
Flipper guides
A long oval slanting down to the right from under her head for the near flipper, and a shorter one below it for the far flipper.
Draw these lightly: they’re only there to help, and you’ll rub them out in step 30.

-
Step 4 of 44Guide lines
Tail guides
At the end of the arch, two leaf shapes for the halves of her tail: one pointing down to the left, one out and down to the right.
Draw these lightly: they’re only there to help, and you’ll rub them out in step 30.

-
Step 5 of 44
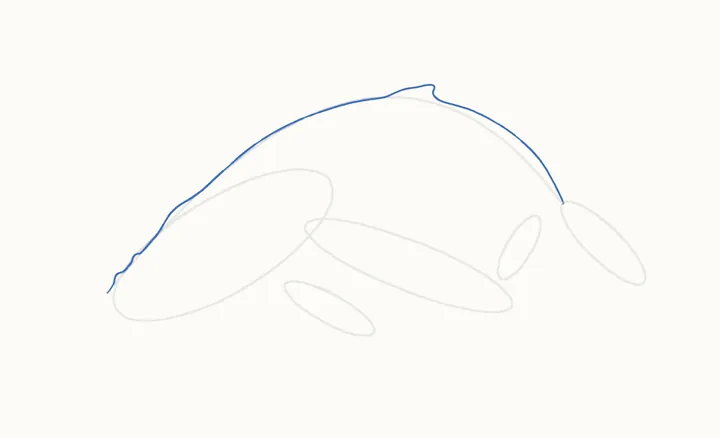
Her back
Now the ink. From the front of her snout, one long line up over her knobbly head, along her back, over the little fin and down to her tail.
-
Step 6 of 44
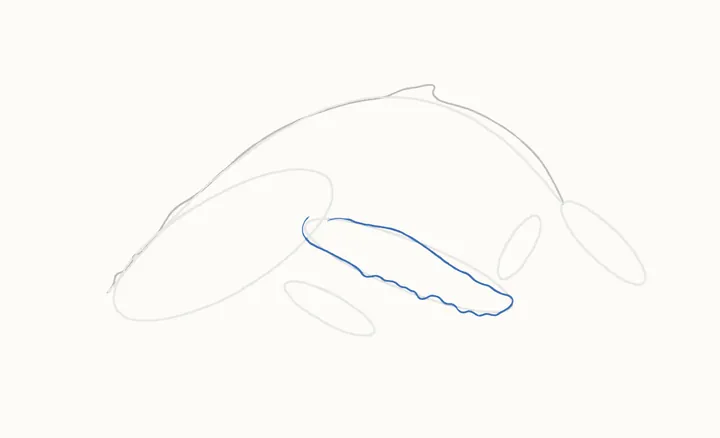
Her near flipper
Her big flipper in front: from its root behind her head, along its top edge to the rounded tip, then back along the knobbly edge, bump by bump, and round its front.
-
Step 7 of 44
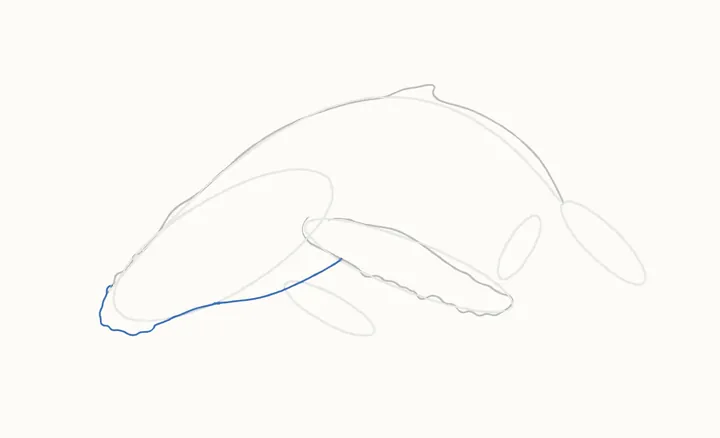
Under her jaw
From the front of her snout, down round her knobbly chin and back along under her jaw to the flipper; stop where it meets it.
-
Step 8 of 44
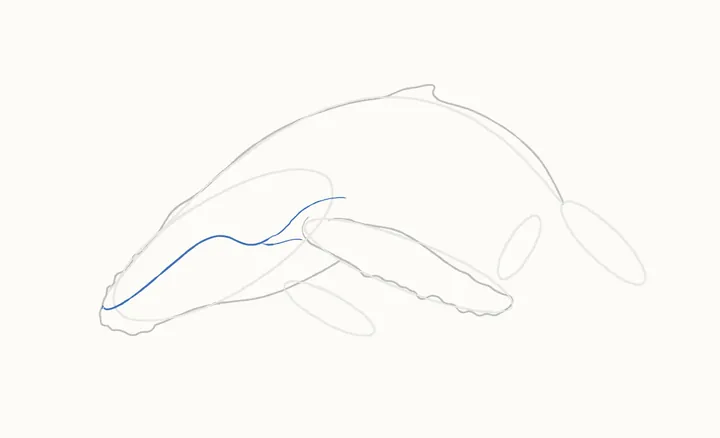
The mouth
From the front of her snout, below where her back line starts, the long mouth line: back, dipping low, then up behind the eye's place. Then a short line under the dip, from the flipper.
-
Step 9 of 44
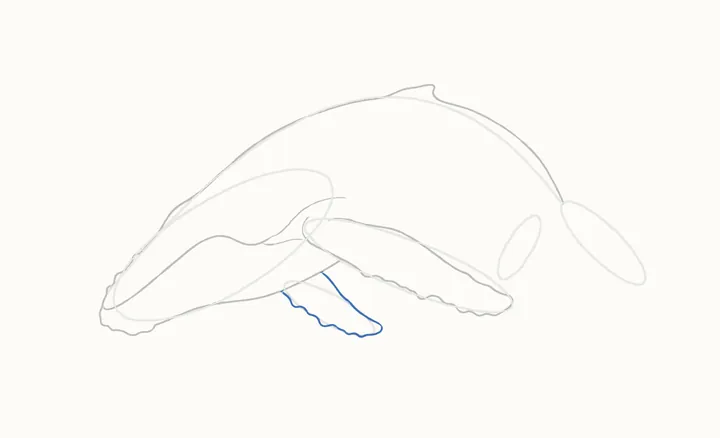
Her far flipper
Her far flipper hangs behind, from the jaw line: down its smooth edge to the tip and back up its knobbly side to the jaw line.
-
Step 10 of 44
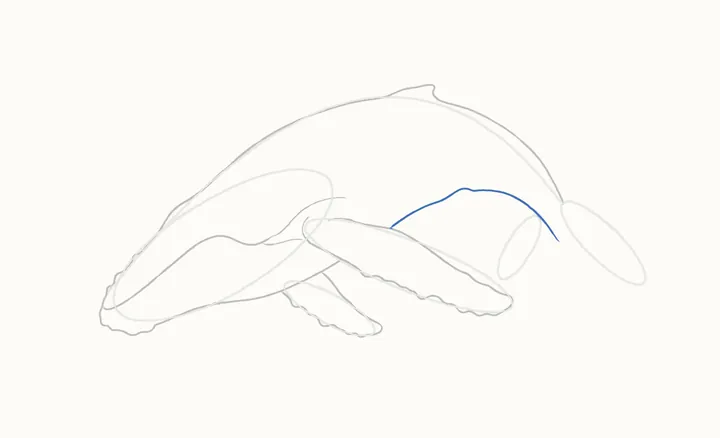
Her underside
Behind the near flipper, her underside: from its top edge, one long curve arching up and over, then down between the two tail leaves; stop a little below where they meet.
-
Step 11 of 44
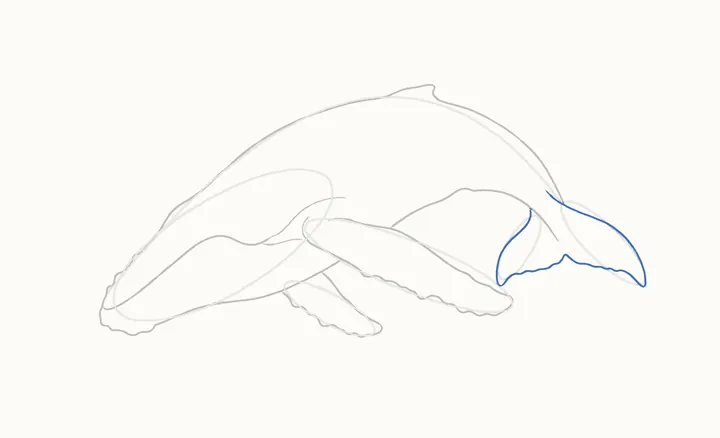
Her tail
Now her tail: from the underside line, down round the left half to its point, along the ragged edge, round the right half and up past the end of her back line.
-
Step 12 of 44
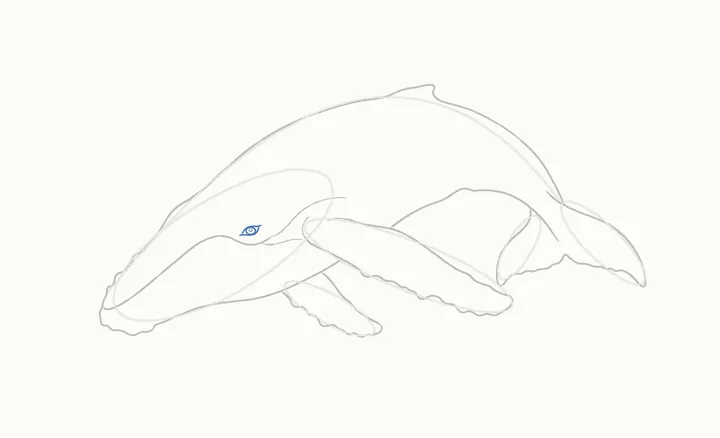
The eye
Her eye sits just above the mouth's dip. Upper lid from its front corner; lower lid from a short tail under it; an iris touching both; a tiny glint circle at its top, left empty.
-
Step 13 of 44
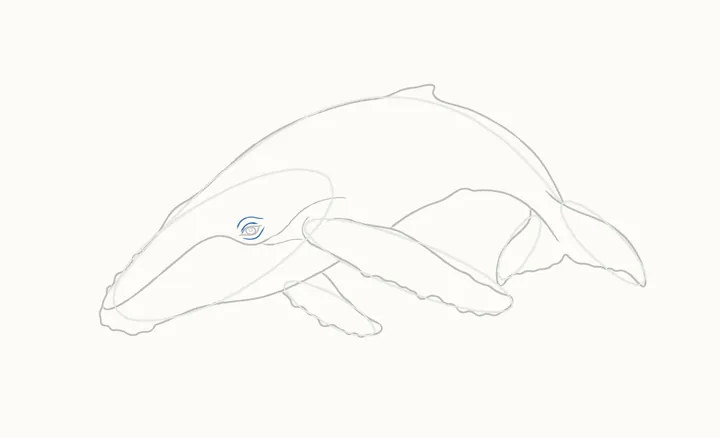
Around the eye
A crease just over the eye, a soft brow above that, and a curve under it, each from the front.
-
Step 14 of 44
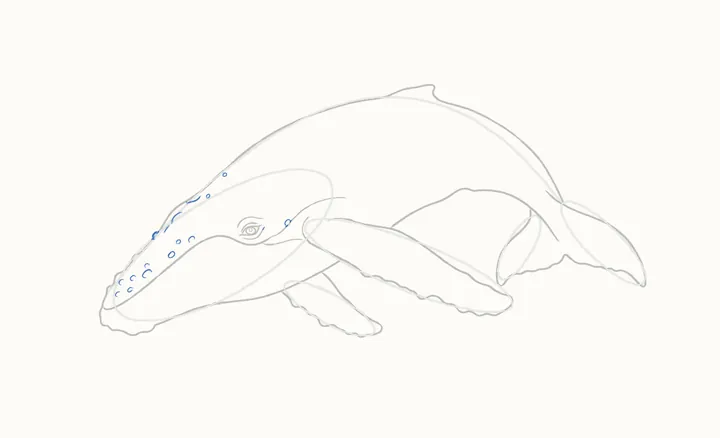
Bumps on her head
Humpbacks have knobbly heads. Sixteen small marks above the mouth line: knobs over her snout, left to right; six along her back line, hooks and dots, the last higher up; one behind her eye.
-
Step 15 of 44
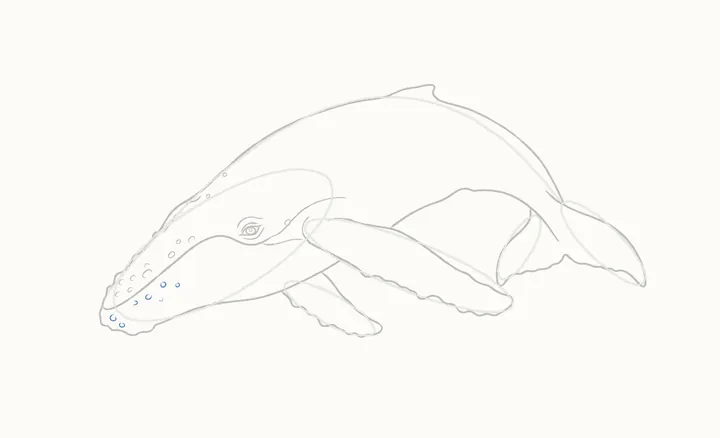
Bumps on her jaw
Then seven more small curves below the mouth line, left to right: two on her chin, five along her jaw.
-
Step 16 of 44
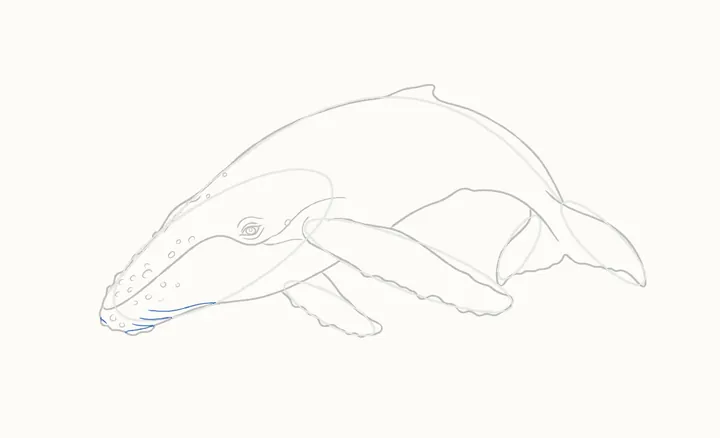
Lines on her chin
On her chin, from the right: a long line under the mouth, a short one under it; then a short V by the chin's lump, from its top tip, and a tiny tick in front.
-
Step 17 of 44
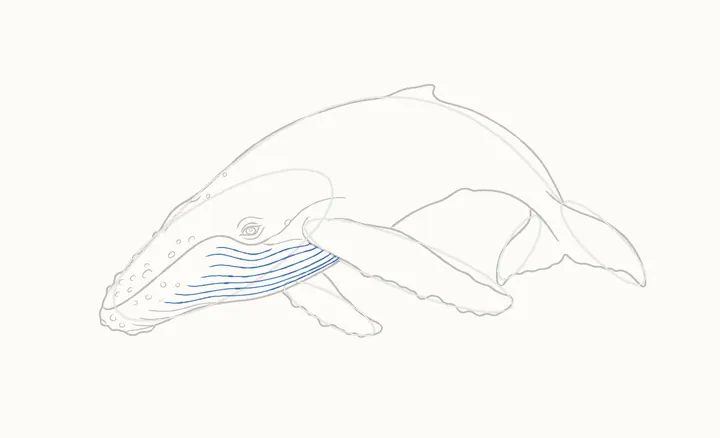
Throat grooves
Seven throat grooves, the top one first: a short one, then six long ones, each from the flipper forward towards her chin.
-
Step 18 of 44
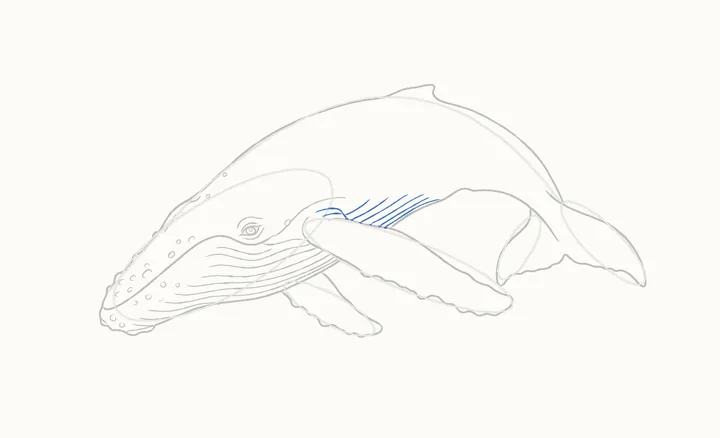
Grooves above the flipper
Above the flipper's root, two short curves; then six grooves rising from its top edge, evenly spaced, each one smooth stroke.
-
Step 19 of 44
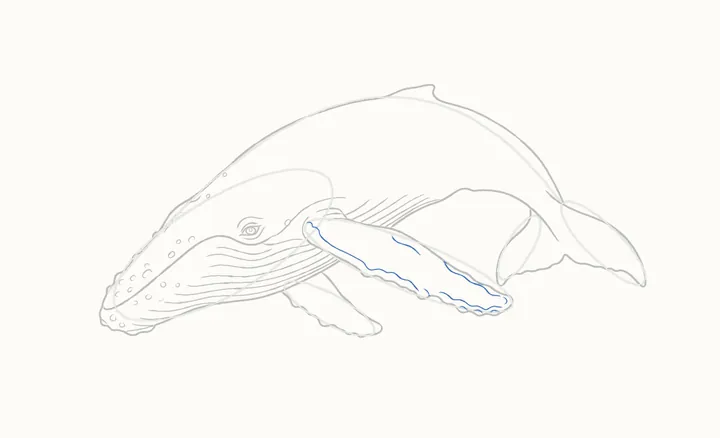
Inside the near flipper
Inside the near flipper: a wavy line along its knobbly edge, from the root; a crease in the middle; two lines in the tip, and small marks by the knobs.
-
Step 20 of 44
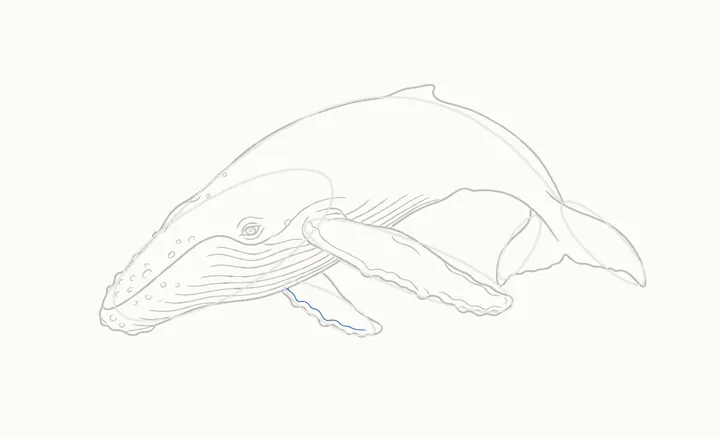
Inside the far flipper
Inside the far flipper, one wavy line just in from its knobbly side.
-
Step 21 of 44
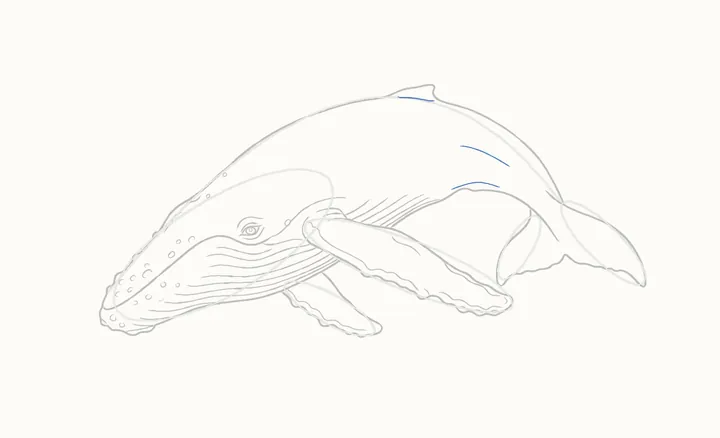
Along her back
A line across the little fin's base. Then two soft lines along her side, where her body turns: one high on her back, one just above her underside.
-
Step 22 of 44
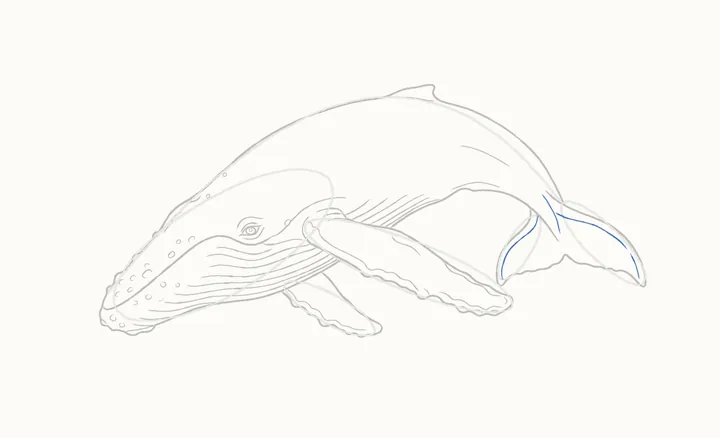
Lines in the tail
First a thin crease down the tail's root. Then, inside the tail, a light line along each half, and a short one in the right tip.
-
Step 23 of 44
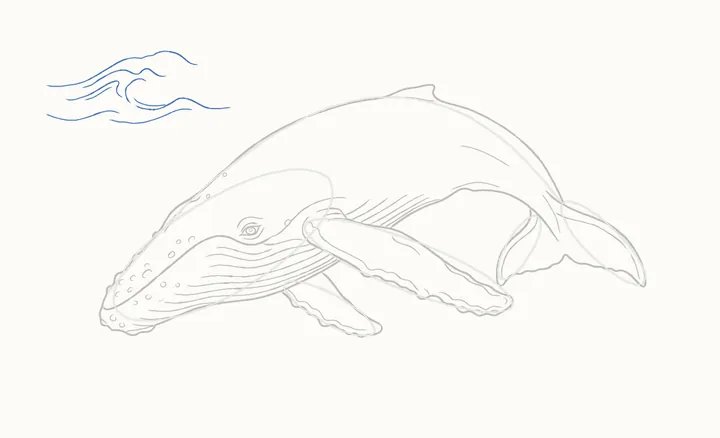
The left wave
Now the storm, in broken, curling strokes. Top left, from the page's edge to above her snout: nine wave lines, the top one first, then the ones under it; a few are short hooks.
-
Step 24 of 44
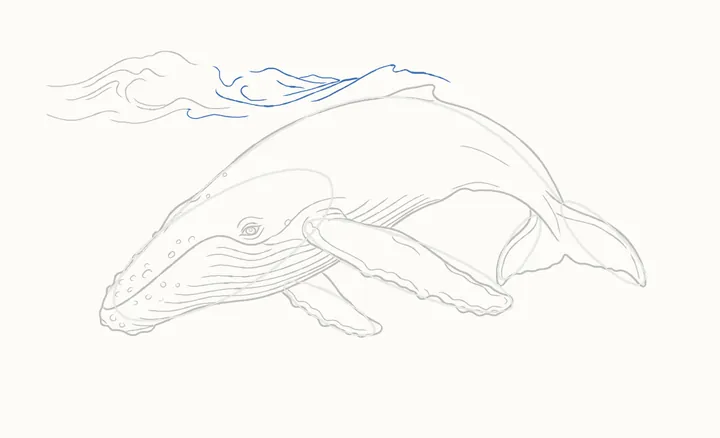
The left wave's curl
The big curl, top middle: its lip, the crest and the curl at its end, a line towards the right wave, the line rolling under, two small curls, and a low line to its left.
-
Step 25 of 44
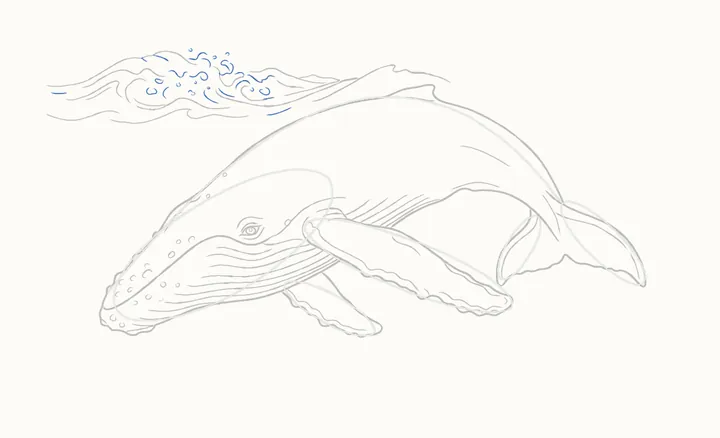
Foam on the left wave
Foam and spray off the left wave: twenty-nine little curls, hooks and drops, left to right, from a dash at the page's left edge to one over her back. None of them need to match.
-
Step 26 of 44
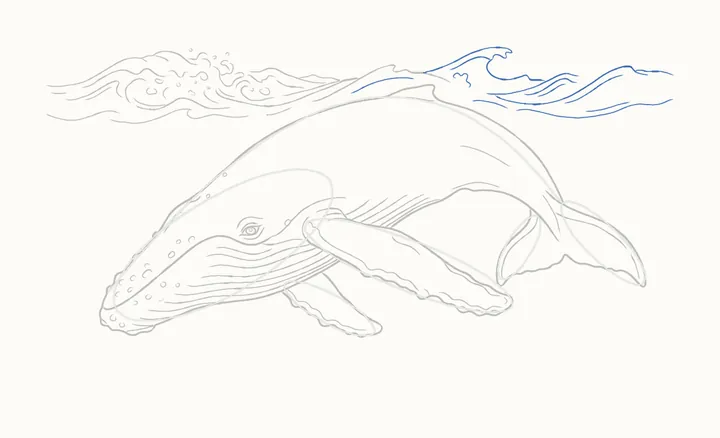
The right wave
The right wave, top right, thirteen lines: the swell under its curl, crest and curl, a short line left, a longer one further left, a squiggle; then the rest, top down, one with a tail.
-
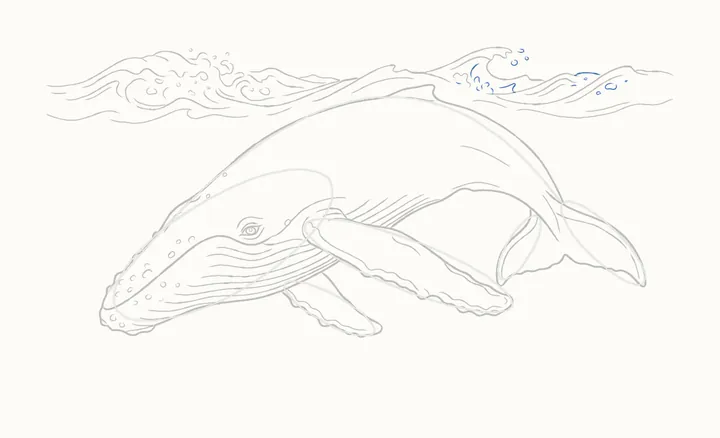
Step 27 of 44
Foam on the right wave
Spray off the right wave: four specks over its crest first, then thirteen drops over the swell, left to right. Small, quick marks.
-
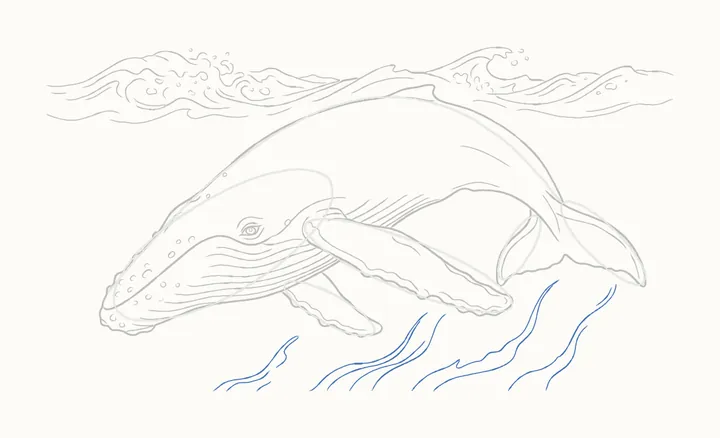
Step 28 of 44
Streaks of churned water
Below her, the churned water: fourteen streaks along the bottom, left to right, each a relaxed stroke from the bottom up towards her; a few start or end on the tip of the one before.
-
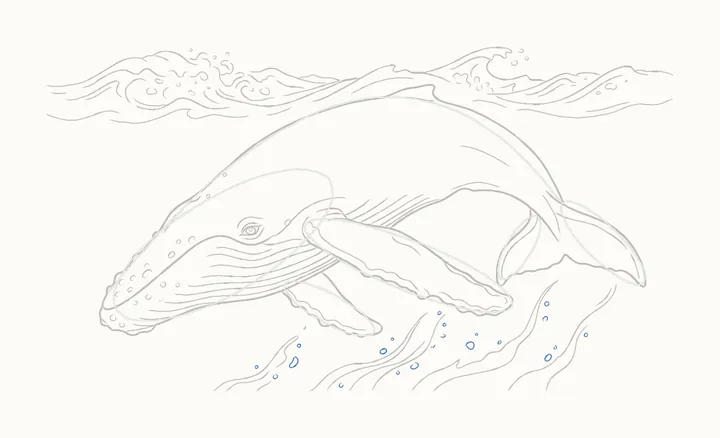
Step 29 of 44
Bubbles
Bubbles rising through the churned water: twenty-two small loops, big and small, left to right.
-
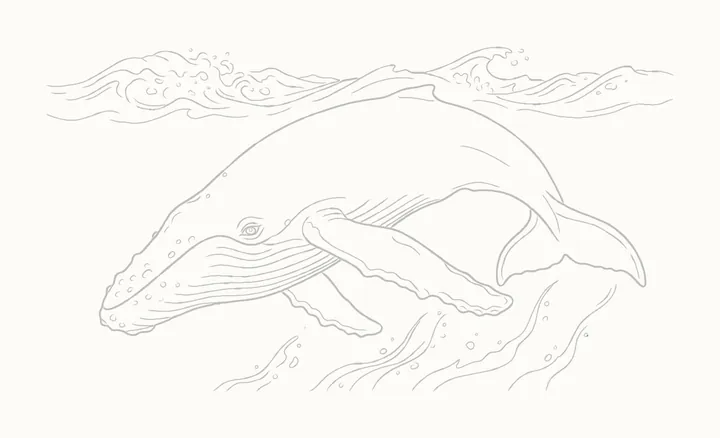
Step 30 of 44
Erase the guides
Rub out the guide shapes. Tide, the waves and the churned water stay.
-
Step 31 of 44
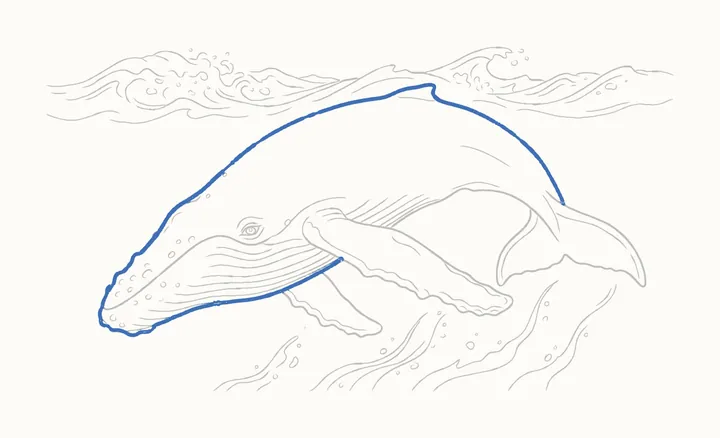
Go over her head and back
Now press harder, on Tide only. From the near flipper, back along under her jaw, round the chin and up over her head, along her back to the tail.
-
Step 32 of 44
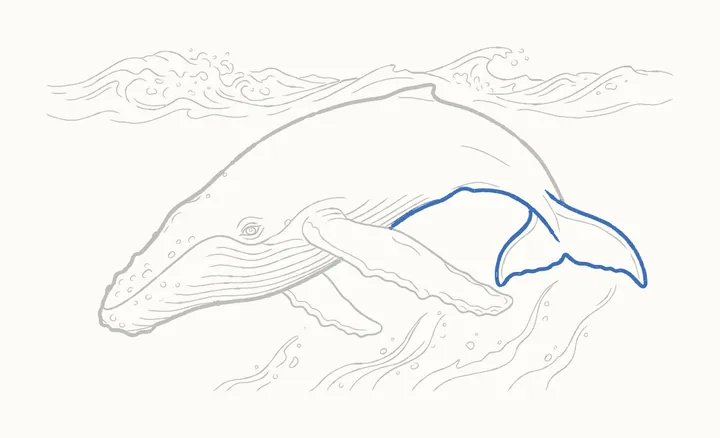
Go over her tail
On round her tail, then back along her underside to the flipper.
-
Step 33 of 44
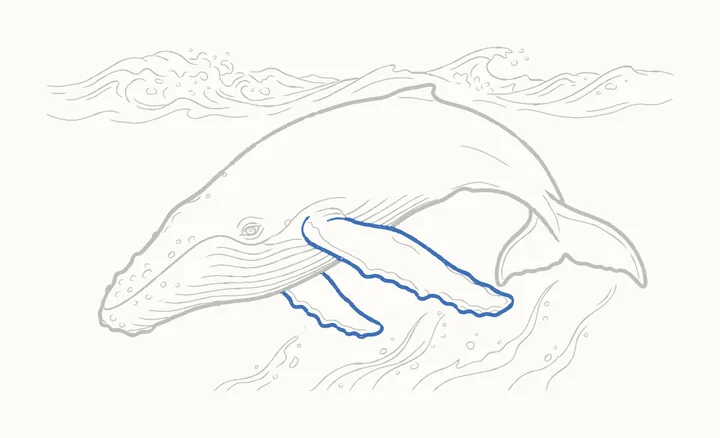
Go over her flippers
Then round both flippers, knobs and all, the near one first. The waves and the water stay light, so she stands out against the storm.
-
Step 34 of 44
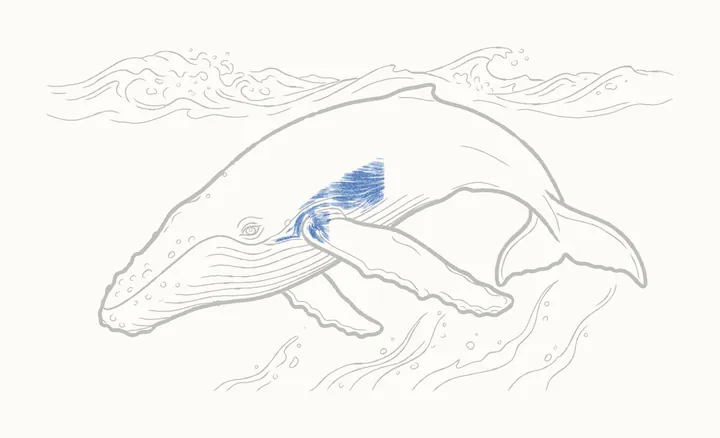
Her shoulder
Shading now, soft and light: a tone on her shoulder, above and behind the near flipper's root. Keep the top of her back white, so she looks round.
-
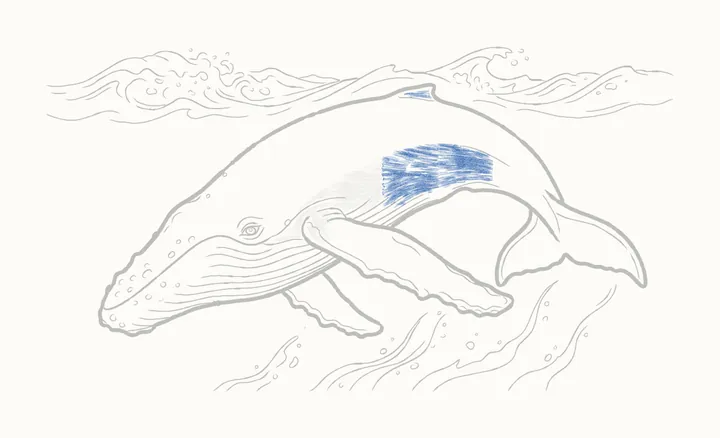
Step 35 of 44
Along her side
Carry the tone back along her side, under the white top of her back, and a touch on the little fin.
-
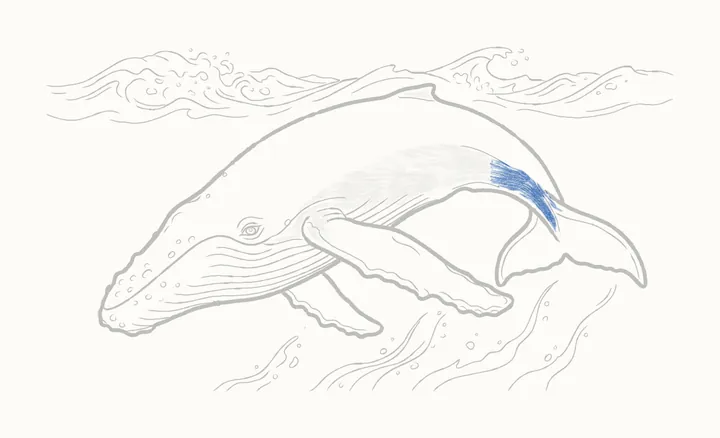
Step 36 of 44
Down to her tail
Then on down the root of her tail, narrowing as it bends.
-
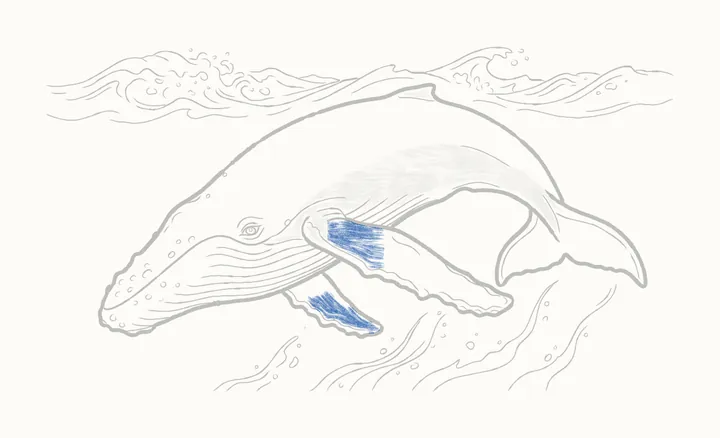
Step 37 of 44
Shade the near flipper
The near flipper gets a soft tone too: first its root half, from her body to the middle.
-
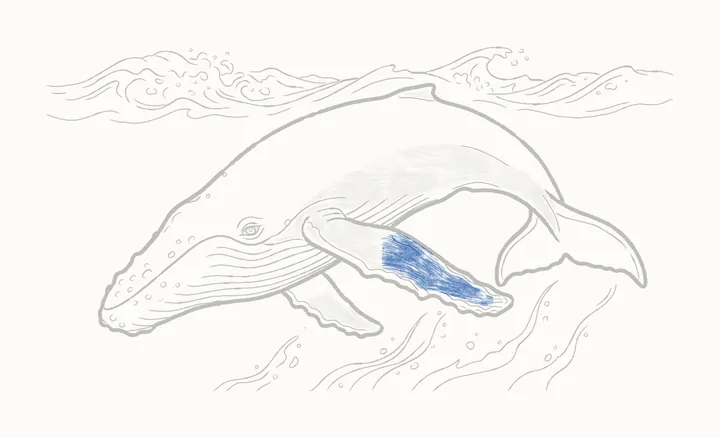
Step 38 of 44
Down the flipper
Then on along the flipper to its rounded tip.
-
Step 39 of 44
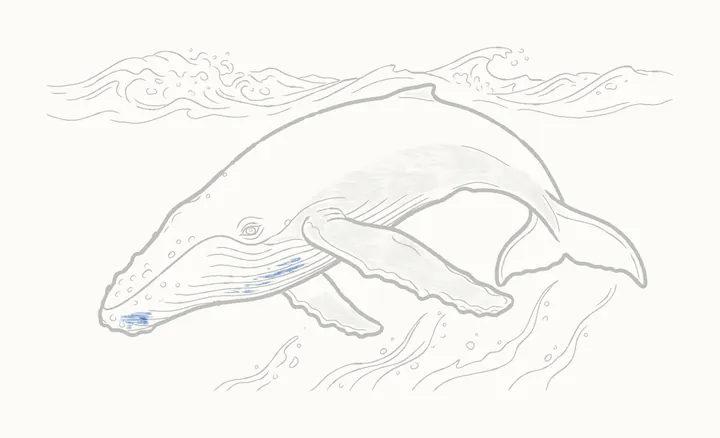
Under her throat
Thin strips between the lowest grooves under her throat, and a soft patch on her chin.
-
Step 40 of 44
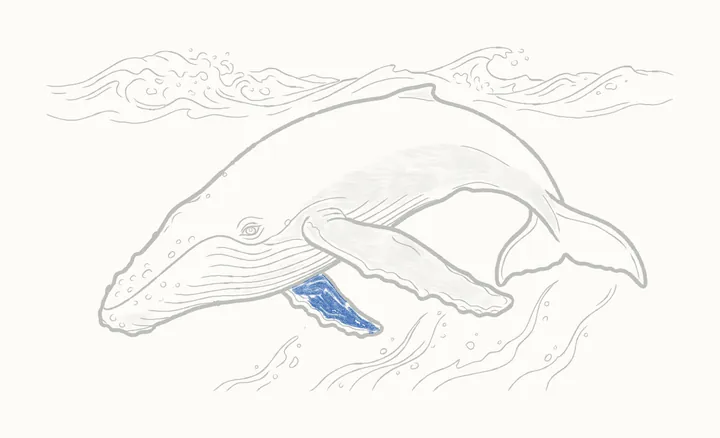
Shade the far flipper
Her far flipper is behind her: shade it all over, darkest at its root by the jaw.
-
Step 41 of 44
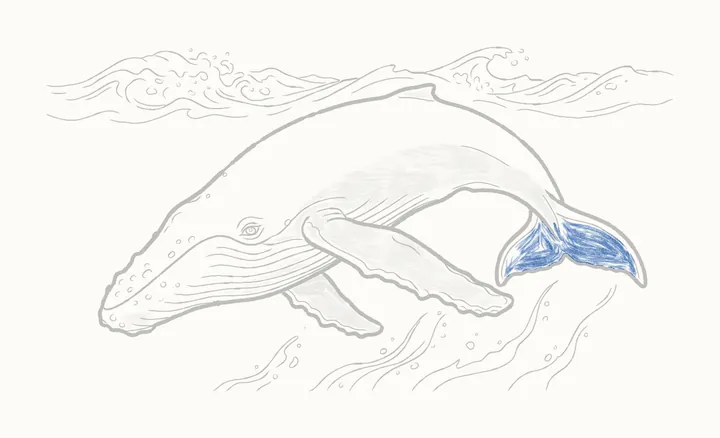
Shade her tail
Both halves of her tail: a soft tone over each, darker along their edges and where they meet.
-
Step 42 of 44
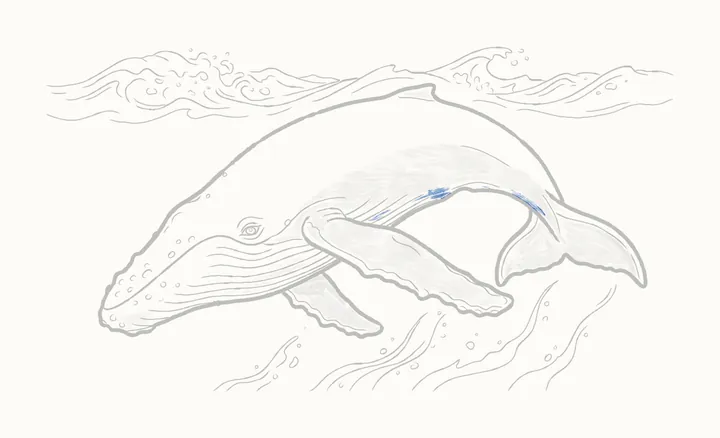
Deep shadows
Press a little harder along her underside line, behind the flipper and at the root of her tail.
-
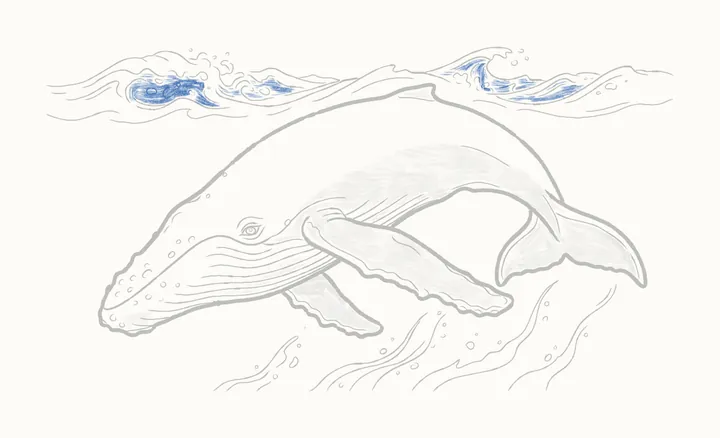
Step 43 of 44
The wave troughs
Up in the storm, a darker tone only in the deepest hollows, inside the curls. Keep the rest of the waves light, just lines.
-
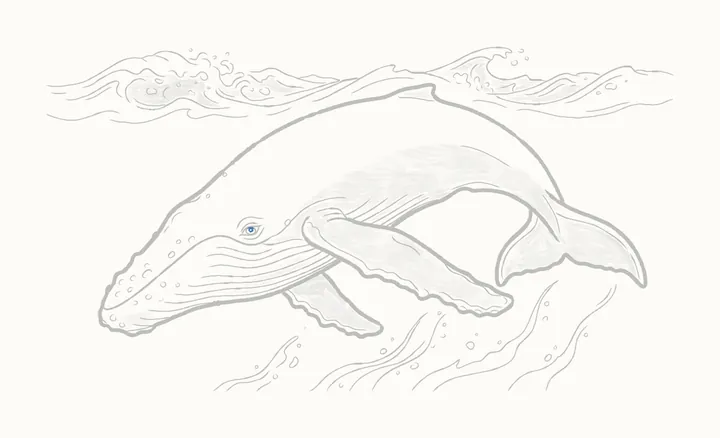
Step 44 of 44
The darks
Last of all, fill in a round pupil around the glint, leaving the glint white. Above her the storm rages; Tide just keeps swimming, calm and steady.
-
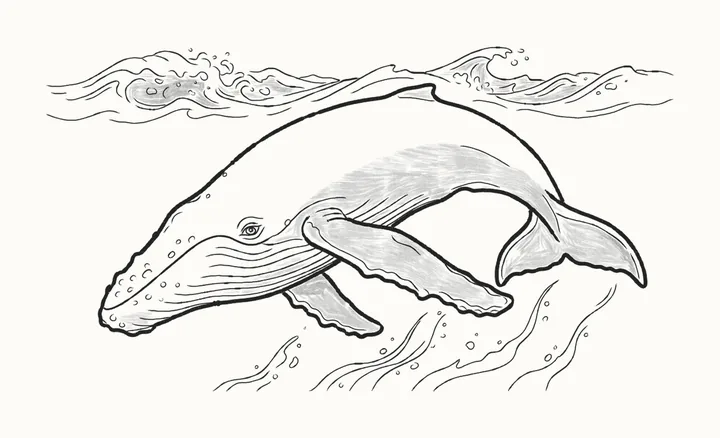
Finished
Your finished whale underwater
That’s Tide! Go over any lines you want darker, then sign your drawing in the corner.
In the DrawRabbit app
Tide’s world has 9 more drawings
Every animal has a whole world of narrated drawings in DrawRabbit, each one a little story you draw with a real pencil and paper. The first drawing in every world is free.
 Free to start · iPhone and iPad
 A new calf
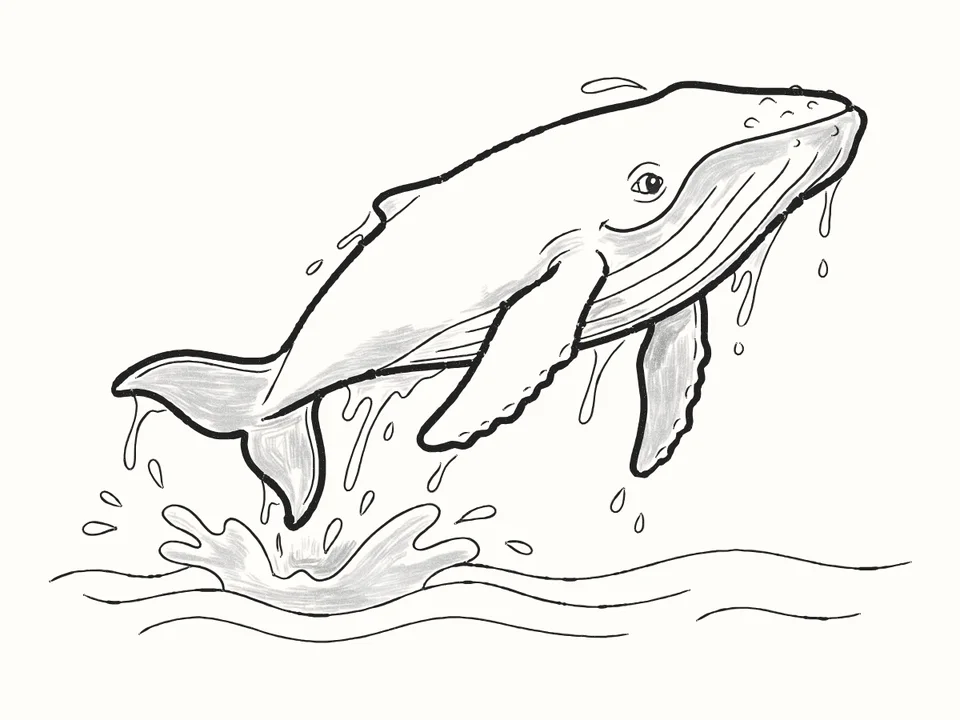 The big breach
 Icebergs
 Northern lights
Tips for a better whale underwater
One arch for her back
A single long arch from her snout, up high and down to her tail, sets the whole dive. Tip the head oval up along it.
Knobs and grooves
Humpbacks have knobbly heads. Sixteen small marks above her mouth line and seven below it, then seven grooves along her throat, each from the flipper towards her chin.
Keep the storm light
When you go over the lines, press harder on Tide only. The waves and the churned water stay light, so she stands out against the storm.
A white back
Shade softly on her shoulder and along her side, but keep the top of her back white so she looks round. Her far flipper is behind her: shade it all over, darkest at its root.
Questions
Is a whale underwater easy to draw?
Yes. One long arch for her back, an oval for her head, two ovals for the flippers and two leaf shapes for the tail set the whole shape, and each step only adds a little.
What do I need?
A pencil, paper and an eraser. Draw the first steps lightly: the guide lines are rubbed out in step 30. The waves and the water stay light, so you can draw them loosely.
How do I draw stormy waves?
In broken, curling strokes: a few wave lines, a big curl with its lip and crest, then little curls, hooks and drops of foam flying off it. None of them need to match. Shade only the deepest hollows inside the curls and keep the rest as lines.
Can kids draw it?
Yes. It’s made for beginners of any age. If reading the steps is hard, the draw-along talks you through each line while it draws.
What is DrawRabbit?
A drawing app for iPhone and iPad: narrated, step-by-step lessons you follow with a real pencil and paper. 95 drawings in 10 worlds, free to start, no account needed.
Keep drawing · Next guide
How to draw a whale and an iceberg
A whale and an iceberg in 40 steps
Start drawing