 DrawRabbit
Drawing guide · Dogs
How to draw a sad dog
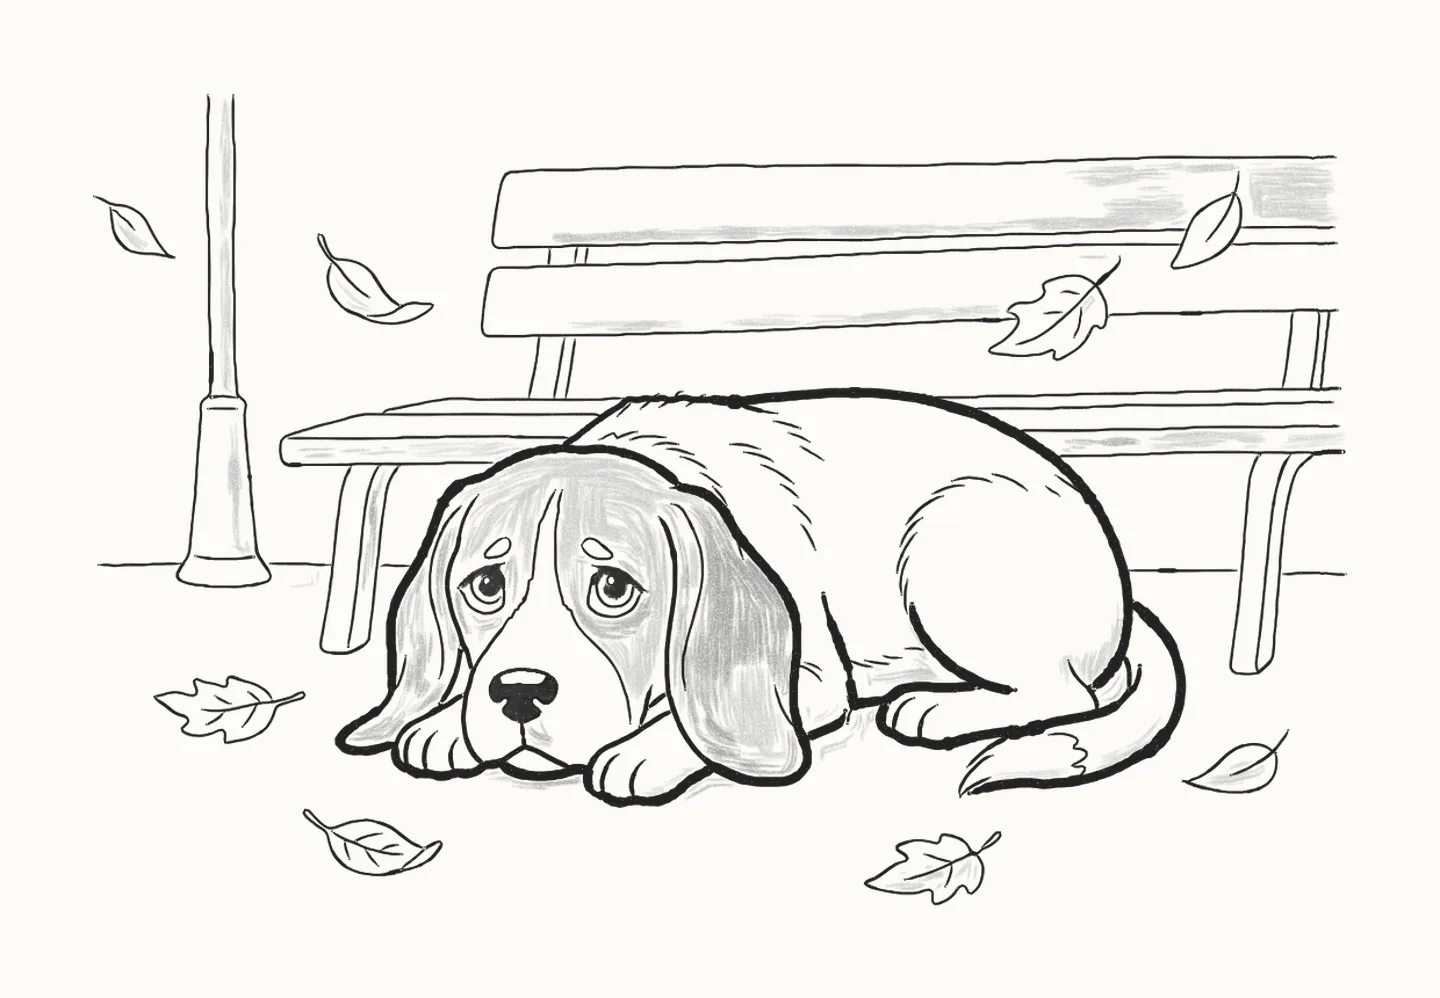
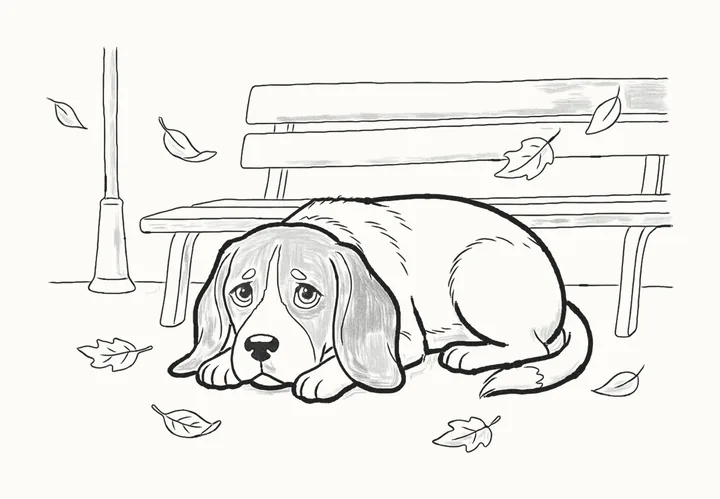
Biscuit has lost the smell, and he’s lying alone by a park bench with his chin on his paws. In 58 steps you’ll draw a sad dog with droopy eyes and long, heavy ears, using a pencil and paper: two ovals to start, then his sad face, his body lying low, and the bench, the lamp post and the falling leaves.
How do you draw a sad dog?
To draw a sad dog, start light: an oval for his head, a long oval tipped down to the right for his body, a circle in its right end for his haunch, a long oval over the head’s right edge for one ear and a curve under the haunch for the tail. Draw over his head and down the ear on the left, then the ear on the right with its fold. Give him two eyes with heavy lids and the iris tucked under each, and above them small brows that slope down outwards: that slope is what makes him sad. Add the paw under the ear on the right, the edges of his white blaze, the ear on the left and the paw by his chin, then his nose, mouth and chin. Draw his back, his furry haunch, his chest, the back paw and his tail, and little flicks of fur along his back. Rub out the guides. Then, with no guides, draw the bench, kept light, the lamp post, the ground line and the leaves, some blowing past and some on the ground. Go over Biscuit’s outline. Shade softly round his eyes and darkest in the ear on the right, with a soft shadow under him so he lies heavy on the ground, and keep the park lighter than him. Last, fill in his pupils, the heavy lid on the left and his nose, leaving the glints white. It takes 58 steps with a pencil, paper and an eraser.
You need a pencil, paper and an eraser58 stepsBeginner
Draw a sad dog, step by step
In colour: what to draw nowGrey: already drawn
Draw everything in pencil, lightly at first. Save all 58 steps to Pinterest
-
Step 1 of 58Guide lines
Biscuit's guides
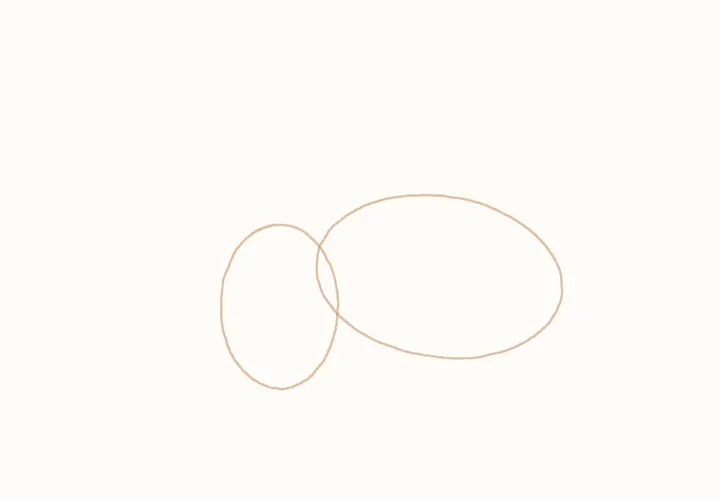
Biscuit has lost the smell, and lies alone by a park bench. Start light: an oval for his head, and a long oval tipped down to the right for his body.
Draw these lightly: they’re only there to help, and you’ll rub them out in step 24.
-
Step 2 of 58Guide lines
Guides for his haunch and ear
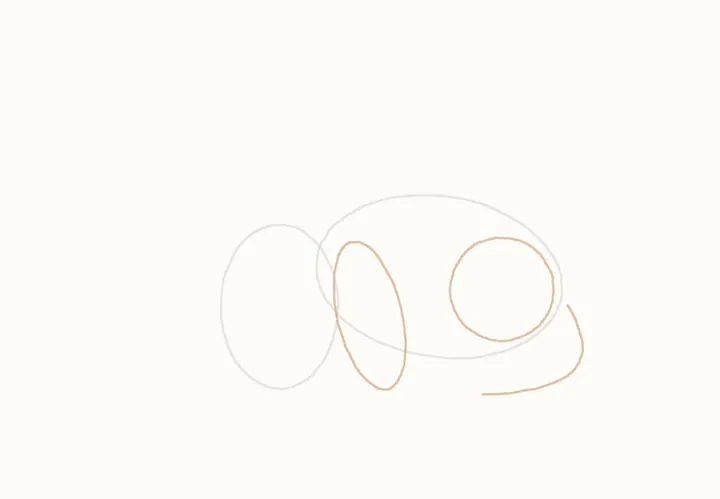
A circle in the body's right end for his haunch; over the head oval's right edge, a long oval, top tipped left: the ear on the right. Then a curve under the haunch: his tail.
Draw these lightly: they’re only there to help, and you’ll rub them out in step 24.
-
Step 3 of 58
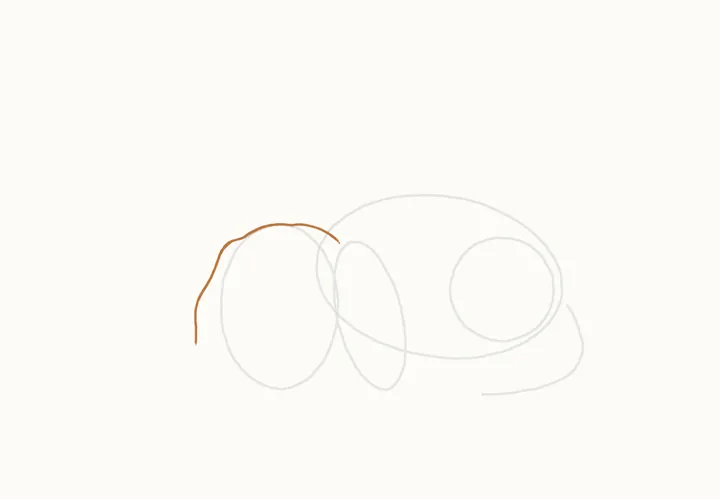
Biscuit's head
Now the real lines. From the top of the ear oval, over his head and down outside the head oval's left side, stopping halfway between its middle and bottom: the ear on the left.
-
Step 4 of 58
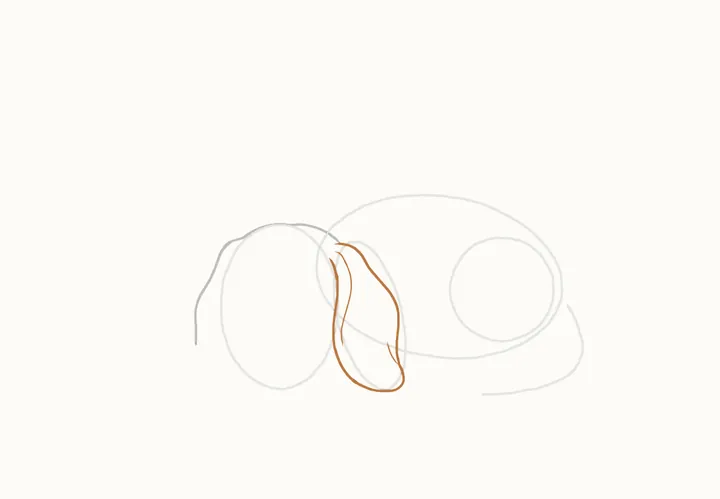
Biscuit's ear on the right
The ear on the right, over its oval: from his head, down its back edge, round the bottom and up its front. Then a fold inside, from the top, and a crease low down.
-
Step 5 of 58
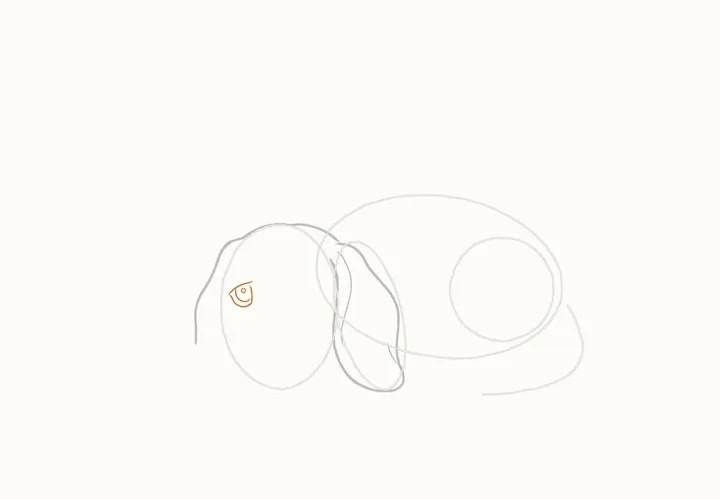
Biscuit's eye on the left
The eyes sit either side of the head oval's middle. The left eye: its heavy lid from the inner corner, on the right; round under it; the iris, tucked under the lid; a high glint.
-
Step 6 of 58
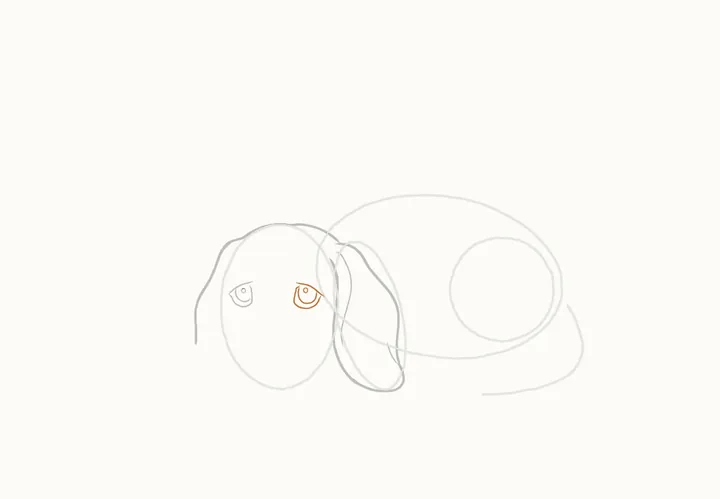
Biscuit's eye on the right
Then the right eye the same way, mirrored: the top lid from the inner corner, on the left, out past the outer corner; round under it from the same corner; the iris; the glint.
-
Step 7 of 58
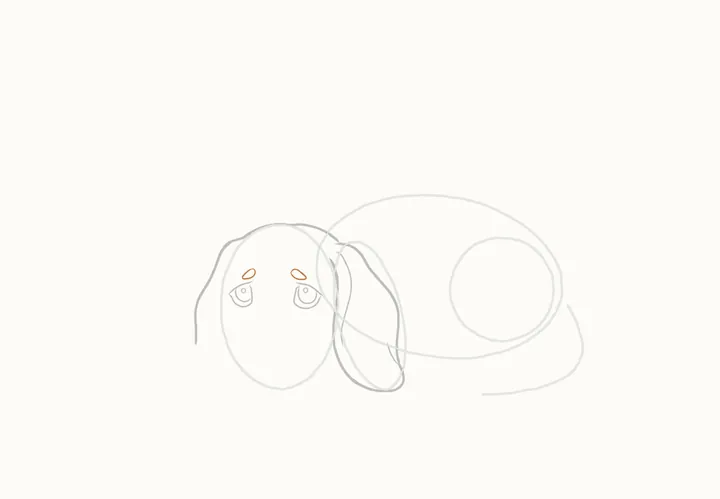
Biscuit's brows
Above each eye, a small tilted loop for the brow, high at the inner end and sloping down outwards. That slope is what makes him look so sad.
-
Step 8 of 58
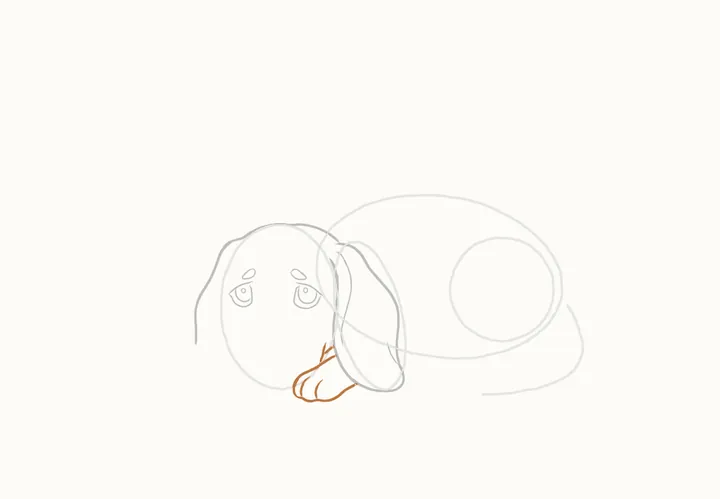
The paw on the right
Under the ear on the right, his paw: from the ear's front edge down to the toes, round them and under it to the ear. Two toe lines, then two short fur lines on top.
-
Step 9 of 58
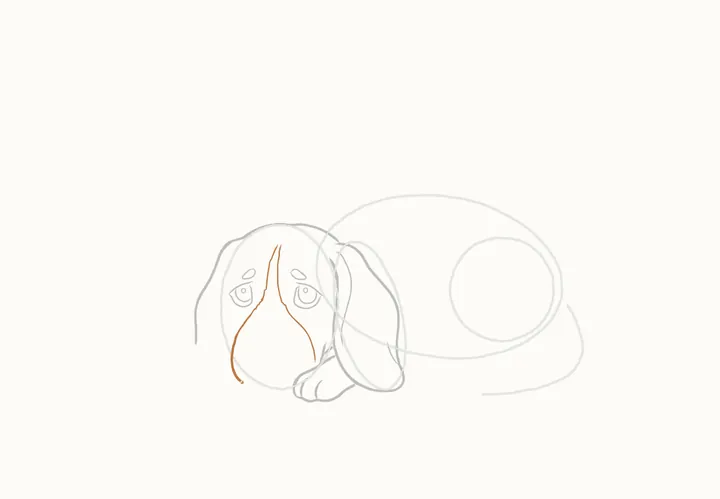
The edges of his blaze
His white blaze: from high on his forehead, a line down between the eyes, furry under the left eye, on down his muzzle. Then its right edge, up from the paw on the right.
-
Step 10 of 58
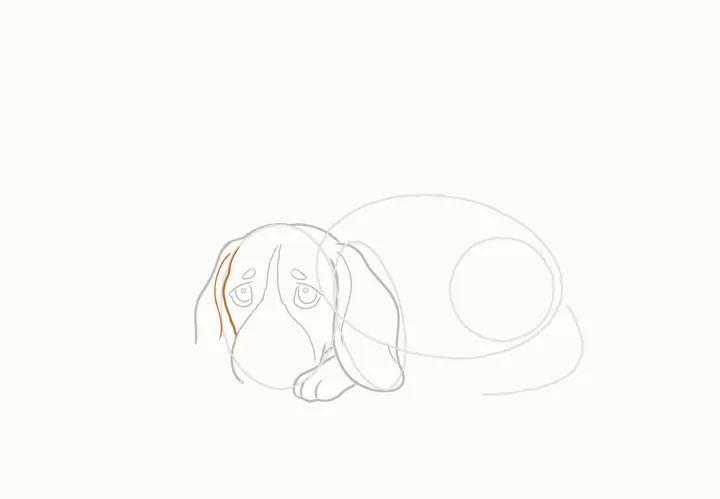
The front of the ear on the left
The ear on the left: its front edge, from just under the head line down beside the eye to the blaze. Then a long fold inside it, also from the top.
-
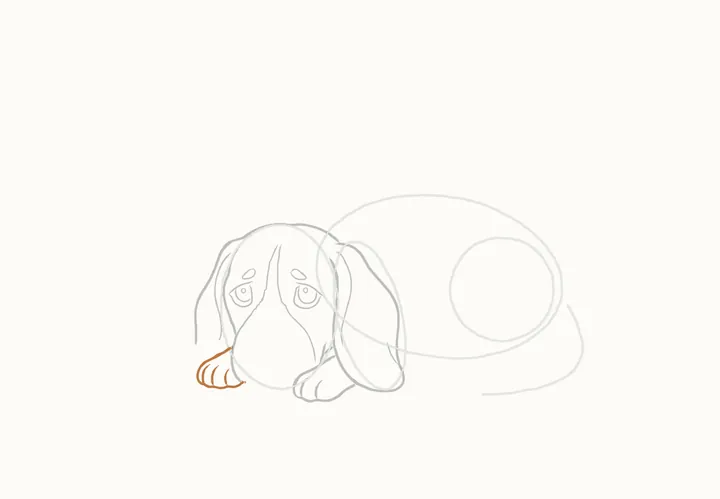
Step 11 of 58
The paw on the left
His other paw pokes out by his chin: from the blaze line, round the top of the paw, down its left side and along under it to his chin. Then three toe lines.
-
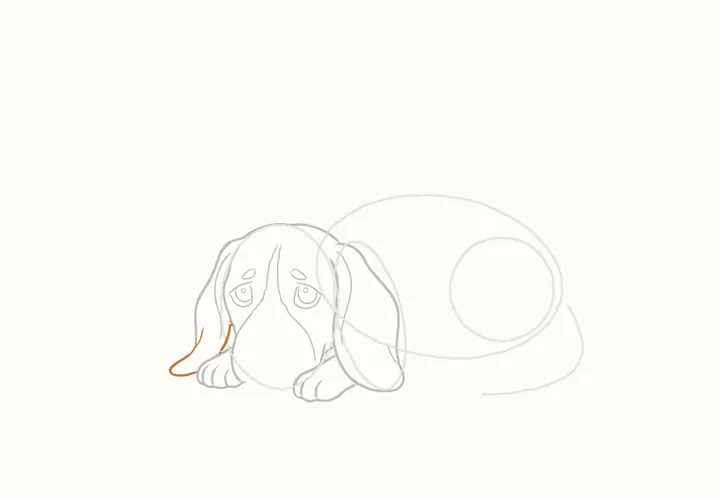
Step 12 of 58
The ear on the left
Finish the ear on the left: round its tip to the paw. Then a line from its front edge down to the paw, and a short fold in from the edge by the tip.
-
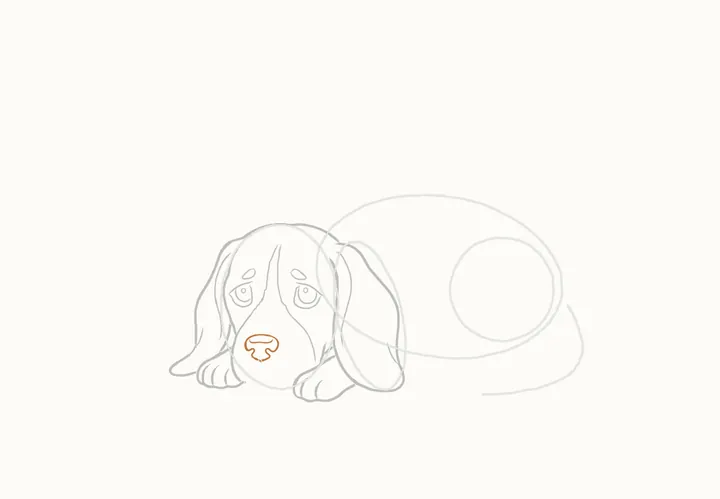
Step 13 of 58
Biscuit's nose
Low in the head oval, his nose: one loop from the middle of its bottom, curling in for the left nostril, over the top and in for the right. Then a curve inside its top.
-
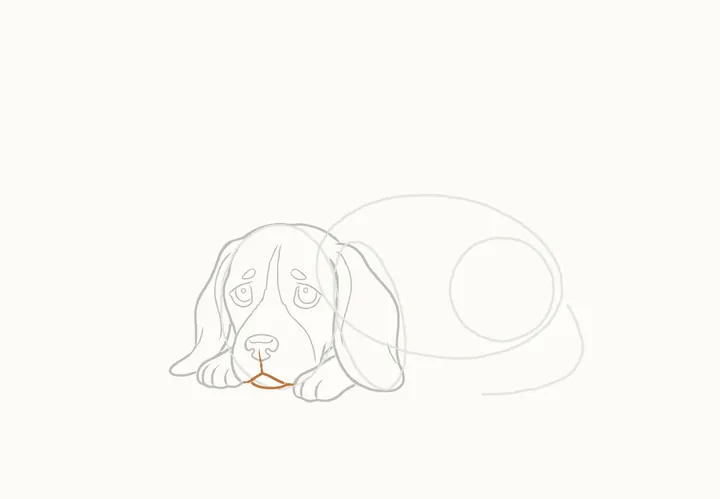
Step 14 of 58
Biscuit's mouth and chin
Under the nose, his mouth: from the left corner up to a point and down to the right. A line from between the nostrils down to the point, then the chin, round to the paw.
-
Step 15 of 58
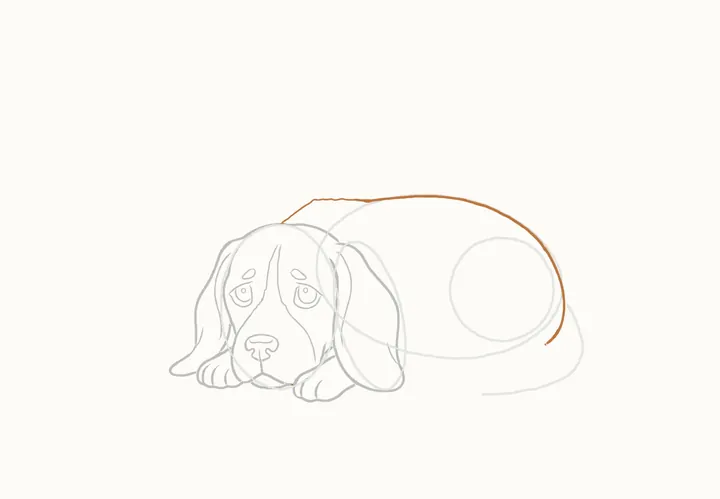
Biscuit's back
From the back of his head, one line up and along his back, over the top of the body oval and down round his rump to the haunch circle.
-
Step 16 of 58
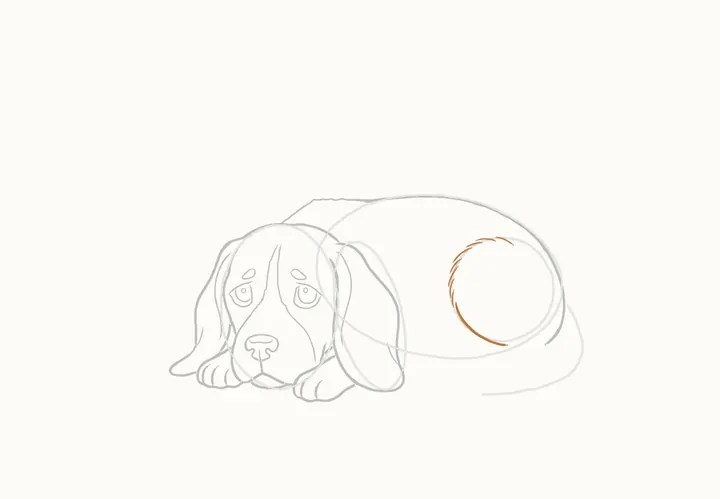
Biscuit's haunch
On the haunch circle: a curve round its bottom, from the right. Then short broken strokes up its left side and over its top, and two more just inside them, so it looks furry.
-
Step 17 of 58
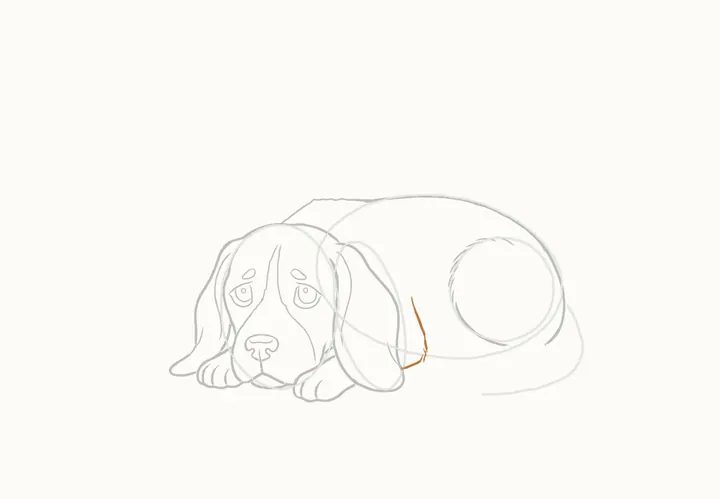
His chest and belly
Between the ear and the haunch: a line down the front of his body. Then a short line from the bottom of the ear up to meet it, and a little tuft where they meet.
-
Step 18 of 58
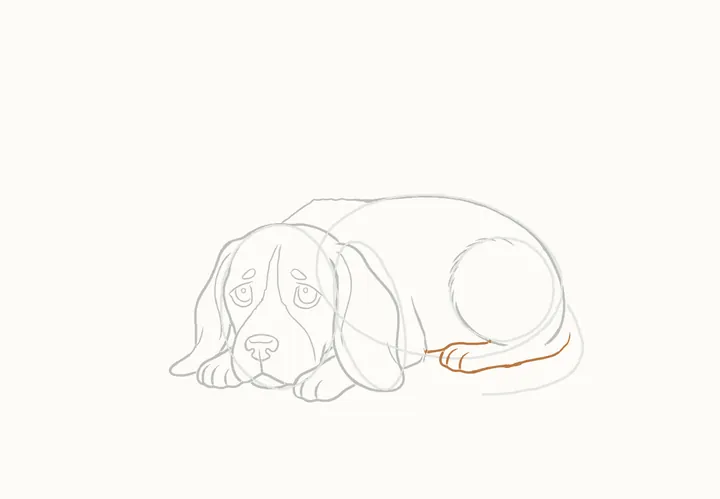
Biscuit's back paw
His back paw lies in front of the haunch: its top, from the chest line. Then from its toes, round under it and along to his rump, and two toe lines.
-
Step 19 of 58
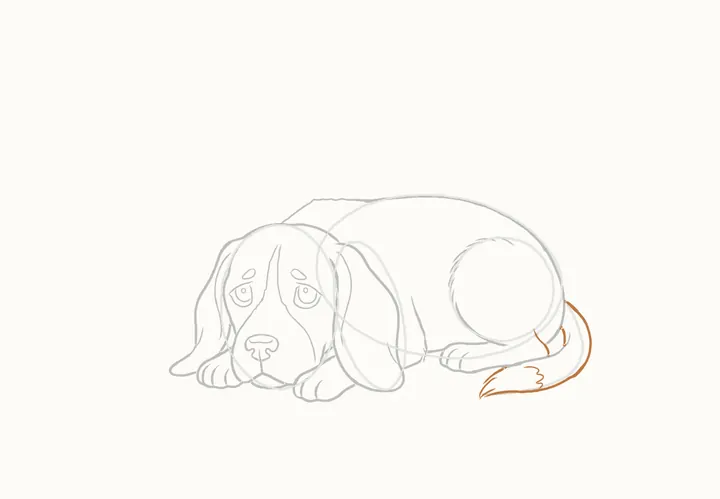
Biscuit's tail
His tail, on its guide: from his rump, round to the pointed tip on the left. Three furry lines up from the tip, a zigzag where the white starts, two lines where it tucks under.
-
Step 20 of 58
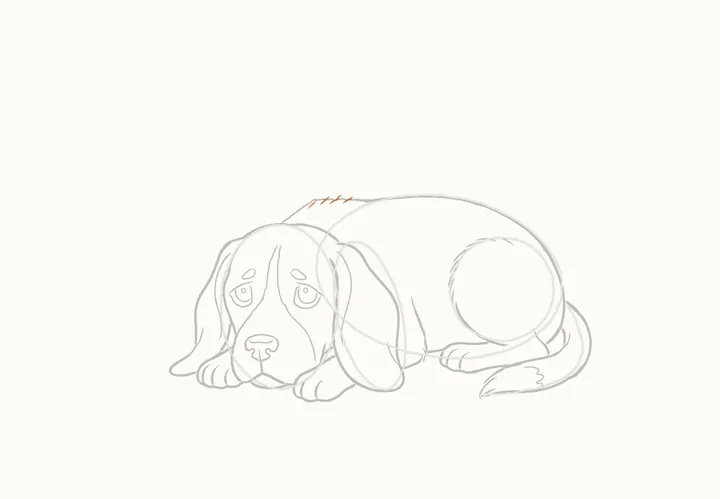
The tuft on his neck
Now the fur. Where his back meets his head, four short spikes, left to right, each flicked up to the right from just below the line.
-
Step 21 of 58
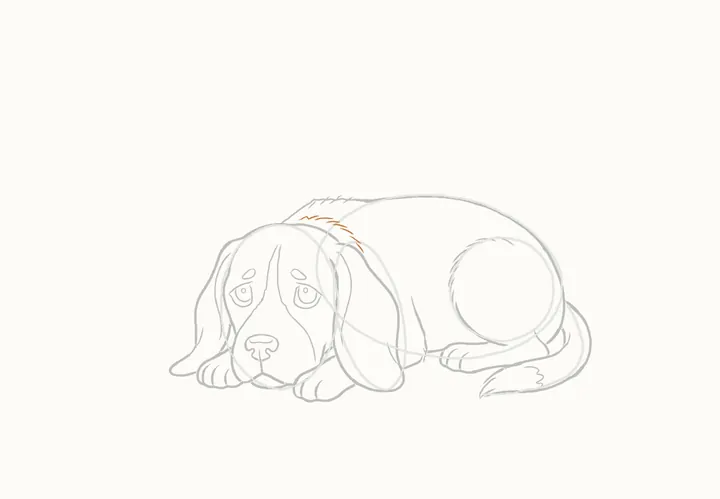
Fur behind his head
Then flicks, each drawn from its left end, the way the fur lies. Seven behind his head, from the top down along the curve of his head.
-
Step 22 of 58
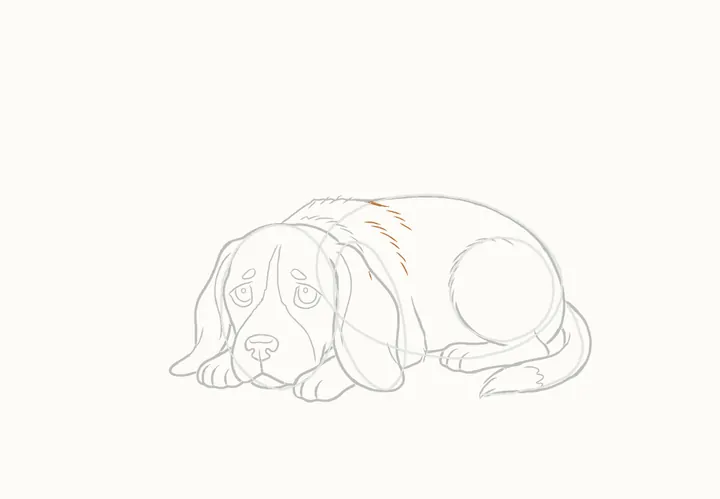
Fur on his back
Eleven more on his back, from the top down: a row just under his back line, then a slanting line of them down his side, and one on the ear.
-
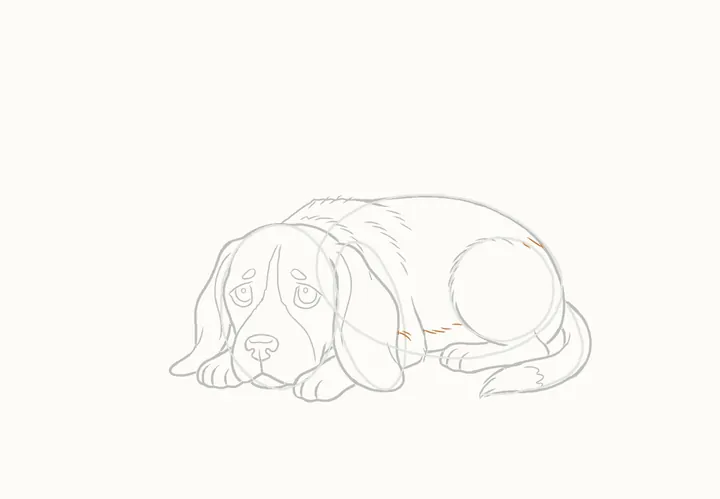
Step 23 of 58
Fur by his ear and rump
Six small ones low down, left to right: two by the bottom of the ear, four by the haunch. Then two on his rump, at the right.
-
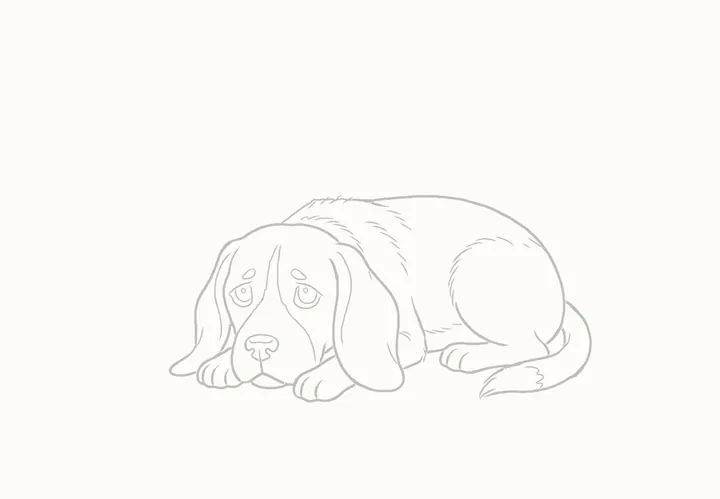
Step 24 of 58
Erase the guides
Rub out the guide shapes; Biscuit's lines stay. The bench and the rest of the park come next, without guides.
-
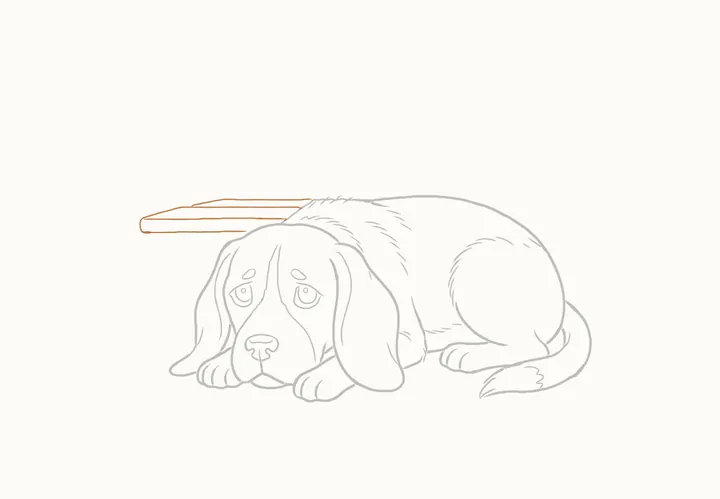
Step 25 of 58
The bench seat
Now the bench, kept light: its seat, from beside his head, along the bottom, round the end and back along the top. Then its back edge and a middle line.
-
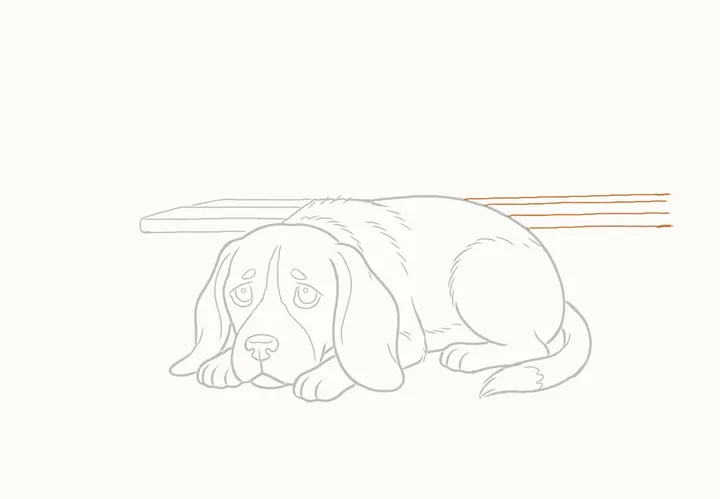
Step 26 of 58
The seat behind him
The seat carries on behind him: four long lines out to the right, from his back, each a little lower than the one before.
-
Step 27 of 58
The bench legs
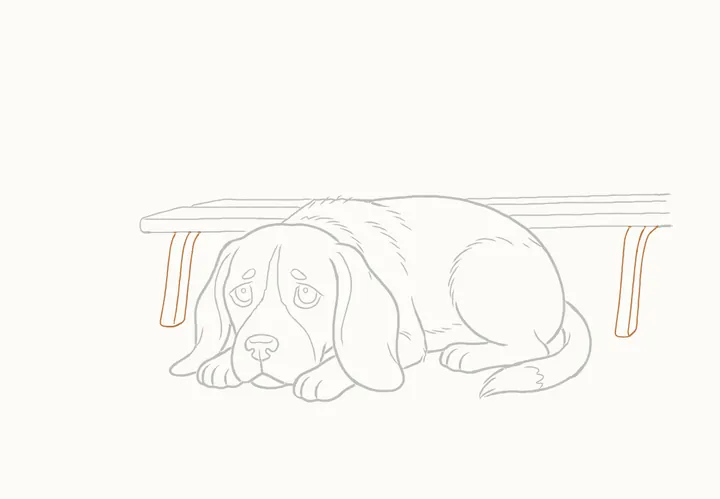
Its two legs, each from its edge nearest Biscuit: down from under the seat, round the foot and up the other side, then a line down inside it. The left leg first.
-
Step 28 of 58
A leaf on the bench back
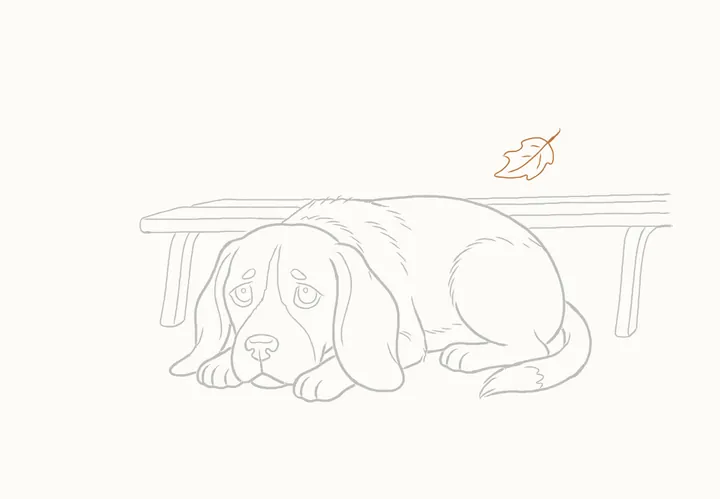
Leaves first, so the slats can stop at them. The jagged one, above the seat over his haunch: round it from its left point, its stalk and middle vein down from the tip, three veins.
-
Step 29 of 58
Another on the bench back
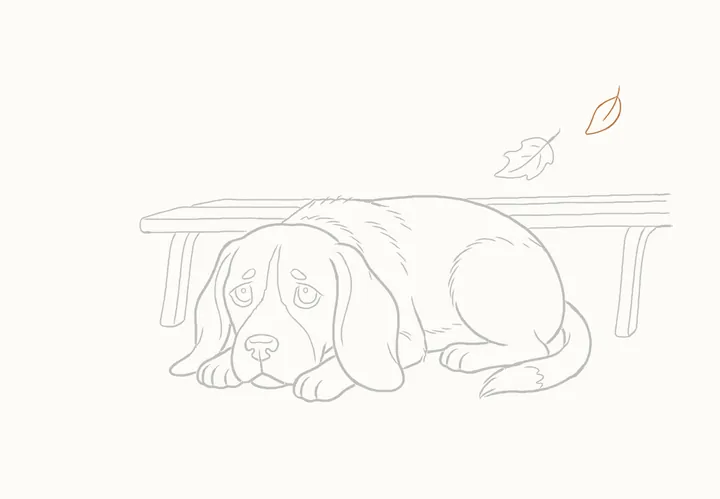
The second leaf, higher still and further right, over his tail: round its edge from where the stalk joins it, then the stalk and middle vein, down from the stalk's tip.
-
Step 30 of 58
The top slat of the bench back
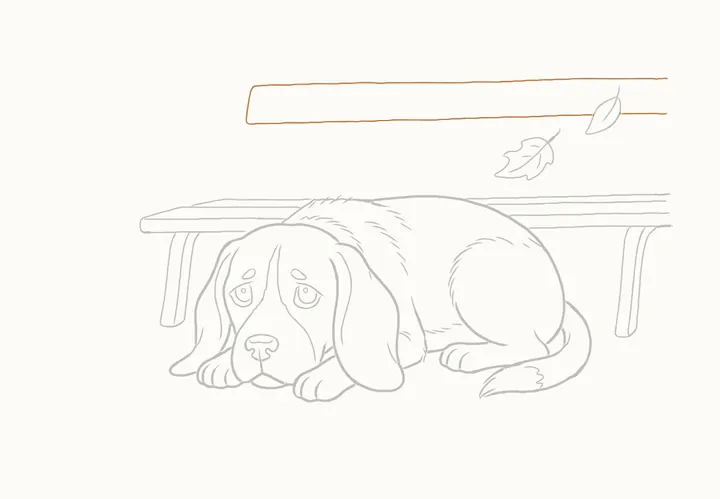
Above the seat, the back rest's top slat: from the upper leaf, left along its underside, round its end and along the top. Then the short piece right of that leaf.
-
Step 31 of 58
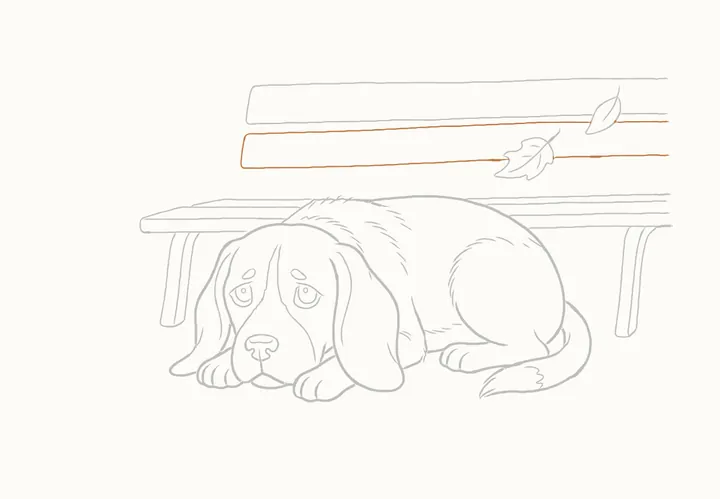
The lower slat
The lower slat: from the lower leaf, left along its underside, round its end and along its top to the upper leaf. Then a line right of each leaf, the top one first.
-
Step 32 of 58
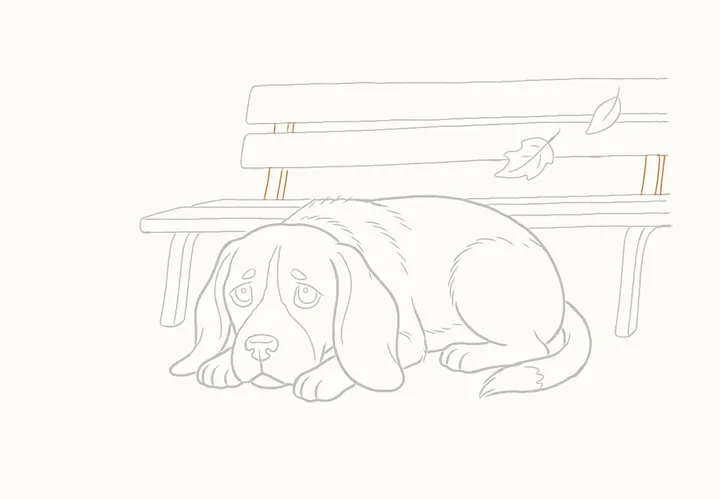
The bench posts
The short posts, each drawn downwards: three between the two slats near their left end, three under them from the lower slat to the seat, then three more like those at the right end.
-
Step 33 of 58
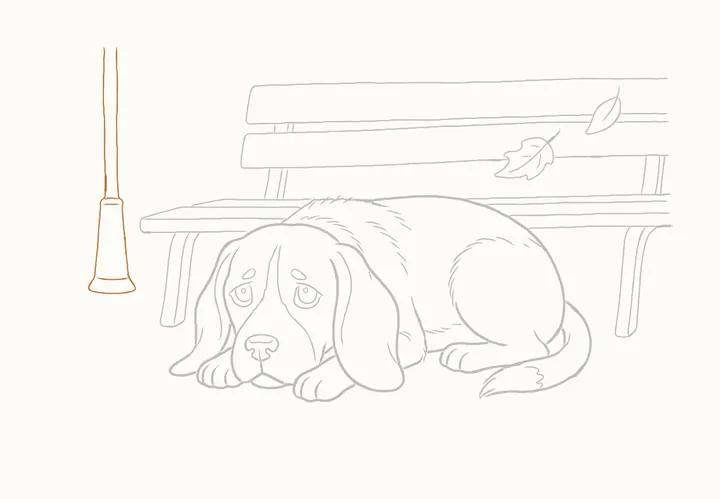
The lamp post
On the left, the lamp post: from the top, down its right side to a flared base, its foot level with Biscuit's eyes; then up. Two lines at the base's top, one at its foot.
-
Step 34 of 58
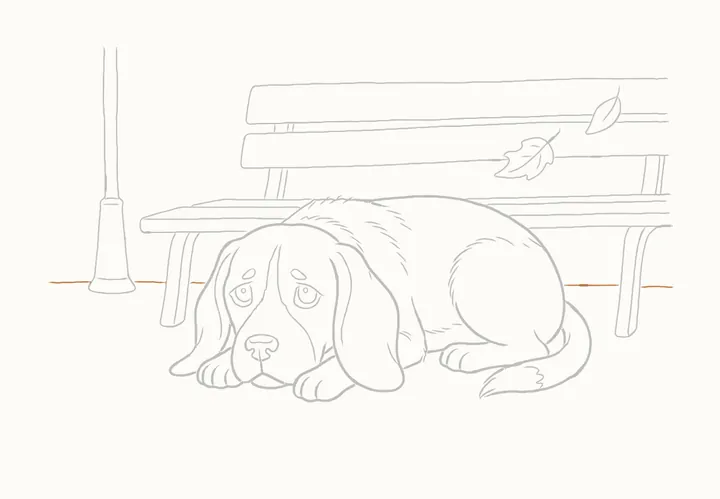
The ground line
The ground line, in five short pieces: one out left from the lamp's foot, then, left to right, one each side of the bench's left leg and one each side of the right leg.
-
Step 35 of 58
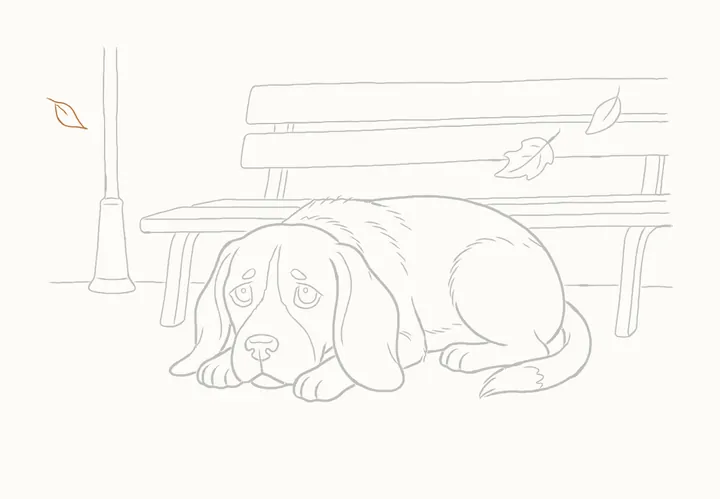
A leaf in the wind
Left of the lamp post, high up, a leaf blowing past: from its stalk's base along the bottom to the tip, back along the top and out the stalk. Then a vein from the stalk.
-
Step 36 of 58
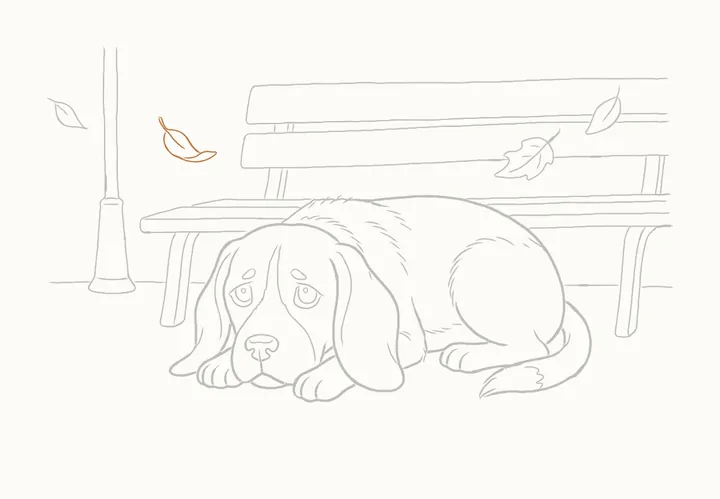
Another leaf in the wind
Another, right of the lamp: from its stalk's tip, down the middle. From the stalk's base, round the bottom to the tip and back along its curled edge; last, the top edge from the stalk.
-
Step 37 of 58
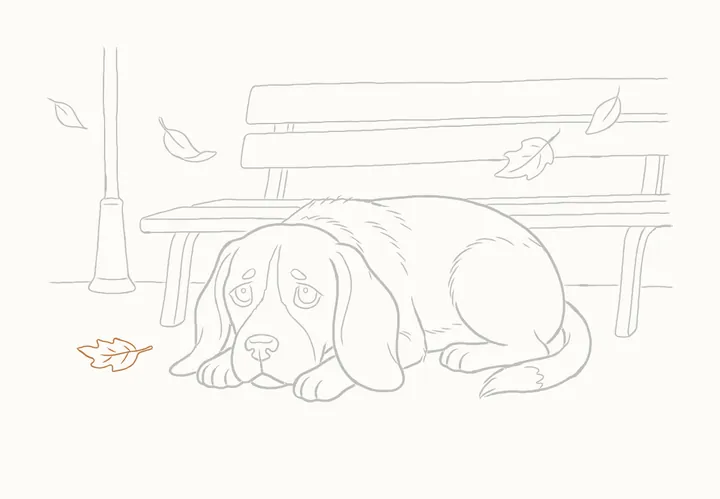
A leaf under the lamp
Under the lamp, a jagged leaf: its middle vein out along the stalk, back round the bottom edge to the left point, then the top edge. Four veins off the middle, left to right.
-
Step 38 of 58
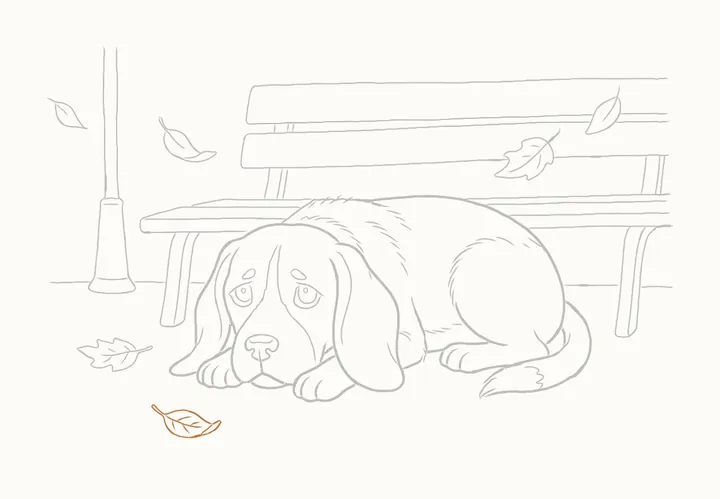
A leaf by his paw
Below his paw, a long leaf: round its curled tip, left along the bottom, round its stalk and back along the top. Its middle vein, then four veins off it, left to right.
-
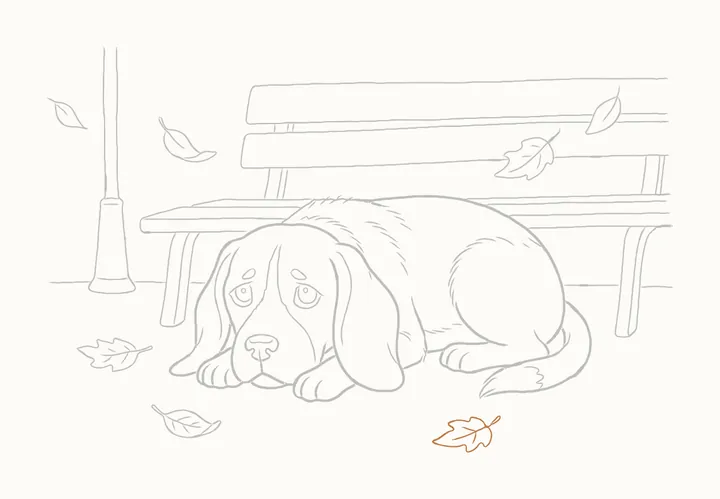
Step 39 of 58
A leaf under his tail
Under his tail's tip, a jagged leaf: up its stalk and back, along the bottom to the left point, back along the top and on down the middle. Then two veins, the upper first.
-
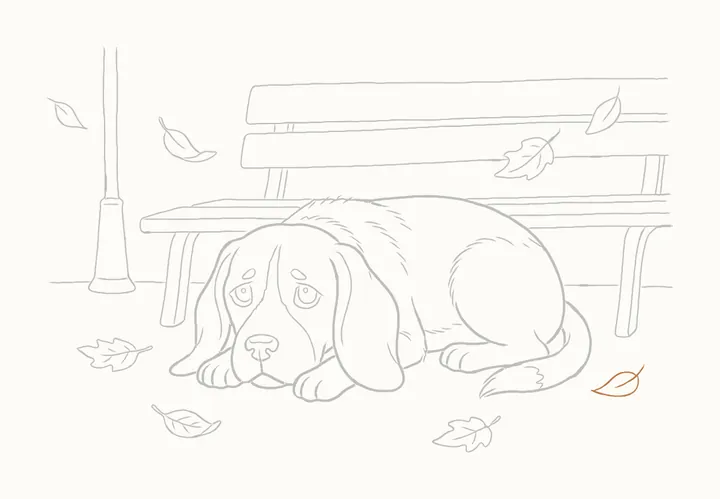
Step 40 of 58
A small leaf
Further right, below the bench's right leg, a small leaf: its middle vein, from inside out along the stalk. Then from the stalk, along the top to the point and back underneath.
-
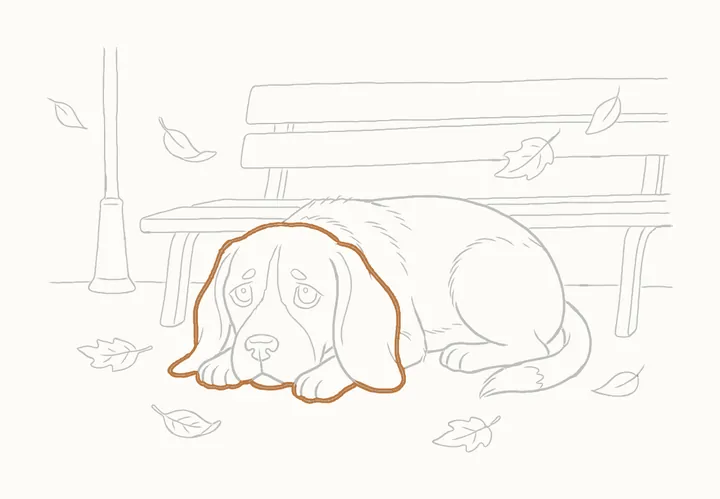
Step 41 of 58
Go over Biscuit's head
Now press harder round Biscuit's head: from the top of the right ear, over his head and down the left ear, round its tip, under both paws, round the right ear's bottom and back up.
-
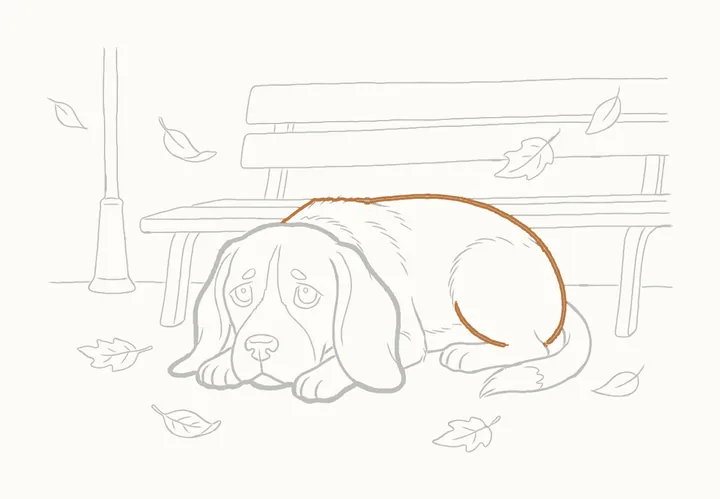
Step 42 of 58
Go over his back and haunch
Then press along his back, from his head round his rump to the haunch. Then round the bottom of the haunch, from the right; its furry strokes stay light.
-
Step 43 of 58
Go over his chest, paw and tail
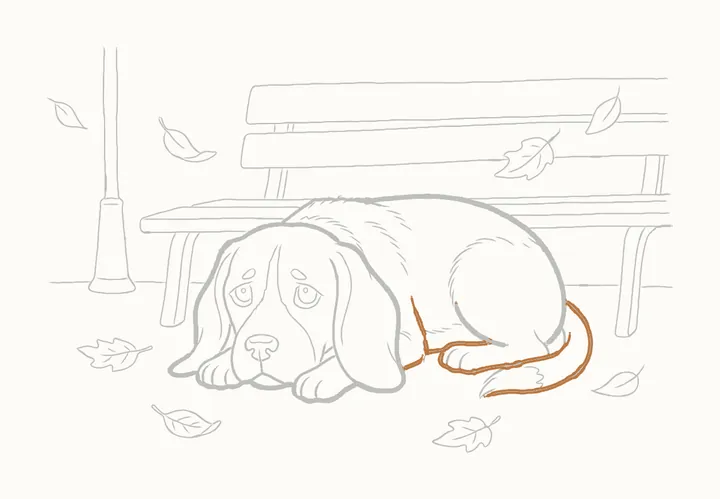
Then down his chest and along the back paw's top; the short line up from under the ear; from the toes round under the paw to his rump; and round his tail to its tip.
-
Step 44 of 58
Shading his head
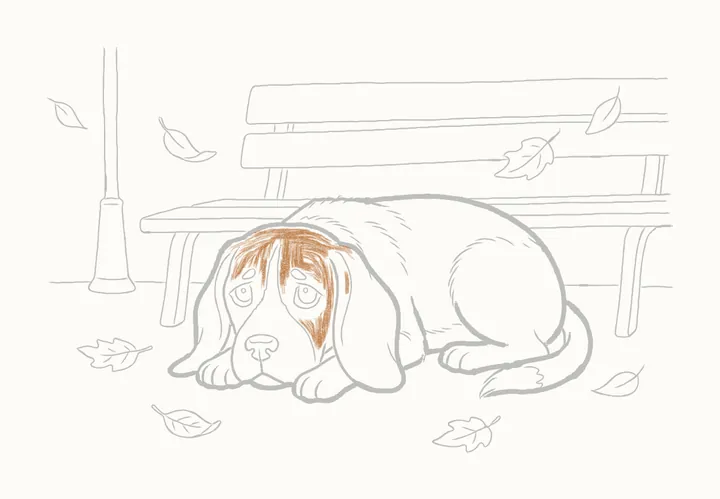
Shading now, soft and light: over the top of his head, round both eyes and down the right cheek, keeping the blaze clear. Then a thin line beside the right ear.
-
Step 45 of 58
Round the eyes
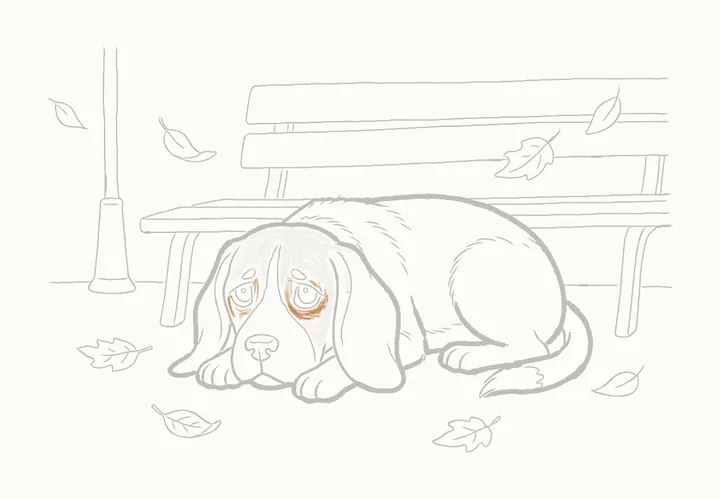
Press a little harder round the eyes: beside and under the eye on the left, and round the eye on the right. It makes his eyes look bigger, and sadder.
-
Step 46 of 58
Under his nose
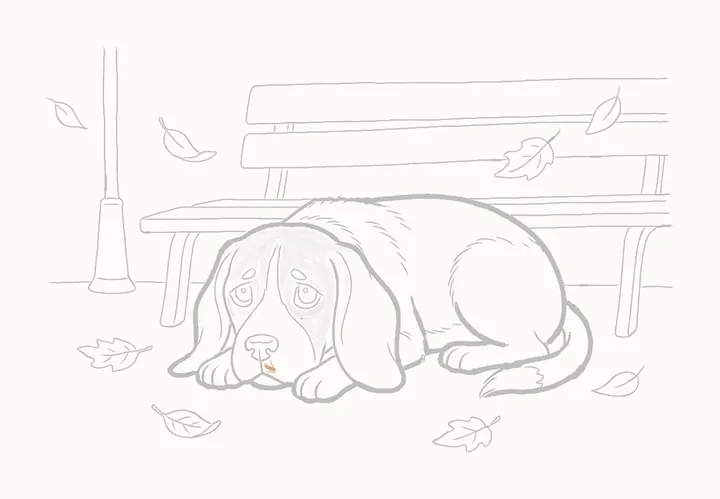
A little darker tone under his nose, on the right of the line down to his mouth.
-
Step 47 of 58
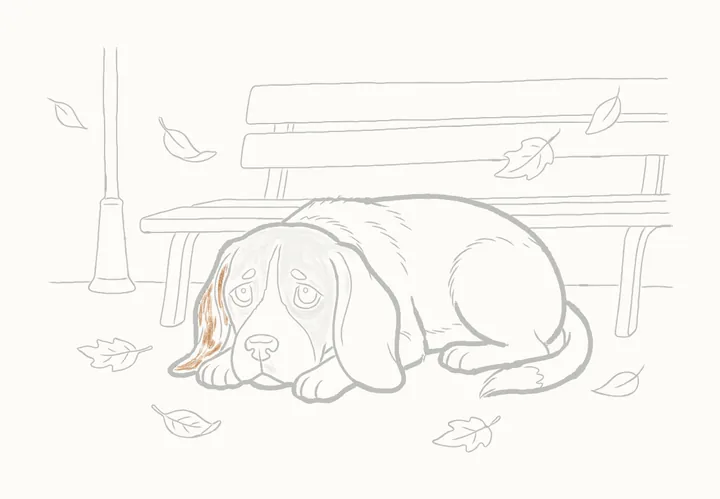
The ear on the left
The ear on the left: darker at its lower end and tip, then a darker strip along its inner edge. Then a light tone up the rest of it, and a touch above the tip.
-
Step 48 of 58
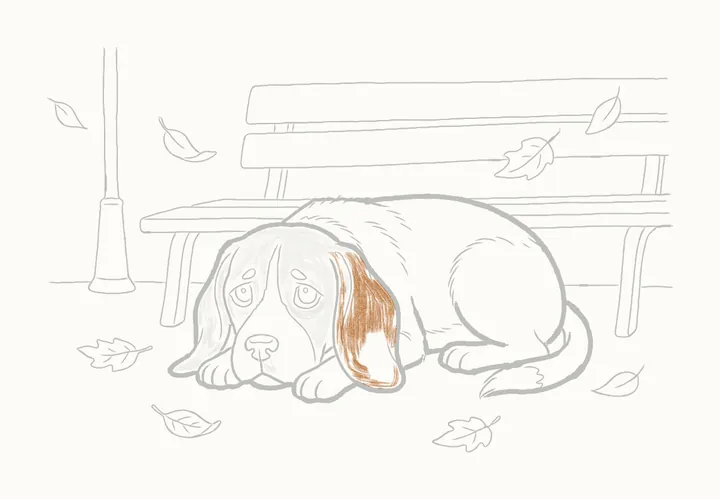
The dark ear on the right
Press harder for the ear on the right, the darkest part of him: even strokes down its length from the top, going round a lighter patch low down.
-
Step 49 of 58
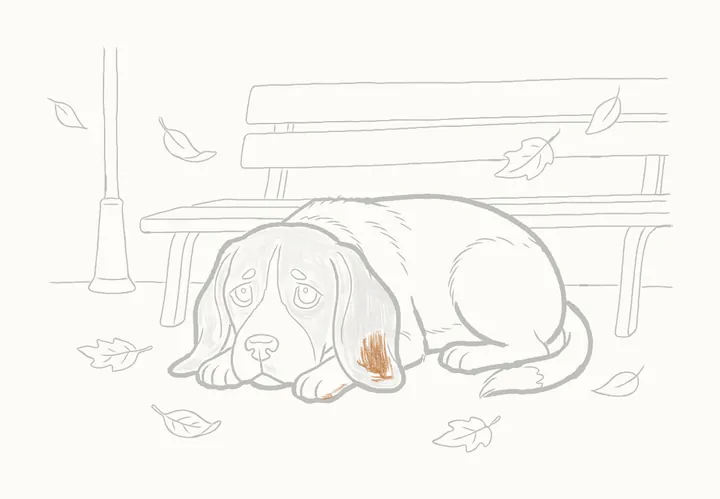
Its lighter patches
Then a light tone in that patch, and a touch along the bottom of the paw beneath the ear.
-
Step 50 of 58
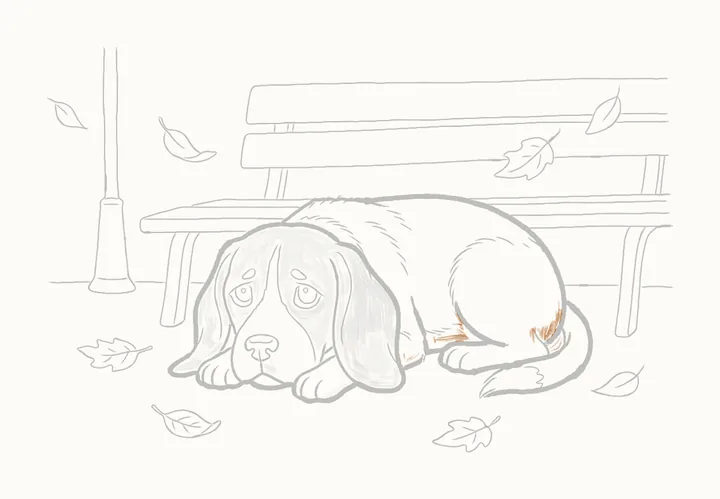
Shading his body
Just a little tone on his body: by his chest, under the haunch, and on his rump, a touch darker where the tail meets him. Keep his back pale.
-
Step 51 of 58
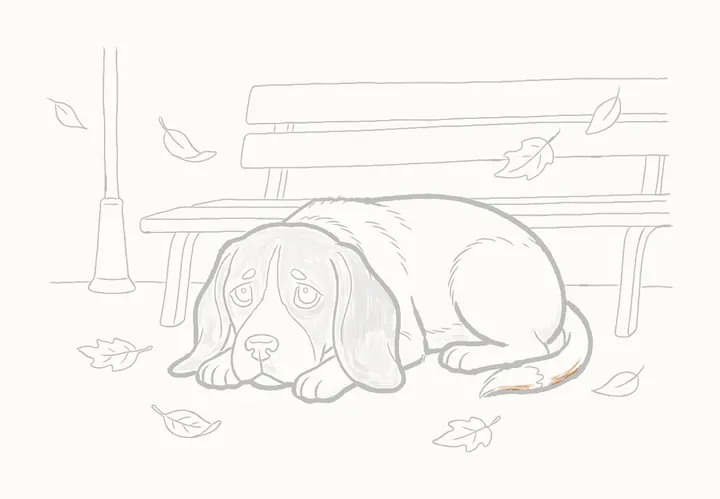
His tail
A light tone along his tail: on top near his rump, and along its underside towards the tip.
-
Step 52 of 58
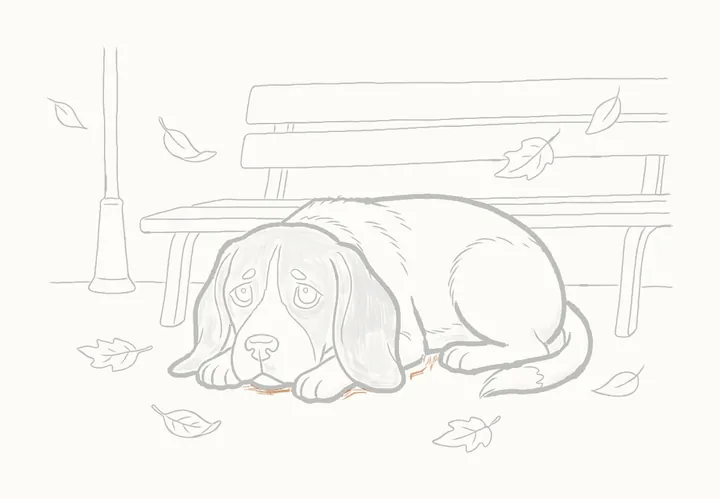
Shadow under him
A soft shadow just under him: below his chin, below the paw on the right, and in front of his back paw, so he lies heavy on the ground.
-
Step 53 of 58
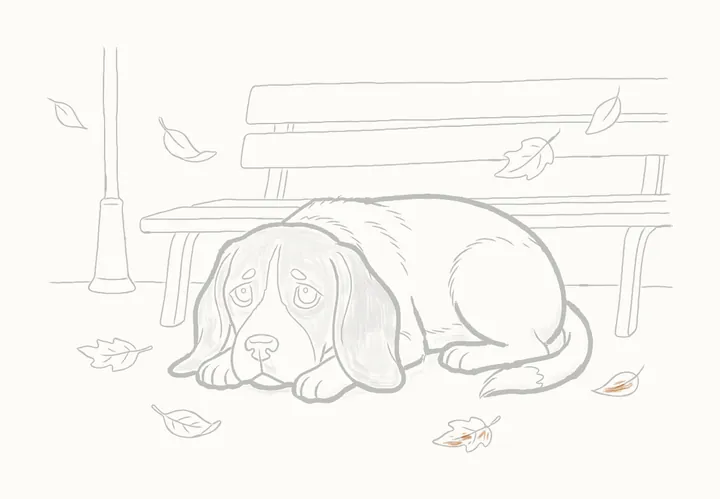
The fallen leaves
A light tone on the leaves lying on the right: two patches on the jagged one under his tail, one on the small one.
-
Step 54 of 58
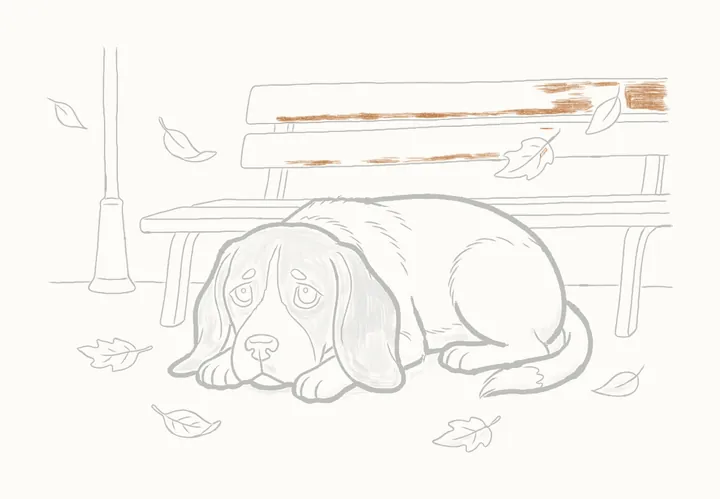
Shading the bench back
Now the scene, kept lighter than Biscuit: a soft tone under the top slat and over its right end, along the bottom of the lower slat, and a touch on and beside the jagged leaf.
-
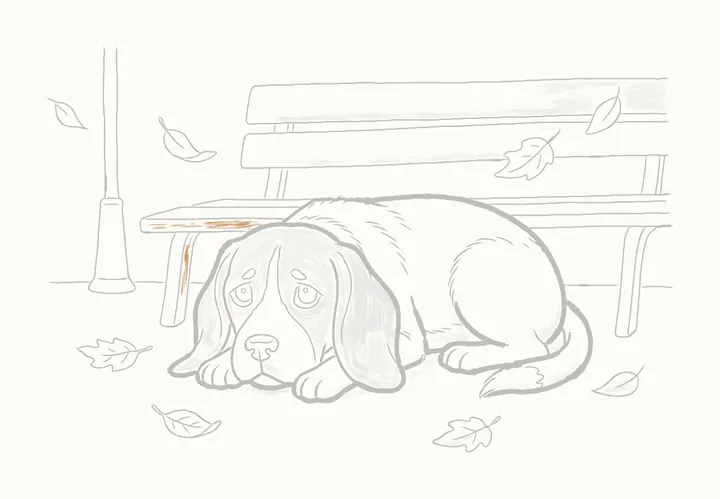
Step 55 of 58
The bench's left end
A soft tone along the front edge of the seat on the left, darker at its end, and a dark line down inside its left leg.
-
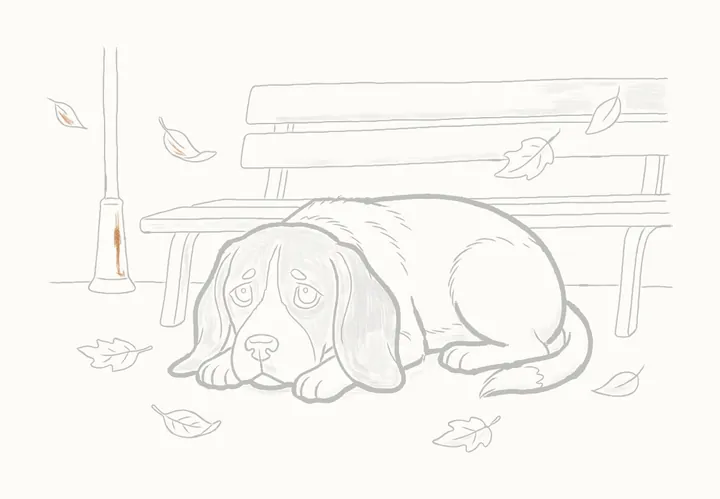
Step 56 of 58
The lamp and the blowing leaves
A light patch on each leaf blowing past, and one down the lamp's base.
-
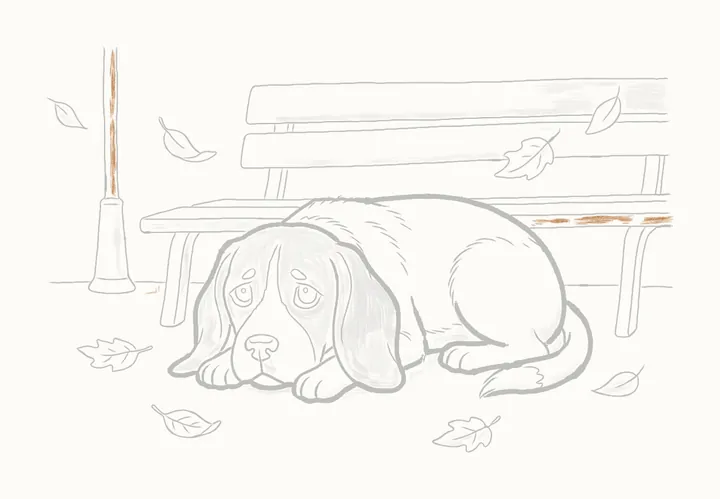
Step 57 of 58
The shadow side
Last, a light tone down the lamp pole, a little shadow on the ground beside the bench's left leg, and along the seat's front edge on the right, darker where it meets his back.
-
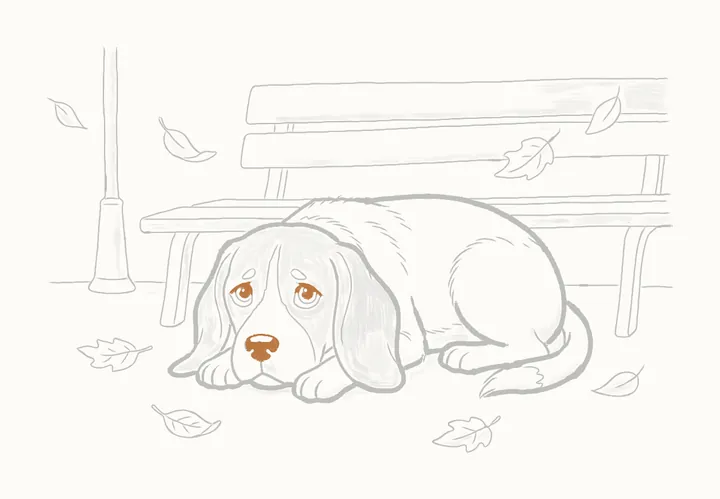
Step 58 of 58
The darks
Last of all, the darks: fill in the pupil and heavy lid of the eye on the left, then the nose, then the other eye, leaving the glints and the nose's shine white.
-
Finished
Your finished sad dog
That’s Biscuit! Go over any lines you want darker, then sign your drawing in the corner.
In the DrawRabbit app
Biscuit’s world has 9 more drawings
Every animal has a whole world of narrated drawings in DrawRabbit, each one a little story you draw with a real pencil and paper. The first drawing in every world is free.
 Free to start · iPhone and iPad
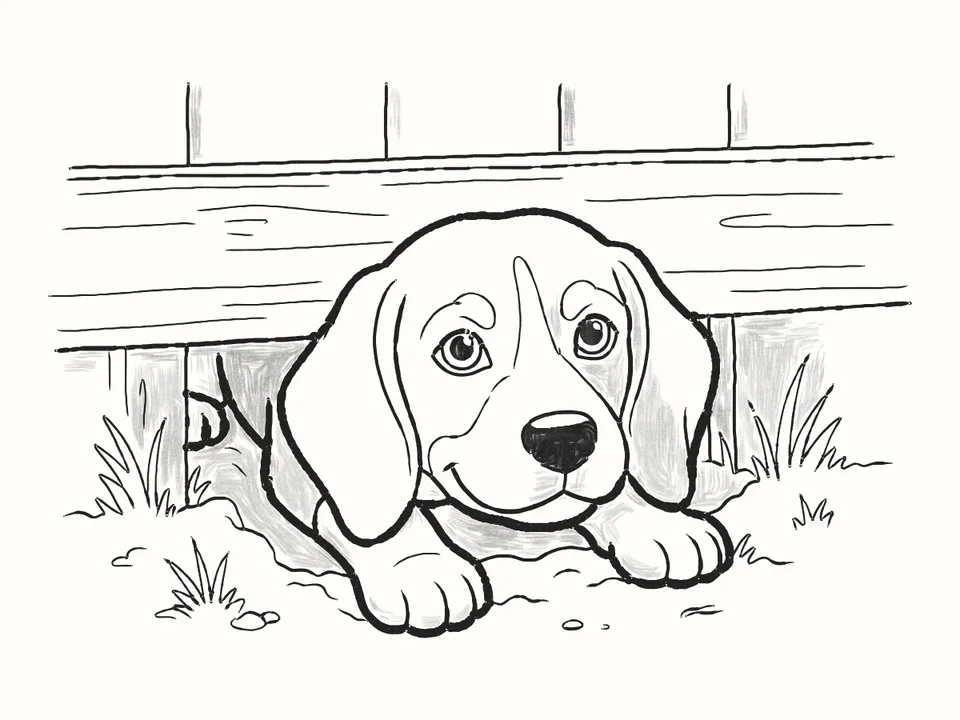 Under the fence
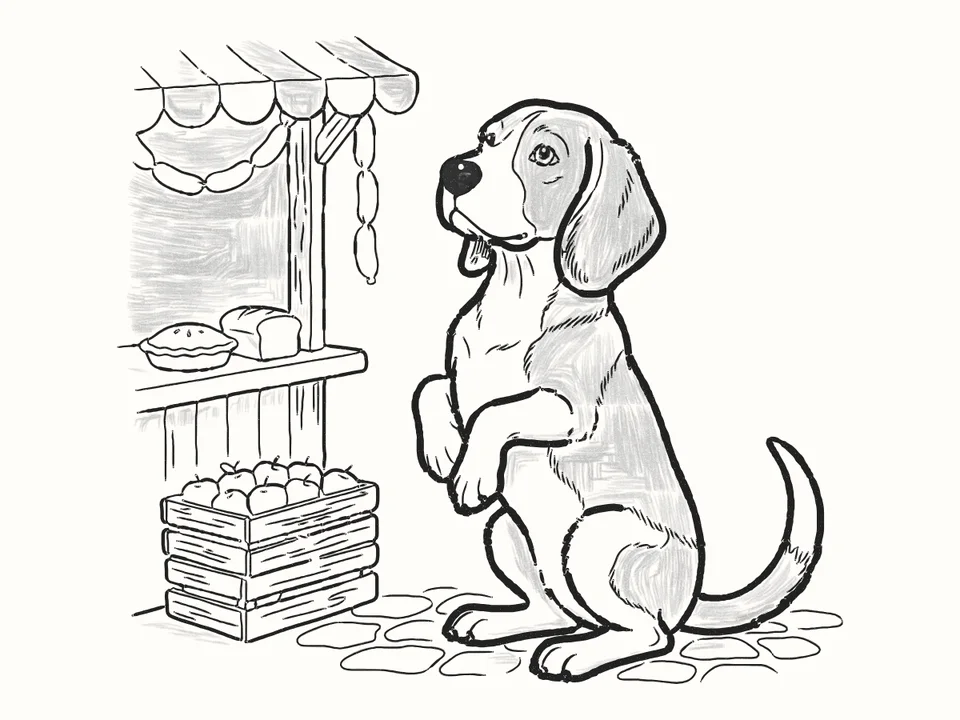 The sausage stall
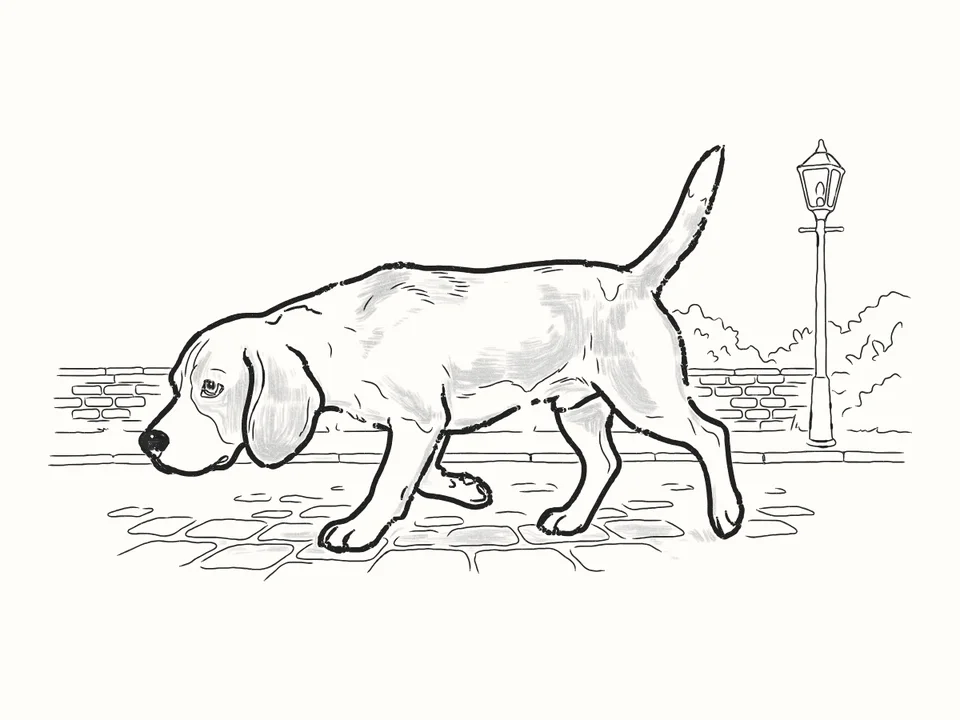 The way home
 By the fire
Tips for a better sad dog
Brows that slope down
Each brow is high at the inner end and slopes down outwards. That slope is what makes him look so sad.
The darkest ear
The ear on the right is the darkest part of him. Press harder, with even strokes from the top, and go round a lighter patch low down.
Leaves before slats
Draw the two leaves on the bench back first, so the slats can stop at them.
Heavy on the ground
A soft shadow under his chin, under the paw on the right and in front of his back paw makes him lie heavy on the ground. Keep the bench and the lamp post lighter than him.
Questions
How do I make a dog look sad?
It’s in the brows. Above each eye, draw a small tilted loop that’s high at the inner end and slopes down outwards. Give each eye a heavy lid with the iris tucked under it, then shade a little harder round the eyes: it makes them look bigger, and sadder.
What do I need?
A pencil, paper and an eraser. Draw the first steps lightly: the guide lines are rubbed out in step 24. The bench, the lamp post and the leaves come after that, with no guides.
How do I draw a dog lying down?
Two ovals do most of it: one for his head and a long one tipped down to the right for his body, with a circle in its right end for the haunch. His long ears hang either side of his face, a front paw pokes out under each one, his back paw lies in front of the haunch and his tail curls round under it.
Can kids draw it?
Yes. It’s made for beginners of any age. If reading the steps is hard, the draw-along talks you through each line while it draws.
What is DrawRabbit?
A drawing app for iPhone and iPad: narrated, step-by-step lessons you follow with a real pencil and paper. 95 drawings in 10 worlds, free to start, no account needed.
Keep drawing · Next guide
How to draw a cat looking out a window
A cat looking out a window in 50 steps
Start drawing