 DrawRabbit
Drawing guide · Sharks
How to draw a great white shark
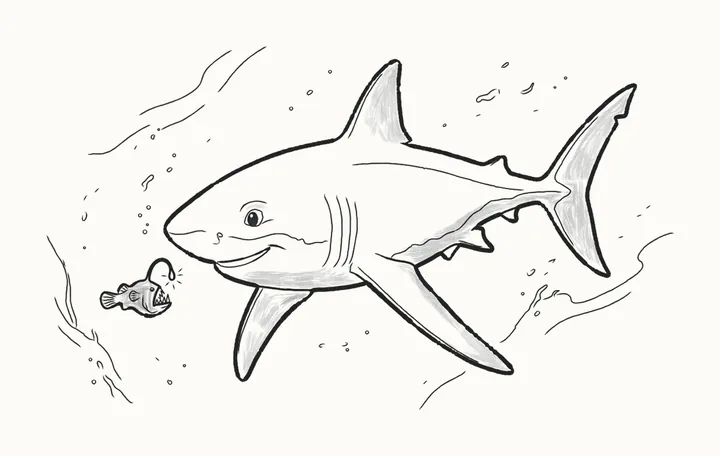
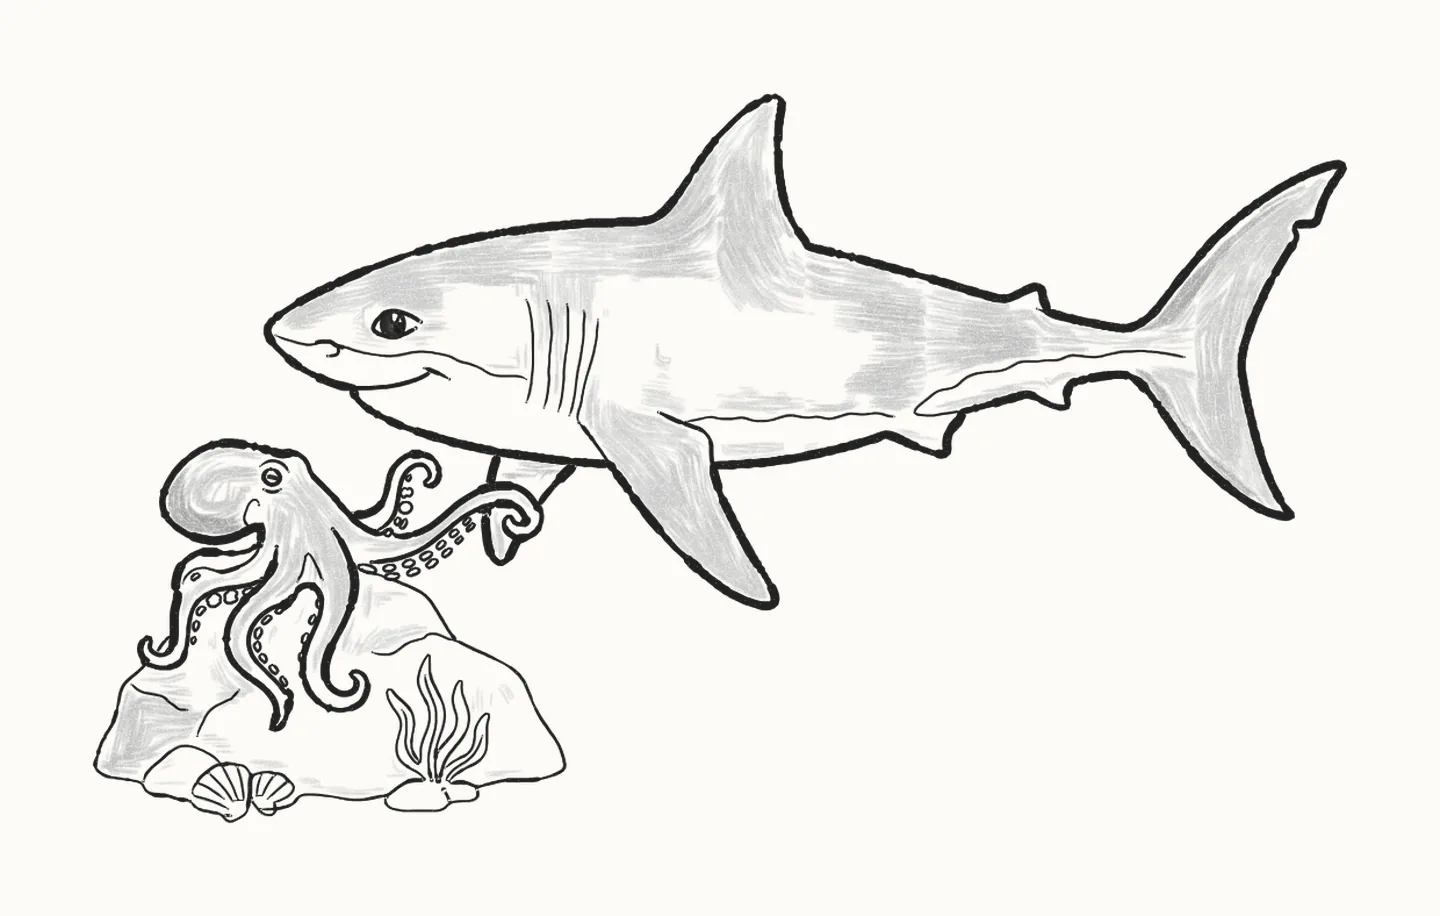
Reggie has made a new friend. In 52 steps you’ll draw a great white shark nose to arm with an octopus, using a pencil and paper: two long curves for Reggie, then his fins, his gills and the line of his pale belly, and last the octopus curled on its rock.
How do you draw a great white shark?
To draw a great white shark, start high on the page with two light curves for his back and belly, meeting at his nose, then triangles for his fins and a V for his tail. Draw his head and tall top fin, a long smile, the side fin and then his belly. Go along his back over the little fin, round the tail and back under him past a wavy fin. Add an almond eye with a glint, five curved gills and the pale lines that show where his white belly starts. Then the octopus below his nose: a soft, round head, a small eye with a slit pupil, its siphon and the long arm reaching up to him, with his far fin behind it. Draw its other arms, the one curling up, the one hanging straight down, the one on the right and the one sweeping left, each with its suckers. Add two scallop shells, the rock, seaweed and pebbles. Rub out the guides, go over Reggie firmly and the octopus a little lighter. The light comes from above, so shade his back, fins and tail a soft grey down to the pale line, then the octopus and the rock, and fill in his eye last. It takes 52 steps with a pencil, paper and an eraser.
You need a pencil, paper and an eraser52 stepsBeginner
Draw a great white shark, step by step
In colour: what to draw nowGrey: already drawn
Draw everything in pencil, lightly at first. Save all 52 steps to Pinterest
-
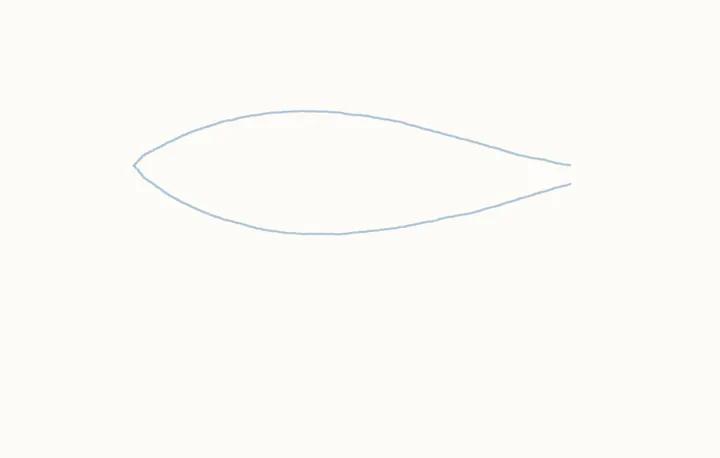
Step 1 of 52Guide lines
Reggie's guides
Reggie is visiting an octopus, so start high and leave the bottom-left free for it. Lightly: back and belly curves meeting at his nose, a fifth in from the left, running back to his tail.
Draw these lightly: they’re only there to help, and you’ll rub them out in step 36.
-
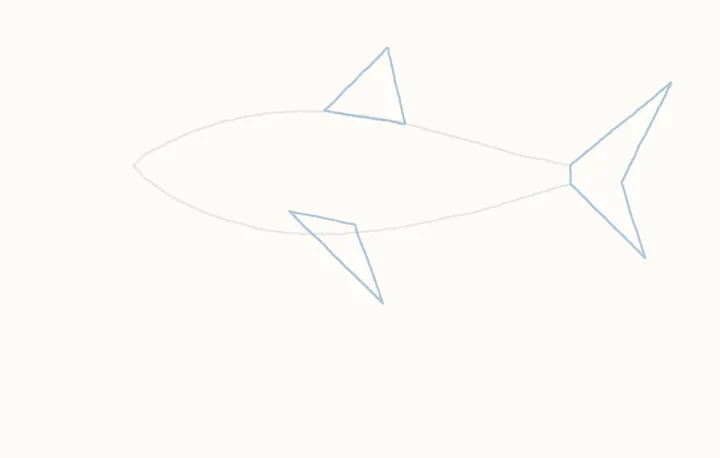
Step 2 of 52Guide lines
Fin and tail guides
Triangles for his fins: a tall one on his back, a long one slanting down behind his head. Then a V for his tail: a long point up, a shorter one down.
Draw these lightly: they’re only there to help, and you’ll rub them out in step 36.
-
Step 3 of 52
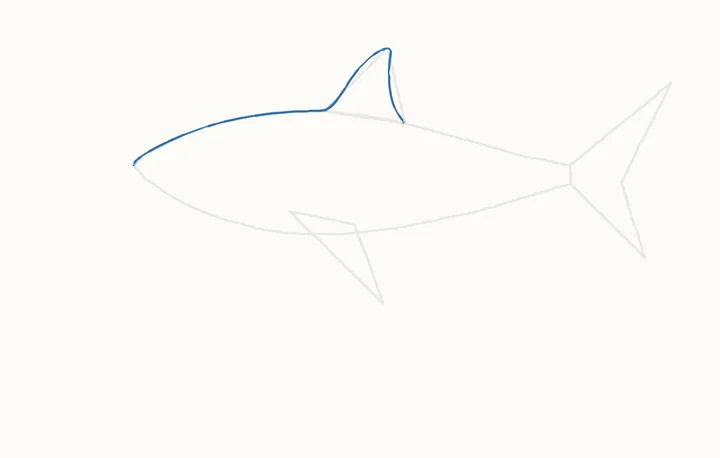
His head and top fin
Now the real lines: from his nose, follow the back curve over his head to the top fin. Go up its front edge to the tip, and down its back edge.
-
Step 4 of 52
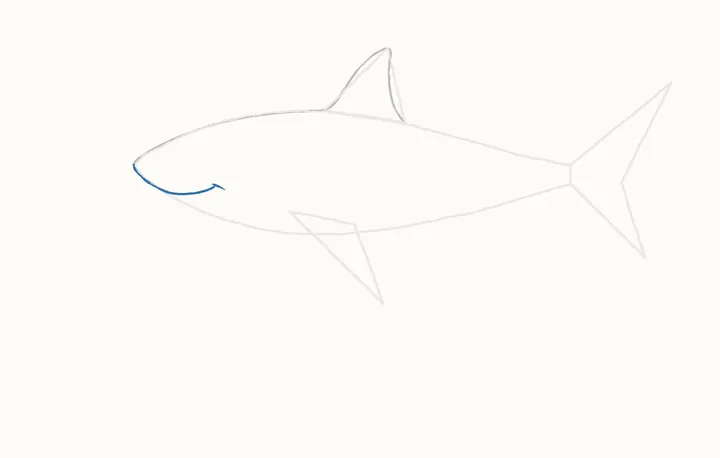
His smile
From his nose again, go down round his chin and up into a long smile. Then a little crease out from the smile's end.
-
Step 5 of 52
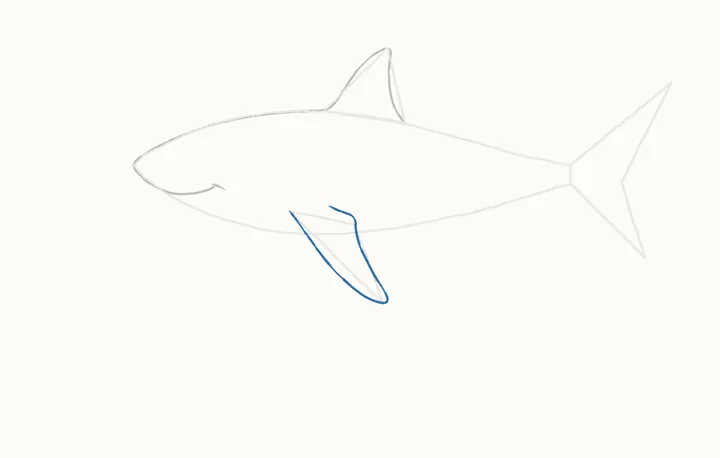
The side fin
The side fin comes before the belly. Start on the belly guide just behind the smile's end, go down its front edge to the long point, back up, and curl into his body.
-
Step 6 of 52
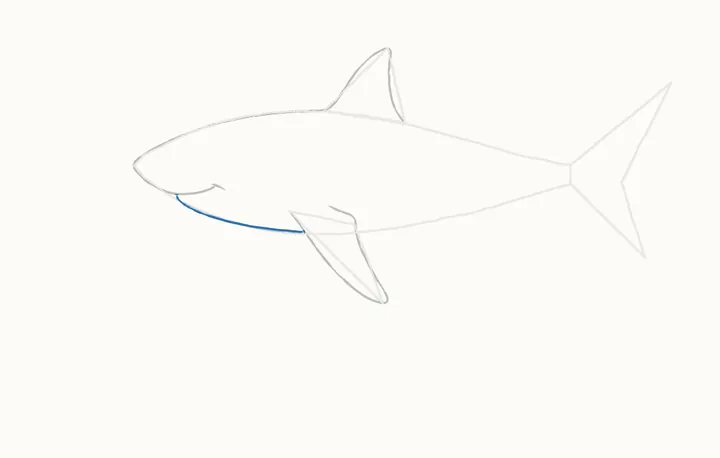
His belly
From his chin, follow the belly curve back to the side fin and stop there. The heavy, rounded chest is what makes a great white look strong.
-
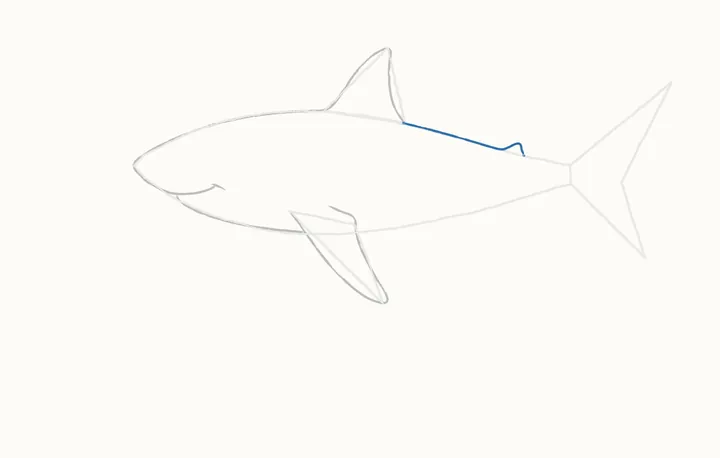
Step 7 of 52
On to his tail
From under the top fin, a line along his back to the little fin near his tail: up over it and down its back edge.
-
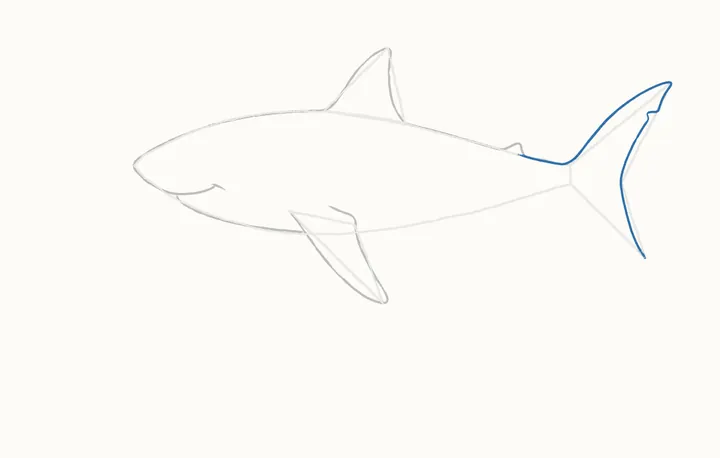
Step 8 of 52
The tail
The tail: from under the little fin, along to where the tail starts, up to the top point, down its back edge past a notch, and on down to the bottom point.
-
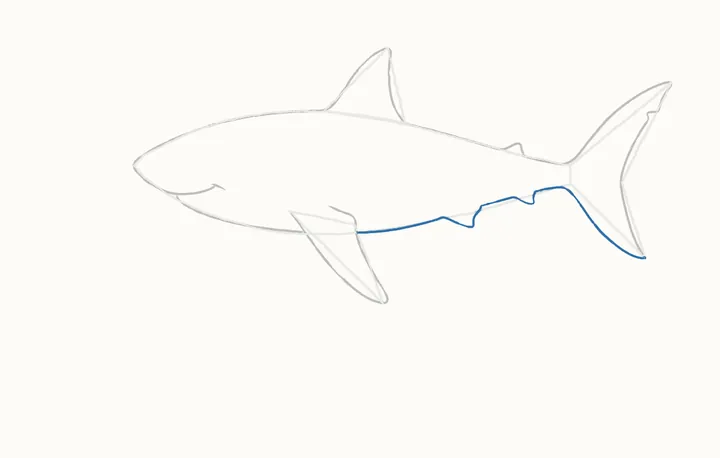
Step 9 of 52
Underneath
From the side fin, along his underside, round a wavy fin and a small fin, and on down to the tail's bottom point, without lifting.
-
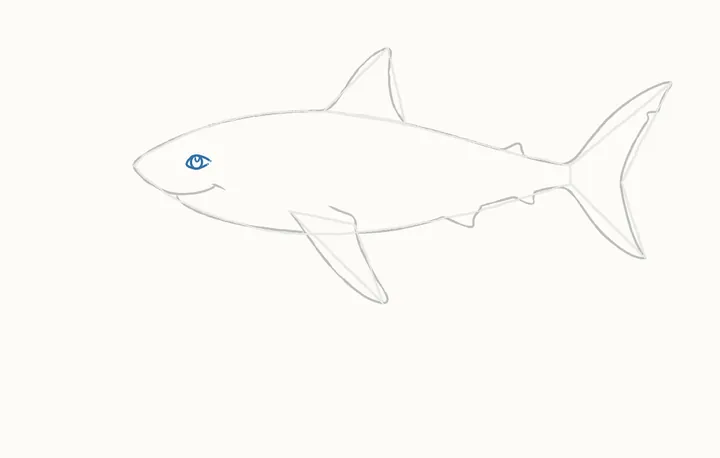
Step 10 of 52
His eye
Above the smile's back end, an almond eye: from the top lid's back tip to the front corner and back under. Inside, an upright oval, and a curl dipping from its top for the glint.
-
Step 11 of 52
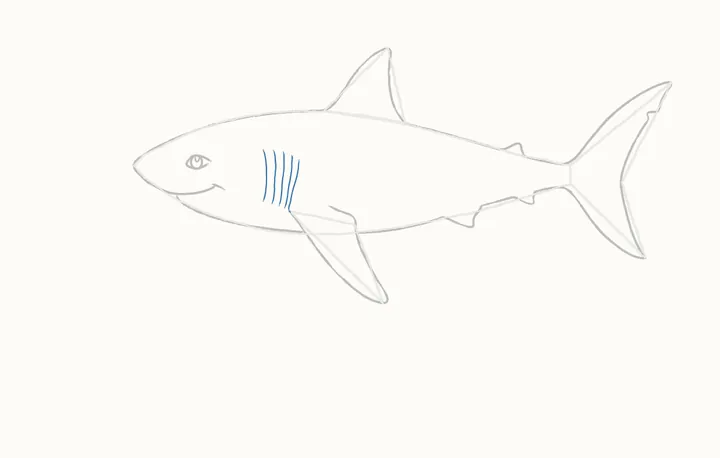
His gills
Behind his head, five curved gill slits, each drawn up from the bottom. Start with the one nearest his eye; the last one rises out of the side fin.
-
Step 12 of 52
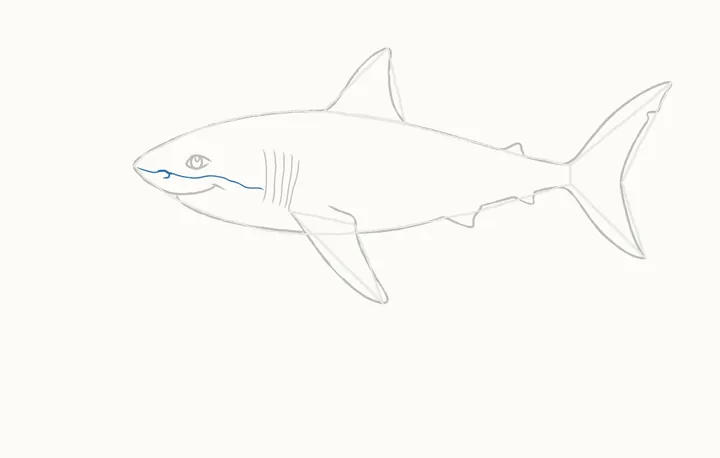
The pale line at the front
This line shows where his pale belly starts: from his nose, back under his eye to the first gill, and stop there. Then a little hook hanging off it for his nostril, near the start.
-
Step 13 of 52
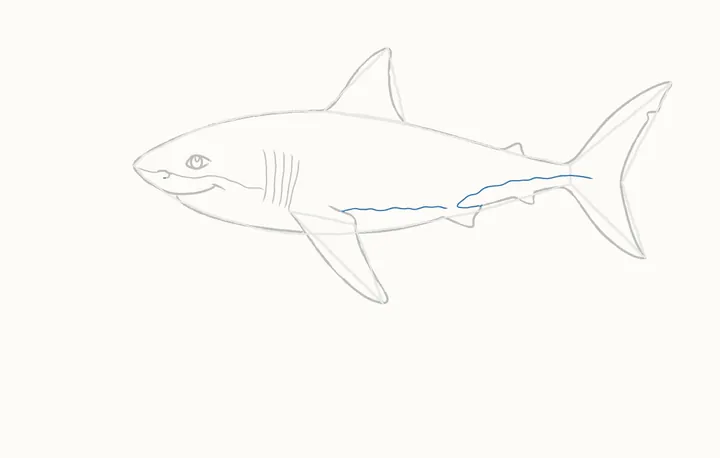
The pale lines along his side
A wavy line behind the side fin, then one from the root of the wavy fin forward to a point and back along to the tail.
-
Step 14 of 52
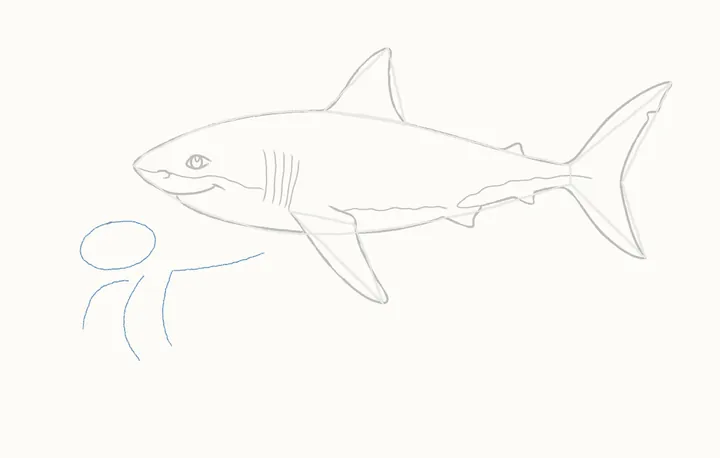
Placing the octopus
The octopus, below Reggie's nose, a little in front: an oval for its head, tipped back. Then four arm curves: one under his belly, short of his side fin; two hanging down; one sweeping left.
-
Step 15 of 52
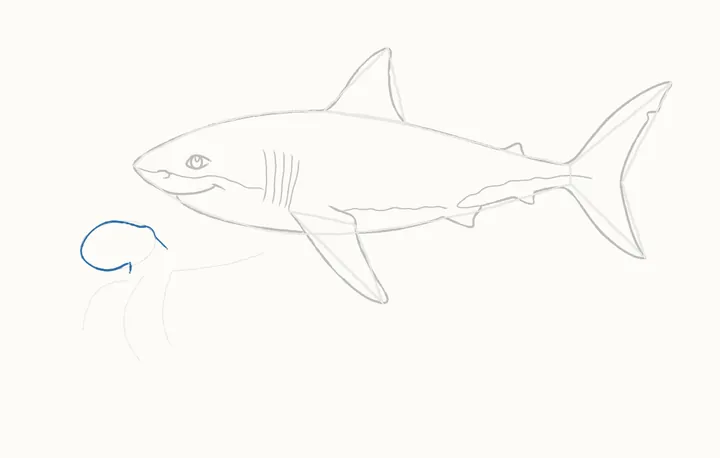
The octopus's head
Its head is a soft, round bag, facing Reggie: from the front of its neck, go under, round the back, over the top and down its right side. Then a short line down its neck.
-
Step 16 of 52
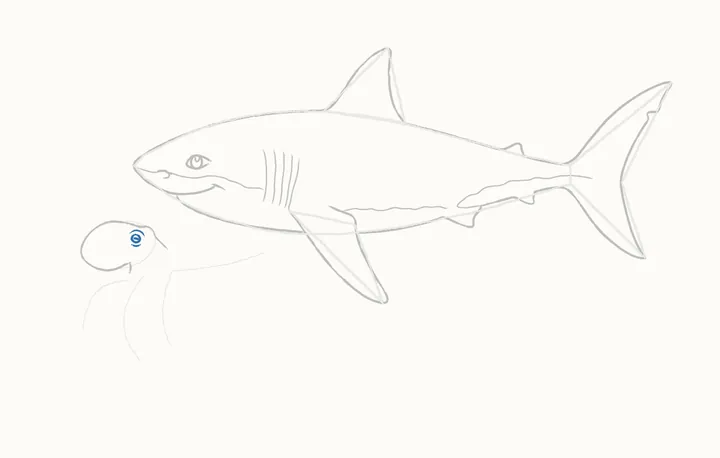
The octopus's eye
Near the right of its head: a small ring, a short slit across its middle for the pupil, a curved brow above and a small curve below.
-
Step 17 of 52
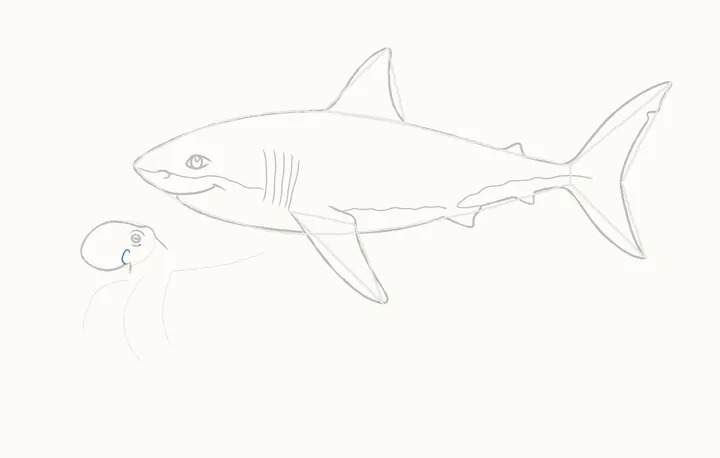
Its siphon
Below the eye, at the top of that short line, the siphon: a little hook curling up and over.
-
Step 18 of 52
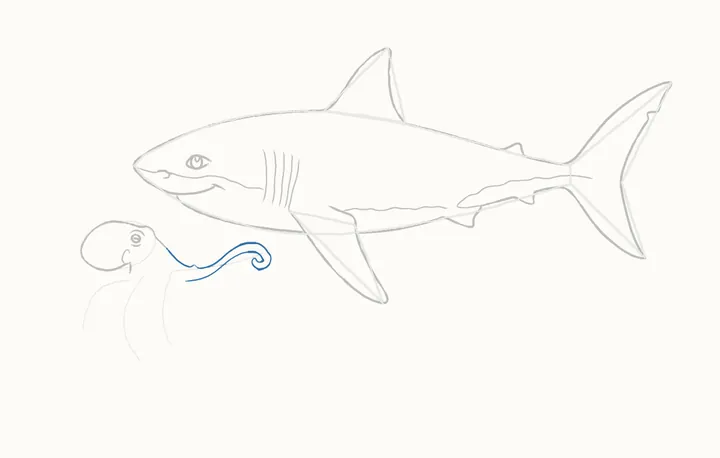
The long arm
The arm reaching out to Reggie: from where the head line ended, along its top edge to under his belly, round the hook and into the curl, then back along its lower edge, without lifting.
-
Step 19 of 52
Reggie's far fin
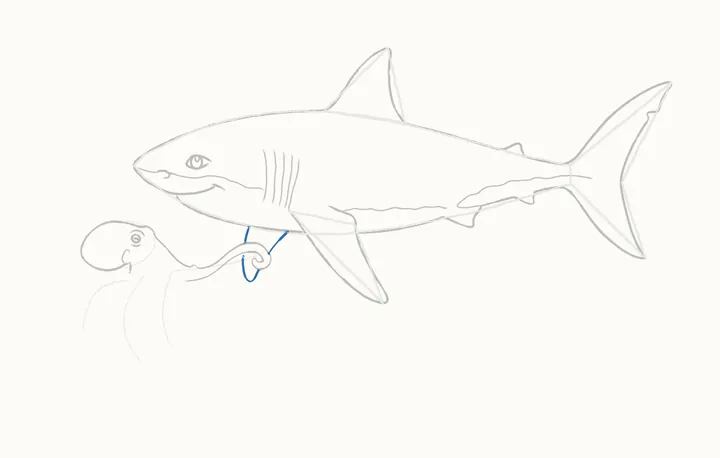
Reggie's far fin, behind that arm: a short front edge from his belly to the arm. Under it, a narrow U from the arm to the curl, then the back edge up to his belly.
-
Step 20 of 52
Its suckers
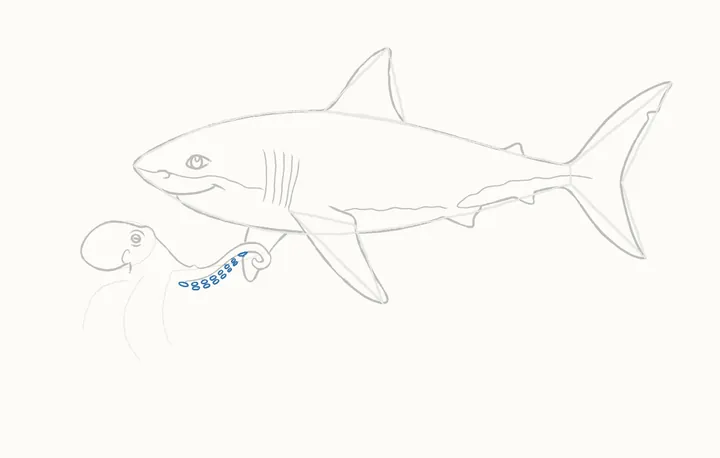
Now suckers along the long arm: small ovals in two rows near its lower edge, fourteen of them, from the body out to the hook.
-
Step 21 of 52
The arm curling up
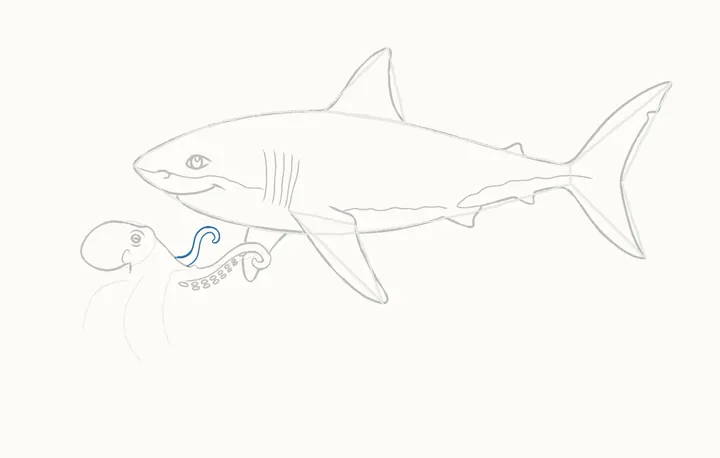
Above the long arm, an arm curling up: from the body, up its outer edge into a tight spiral, round, and back down its inner edge to the long arm.
-
Step 22 of 52
Its suckers
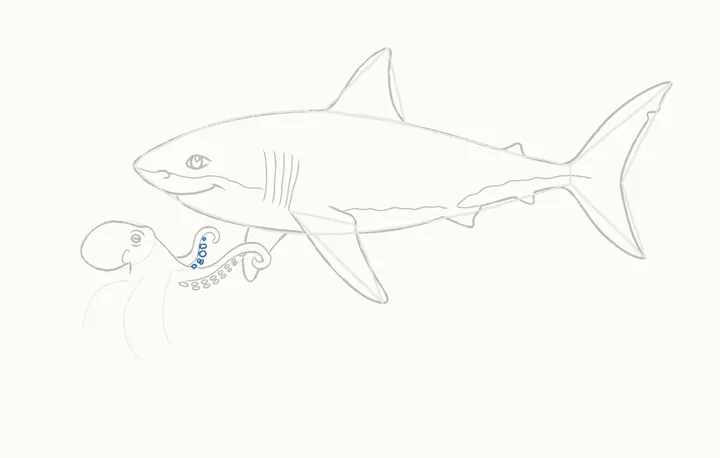
Six small suckers up the inside of that arm, from the long arm to the base of the spiral.
-
Step 23 of 52
The front arm
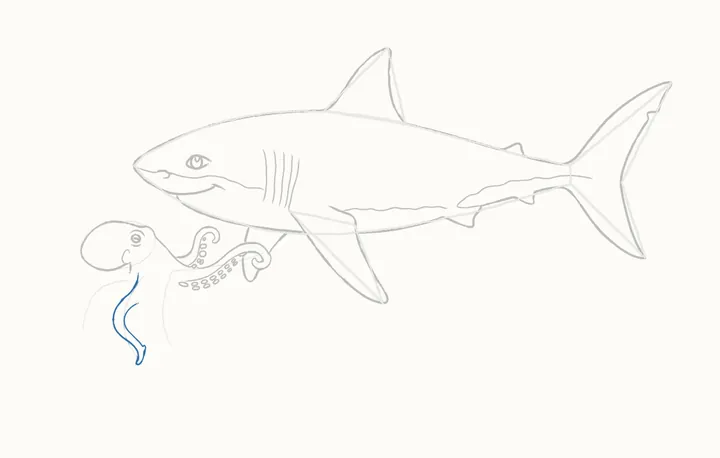
The front arm hangs straight down: from under the head, down its outer edge to a thin point, round it, and back up the inside to the top.
-
Step 24 of 52
Its suckers
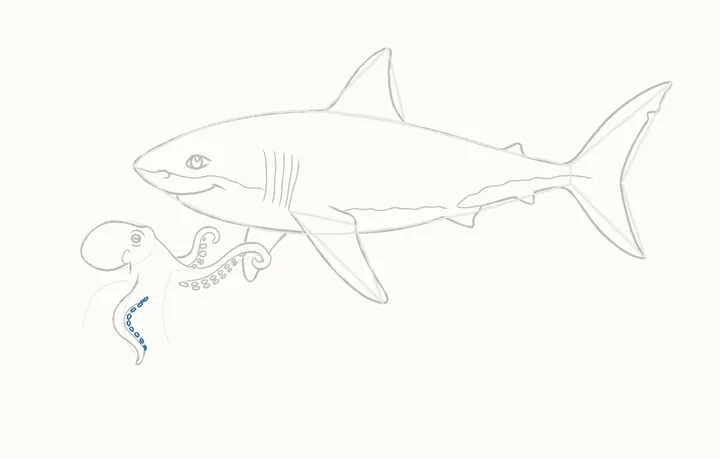
Ten small suckers in a row down the inside edge of the front arm, from the top to the point, each just touching the next.
-
Step 25 of 52
The arm on the right
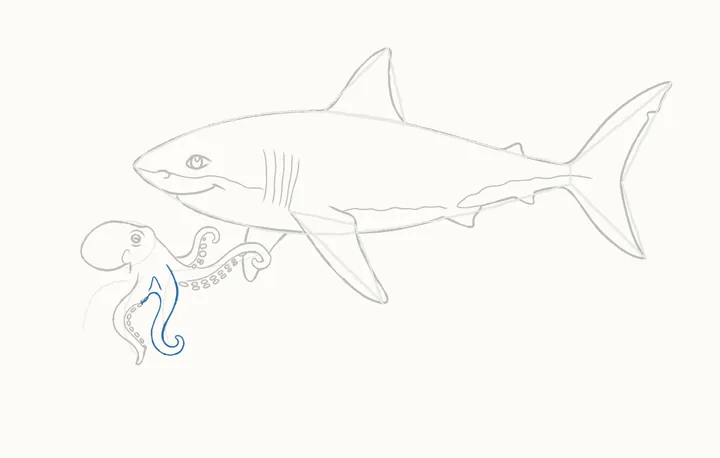
From the front arm's top, over an arch, down the next arm, round its curl and up to the body. Then a soft crease under the head, between these arms: up to a point, down.
-
Step 26 of 52
Its suckers
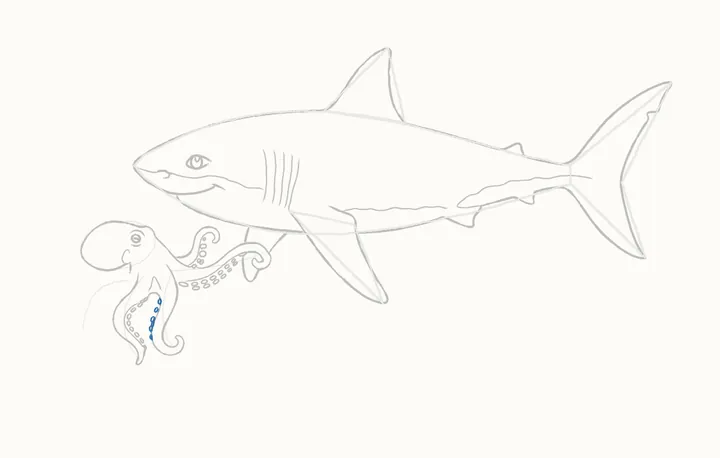
Six small suckers down the inside of that arm, from the arch to the curl.
-
Step 27 of 52
The arm on the left
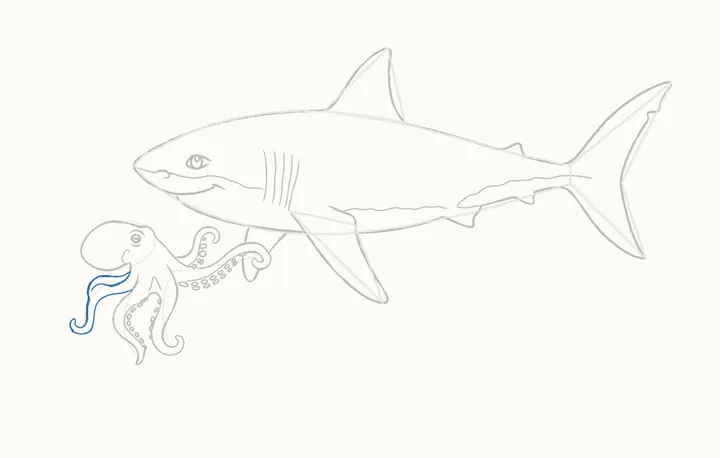
The last arm sweeps left: from the neck, out, down and round into a curl, then back up its inner edge to the front arm without lifting. Then a line along its top.
-
Step 28 of 52
Its suckers
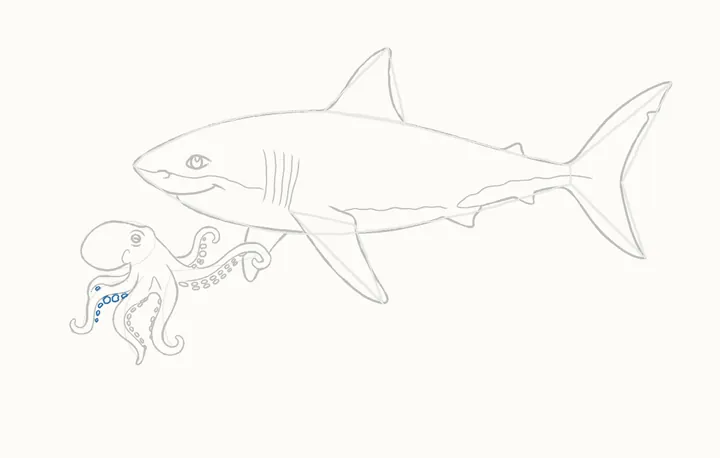
Seven suckers on the left arm: a row along under that line, one at its end, then round the bend and down beside the inner edge.
-
Step 29 of 52
The shells
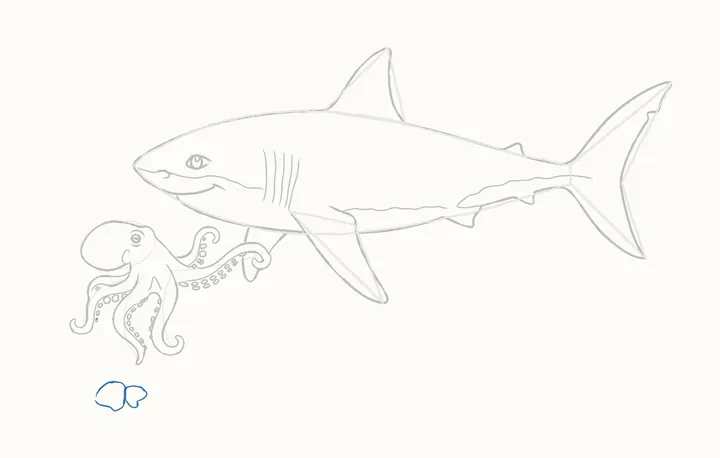
Two scallop shells, an octopus-head's height below the left arm's curl, each a third its head's width. Go round the left one from its left point; then the one behind it, on the right.
-
Step 30 of 52
Their ridges
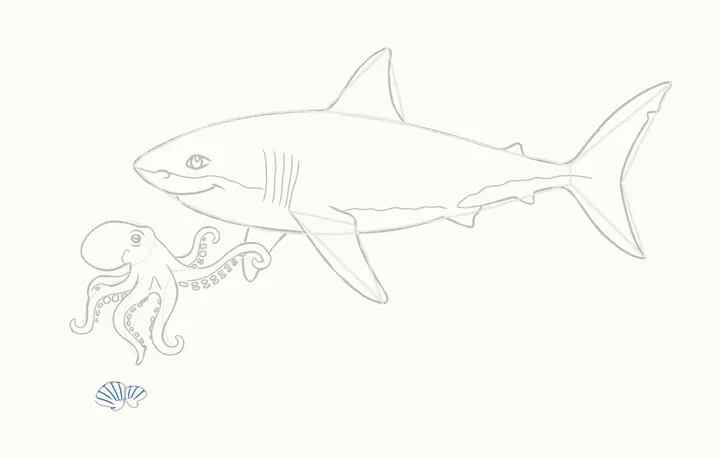
Ridges fan out on each shell: five on the left one, each from its edge down to the hinge, and a short line under it. Then three on the right one.
-
Step 31 of 52
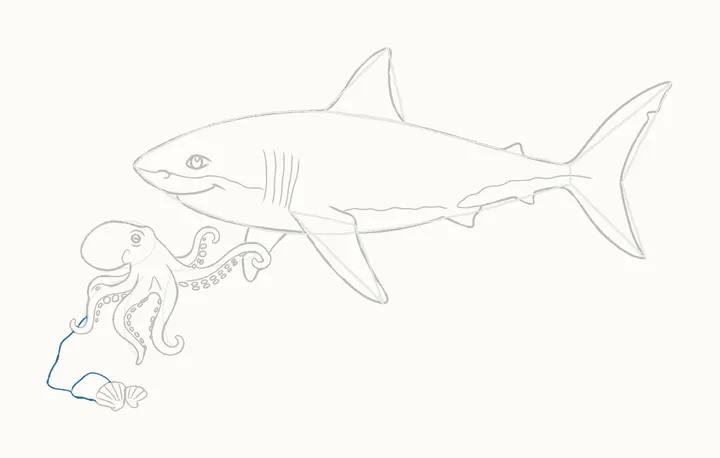
The rock
Now the rock, behind them all: a short bit inside the left arm's curl, then its left side from the curl round the corner to the shell, and a bump behind the shell.
-
Step 32 of 52
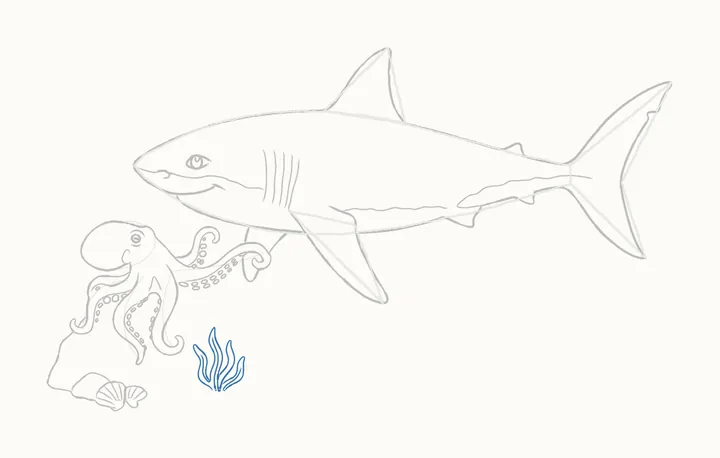
The seaweed
Seaweed right of the right arm's curl, up to the curl's top, foot level with the shells' bottoms. Four narrow leaf loops, left to right; after each, a line up its middle, except the third.
-
Step 33 of 52
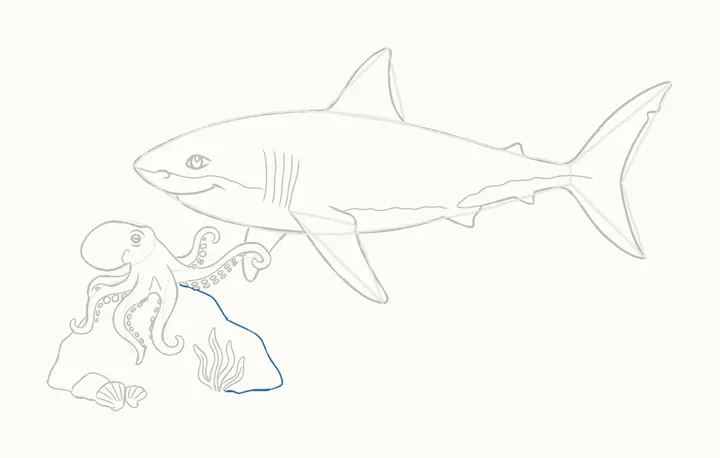
The rock's right side
From under the long arm's middle, curve down and out to just past the end of its curl, then down to the shells' level and back along the foot to the seaweed.
-
Step 34 of 52
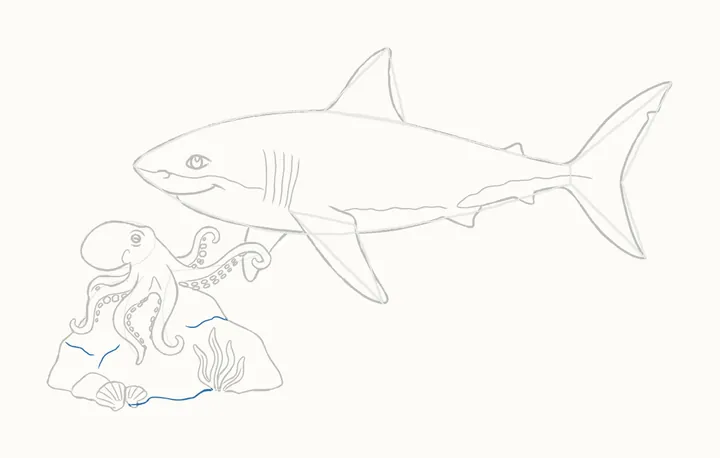
Its foot, ridge and cracks
The rest of the foot, from the right shell along to the seaweed. Then a ridge across the top, from the right side leftward, and two cracks on its left face.
-
Step 35 of 52
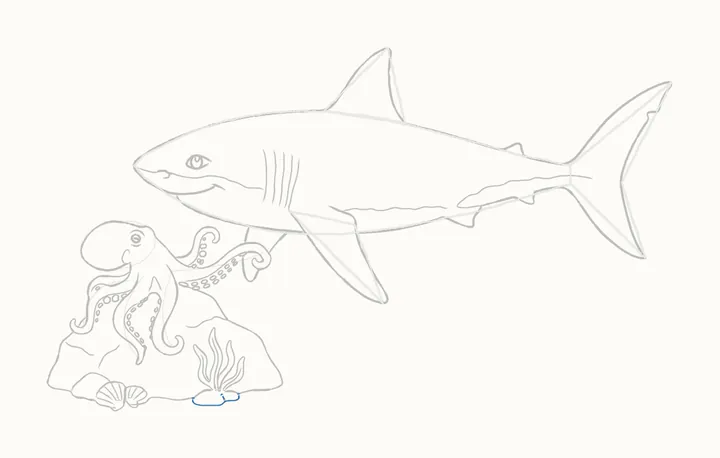
Pebbles
Under the seaweed, two pebbles: round the bottom of the big one and the small one, then a short line where they meet.
-
Step 36 of 52
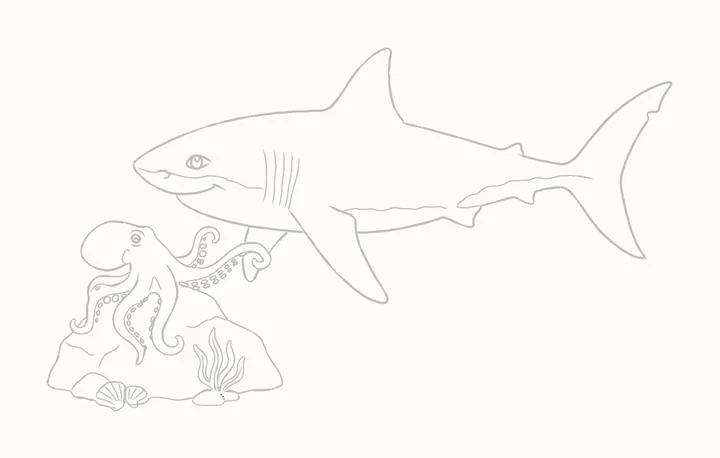
Erase the guides
Rub out the guide lines. Reggie, the octopus and the rock stay.
-
Step 37 of 52
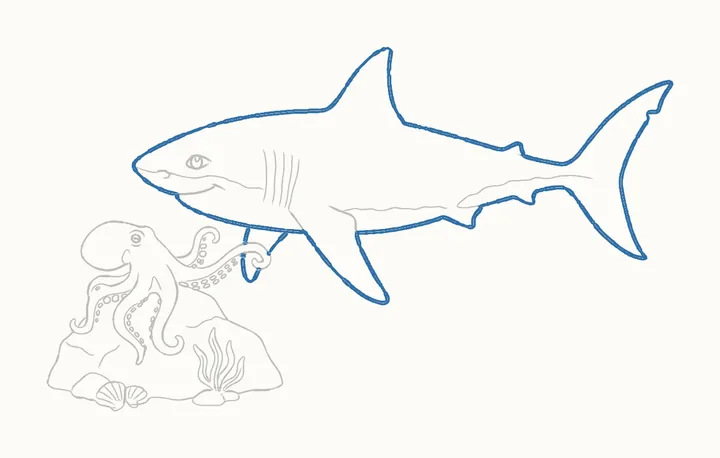
Go over Reggie
Press harder: from the top fin's tip round Reggie's edge, down the fin, round the tail, under him and over his head. Then his far fin: back edge down, round the tip, front edge up.
-
Step 38 of 52
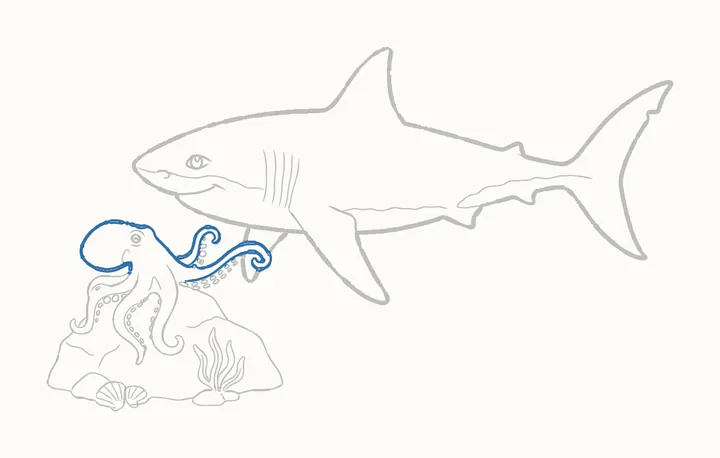
Go over its head and top arms
The octopus next, a little firmer: round its head and the long arm, then the arm curling up. Its eye, siphon and suckers stay light.
-
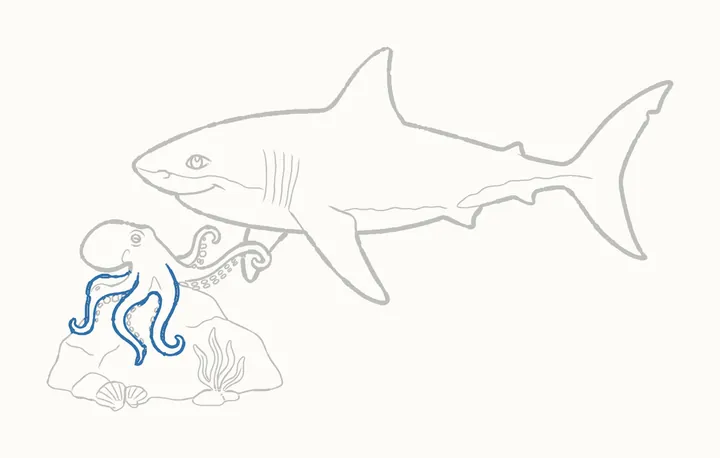
Step 39 of 52
Go over its arms
Then its arms on the rock: down the arm on the right, round its curl, up over the arch and round the front arm's point, then round the left arm's curl. The rock stays light.
-
Step 40 of 52
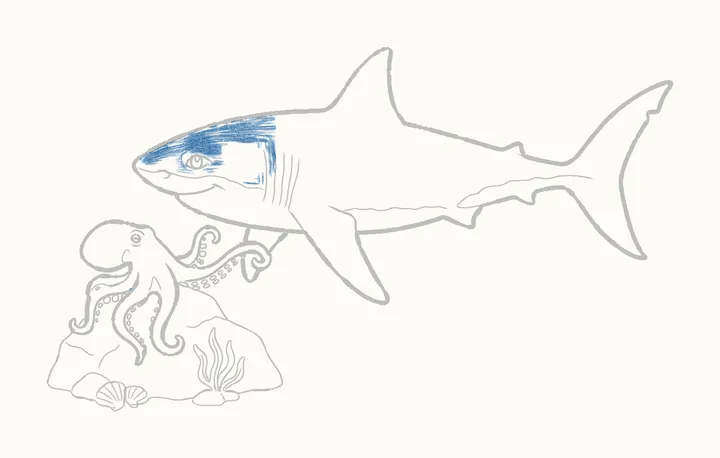
Grey on his head
Shading, with the light from above: a soft, even tone over Reggie's head and eye, down to the pale line. His belly stays white paper.
-
Step 41 of 52
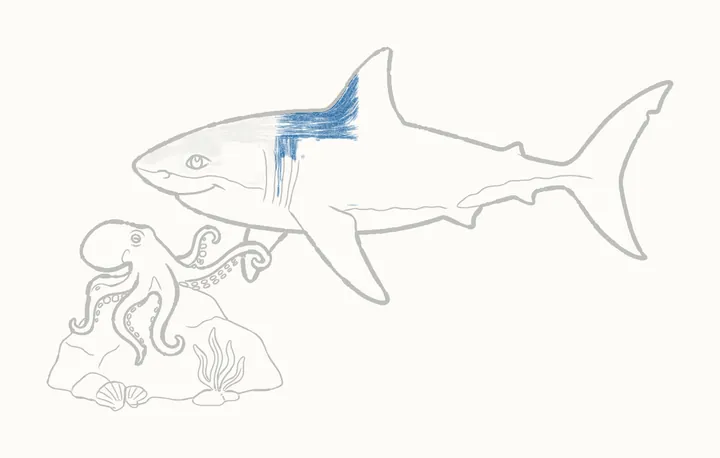
Behind the gills
Carry the same tone back over his gills and shoulders. Short strokes that overlap keep it even.
-
Step 42 of 52
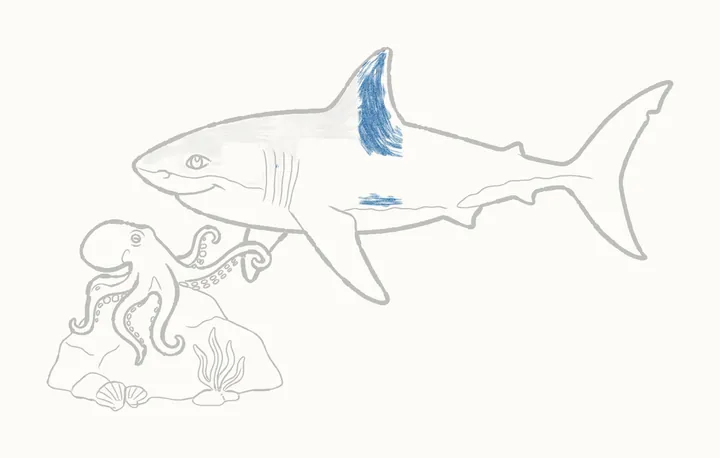
Up the top fin
On over the top fin and the back below it, keeping the pressure as light as before.
-
Step 43 of 52
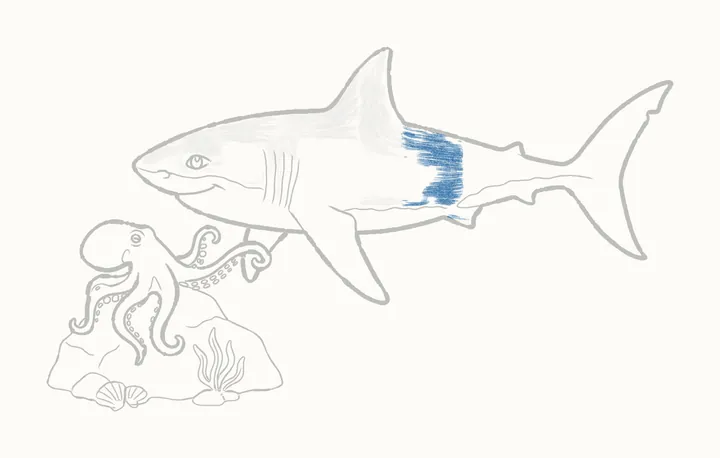
The middle of his back
Along the middle of his back, stopping at the wavy pale line.
-
Step 44 of 52
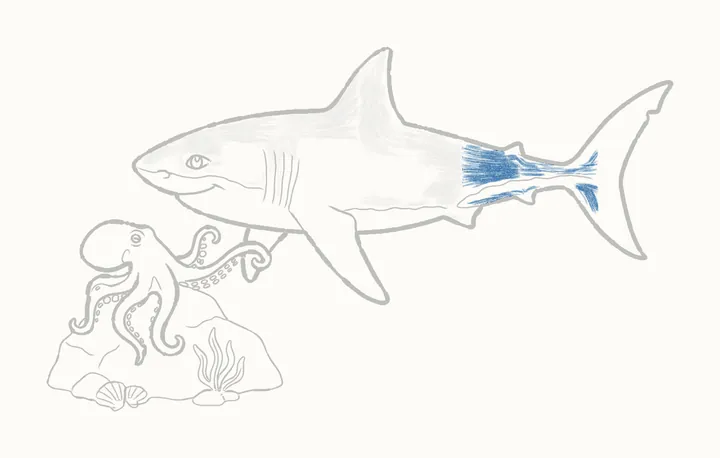
Towards the tail
On towards the tail, over the little fins, still stopping at the pale line.
-
Step 45 of 52
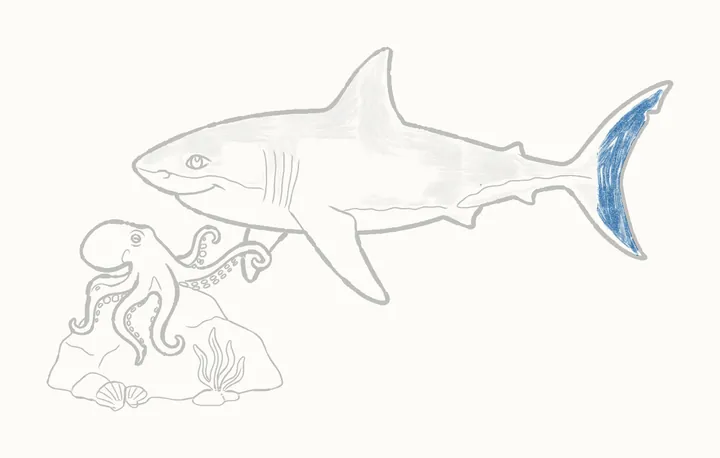
Into the tail
And into the tail, both points, the same soft grey.
-
Step 46 of 52
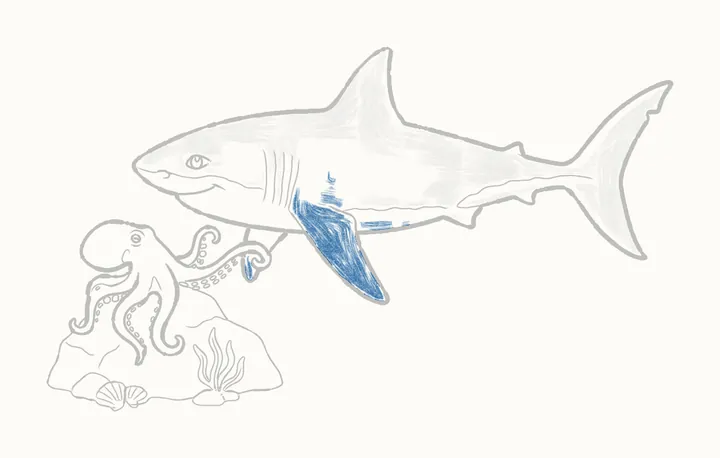
The side fins
Then his big side fin and the far fin behind the octopus's arm. Grey on top, so the fins match his back.
-
Step 47 of 52
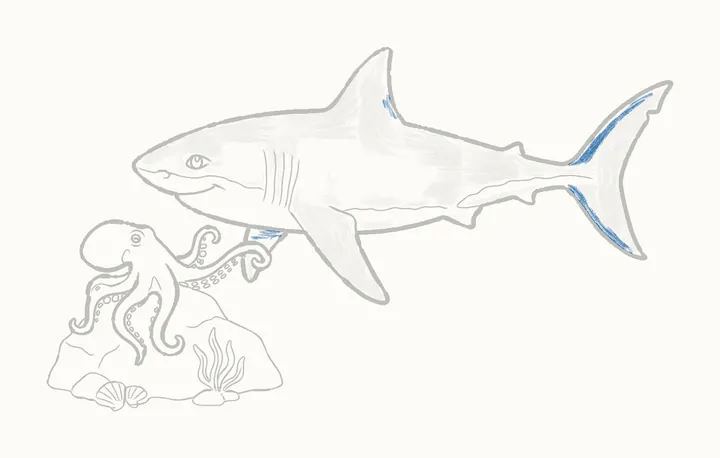
Deeper on the fins
Press a little harder along the tail's edges, the back of the top fin and his far fin.
-
Step 48 of 52
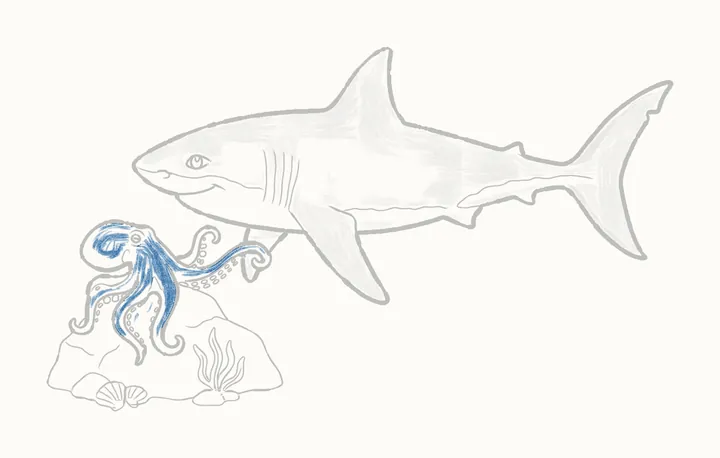
Shading the octopus
A soft tone over the octopus's head and arms.
-
Step 49 of 52
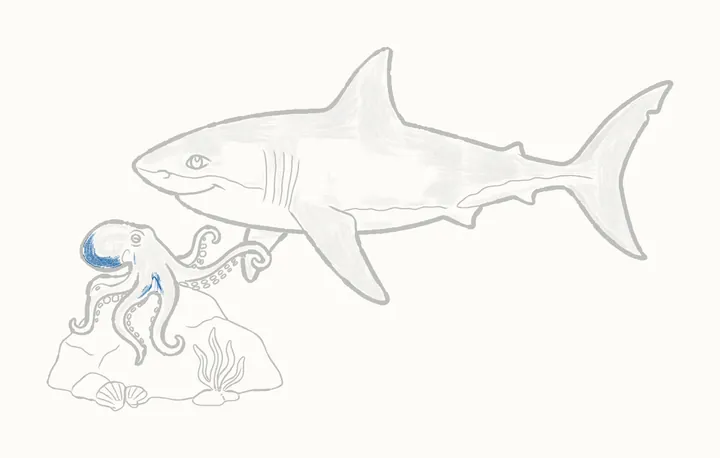
Darker in the gaps
Then a little darker under its head and between the arms, where they overlap.
-
Step 50 of 52
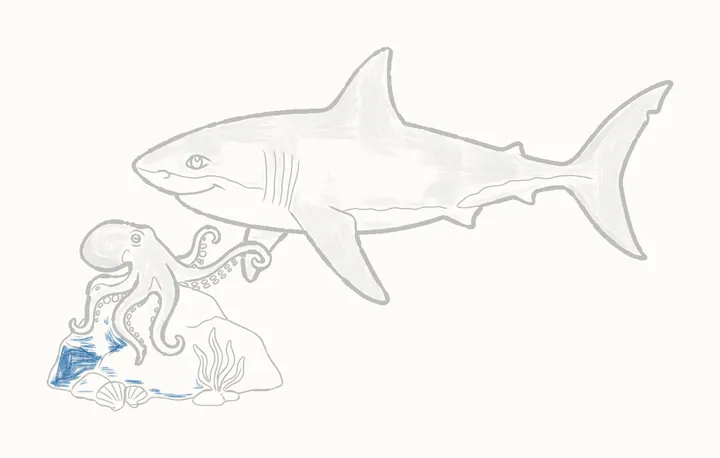
The rock, left
The rock's shady side: a light tone on the left, around the arms and down to the shells.
-
Step 51 of 52
The rock, right
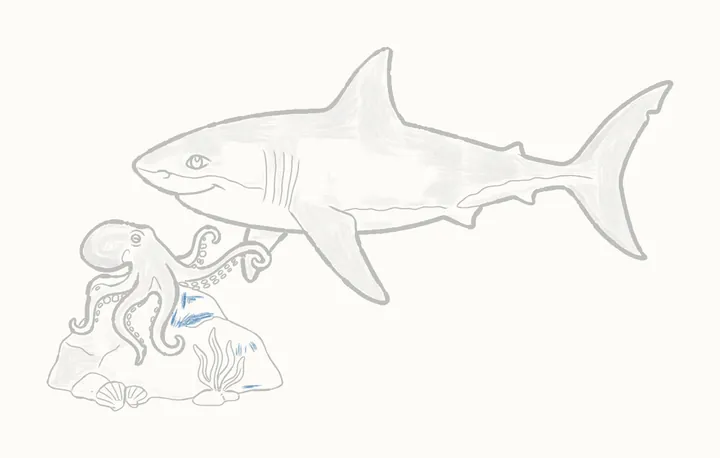
Then the right side of the rock, a light tone around the seaweed. Keep it lighter than the animals.
-
Step 52 of 52
The darks
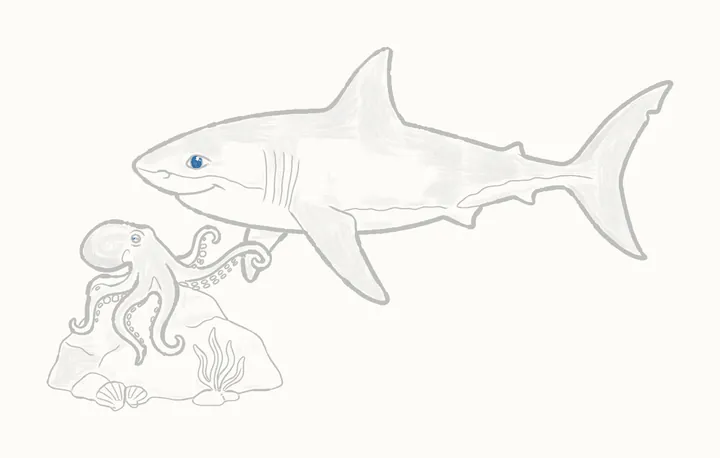
Last of all, fill in Reggie's eye oval, leaving the glint white, and thicken the octopus's slit into a dark bar. Two new friends, nose to arm.
-
Finished
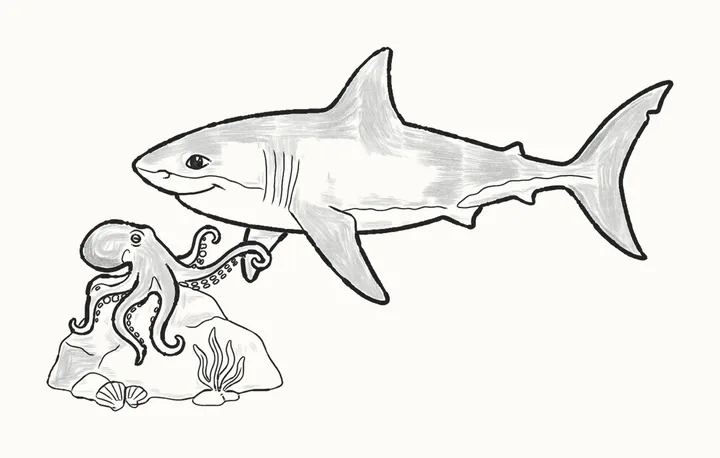
Your finished great white shark
That’s Reggie! Go over any lines you want darker, then sign your drawing in the corner.
In the DrawRabbit app
Reggie’s world has 9 more drawings
Every animal has a whole world of narrated drawings in DrawRabbit, each one a little story you draw with a real pencil and paper. The first drawing in every world is free.
 Free to start · iPhone and iPad
 The toothy grin
 Turtle friend
 Into the deep
 The gentle giant
Tips for a better great white shark
Start high
Reggie goes high on the page, his nose a fifth in from the left, so the bottom left stays free for the octopus.
The side fin before the belly
Draw the side fin first, then follow the belly curve back to it. The heavy, rounded chest is what makes a great white look strong.
Suckers in rows
Fourteen in two rows on the long arm, then six, ten, six and seven on the others. Keep them small: they stay light when you go over the lines.
Grey back, white belly
The light comes from above. Shade a soft, even grey over his head, back, fins and tail, stopping at the pale line, and keep his belly white paper. The rock stays lighter than the animals.
Questions
What makes a shark look like a great white?
A heavy, rounded chest, a tall back fin, a tail with a long top point, and a wavy line along his side where the grey back meets the white belly. Shade the back grey and leave the belly white paper.
What do I need?
A pencil, paper and an eraser. Draw the first steps lightly: the guide lines are rubbed out in step 36. Then Reggie gets the firmest line, the octopus a little lighter, and the rock stays light.
How do I draw the octopus?
An oval for its head, tipped back, and four curves for its arms. Draw the soft, round head, a small eye with a slit for its pupil, then each arm in one line: out along one edge, round its curl or point, and back along the other. After each arm, small oval suckers along its inside.
Can kids draw it?
Yes. It’s made for beginners of any age. If reading the steps is hard, the draw-along talks you through each line while it draws.
What is DrawRabbit?
A drawing app for iPhone and iPad: narrated, step-by-step lessons you follow with a real pencil and paper. 95 drawings in 10 worlds, free to start, no account needed.
Keep drawing · Next guide
How to draw a shark in the ocean
A shark in the deep ocean in 49 steps
Start drawing