 DrawRabbit
Drawing guide · Dragons
How to draw a dragon breathing fire
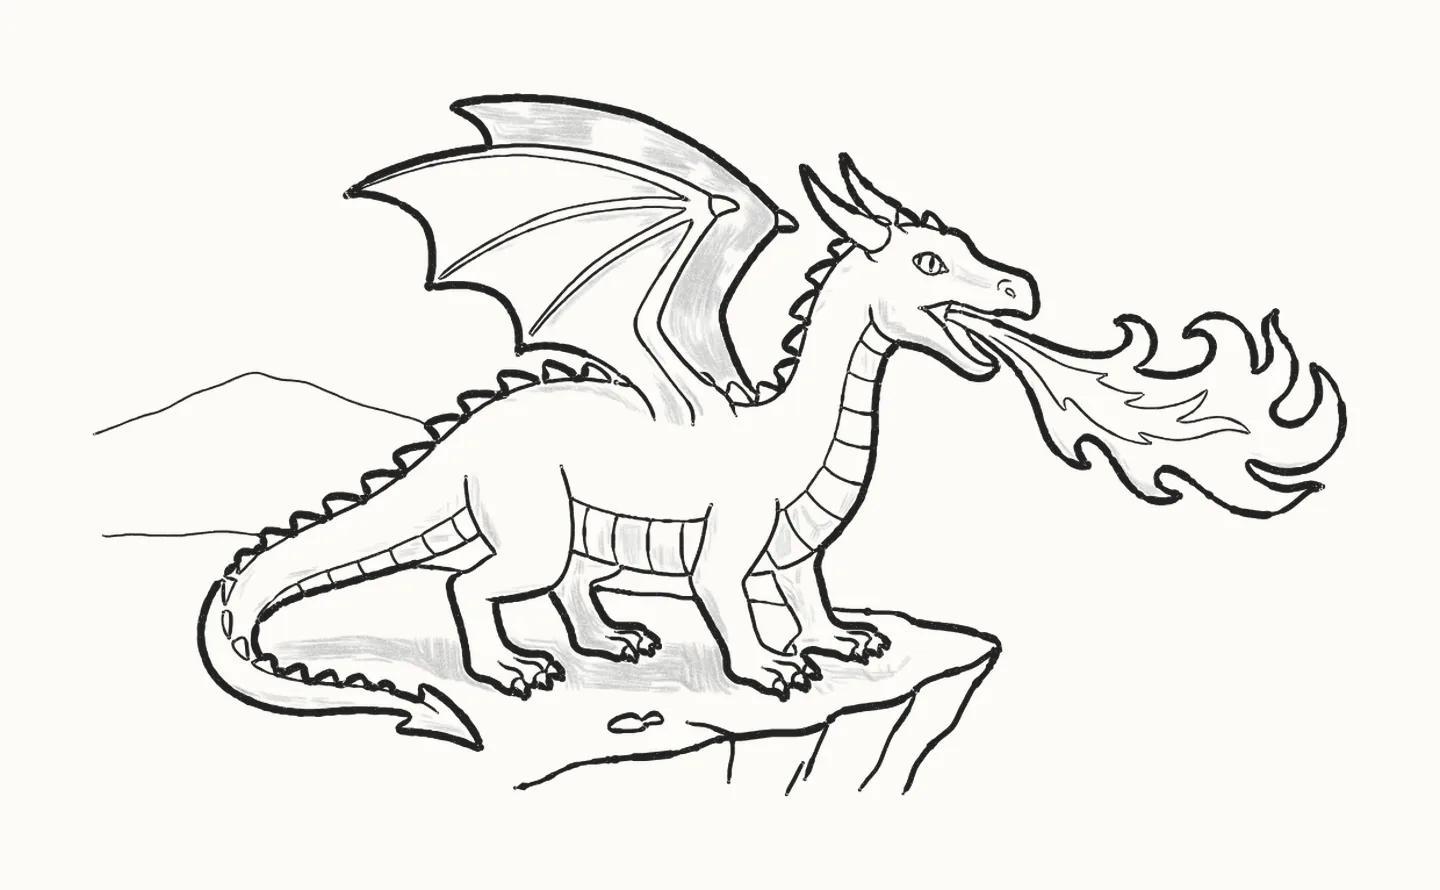
In 19 easy steps you’ll draw a dragon standing on a cliff and breathing a long curl of fire, using a pencil and paper: two circles and a few curves to start, then the flames, the wing and soft shading.
How do you draw a dragon breathing fire?
To draw a dragon breathing fire, start light: a circle for the head, a bigger one for the body, a curved line for the neck and a long sweeping curve for the tail. Add four lines for the legs, a wing arm with three lines fanning back, and a long curve out of the mouth for the fire. Draw the head with its long snout, open mouth, tongue and an almond eye with a slit pupil. Then the fire: a long flowing shape out of the mouth, curling into big tongues of flame, with one looser line inside. Draw the neck and body, the back and front legs with curved claws, and the cliff it stands on. Add the wing, the curling tail with its arrowhead tip, the horns and spikes, and the belly bands like a ladder. Rub out the guides, go over the outline, and shade the wing, under the jaw and along the flames. It takes 19 steps with a pencil, paper and an eraser.
You need a pencil, paper and an eraser19 stepsBeginner
Draw a dragon breathing fire, step by step
In colour: what to draw nowGrey: already drawn
Draw everything in pencil, lightly at first. Save all 19 steps to Pinterest
-
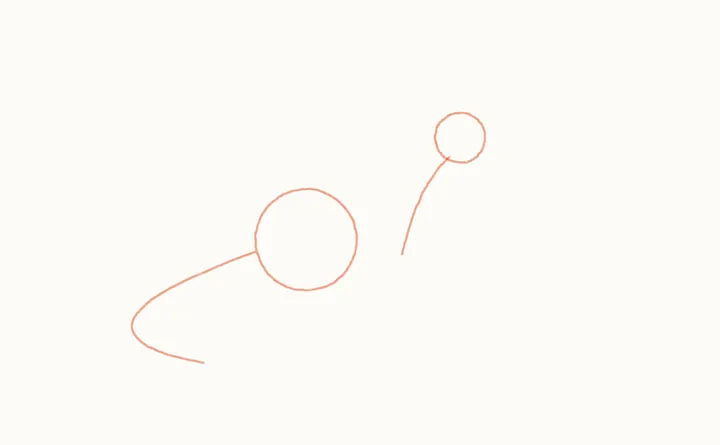
Step 1 of 19Guide lines
Head, body and line guides
Start light: a circle for the head, a bigger one for the body, a curved line for the neck joining them, and a long sweeping curve for the tail, curling round underneath.
Draw these lightly: they’re only there to help, and you’ll rub them out in step 15.
-
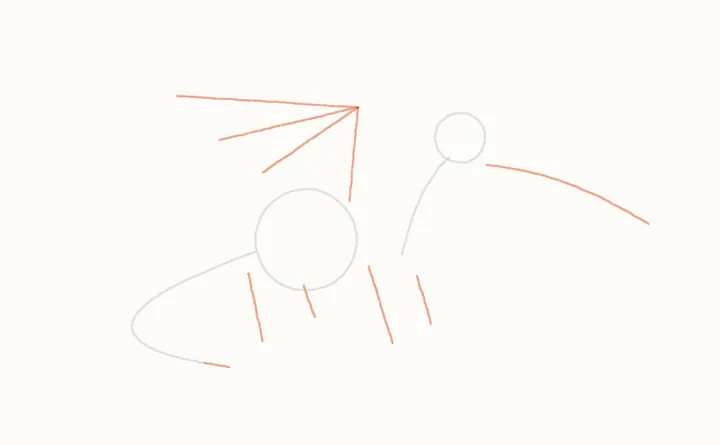
Step 2 of 19Guide lines
Leg, wing and fire guides
Four lines down for the legs, a line up from the shoulder for the wing arm with three lines fanning back from its top, and a long curve out of the mouth for the fire.
Draw these lightly: they’re only there to help, and you’ll rub them out in step 15.
-
Step 3 of 19
The head
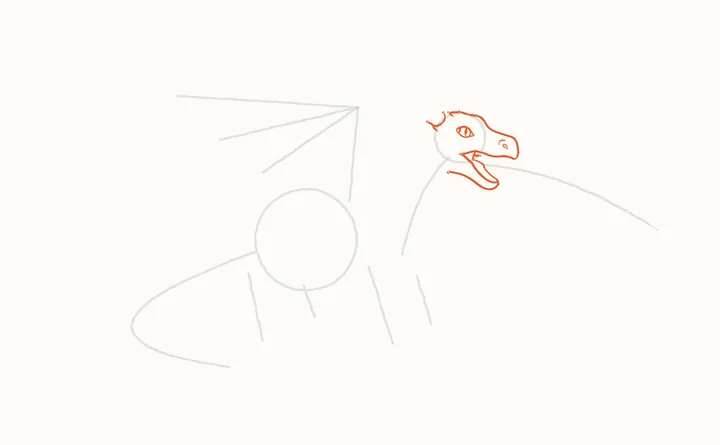
Over the top of the head and down the long snout, then the open mouth, lower jaw and tongue, and the back of the head. Last, a nostril and an almond eye with a slit pupil.
-
Step 4 of 19
The fire
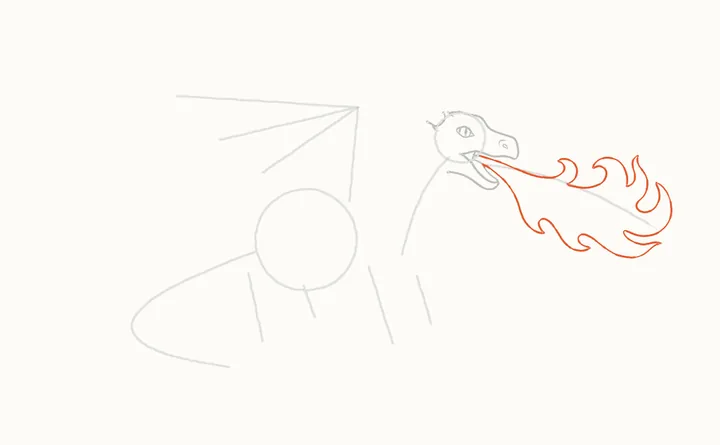
From the top lip, a long line out along the top of the flames, round the big curling tongues at the end, and back along the bottom to the mouth. Let it flow in S-curves.
-
Step 5 of 19
Tongues of flame
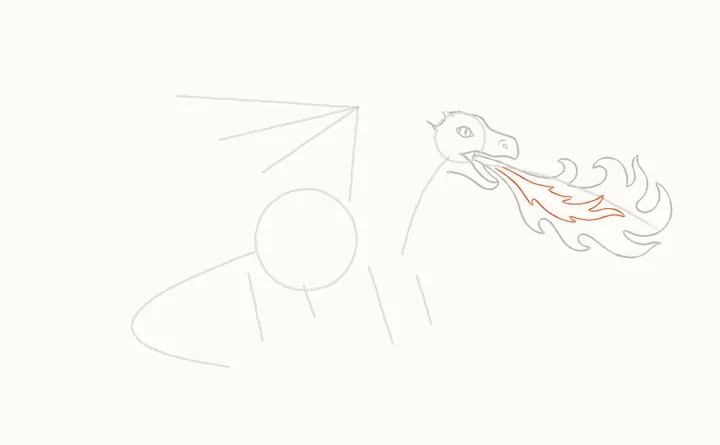
Inside, one long flowing line: out from the mouth, in and out of a few smaller flame tips, and back to the mouth again. Keep it loose, so the fire moves.
-
Step 6 of 19
The neck and body
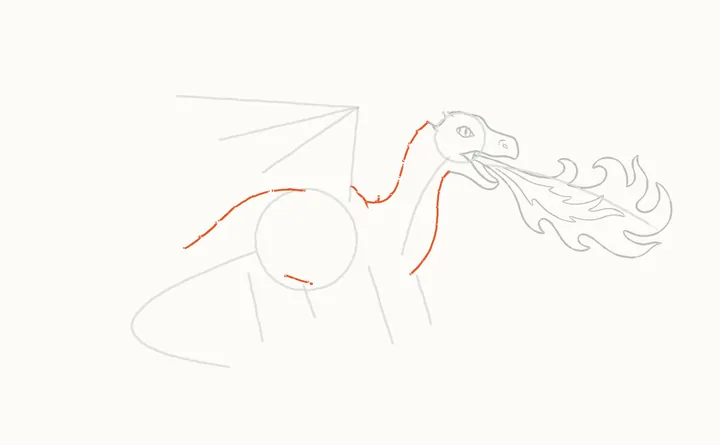
From the chest, up the front of the neck to the jaw. Then down the back of the neck from the head, along the long back towards the tail, and a short line for the belly.
-
Step 7 of 19
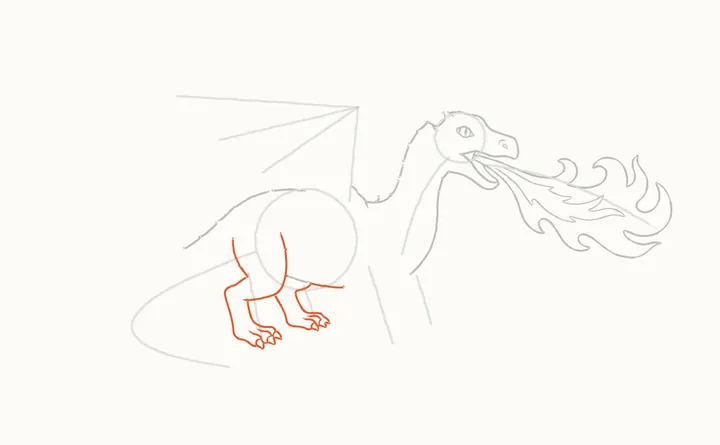
The back legs
The near back leg: up from the heel and round the big thigh, then down the front to a foot with curved claws. Then the far leg, half hidden behind it, with its own claws.
-
Step 8 of 19
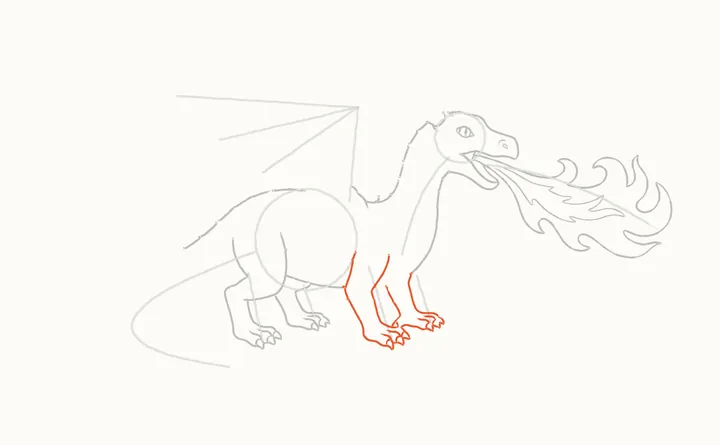
The front legs
The near front leg: up its back from the foot to the belly, then down its front to the toes and claws. The far leg peeks out behind it, overlapping, with claws of its own.
-
Step 9 of 19
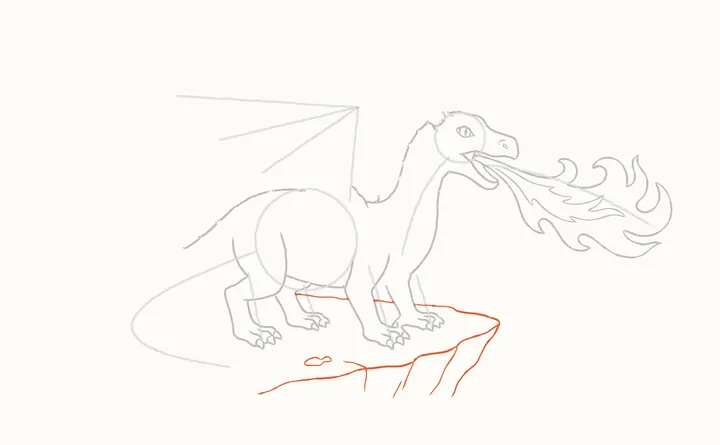
The cliff
Now the cliff edge: out from behind the front legs to the corner, down the side, and back along the front. Then the far edge between the legs, a few cracks and two pebbles.
-
Step 10 of 19
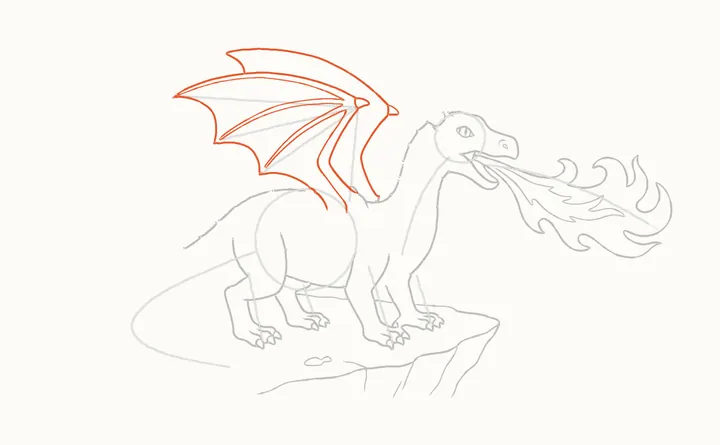
The wing
Up the wing arm from the shoulder, out and back along each finger, then the scalloped edge from the tip back to the body. Then the arm's other side, the top edges and two little claws.
-
Step 11 of 19
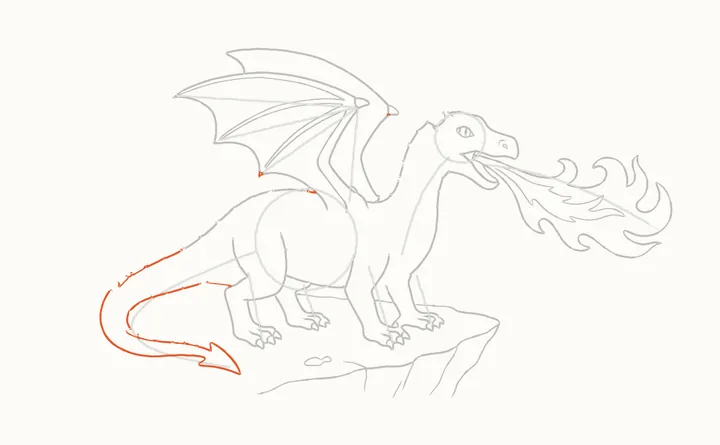
The tail
From under the back leg, along the inside of the tail, round the curl and out to the arrowhead tip. Then back round the outside, and finish the top of the tail from the back.
-
Step 12 of 19
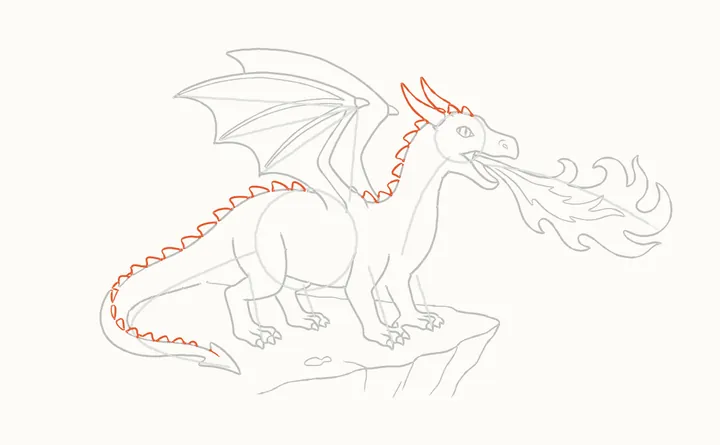
Horns and spikes
Two long horns sweeping back from the head, and a small one in front. Then rows of little triangle spikes: down the neck, along the back, and on round the curl of the tail.
-
Step 13 of 19
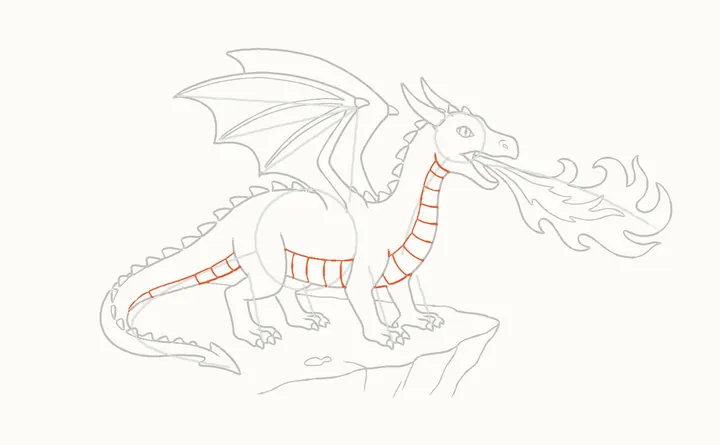
Belly bands
Now the bands: a line along the belly with short lines across, then up the chest and neck to the jaw, like a ladder. Then the same along the tail.
-
Step 14 of 19
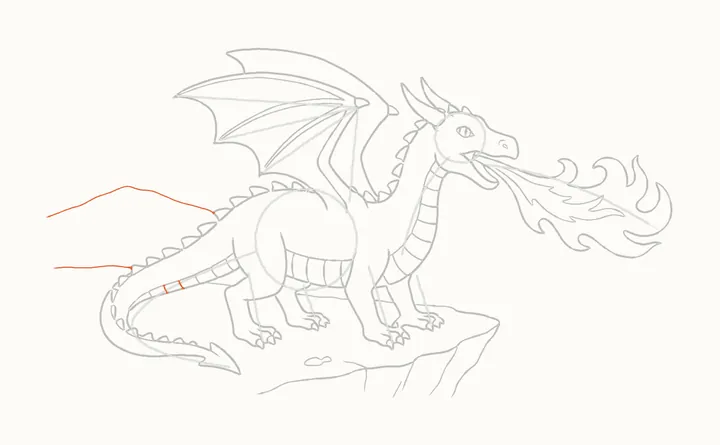
The distant hill
Last, the distant hill behind the dragon and the flat land stretching away. Keep these lines light and thin, so they sit far back.
-
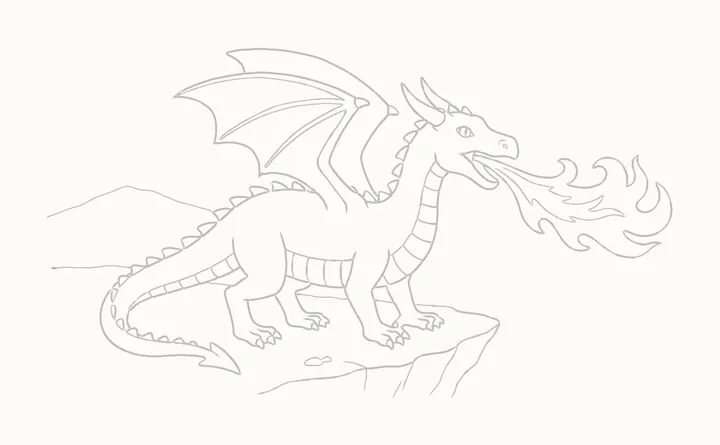
Step 15 of 19
Erase the guides
Rub out the circles and guide lines. Only the dragon, its fire and the cliff stay.
-
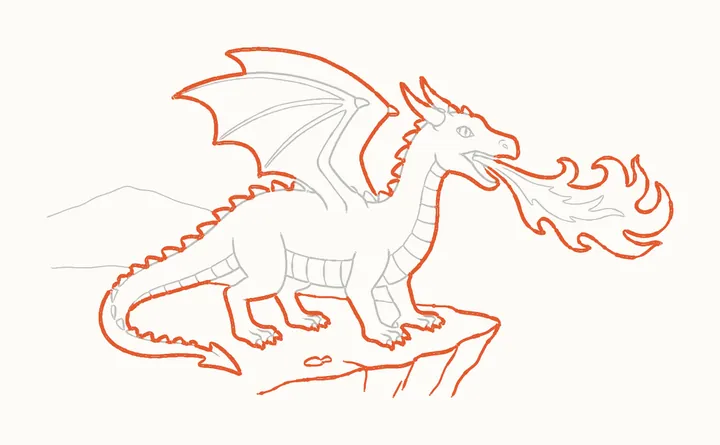
Step 16 of 19
Go over the outline
Now press harder and go over the outside edge of the dragon, the flames and the cliff, so they stand out. Leave the hill light, so it stays far away.
-
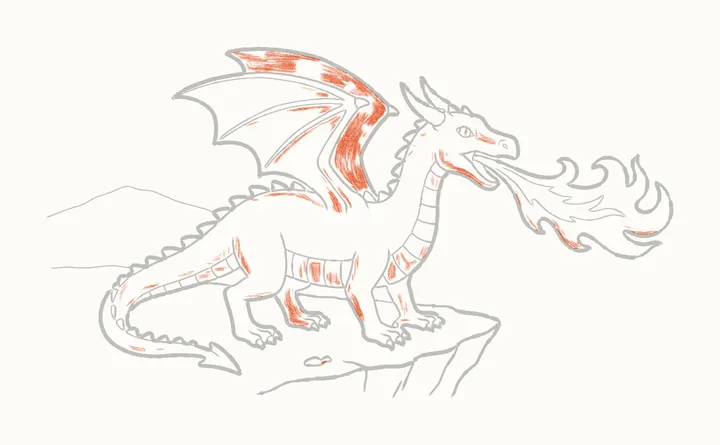
Step 17 of 19
Shadow side
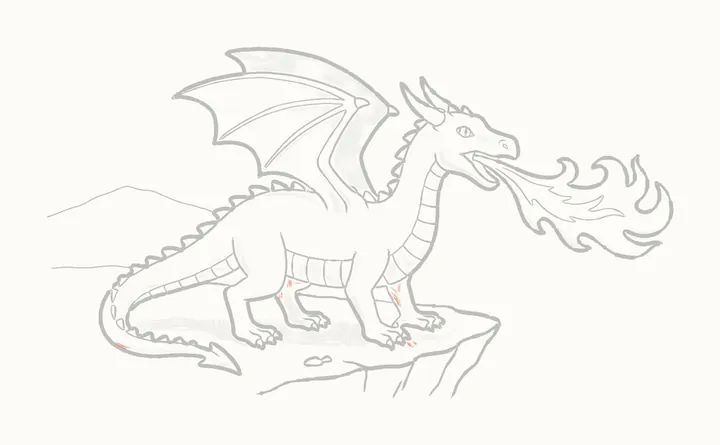
The light comes from the top left. Shade softly on the wing, under the jaw, between the belly bands, down the backs of the legs and along the bottom of the flames.
-
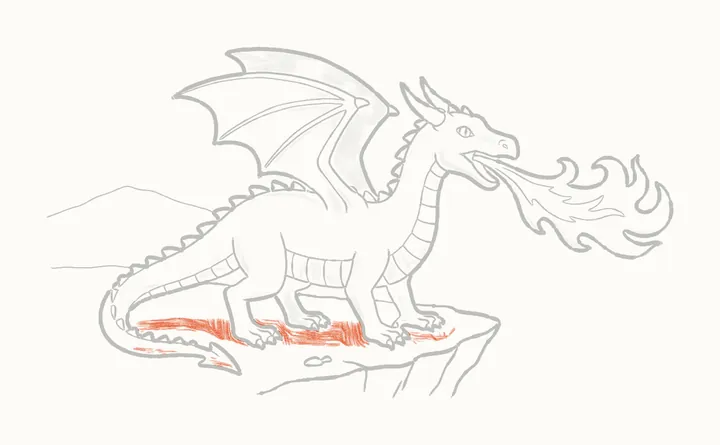
Step 18 of 19
Shadow on the cliff
A soft shadow on the clifftop under the dragon, from the tail to the front feet, so it stands firmly on the rock.
-
Step 19 of 19
Deep shadows
Press a little harder in the darkest places: the tops of the far legs, tucked under the belly, and under the curl of the tail.
-
Finished
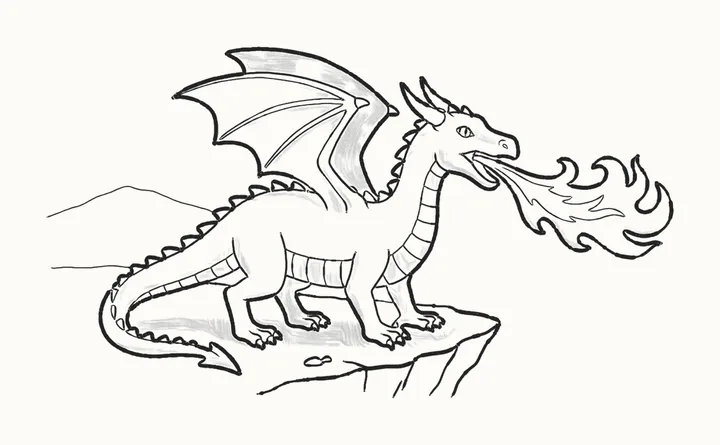
Your finished dragon breathing fire
Your dragon is breathing fire! Go over any lines you want darker, then sign your drawing in the corner.
In the DrawRabbit app
The dragon world has 9 more drawings
Every animal has a whole world of narrated drawings in DrawRabbit, each one a little story you draw with a real pencil and paper. The first drawing in every world is free.
 Free to start · iPhone and iPad
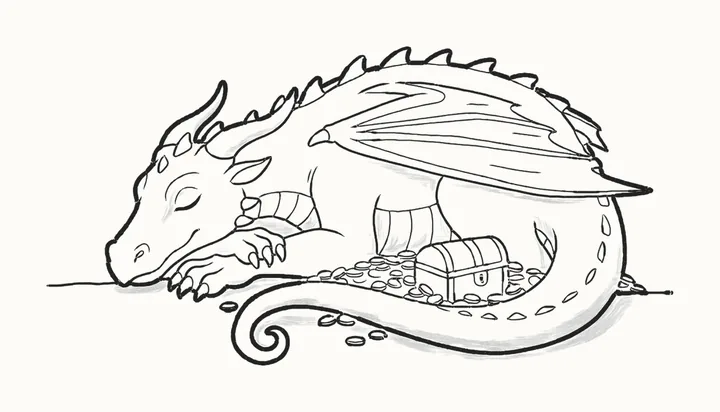
 First flight
 Asleep on the gold
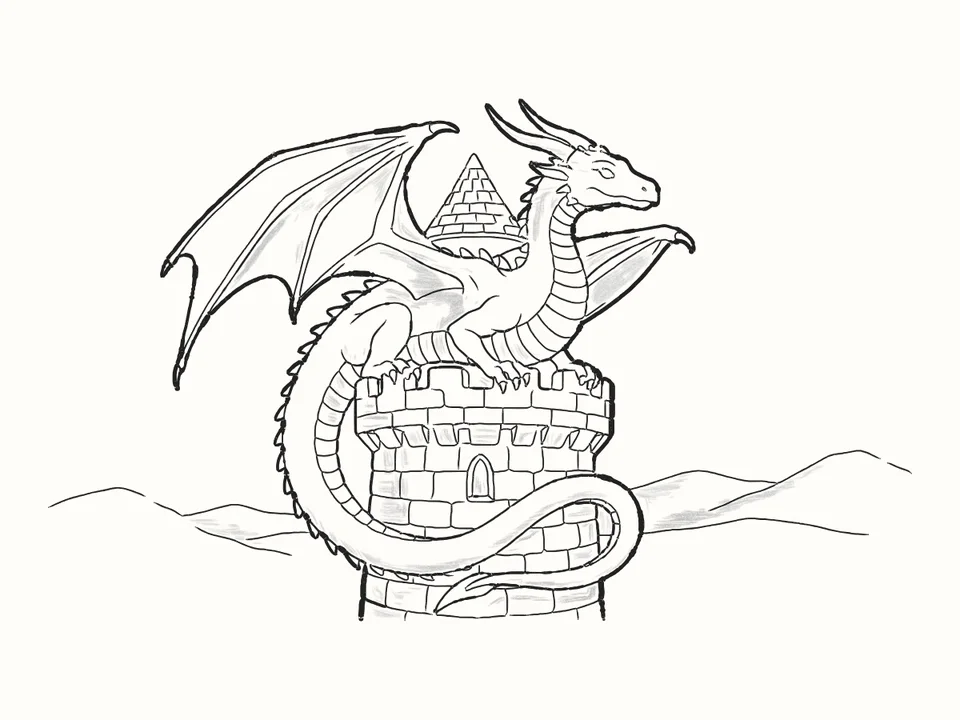 Guardian of the tower
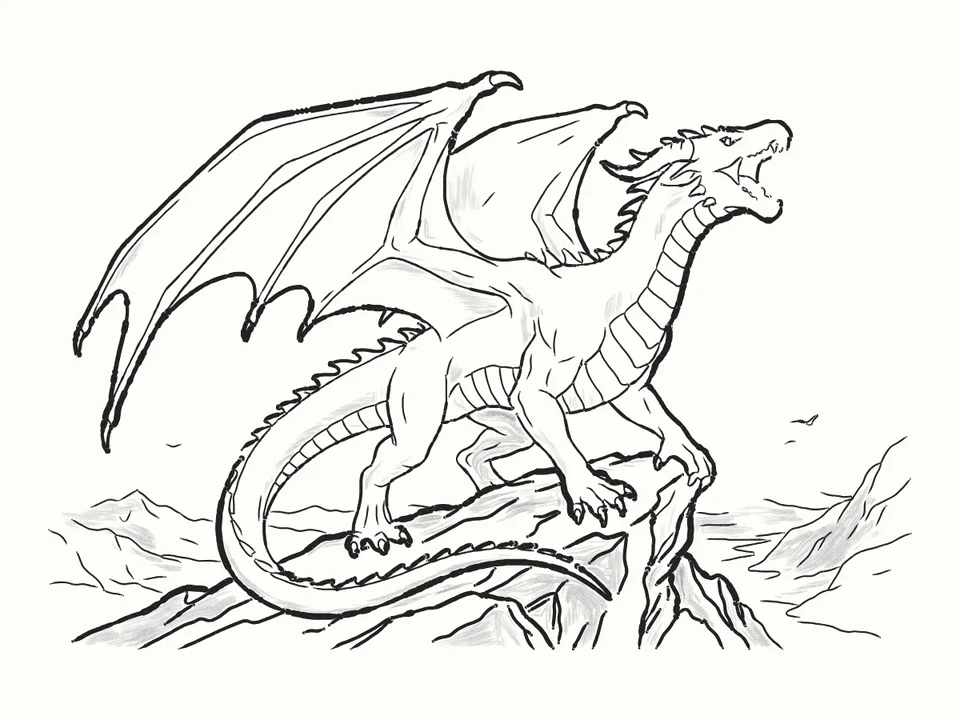 King of the mountain
Tips for a better dragon breathing fire
Curves set the pose
Two circles, a curve for the neck and a long sweeping curve for the tail, curling round underneath: get those right and the rest falls into place.
Let the fire flow
S-curves and big curling tongues of flame, with one loose line inside. Drawn stiffly, fire looks like a ribbon; loosely, it moves.
Belly bands like a ladder
A line along the belly with short lines across it, up the chest and neck to the jaw, then the same along the tail.
Keep the hill light
The distant hill stays thin and light, even at the end, so it sits far behind the dragon.
Stand it on the rock
A soft shadow on the clifftop under the dragon, from the tail to the front feet, makes it stand firmly.
Questions
Is a dragon breathing fire easy to draw?
Yes. It starts with two circles and a few light curves for the neck, the tail, the legs and the fire, so the whole pose is set before you add any detail.
What do I need?
A pencil, paper and an eraser. Draw the first steps lightly: the guide lines are rubbed out in step 15.
How do I draw fire?
Draw the outside first: a long line out from the top lip, round the big curling tongues at the end and back along the bottom to the mouth, in S-curves. Then one looser line inside, in and out of a few smaller flame tips. Keep it flowing so the fire moves.
Can kids draw it?
Yes. It’s made for beginners of any age. If reading the steps is hard, the draw-along talks you through each line while it draws.
What is DrawRabbit?
A drawing app for iPhone and iPad: narrated, step-by-step lessons you follow with a real pencil and paper. 95 drawings in 10 worlds, free to start, no account needed.
Keep drawing · Next guide
How to draw a sleeping dragon
A dragon asleep on its gold in 19 easy steps
Start drawing