 DrawRabbit
Drawing guide · Fishs
How to draw a fish in a bowl
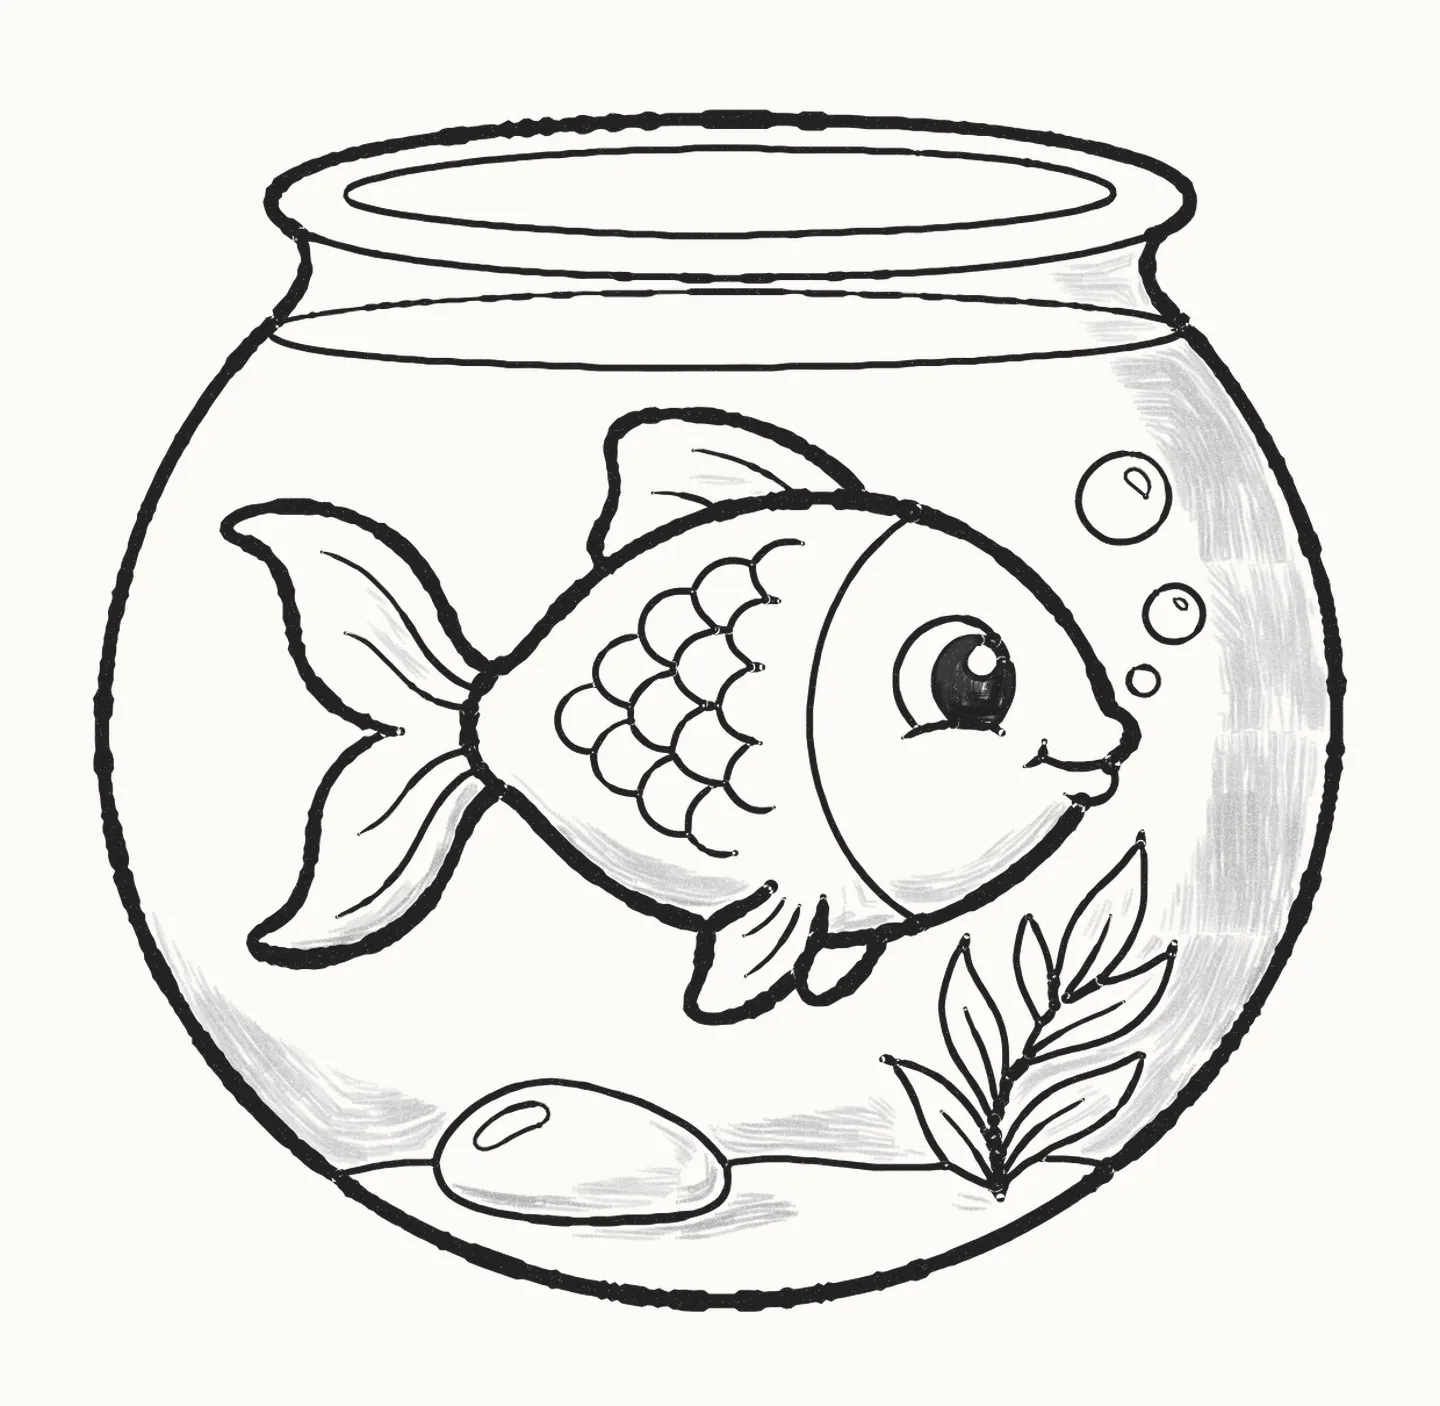
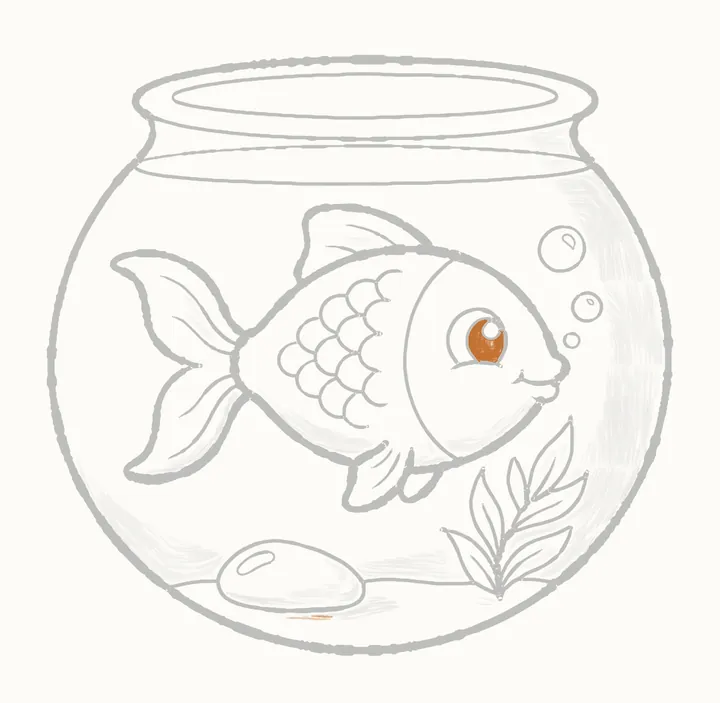
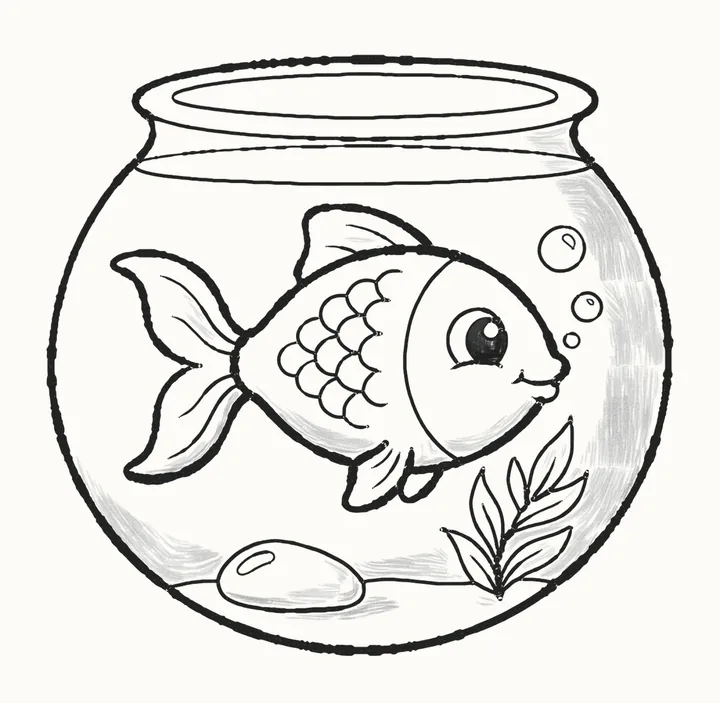
Meet Pip the goldfish, swimming round his fishbowl. In 31 easy steps you’ll draw him and his bowl, with a pebble, a water plant and bubbles, using a pencil and paper: a circle and two curves to start, then the bowl, the scales and soft shading.
How do you draw a fish in a bowl?
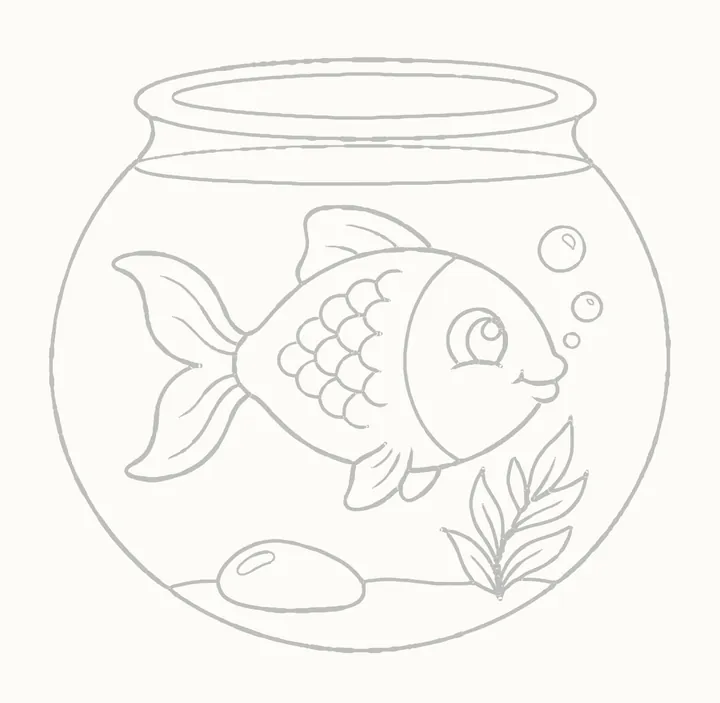
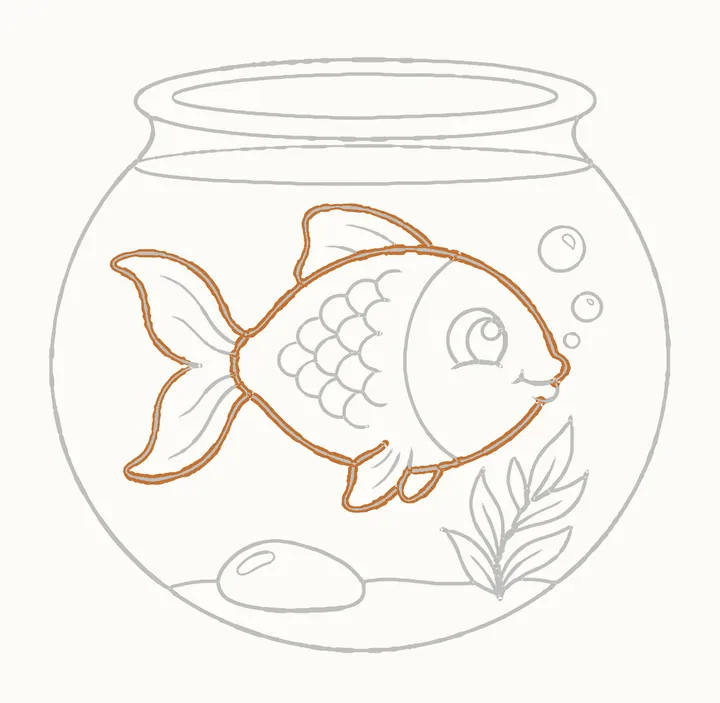
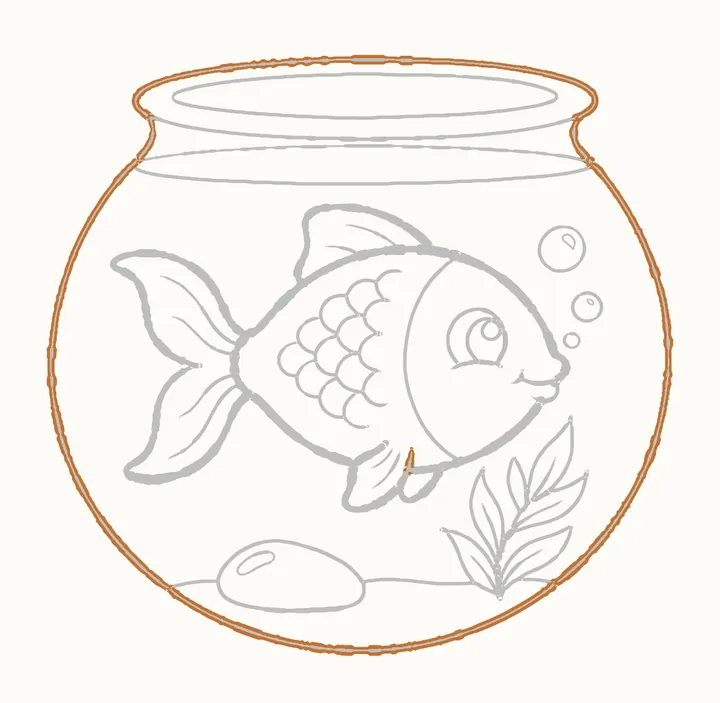
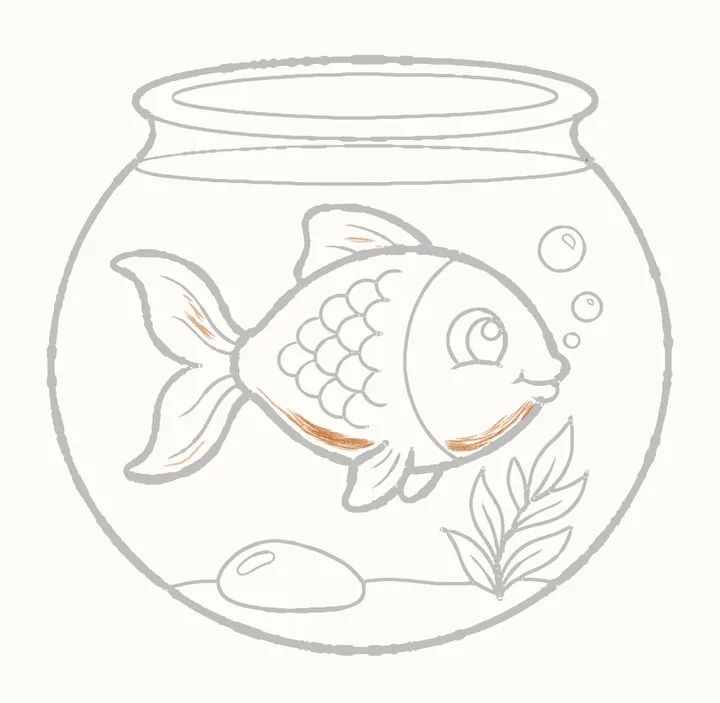
To draw a fish in a bowl, start with light guides for the fish: a circle for its head and two gentle curves drawing in to the tail, then lines for the tail and fins. Add the bowl round it: one big circle, and a flat oval on top for the rim. Draw the goldfish first: its back and head, a tail of two big leaf shapes, a curve for the face line, a little sail of a top fin and rounded fins underneath. Give it a big round eye, a happy smile, thin lines on the fins and rows of little c-shaped scales. Then the bowl: the rim, the round bowl following the guide, a flat oval for the water line, a pebble and a small plant on the bottom, and three bubbles rising. Rub out the guides, go over the fish and the bowl, then shade softly: glass is shiny, so shade it only at its edges. It takes 31 easy steps with a pencil, paper and an eraser.
You need a pencil, paper and an eraser31 stepsBeginner
Draw a fish in a bowl, step by step
In colour: what to draw nowGrey: already drawn
Draw everything in pencil, lightly at first. Save all 31 steps to Pinterest
-
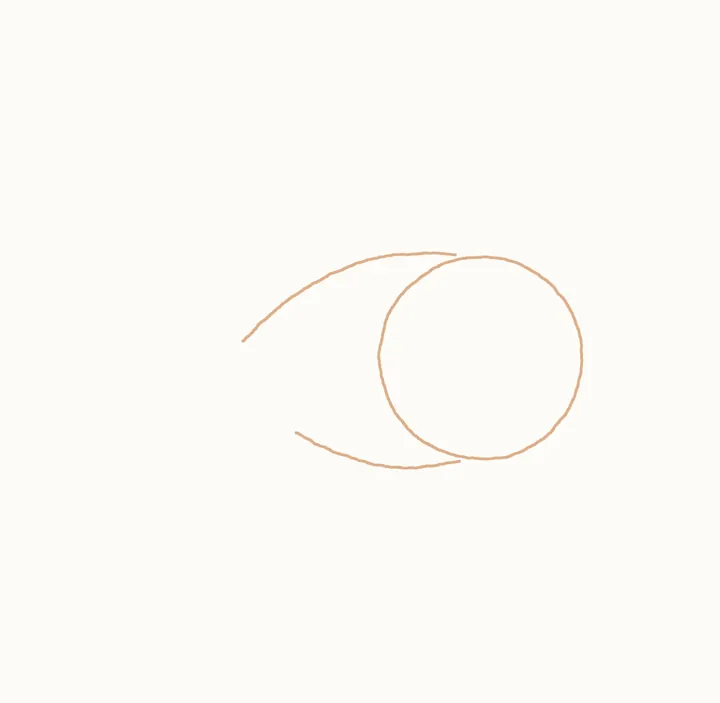
Step 1 of 31Guide lines
Pip's guides
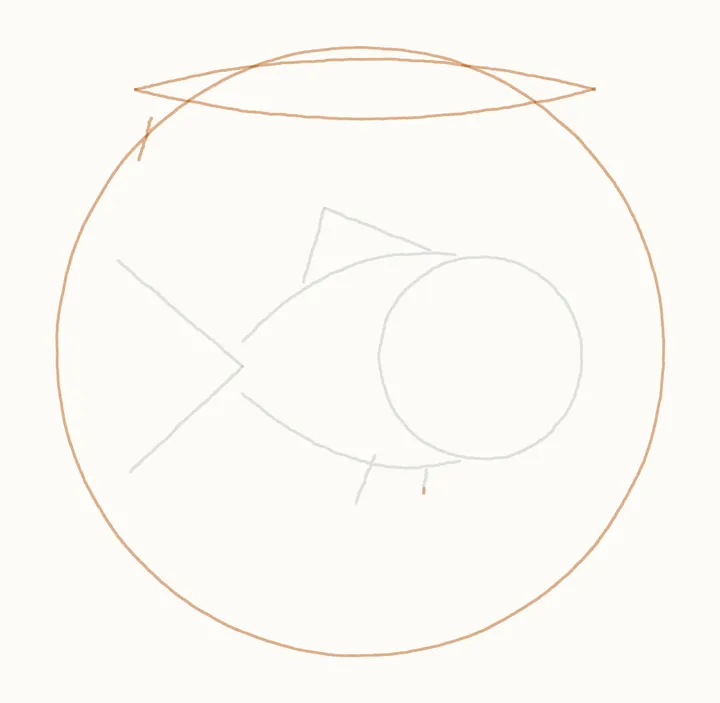
Pip the goldfish is swimming round his fishbowl. Start with light lines, so they rub out easily: a circle for his head, and two gentle curves drawing in to the tail.
Draw these lightly: they’re only there to help, and you’ll rub them out in step 19.
-
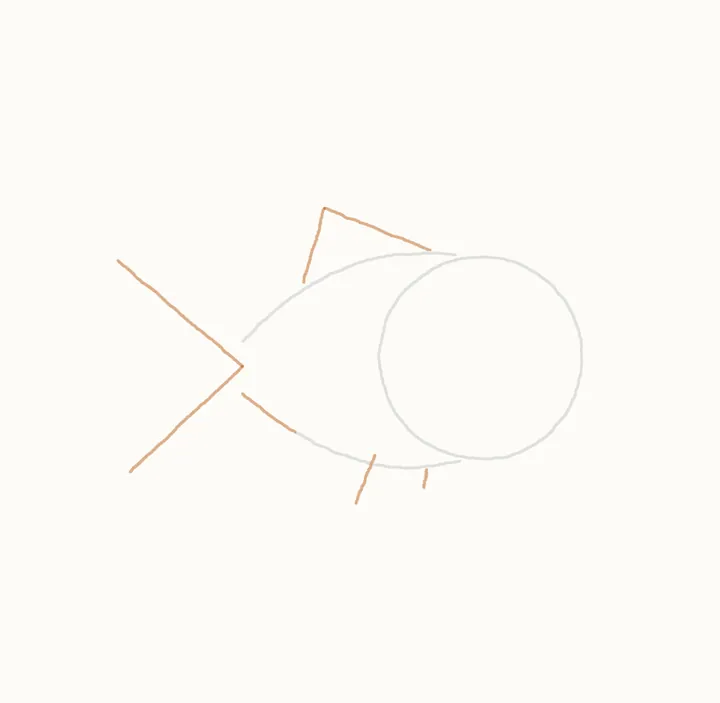
Step 2 of 31Guide lines
Tail and fin guides
Two lines fanning out from the narrow end for his tail, a pointed tent shape on his back for the top fin, and two short lines underneath for the little fins.
Draw these lightly: they’re only there to help, and you’ll rub them out in step 19.
-
Step 3 of 31Guide lines
The bowl guides
Now the bowl: one big circle all round Pip, and a flat oval on top for the rim, with two short lines joining them. Keep these light too.
Draw these lightly: they’re only there to help, and you’ll rub them out in step 19.
-
Step 4 of 31
The head and back
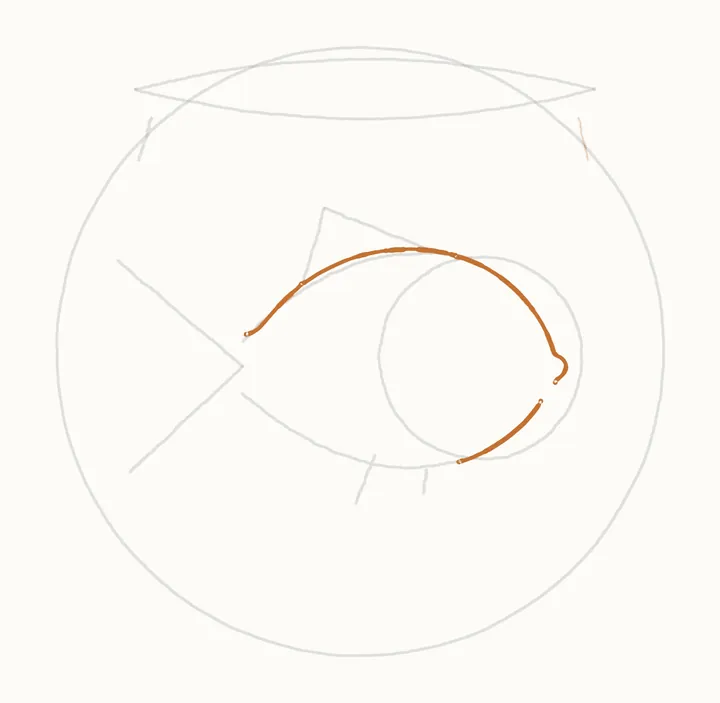
Now the real lines. From the tail end, along his back and over the top of his head, round his rounded front to the lips. Then his chin, from underneath up to the lips.
-
Step 5 of 31
The tail and belly
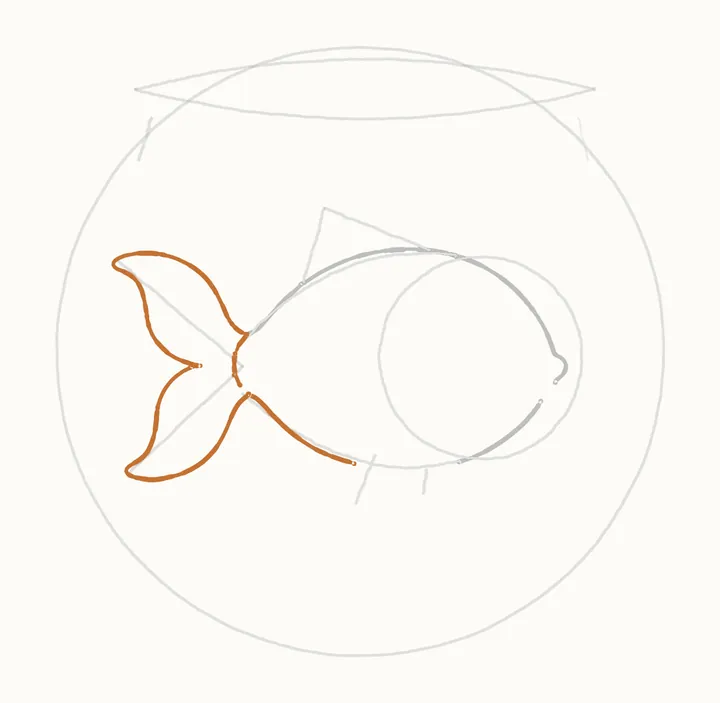
The tail is two big leaf shapes: the top one out to its point and back, then the bottom one. Then along his belly, and a wavy line where the tail joins the body.
-
Step 6 of 31
The face line
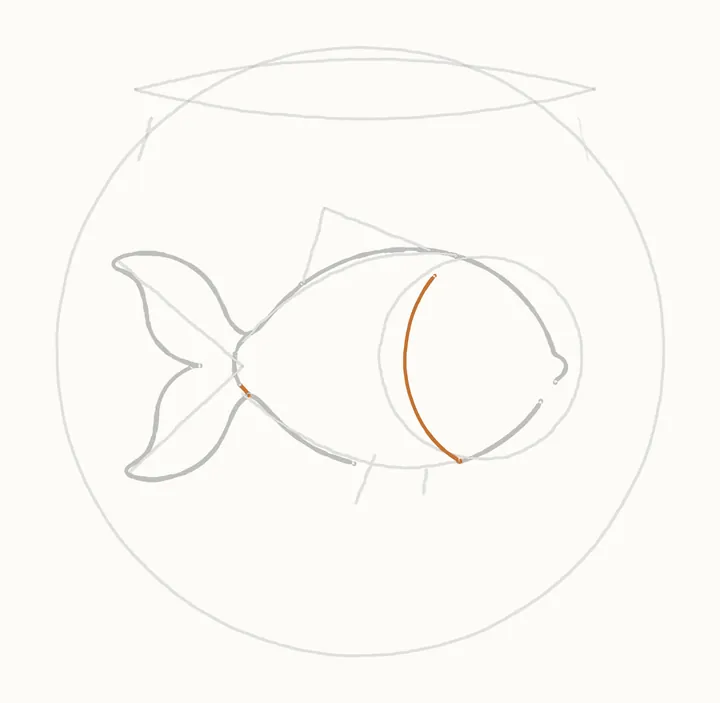
One big curve from his chin up to his back, to show where his head ends.
-
Step 7 of 31
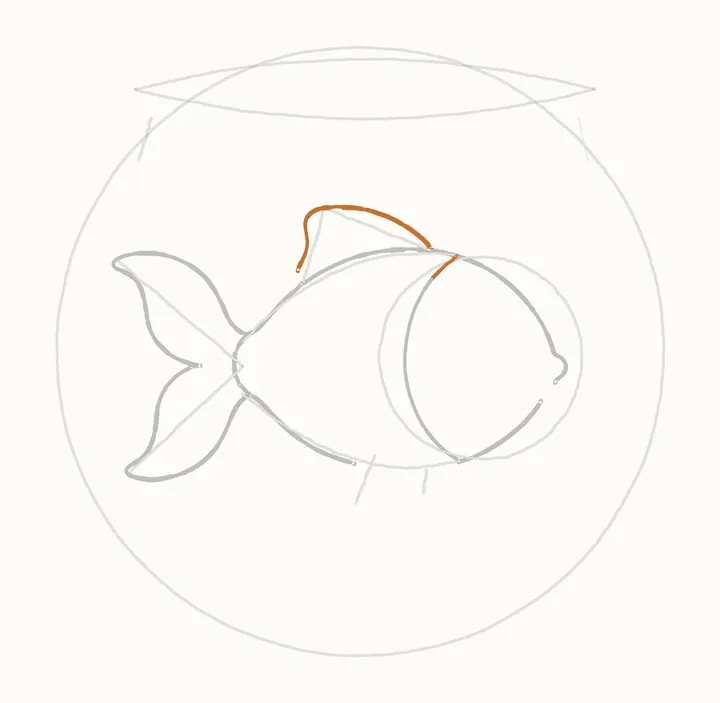
The top fin
On his back, the top fin, like a little sail: up from his back, over the top and down again.
-
Step 8 of 31
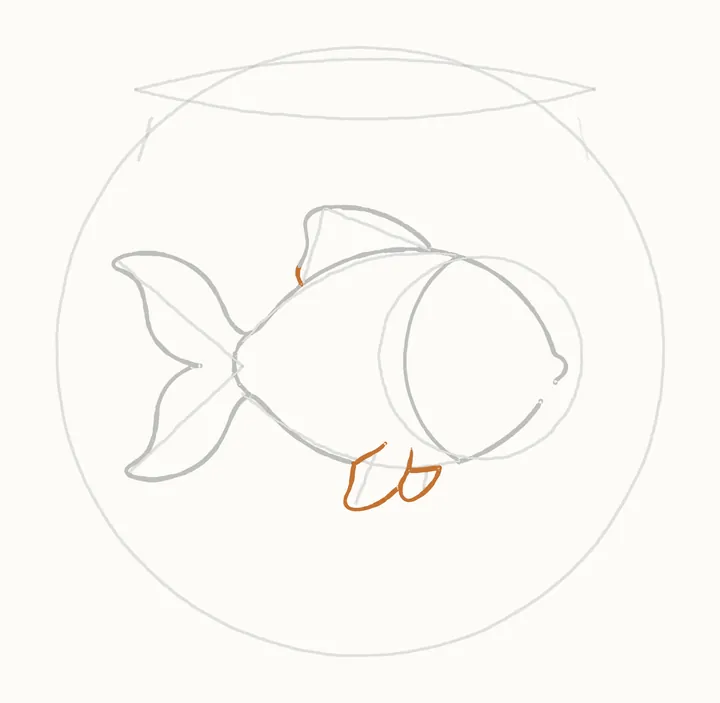
The fins underneath
Two fins underneath, rounded shapes hanging down: the small one nearer his chin first, then the bigger one behind it. Then short lines join them to his body.
-
Step 9 of 31
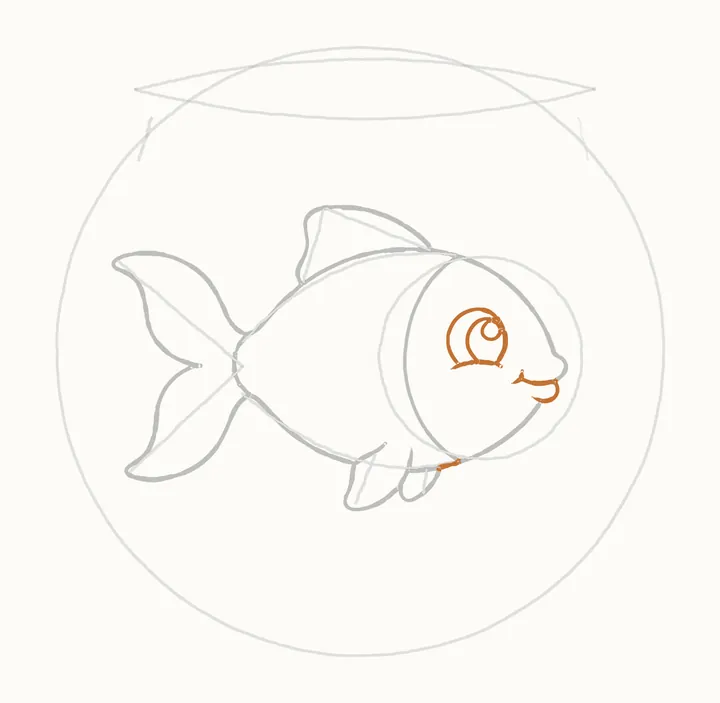
The eye and smile
A big round eye. Inside it, an oval for the pupil with a small circle at its top for the glint, and a curve under the eye. Then his lips and a happy smile.
-
Step 10 of 31
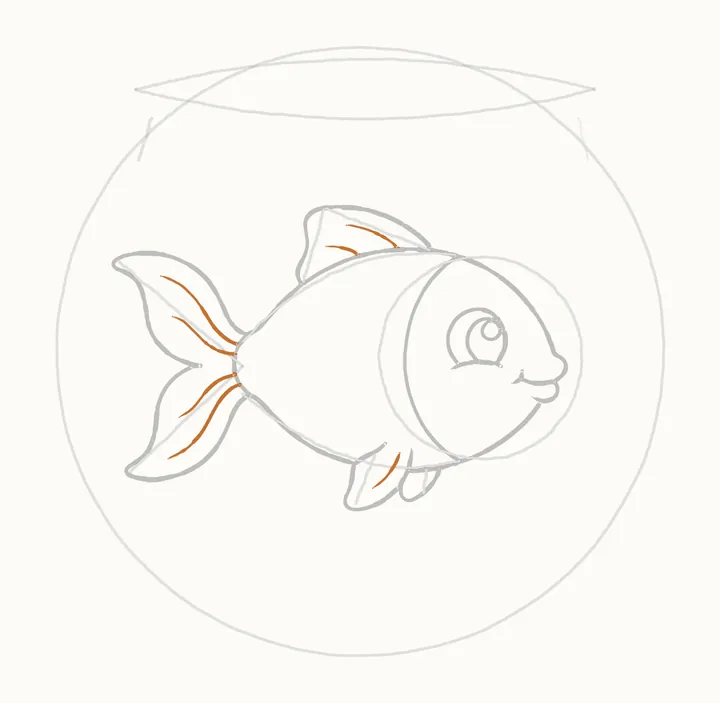
Fin lines
Thin lines on the fins: two across the top fin, two on each half of the tail, and two on the big fin underneath.
-
Step 11 of 31
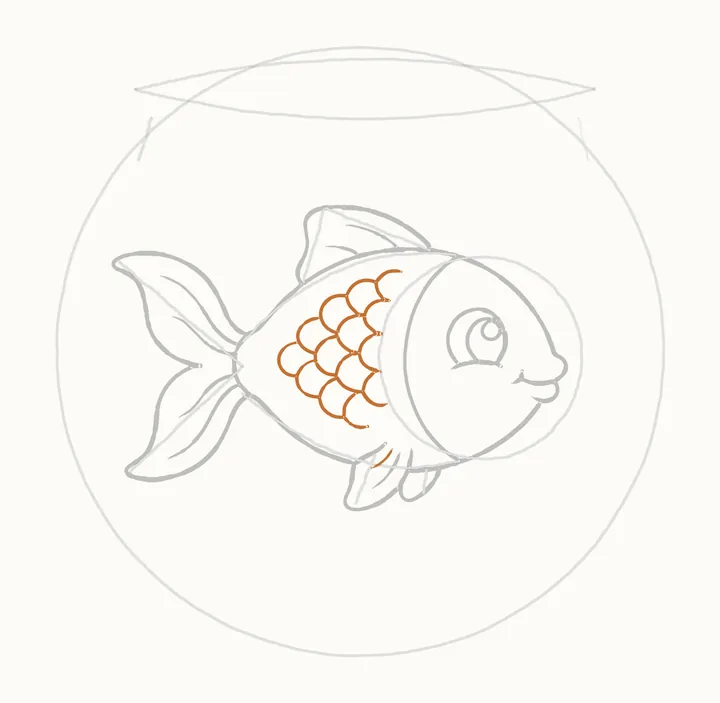
The scales
Now the scales, little curved shapes like the letter c. Start with the row just behind the face line, then work back towards the tail, a row at a time.
-
Step 12 of 31
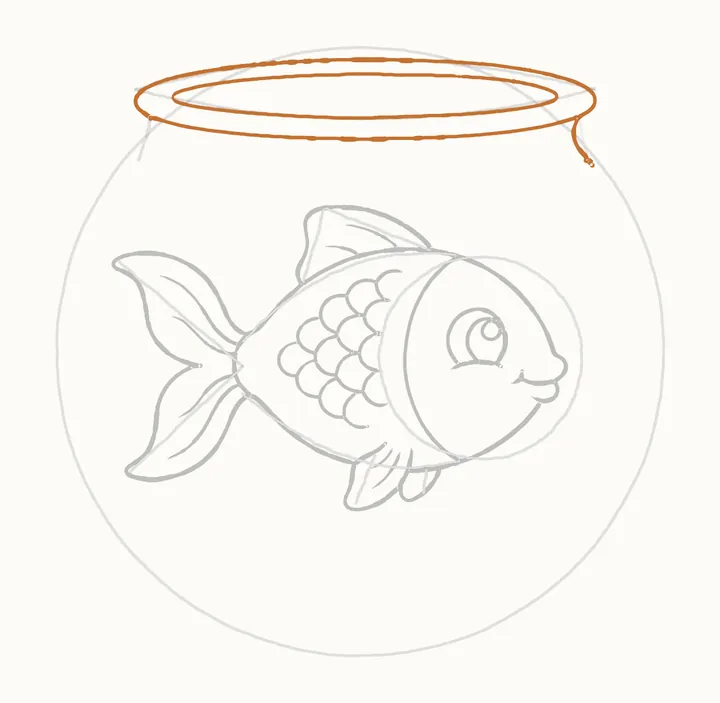
The rim
Now the bowl Pip lives in. The rim first: a flat oval for the opening, then a bigger one round it, top curve then bottom curve. Then a short neck down each side.
-
Step 13 of 31
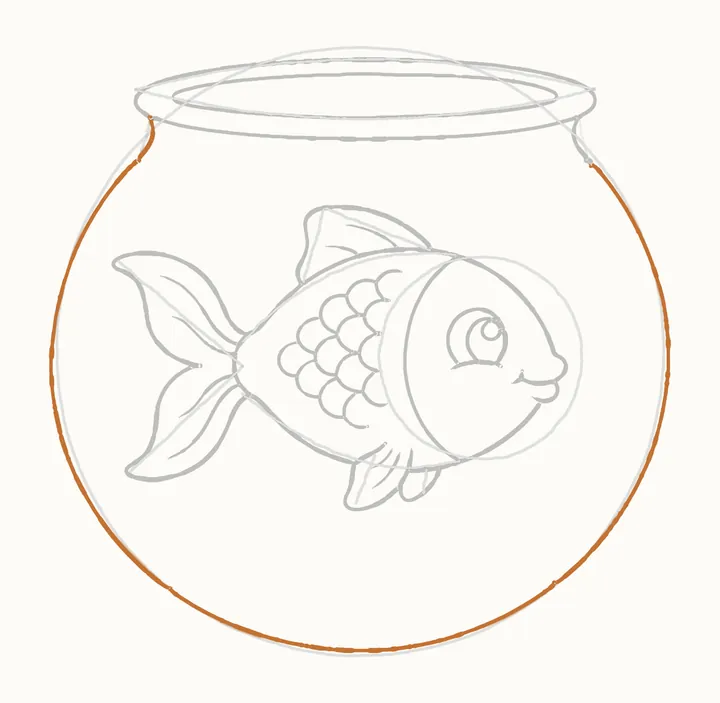
The round bowl
Then the big round bowl, following the circle guide: down the left side, round the bottom and up the right side.
-
Step 14 of 31
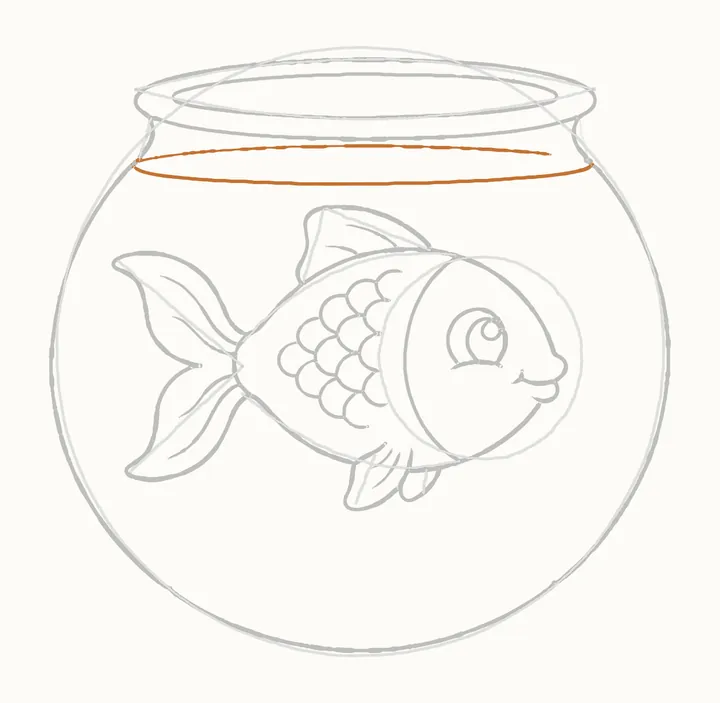
The water line
Near the top, a flat oval for the top of the water. This is the water Pip swims in.
-
Step 15 of 31
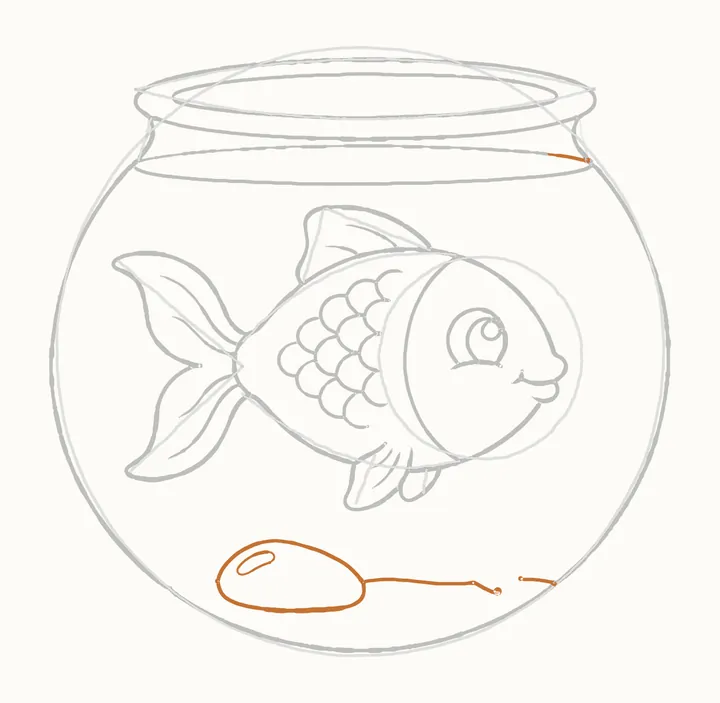
The pebble
A smooth pebble on the bottom: a rounded bean shape, with a small oval on top where the light shines. Then a gentle line along the bottom, out to each side.
-
Step 16 of 31
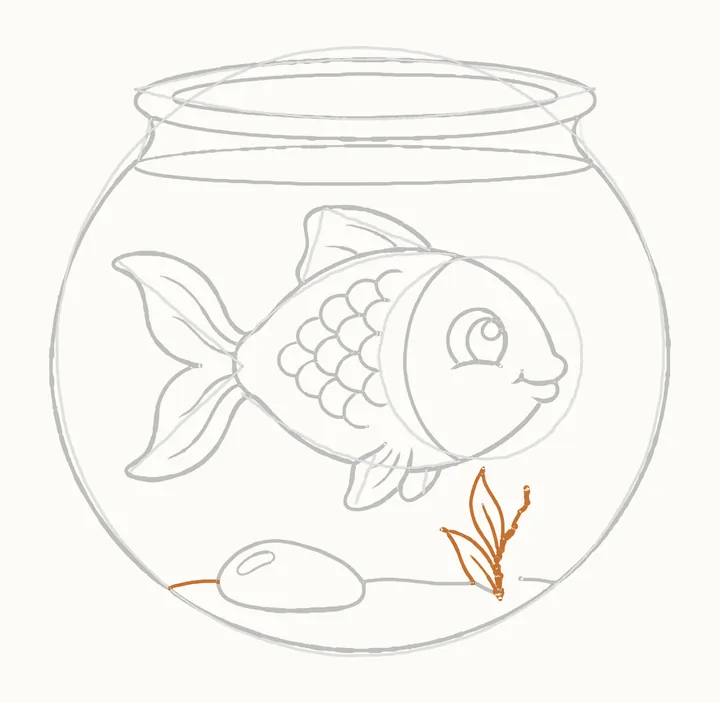
The water plant
A small plant on the right. Start with its thin stem, from the bottom up. Then the two leaves on the left, pointed ovals with a line down the middle.
-
Step 17 of 31
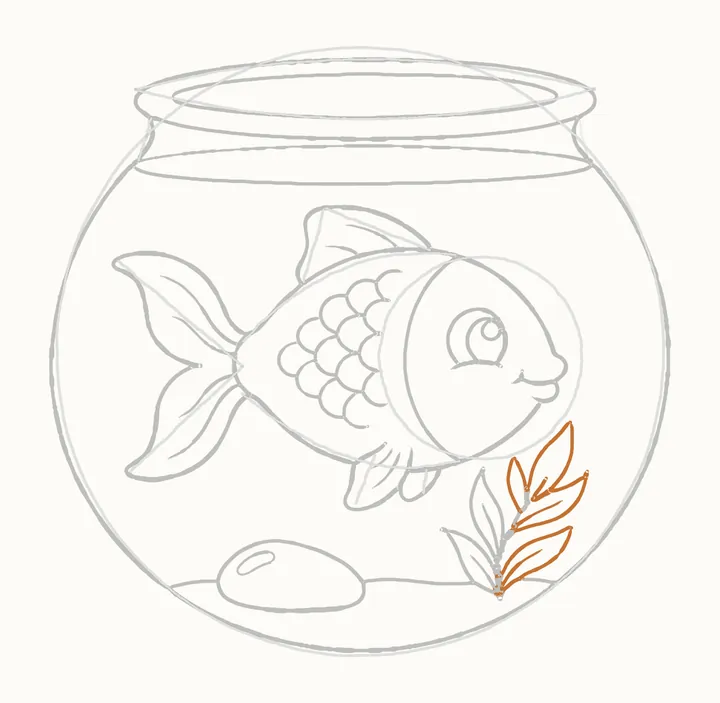
Leaves on the right
Then the leaves on the right: start with the bottom one and work up to the tall leaf at the top and the little one beside it. Each has a line down its middle.
-
Step 18 of 31
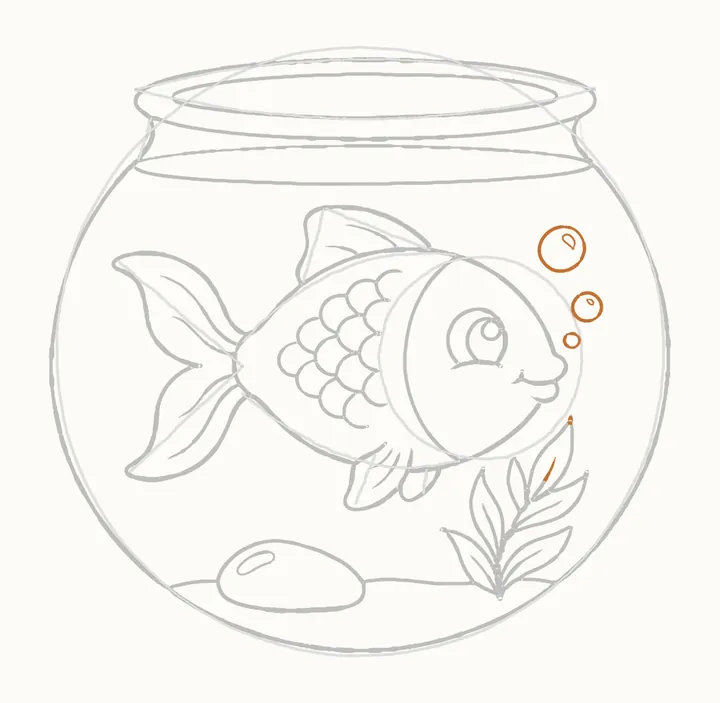
The bubbles
Three bubbles rising from Pip's mouth: a big circle, a middle one and a tiny one, with little curves in the big two where the light catches them.
-
Step 19 of 31
Erase the guides
Rub out the circles and guide lines. Pip and his bowl stay.
-
Step 20 of 31
Go over Pip
Now press harder and go over Pip's outline: round his head, along his back and fins and round his tail. His scales and fin lines stay lighter.
-
Step 21 of 31
Go over the bowl
Press harder again and go over the outside edge of the bowl: along the top of the rim, down the neck and all the way round. Everything inside stays lighter.
-
Step 22 of 31
Shading Pip
The light comes from the top left. Shade softly under his body, on the tail and fins, and under his chin. Keep most of Pip white.
-
Step 23 of 31
Pip's deep shadows
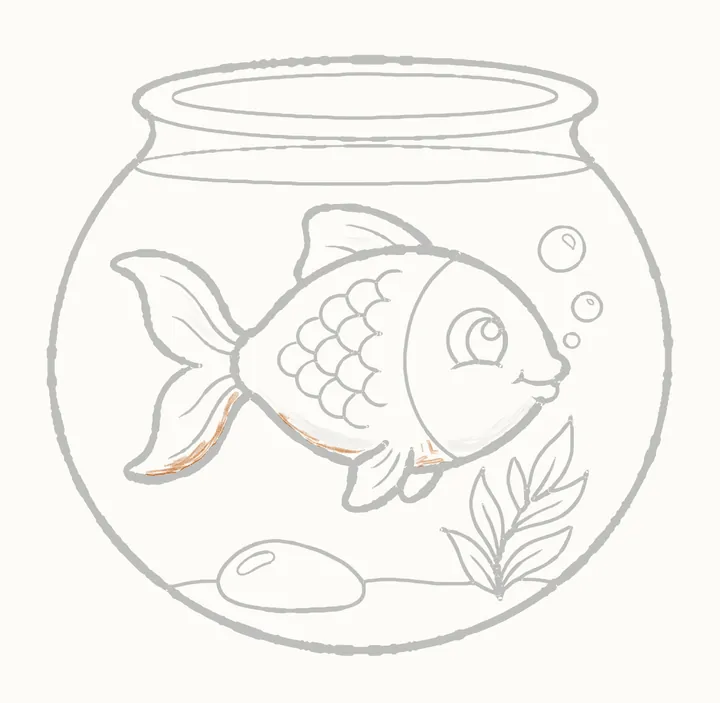
Press a little harder in the darkest places: along his belly, under the tail and by the little fin.
-
Step 24 of 31
The glass
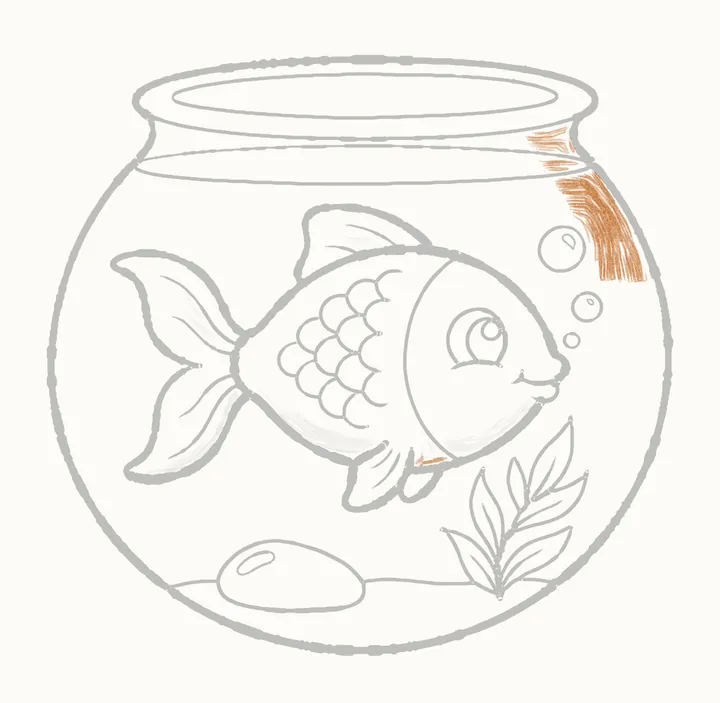
Glass is shiny, so it is shaded at its edges. A soft tone on the right of the neck, then at the top of the bowl's right side.
-
Step 25 of 31
Down the glass
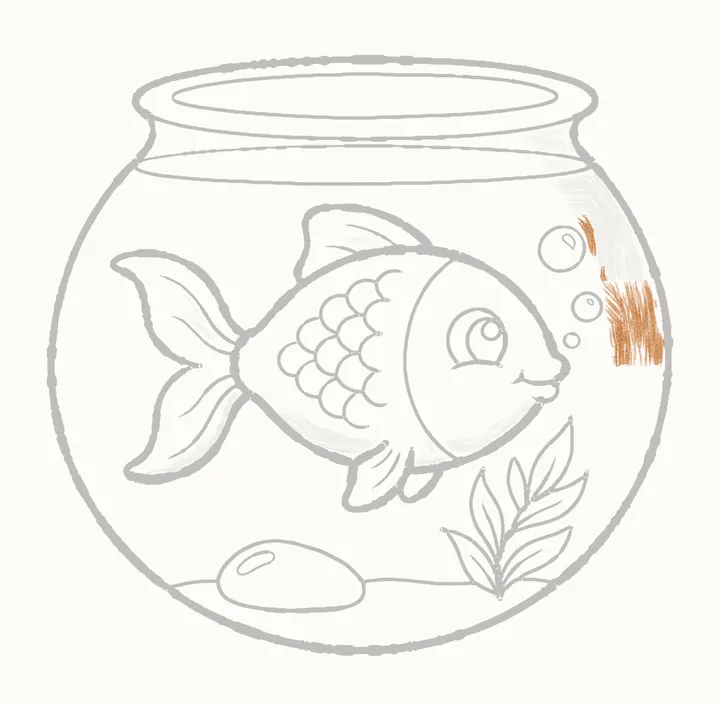
Carry the soft tone on down the right side, following the bowl's round curve.
-
Step 26 of 31
Round the curve
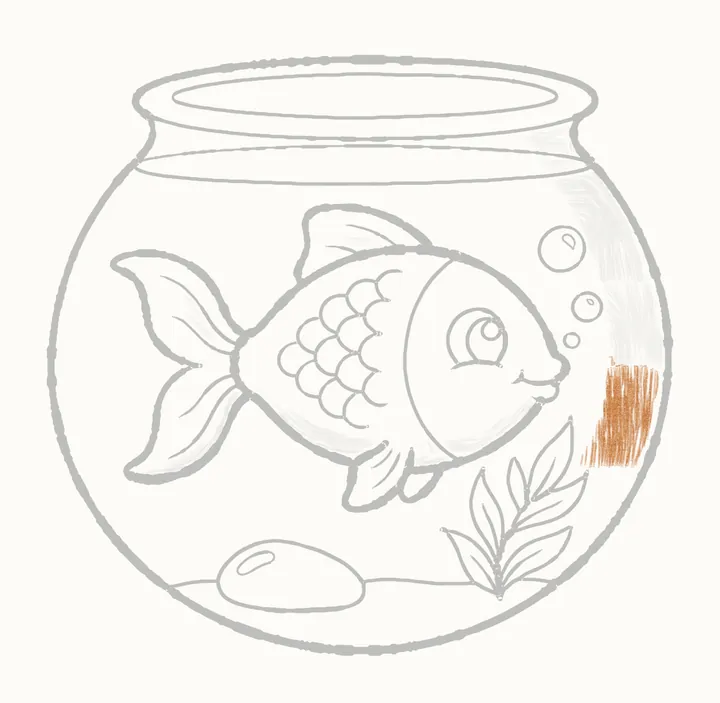
And on round the curve, still light and even.
-
Step 27 of 31
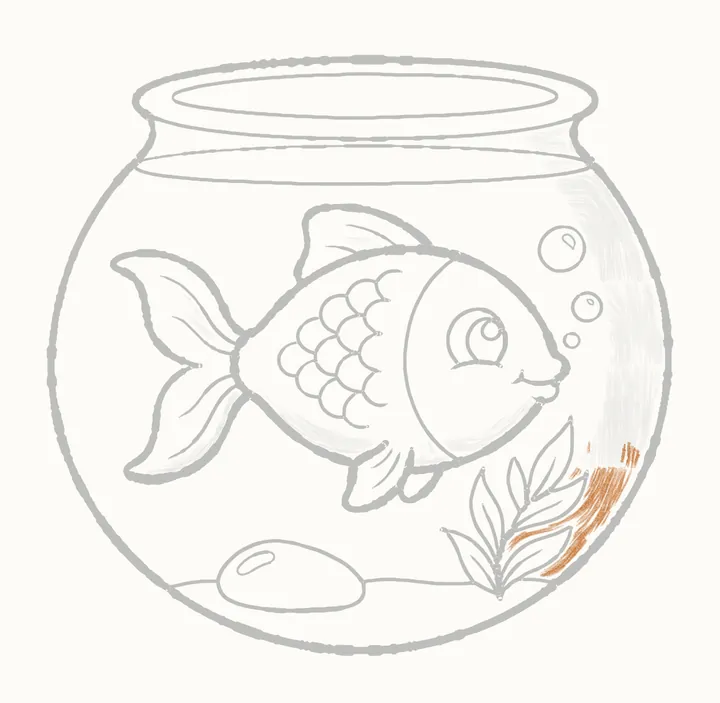
Towards the bottom
Then carry it on down towards the bottom of the bowl, fading out as it goes.
-
Step 28 of 31
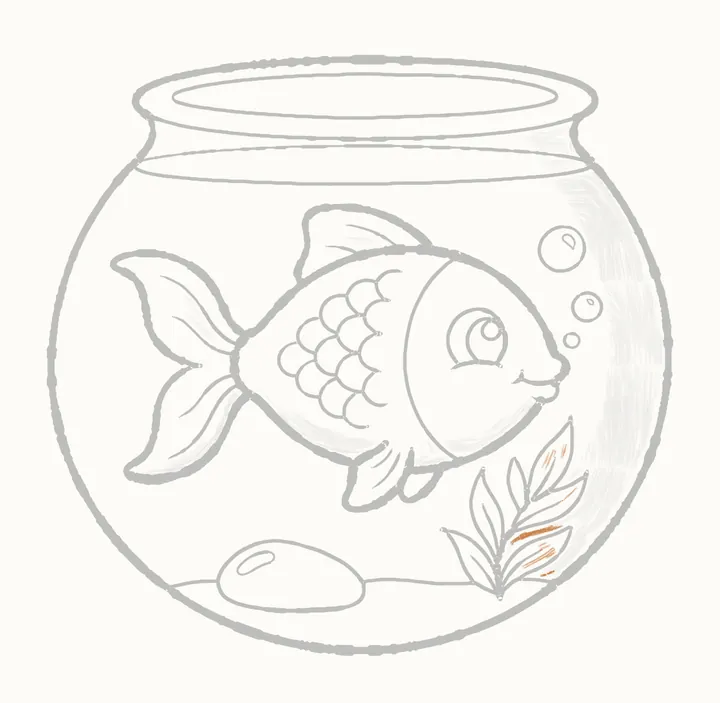
Between the leaves
A little soft tone in the water between the plant's leaves, so they stand out.
-
Step 29 of 31
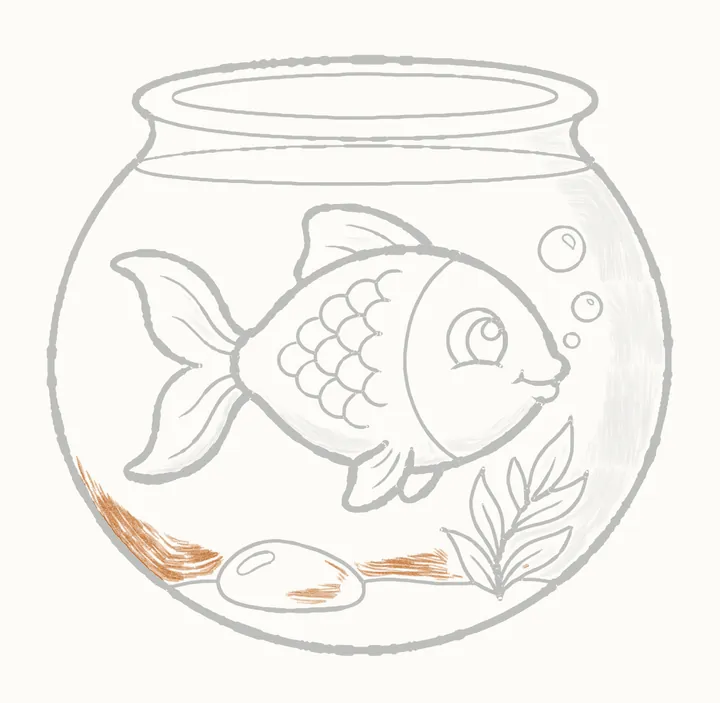
The bottom of the bowl
A soft tone round the left of the bowl's bottom, along the bottom line and on the pebble's shadow side.
-
Step 30 of 31
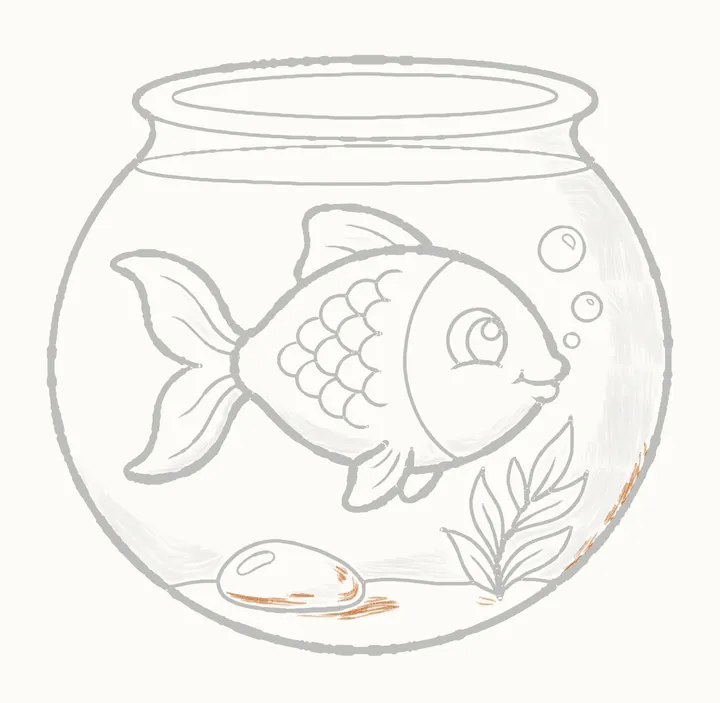
Deep shadows at the bottom
Then press a little harder under the pebble and the plant, and along the right edge of the glass.
-
Step 31 of 31
The darks
Last of all, fill in Pip's pupil, leaving the glint white. Now he is looking at you.
-
Finished
Your finished fish in a bowl
That’s Pip! Go over any lines you want darker, then sign your drawing in the corner.
In the DrawRabbit app
Pip’s world has 9 more drawings
Every animal has a whole world of narrated drawings in DrawRabbit, each one a little story you draw with a real pencil and paper. The first drawing in every world is free.
 Free to start · iPhone and iPad
 The lily pad
 Meeting Frog
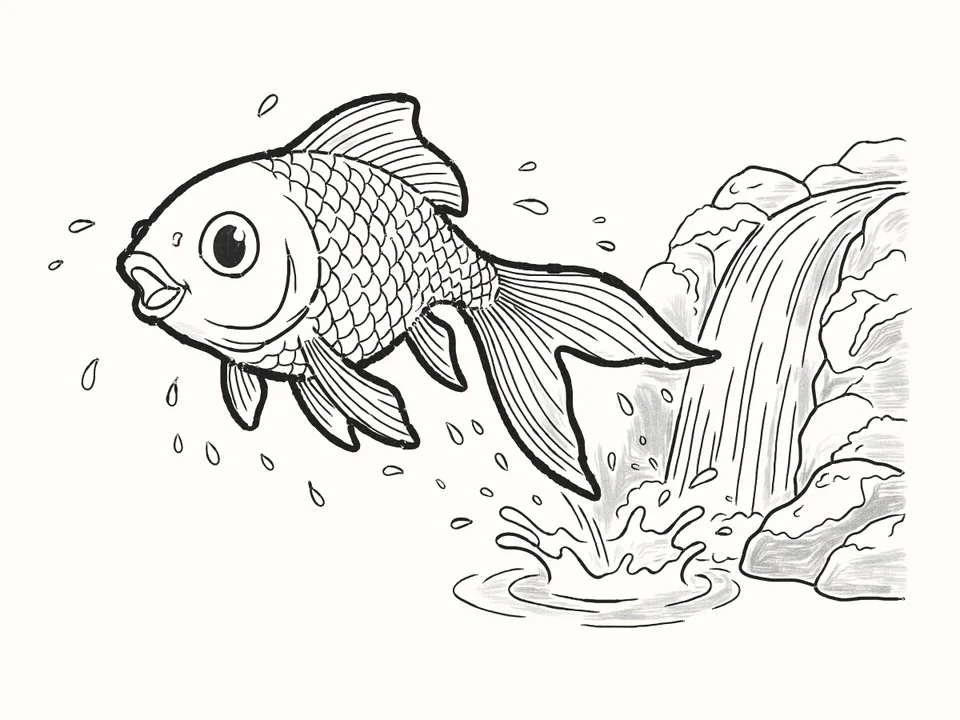 The waterfall
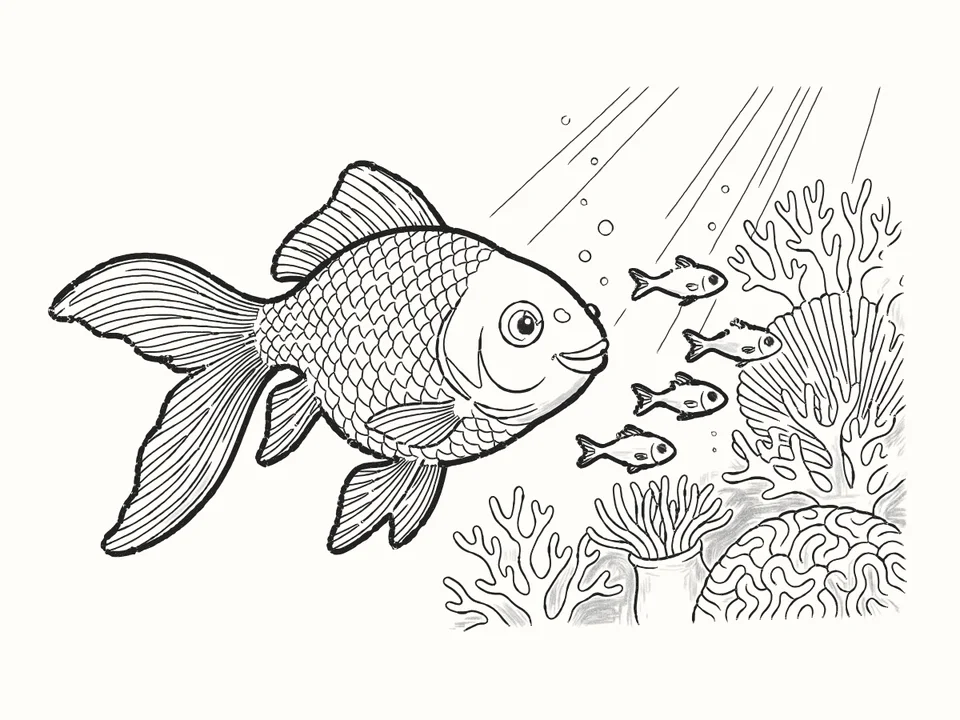 The reef
Tips for a better fish in a bowl
Fish first, then the bowl
Draw Pip before the bowl, so the glass goes round him and his fins aren’t crossed by its lines.
Scales like little c’s
Little curved shapes like the letter c, a row at a time, from behind the face back towards the tail.
Shade glass at its edges
Glass is shiny: a soft tone down one side, following the curve and fading towards the bottom. Leave the middle white.
Bubbles that catch the light
Three bubbles rising from his mouth, big to tiny, with a little curve in the big two where the light catches them.
Questions
Is a fish in a bowl easy to draw?
Yes. The fish starts as a circle and two curves, and the bowl as one big circle and a flat oval, so everything is placed before you add any detail.
What do I need?
A pencil, paper and an eraser. Draw the first steps lightly: the guide lines are rubbed out in step 19.
How do I draw a fish bowl?
A big circle for the bowl and a flat oval on top for the opening, joined by two short lines for the neck. Then a second oval round the first for the rim, a flat oval near the top for the water, and shade only at the glass’s edges, because glass is shiny.
Can kids draw it?
Yes. It’s made for beginners of any age. If reading the steps is hard, the draw-along talks you through each line while it draws.
What is DrawRabbit?
A drawing app for iPhone and iPad: narrated, step-by-step lessons you follow with a real pencil and paper. 95 drawings in 10 worlds, free to start, no account needed.