 DrawRabbit
Drawing guide · Owls
How to draw an owl flying
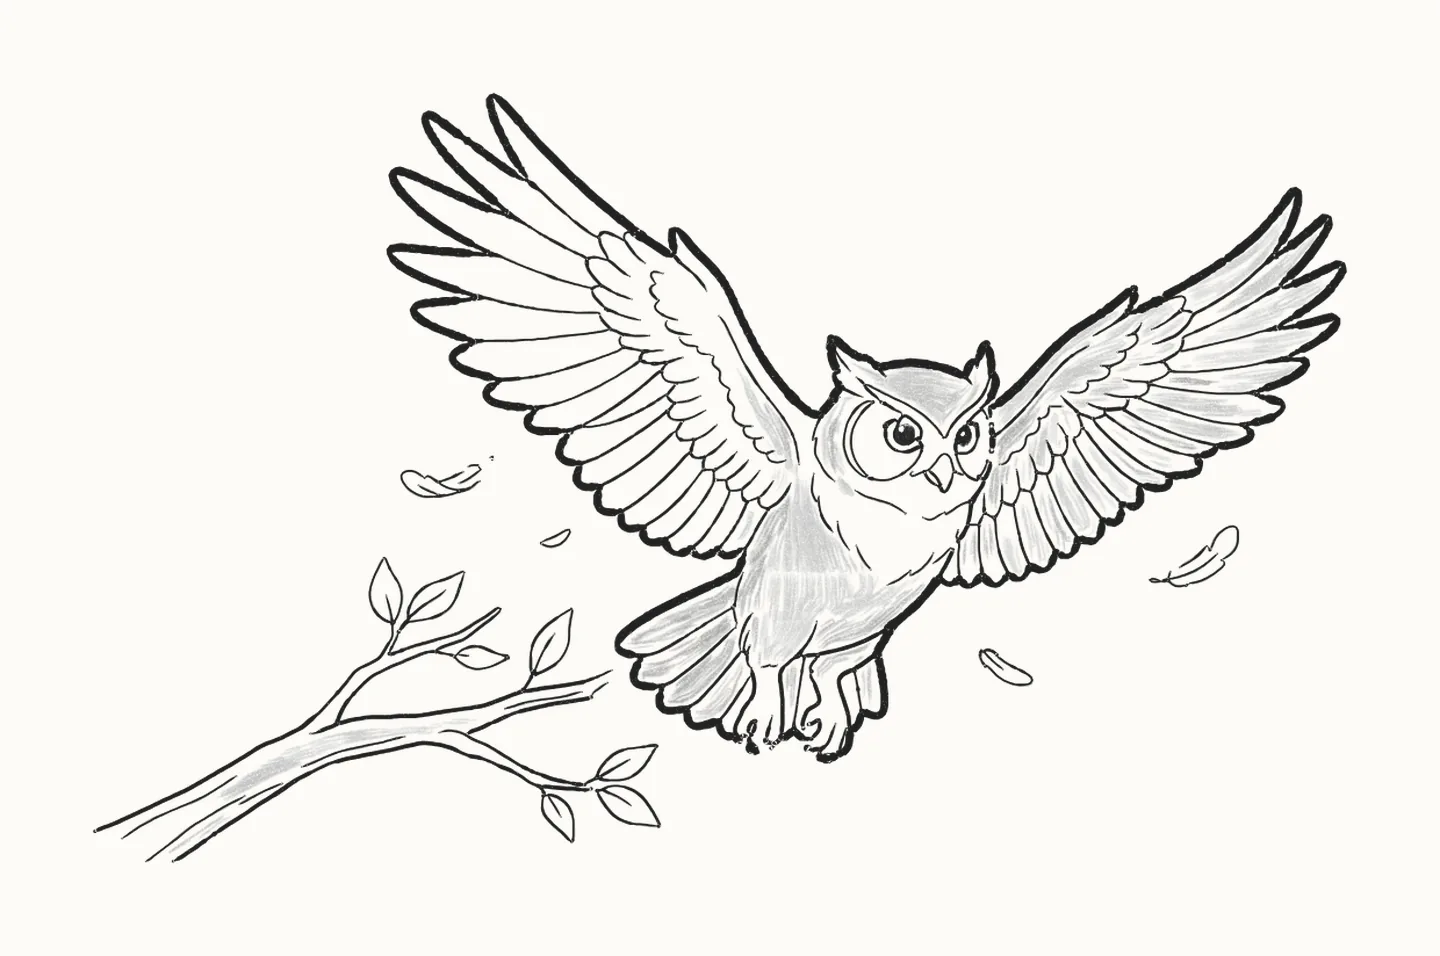
Hazel is leaving the branch for the very first time. In 39 steps you’ll draw an owl flying, wings raised mid-flap, using a pencil and paper: a curve and two circles to start, then the wings, feather by feather.
How do you draw an owl flying?
To draw an owl flying, start light: one sweeping curve for the line of action, a circle for the head and a bigger one for the body. Think of each wing as an arm with a hand of long feathers: draw an arc from the shoulder up past the wrist bend to the tip, with lines fanning out for the flight feathers, then the far wing a little smaller, the tail and the tucked-up legs. Draw the head and ear tufts, the face disc, big eyes looking up and a small hooked beak. Then the body, and each wing in layers: the strong front edge, rows of small feathers like roof tiles, and the long flight feathers fanning down to a smooth trailing edge. Add the fluffy chest, the curled talons, the fanned tail, the branch she has just left and a few drifting feathers. Rub out the guides, go over the outline and shade from the top left. It takes 39 steps with a pencil, paper and an eraser.
You need a pencil, paper and an eraser39 stepsBeginner
Draw an owl flying, step by step
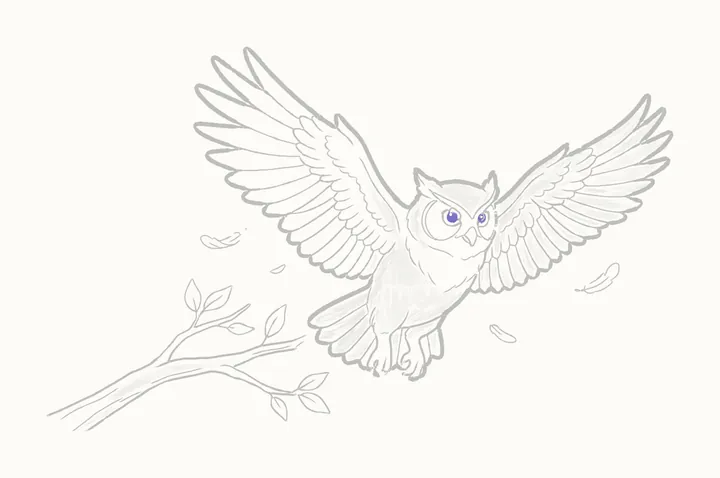
In colour: what to draw nowGrey: already drawn
Draw everything in pencil, lightly at first. Save all 39 steps to Pinterest
-
Step 1 of 39Guide lines
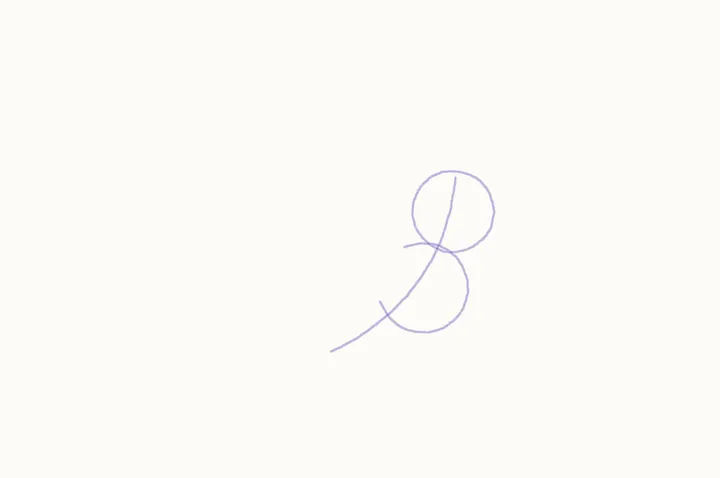
Line of action, head and body
Hazel is leaving the branch for the very first time, wings raised mid-flap. Start light: one sweeping curve for the line of action, a circle for her head, and a bigger one for her body.
Draw these lightly: they’re only there to help, and you’ll rub them out in step 27.
-
Step 2 of 39Guide lines
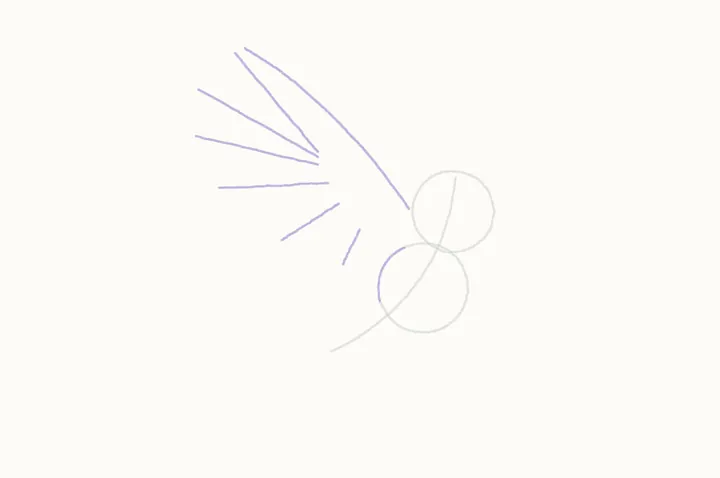
The near wing's guides
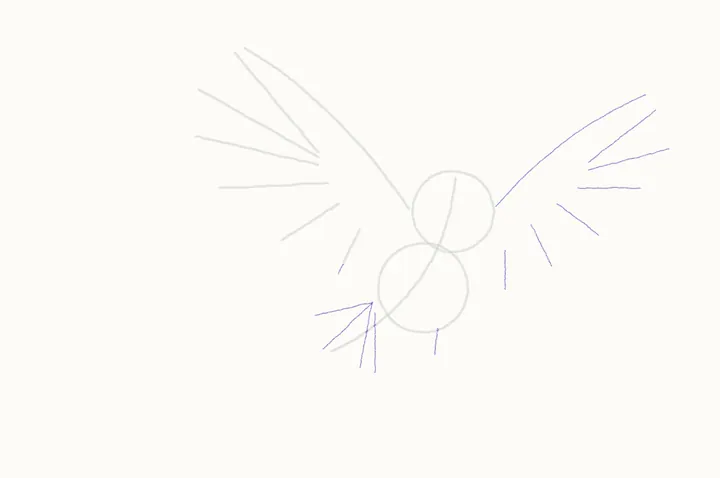
A wing is an arm with a hand of long feathers. One long arc from her shoulder, up past the wrist bend, out to the tip, then lines fanning out where the flight feathers will go.
Draw these lightly: they’re only there to help, and you’ll rub them out in step 27.
-
Step 3 of 39
Far wing, tail and legs
The far wing the same, a little smaller: its arc and its fan of feather lines. Then three lines fanning down for the tail, a short one on the right, and two for the tucked-up legs.
-
Step 4 of 39
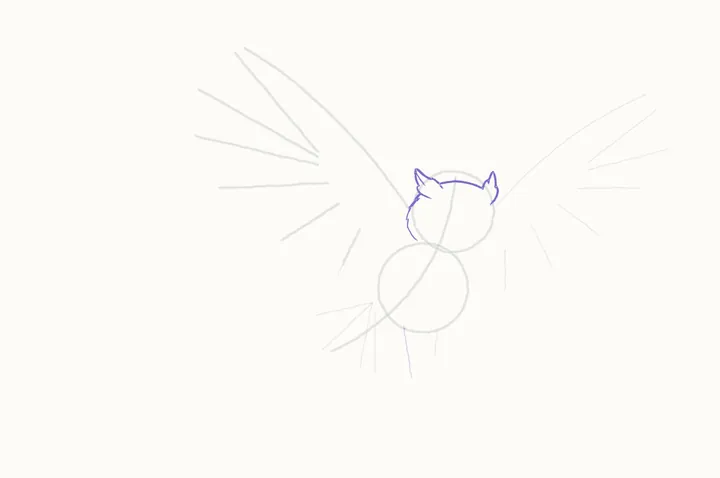
The head
Now the ink. Across the top of her head from right to left, up over the left ear tuft with its little notches, and down that side. Then the right tuft, and the lines inside the tufts.
-
Step 5 of 39
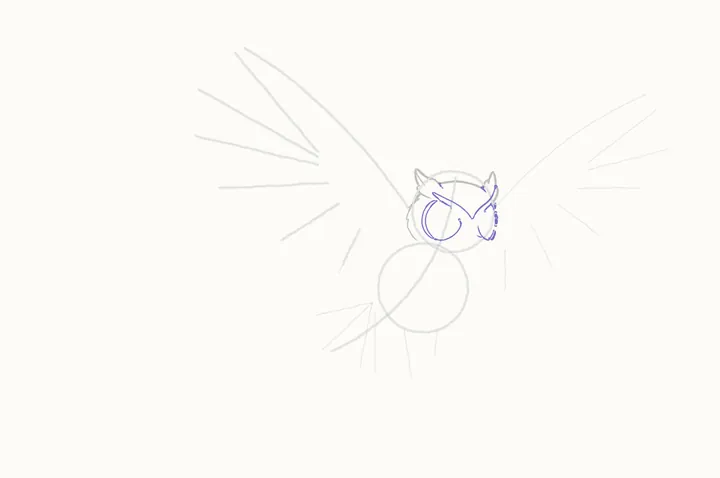
The face disc
The face disc: the double curve round her left eye and the arc beneath it. Then the brows, meeting in a V above the beak, and the edge of the disc on the right.
-
Step 6 of 39
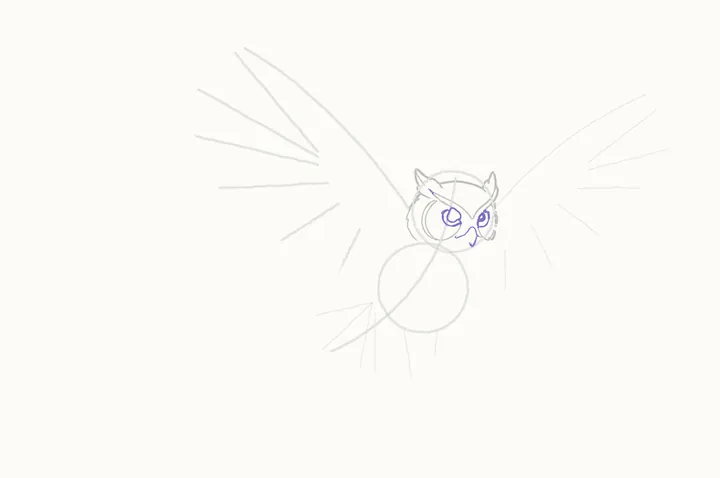
Eyes and beak
Two big eyes looking up and ahead: lids, rings, and pupils with a round glint in each, just outlines for now. Then the small hooked beak tucked between them.
-
Step 7 of 39
The body
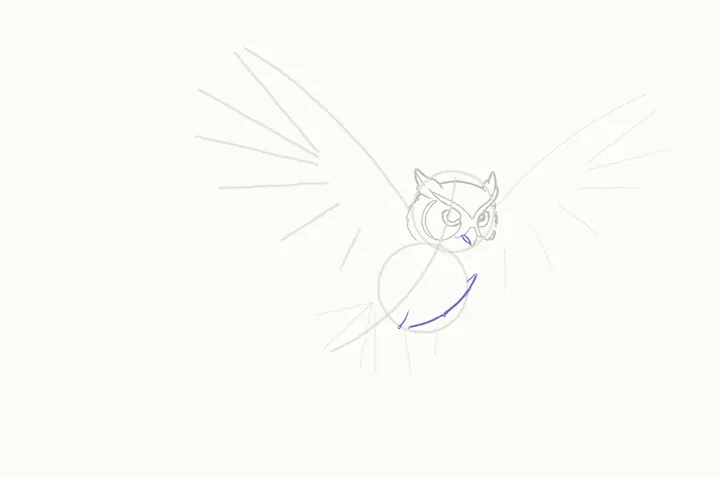
The body: the curve under her tummy, up her right side to the wing, a short curve for her thigh, then her left side, just above where the tail will go.
-
Step 8 of 39
The near wing's leading edge
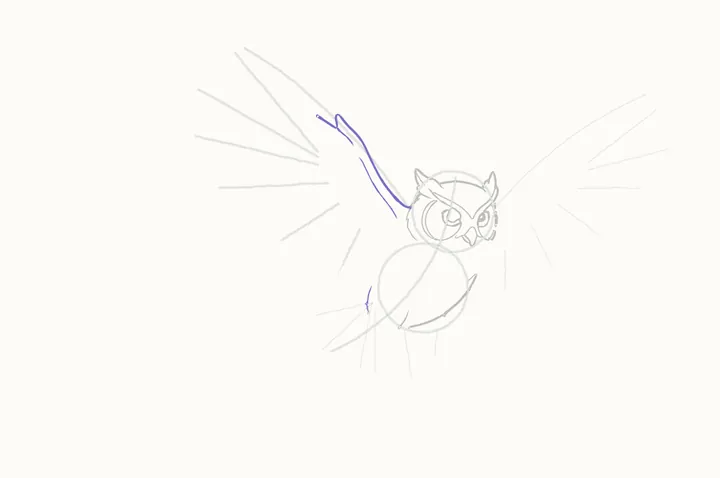
The leading edge is the wing's strong front edge. From her shoulder up to the sharp wrist bend, the short top edge, then a second line just inside, back down to the shoulder.
-
Step 9 of 39
Small coverts
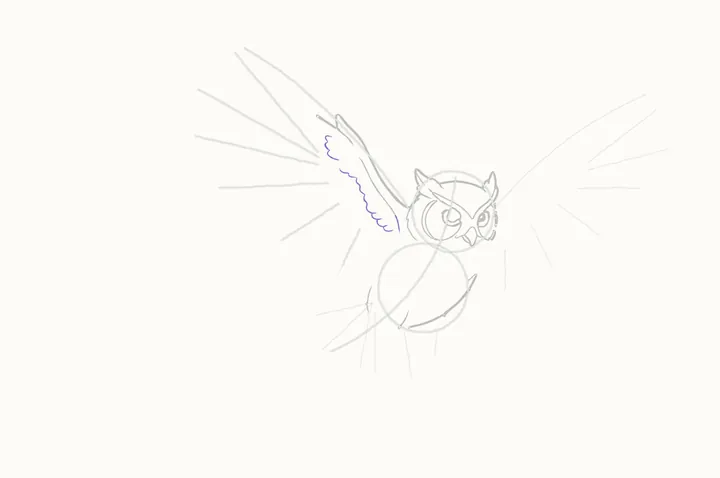
Coverts are the small feathers covering the wing's base, overlapping like roof tiles. A scalloped row just inside the leading edge, from her shoulder up towards the wrist.
-
Step 10 of 39
The covert row
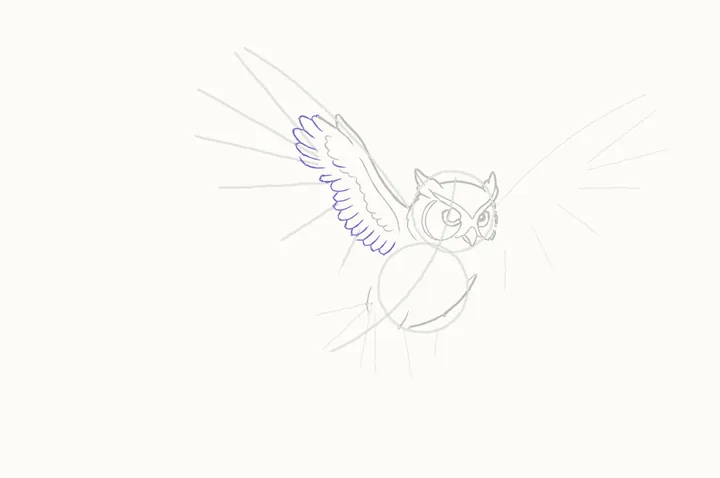
Then the bigger coverts, working down from the wrist: a second scalloped row, each little feather tucked over the base of a long one, with a short line between each.
-
Step 11 of 39
The longest feathers
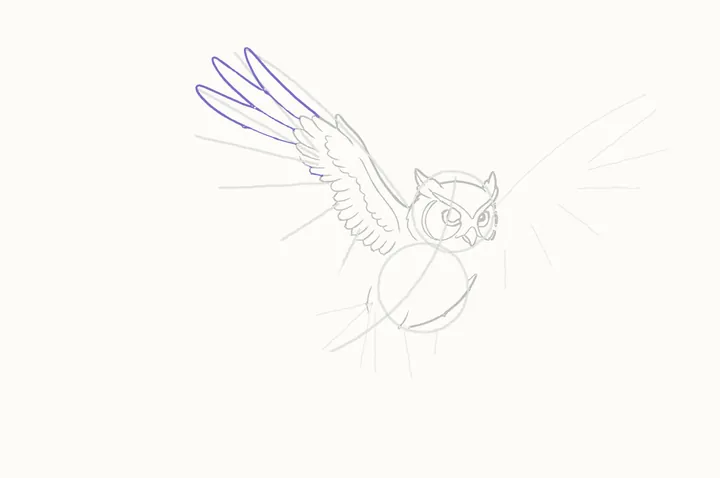
Now the primaries, the long flight feathers at the wing tip. The top three first, each a long, narrow loop overlapping the next.
-
Step 12 of 39
Fanning out
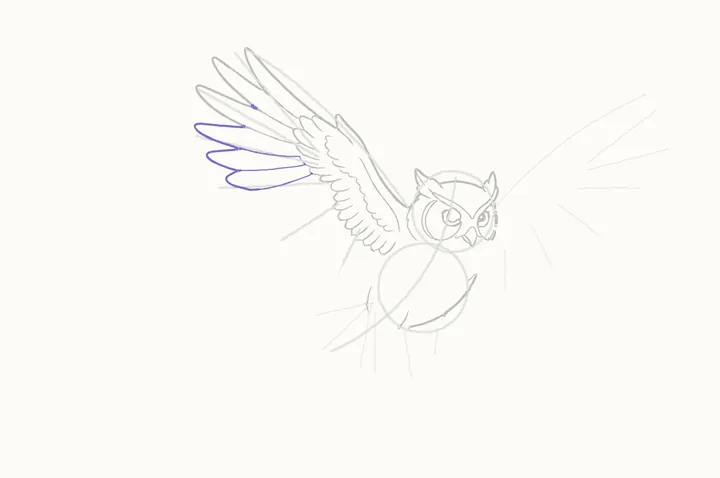
The next feathers fan out below them, each shorter and lower, their round tips stepping down.
-
Step 13 of 39
Down the wing
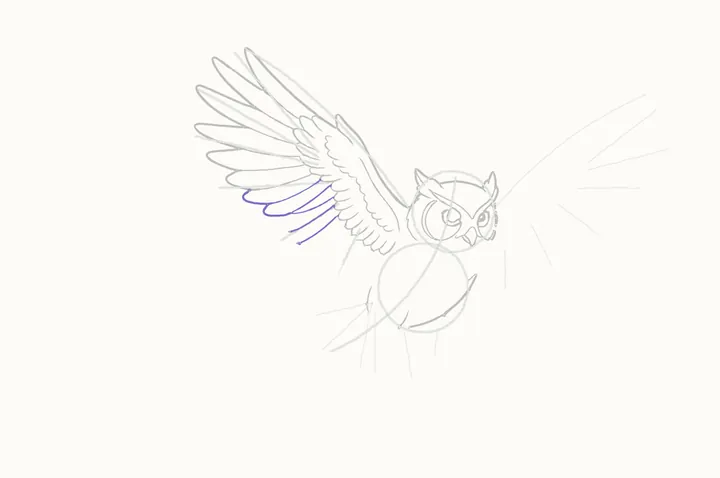
On down the wing. Keep each feather the same width, and let every line run back to the covert row.
-
Step 14 of 39
Back to the body
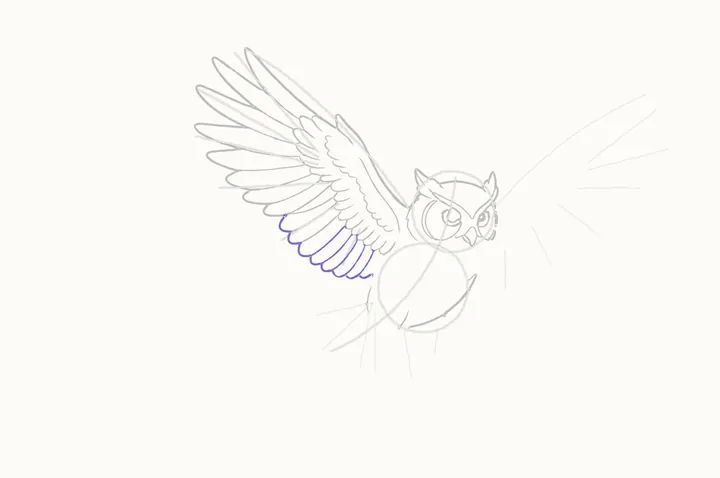
The last, shortest feathers, curving round to meet her body. See how the tips make one smooth trailing edge.
-
Step 15 of 39
The far wing's leading edge
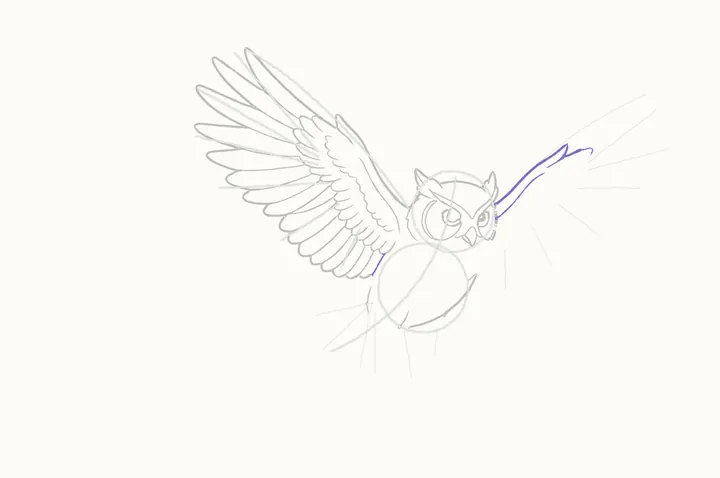
The far wing now. Its leading edge from the shoulder up to the wrist, and the line inside it.
-
Step 16 of 39
Its small coverts
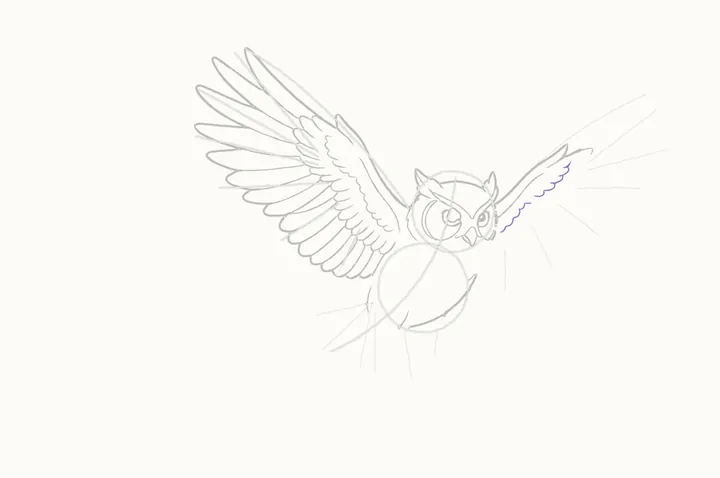
A scalloped row of small coverts under the leading edge, and a short second row near her body.
-
Step 17 of 39
Its covert row
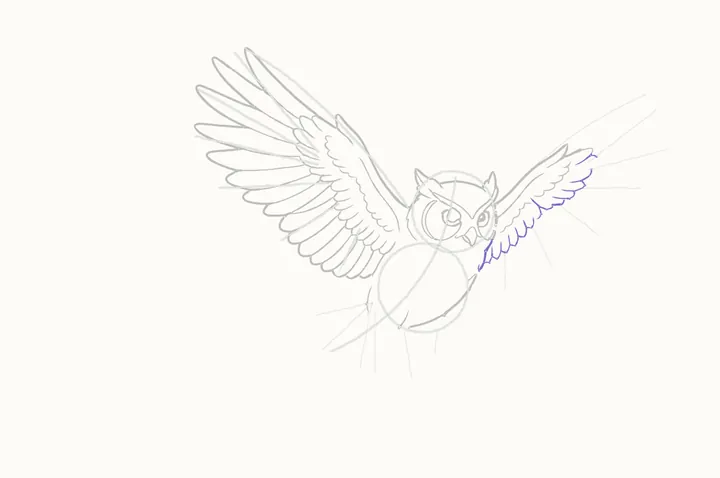
Then the bigger coverts, a long scalloped row from the top of the wing down to her side, with little lines between the feathers.
-
Step 18 of 39
The far wing's primaries
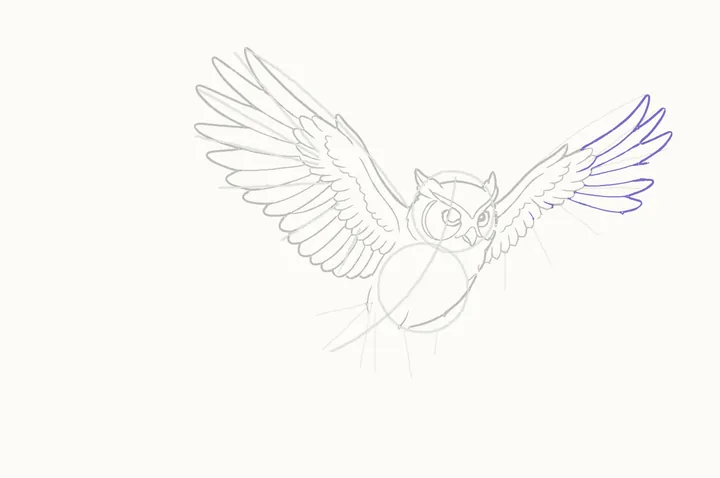
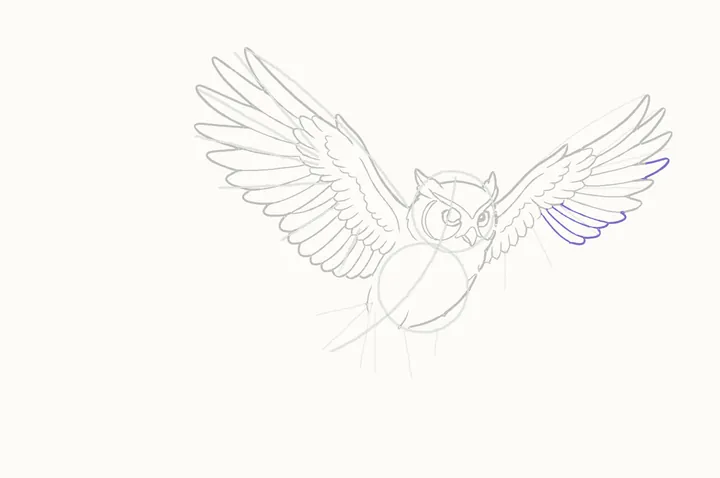
The long primaries, from the one reaching right up to the tip, fanning down: narrow loops, each overlapping the one below, the tips stepping down.
-
Step 19 of 39
Fanning round
And on round, the feathers getting shorter, each line running back to the covert row.
-
Step 20 of 39
The secondaries
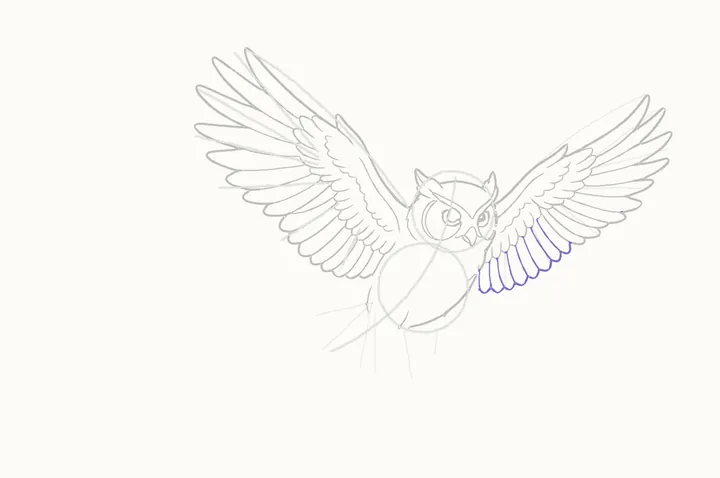
Now the secondaries, the broader feathers nearer her body, getting shorter until they tuck in against her side. Their round tips make the trailing edge.
-
Step 21 of 39
Chest feathers
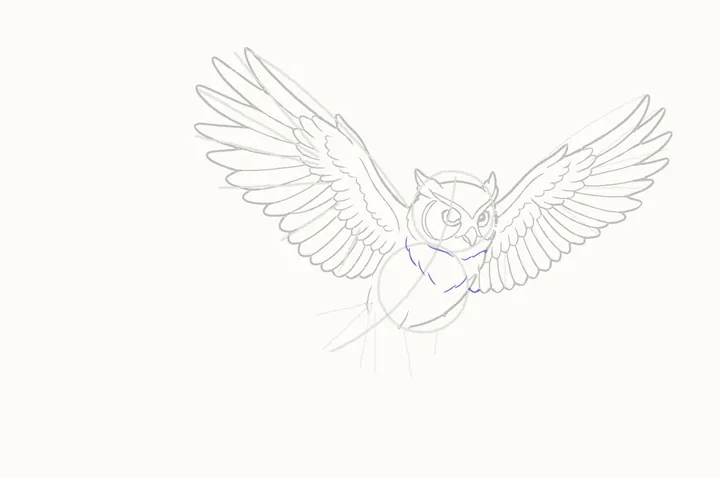
Soft, broken lines for the fluffy chest: a ruff under her chin and down each side. Keep them short and light.
-
Step 22 of 39
The feet
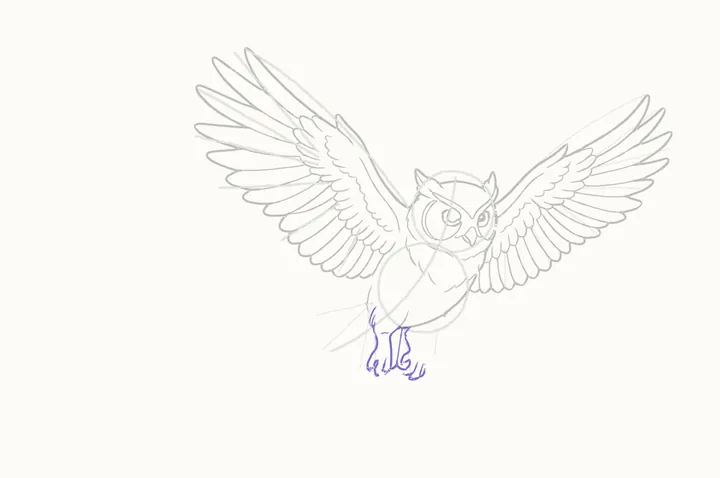
Her talons are tucked up for flight. The near leg first, down to its curled toes and hooked claws, then the far foot beside it, toes curled in a loose grip.
-
Step 23 of 39
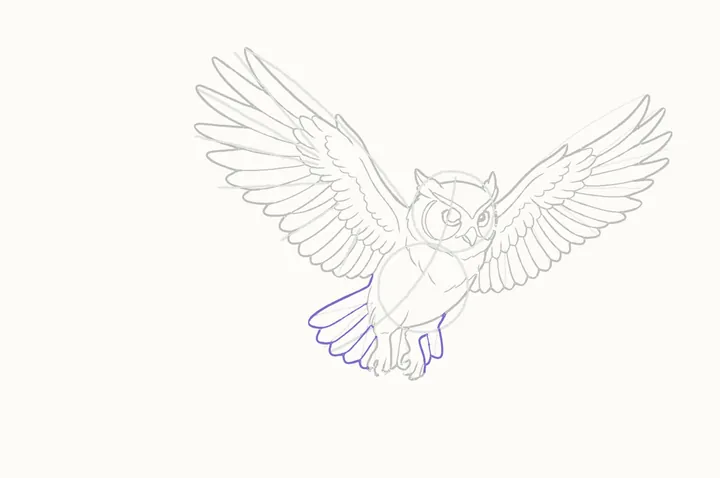
The tail
The tail fans out behind her legs: long, rounded feathers overlapping one another, then the bit that shows on the right.
-
Step 24 of 39
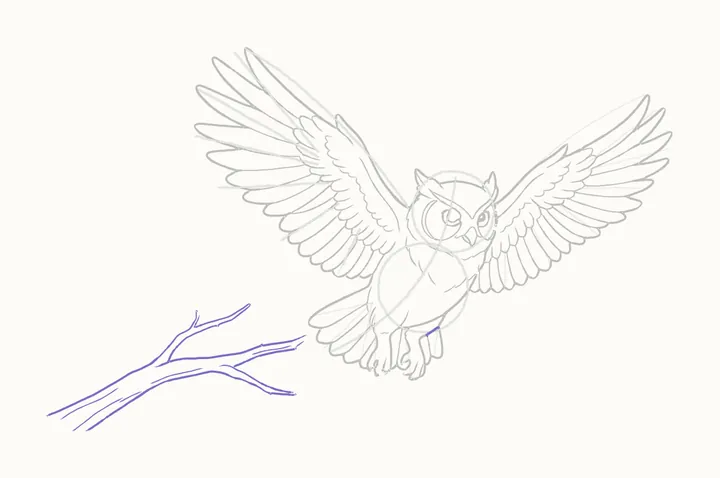
The branch
Now the branch she has just left. The long limb from the edge of the page, and the twigs reaching up from it.
-
Step 25 of 39
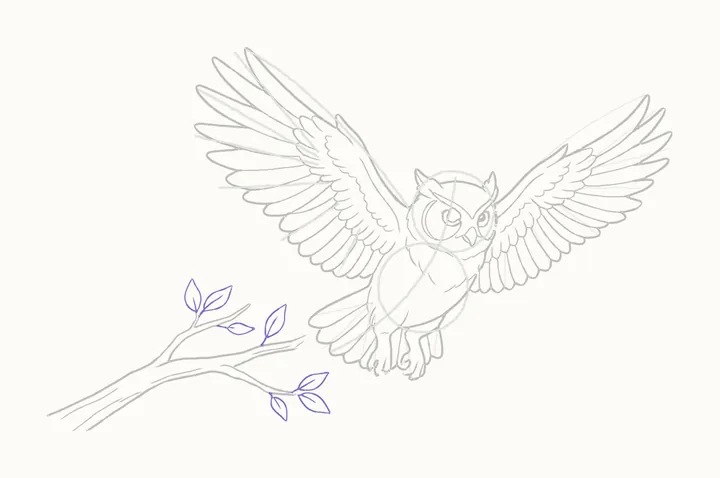
The leaves
Pointed leaves on the twigs, each with a line down the middle: up on the top twig first, then the middle twig and the end of the branch. Keep them light.
-
Step 26 of 39
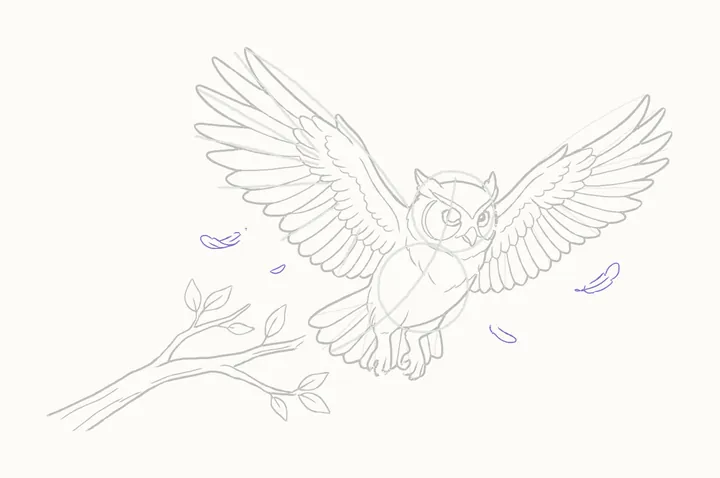
Loose feathers
A few feathers shaken loose by her first flap, drifting down: a curved quill, and soft barbs on each side.
-
Step 27 of 39
Erase the guides
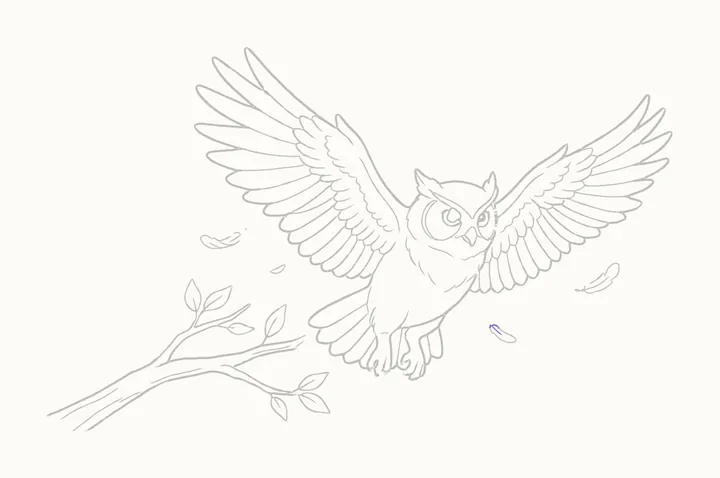
Rub out the circles and guide lines. Hazel, her branch and the drifting feathers stay.
-
Step 28 of 39
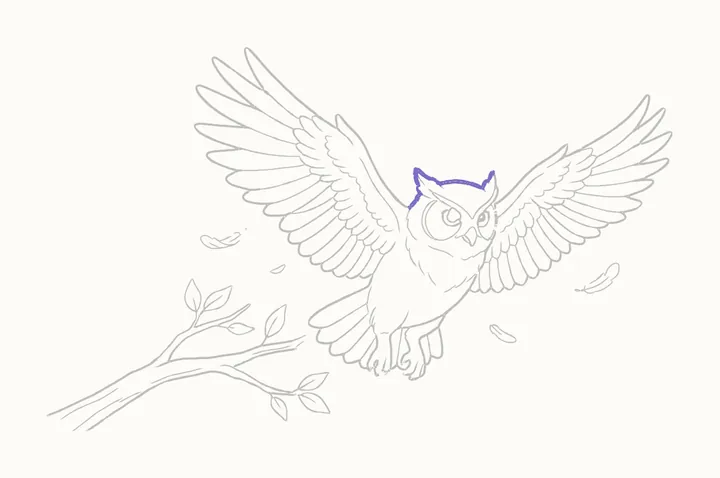
Go over her head
Press harder round her head and tufts, so she stands out from the page.
-
Step 29 of 39
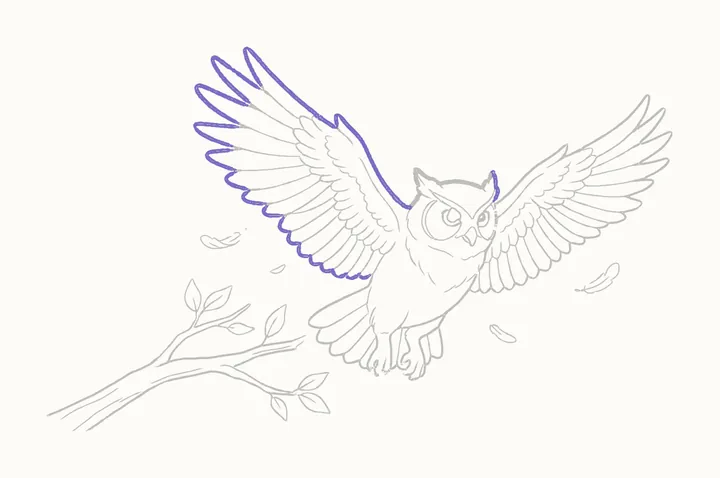
Go over the near wing
Then round the near wing: up the leading edge to the wrist, and along all the feather tips. The coverts stay lighter inside.
-
Step 30 of 39
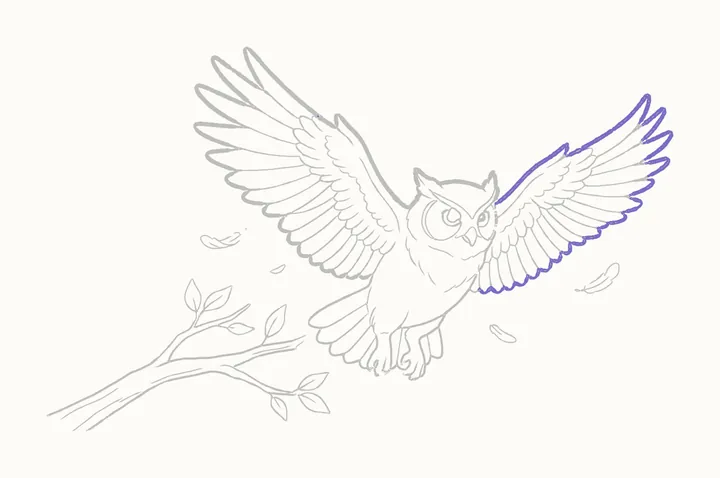
Go over the far wing
The same round the far wing: its leading edge, out to the tip and back along the trailing edge.
-
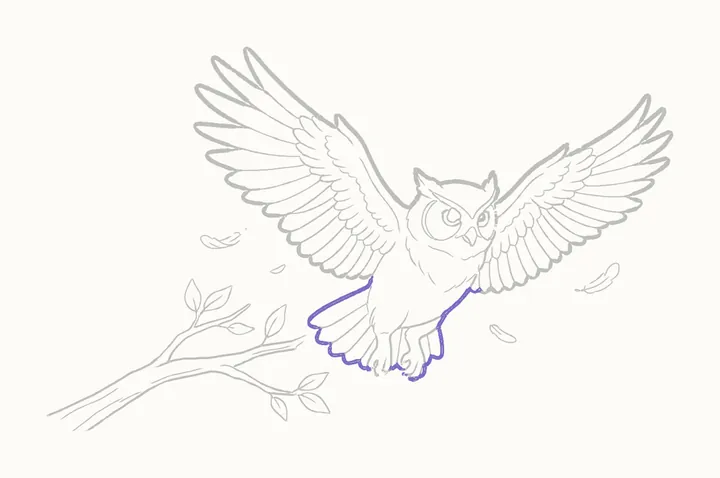
Step 31 of 39
Go over her body
Last, her body, tail and feet. Leave the branch and feathers light, so Hazel stays the star.
-
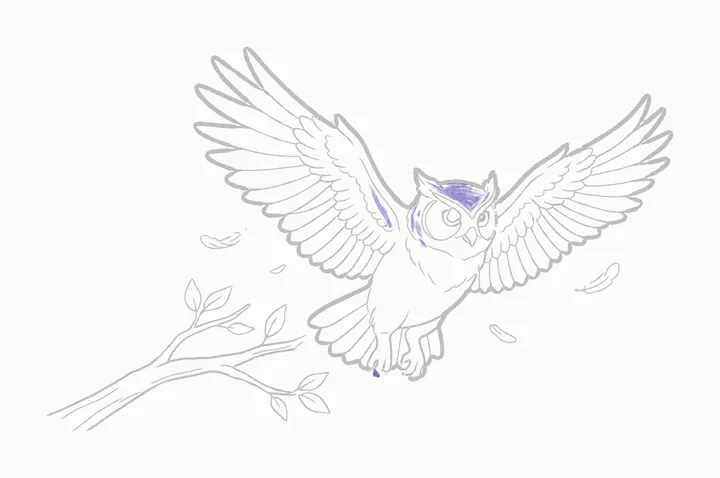
Step 32 of 39
Shading her head
The light comes from the top left. A soft tone over the top of her head, down the side of her face and along the inside of the near wing's arm.
-
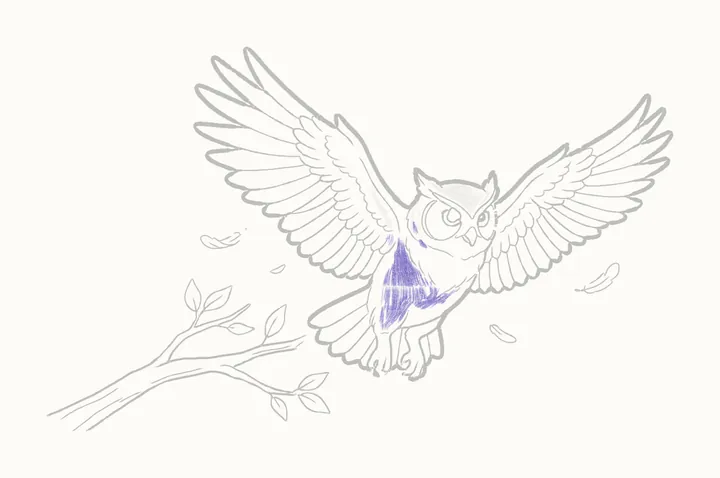
Step 33 of 39
Shading her body
Then down her side and round her tummy, keeping it soft and even. Leave the chest ruff and the near wing white, so they catch the light.
-
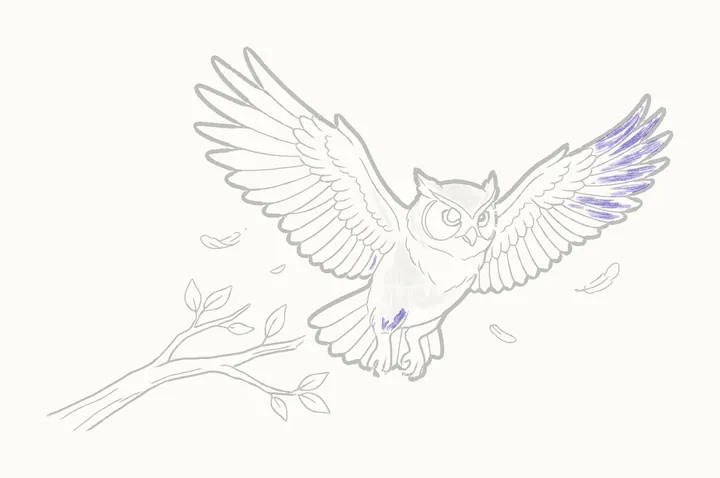
Step 34 of 39
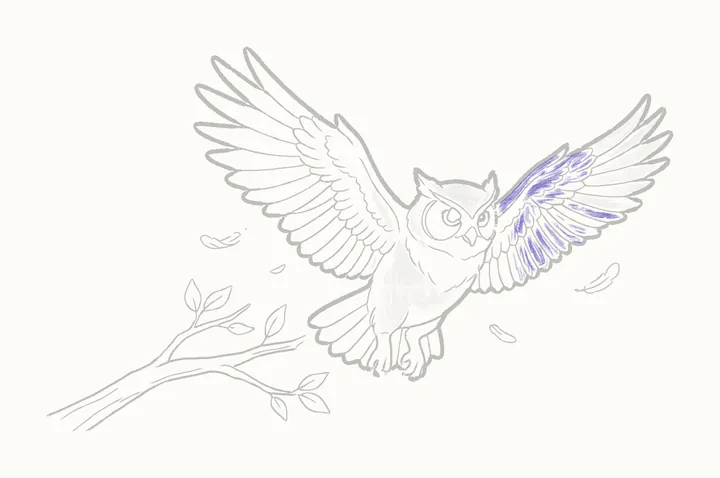
The far wing's tip
The far wing is turned away from the light. A soft tone along each long feather at its tip, following the feather's length.
-
Step 35 of 39
The rest of the far wing
Then across the coverts and down each secondary, a stripe of tone in every feather.
-
Step 36 of 39
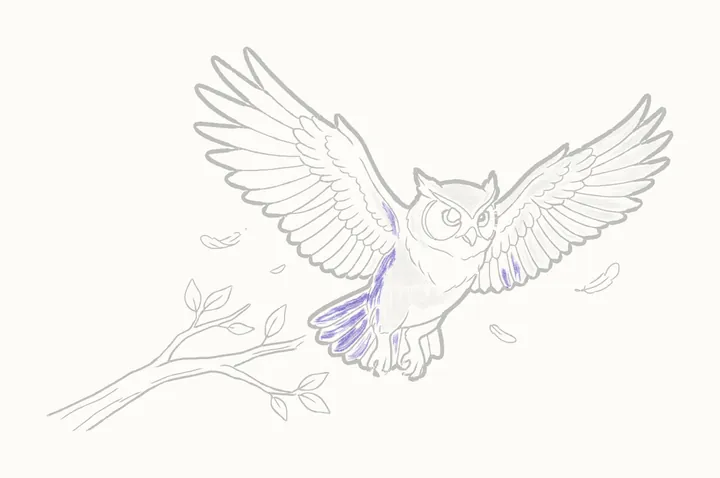
Deep shadows on the left
Press harder in the deepest places: under the near wing, the tail feathers and between her legs.
-
Step 37 of 39
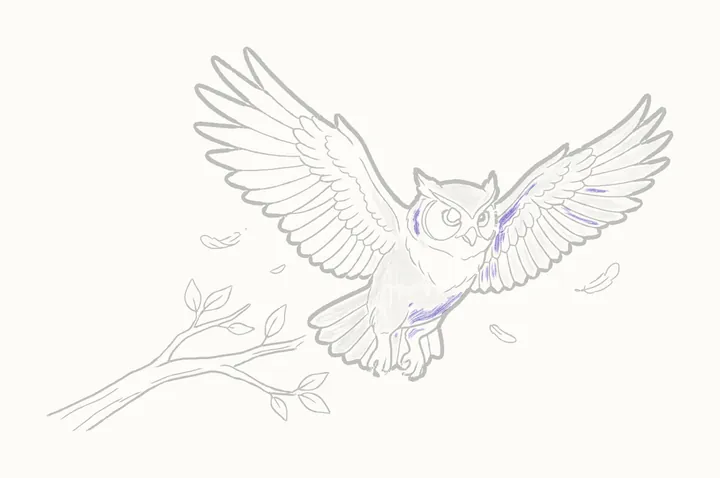
Deep shadows on the right
And where the far wing meets her body, under her tummy and on the far side of the tail.
-
Step 38 of 39
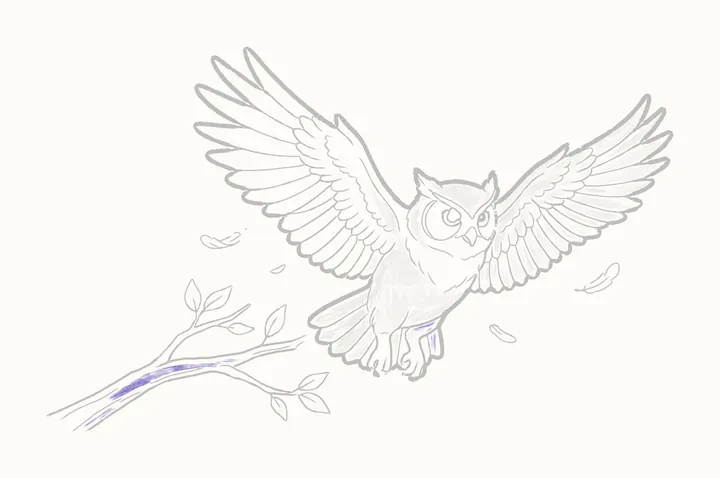
The branch
A light tone along the underside of the branch. No shadow under Hazel: she is in the air.
-
Step 39 of 39
The darks
Last of all, fill in her pupils, leaving each glint white. Hazel is flying.
-
Finished
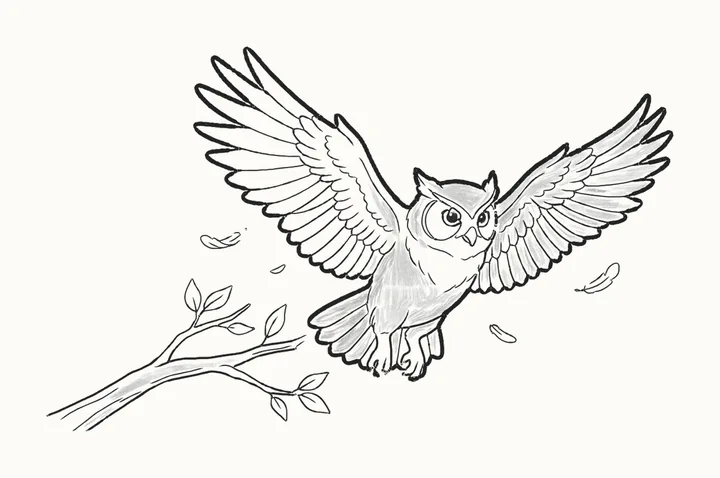
Your finished owl flying
That’s Hazel! Go over any lines you want darker, then sign your drawing in the corner.
In the DrawRabbit app
Hazel’s world has 9 more drawings
Every animal has a whole world of narrated drawings in DrawRabbit, each one a little story you draw with a real pencil and paper. The first drawing in every world is free.
 Free to start · iPhone and iPad
 Hatching
 Peeking out
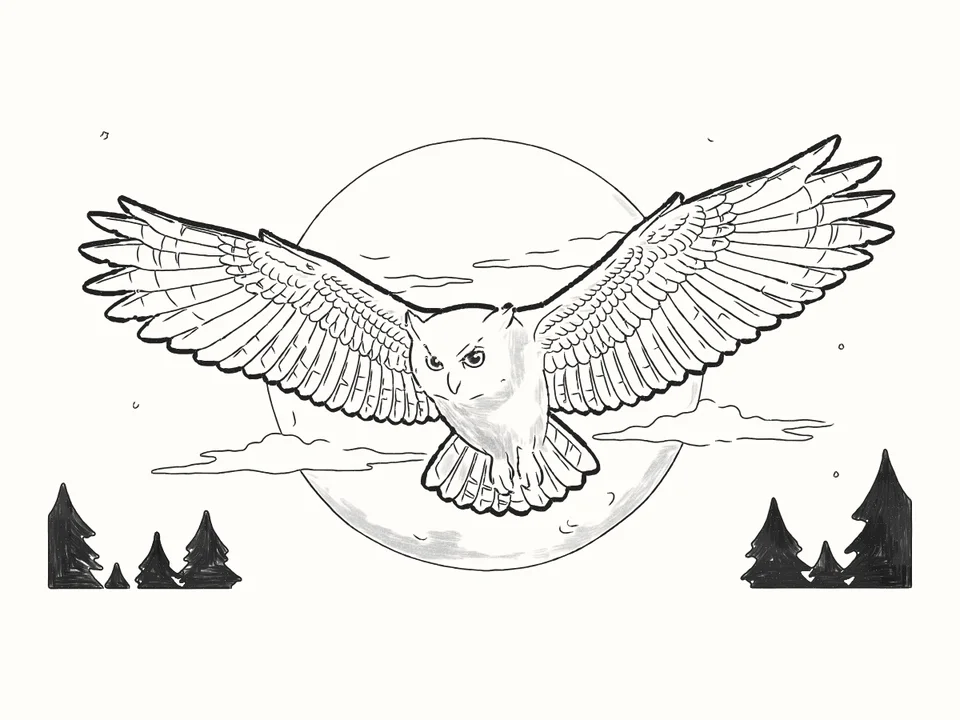 Full moon
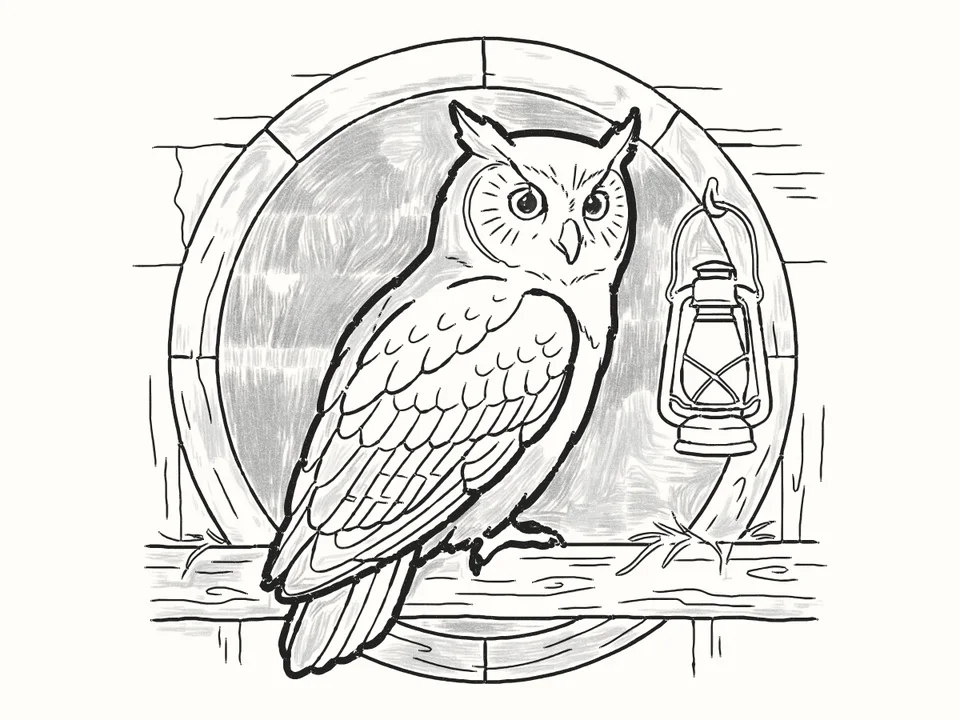 The old barn
Tips for a better owl flying
A wing is an arm
An arc from the shoulder up past the wrist bend to the tip, with a hand of long feathers fanning out below it.
Feathers like roof tiles
The small feathers along the wing overlap in scalloped rows, like roof tiles, each tucked over the base of a longer one.
Same width, stepping down
Keep every long feather the same width and let the tips step down into one smooth trailing edge.
No shadow under her
She’s in the air, so there’s no shadow beneath her: shade the underside of the branch instead.
Questions
Are owl wings hard to draw?
Not when you build them in layers. Draw the wing as an arm first: a strong front edge up to the wrist bend. Then a row of small feathers along it, a row of bigger ones, and the long flight feathers fanning down from the tip, each one a narrow loop.
What do I need?
A pencil, paper and an eraser. Draw the first steps lightly: the guide lines are rubbed out in step 27.
How do I draw an owl flying?
Start with one sweeping curve for the movement and two circles for the head and body, then an arc for each wing from the shoulder to the tip, with lines fanning out where the long feathers go. The far wing is a little smaller, and the legs are tucked up.
Can kids draw it?
Yes. It’s made for beginners of any age. If reading the steps is hard, the draw-along talks you through each line while it draws.
What is DrawRabbit?
A drawing app for iPhone and iPad: narrated, step-by-step lessons you follow with a real pencil and paper. 95 drawings in 10 worlds, free to start, no account needed.
Keep drawing · Next guide
How to draw a cat in a box
A kitten in a box in 22 easy steps
Start drawing