 DrawRabbit
Drawing guide · Horses
How to draw a horse running
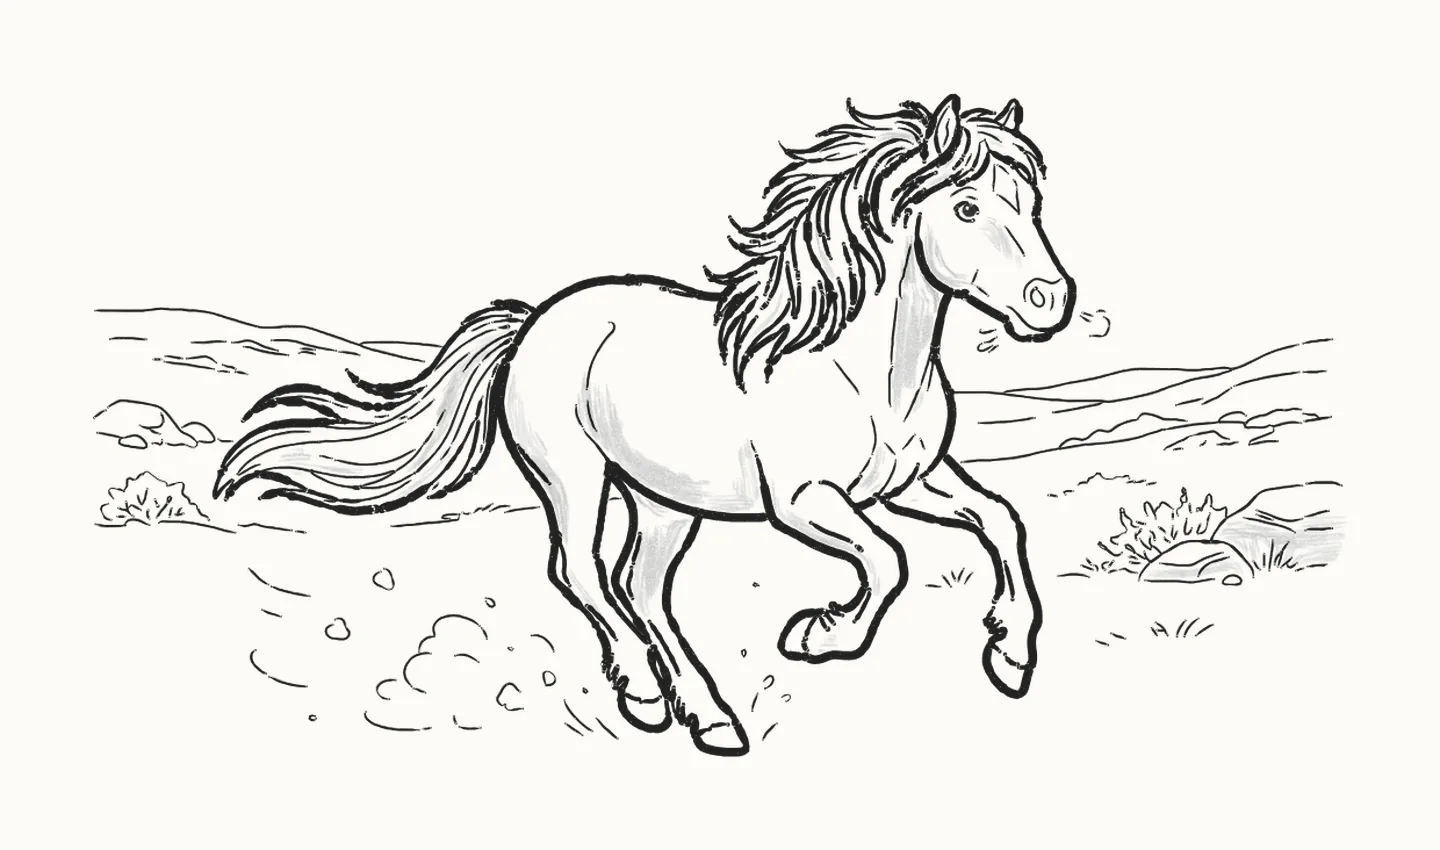
Bramble is grown now, and racing across the moor. In 43 steps you’ll draw a horse galloping, her mane and tail streaming behind her, using a pencil and paper: one curve for the movement, then the body, the legs and the moor.
How do you draw a horse running?
To draw a horse running, start with the line of action: one long, fast curve from the forehead over the back to the tip of the tail. Hang the body on it: a circle for the chest, another for the hindquarters, a wedge for the head and a curve for the stretched neck. Add the legs at the gathered moment, forelegs folded up and hind legs reaching under, with a small circle at each joint. Draw the head with its ears pricked forward, the eye and the snorting muzzle, then the forelock. Draw the chest, back and belly, both hind legs and the folded forelegs, keeping the gaps between them clear. Add the mane and tail in long S-curves streaming back, a few light lines for the muscles, and clods of earth flying up. Sketch the moor lightly, with grass, heather, rocks and hills. Rub out the guides, go over the horse, and shade the side away from the light. It takes 43 steps with a pencil, paper and an eraser.
You need a pencil, paper and an eraser43 stepsBeginner
Draw a horse running, step by step
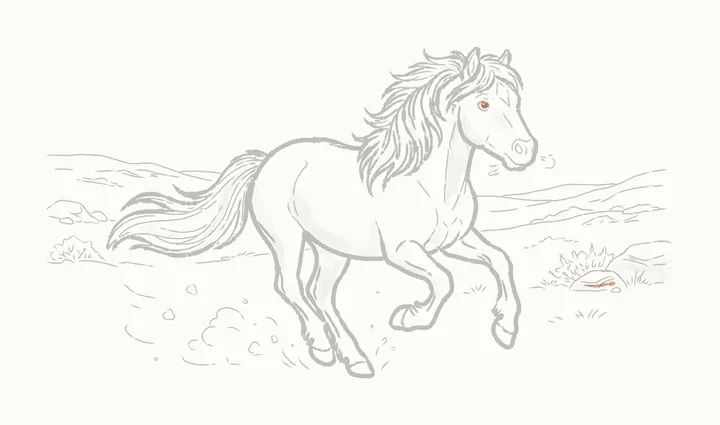
In colour: what to draw nowGrey: already drawn
Draw everything in pencil, lightly at first. Save all 43 steps to Pinterest
-
Step 1 of 43Guide lines
Line of action
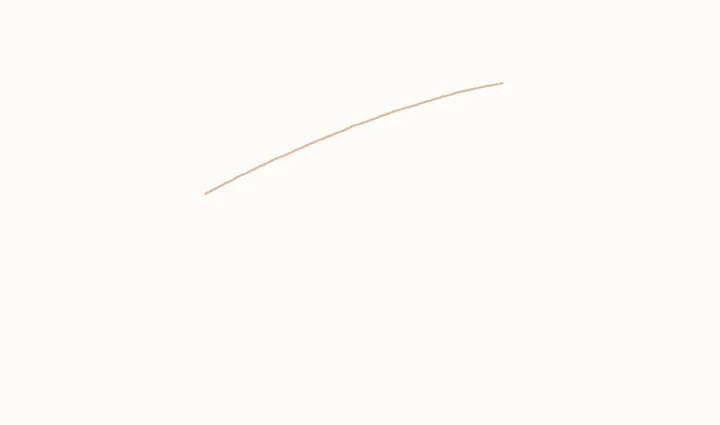
Bramble is grown now, and racing across the moor. Start with the line of action: one long, fast curve from her forehead, over her back and out to the tip of her tail.
Draw these lightly: they’re only there to help, and you’ll rub them out in step 27.
-
Step 2 of 43Guide lines
Body guides
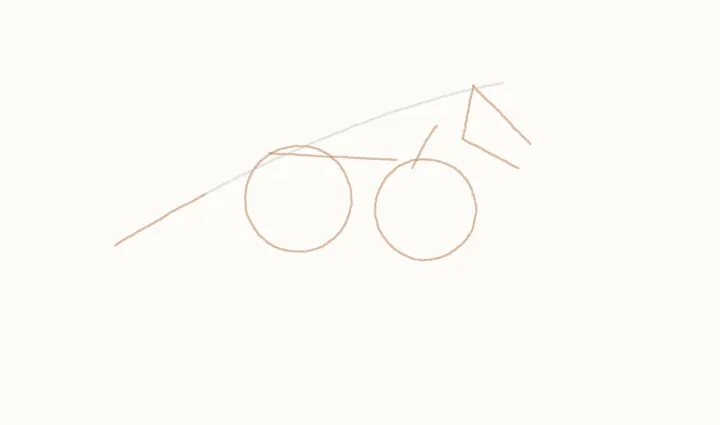
Hang the body on it: a circle for the chest, another for the hindquarters, the back line joining them. Then a wedge for the head and a curve for the neck, stretched forward.
Draw these lightly: they’re only there to help, and you’ll rub them out in step 27.
-
Step 3 of 43Guide lines
Leg and tail guides
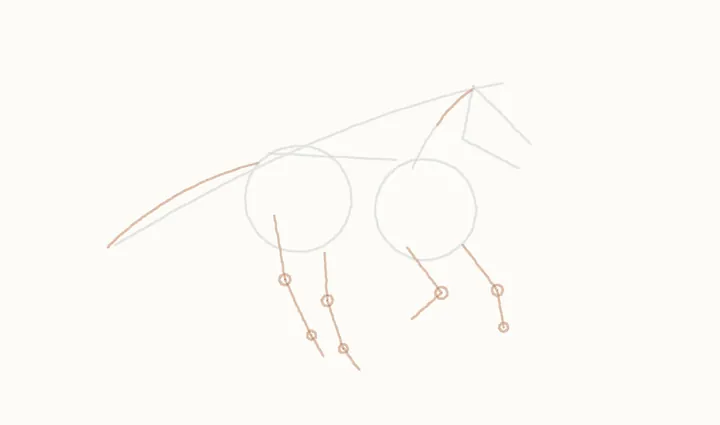
Now the legs at the gathered moment: forelegs folded up, hind legs reaching under her. A line for each bone, a small circle at each joint, and a curve for the tail.
Draw these lightly: they’re only there to help, and you’ll rub them out in step 27.
-
Step 4 of 43
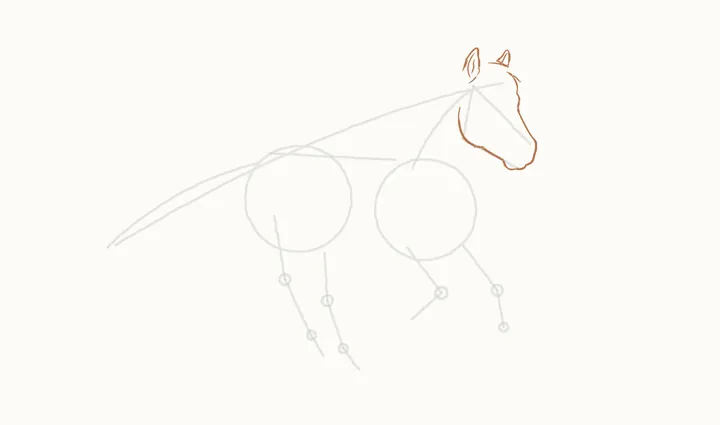
The head and ears
Now the ink. Down the cheek and along the jaw, round the chin and muzzle, then up the long front of the face. Then two ears pricked forward: she is loving this.
-
Step 5 of 43
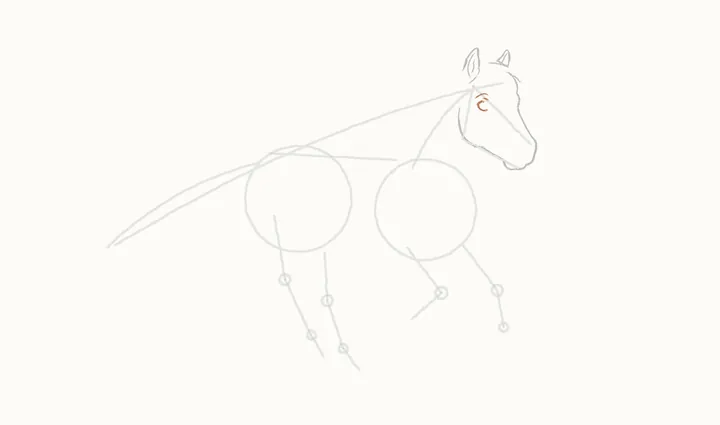
The eye
The eye: the brow above it first, then the almond of the lids and the iris ring round the pupil. Leave the glint white; we fill the pupil last.
-
Step 6 of 43
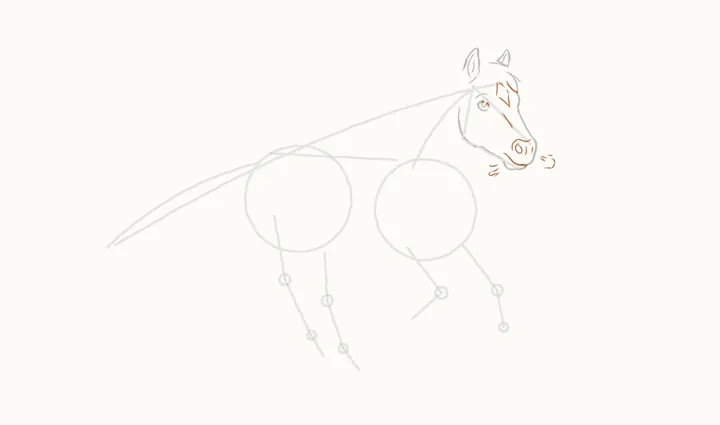
Muzzle and face
A curled nostril and the soft lines round the muzzle, the mouth's corner, then puffs of snorted breath, and faint lines for the blaze and cheekbone.
-
Step 7 of 43
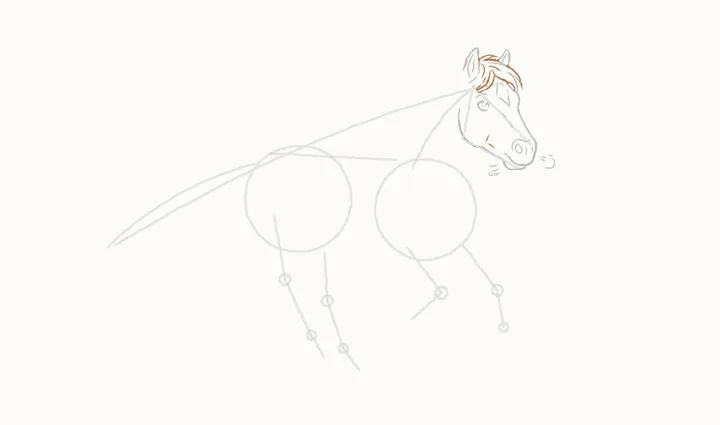
The forelock
The forelock tumbles between her ears: locks sweeping back and to the side, each one a curve that tapers to a point.
-
Step 8 of 43
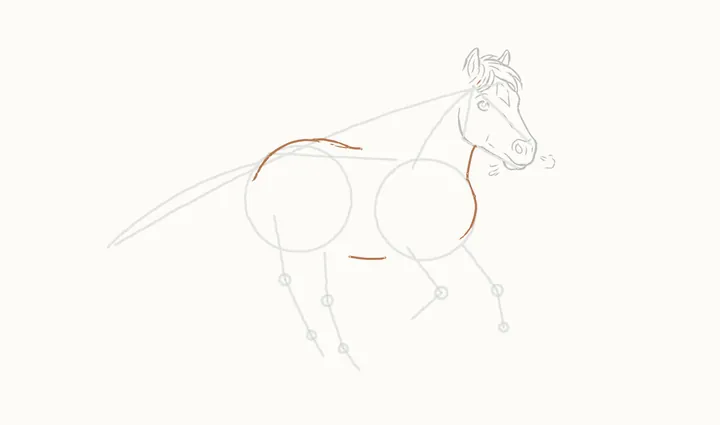
Throat, back and belly
The body's big lines: round the deep chest and up the throat, then the back, from its lowest point down over the rump and forward to the withers. Then the belly.
-
Step 9 of 43
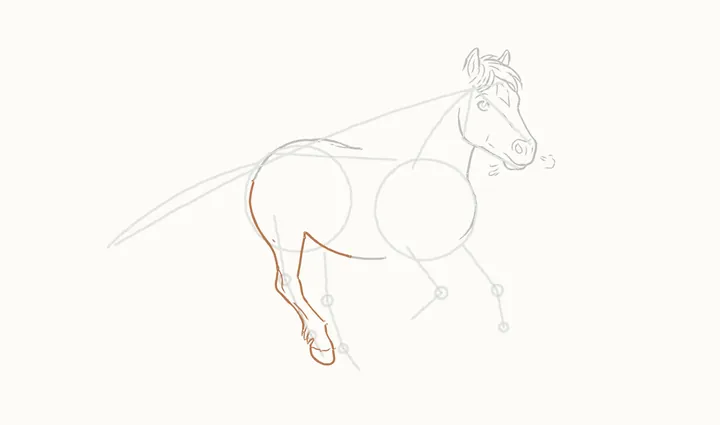
The near hind leg
The near hind leg reaches under her. Up the back of the thigh to the rump, then down the front of the leg and round the hoof. Then the back of the leg, the hock and the feathering.
-
Step 10 of 43
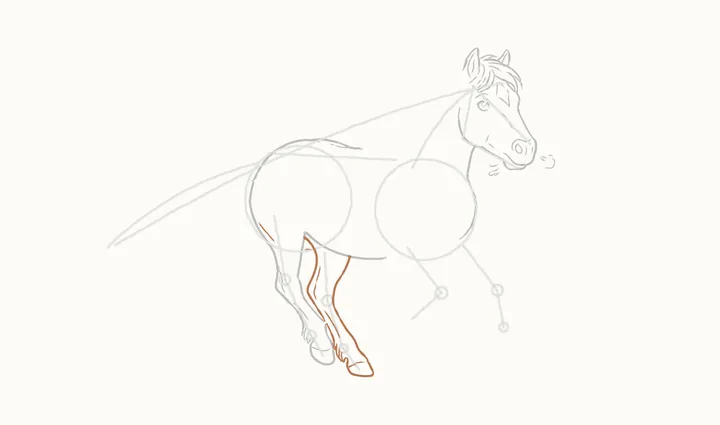
The far hind leg
The far hind leg, just behind: down its front edge and round the hoof, then up its back edge. Watch the gap between the two legs; it is what separates them.
-
Step 11 of 43
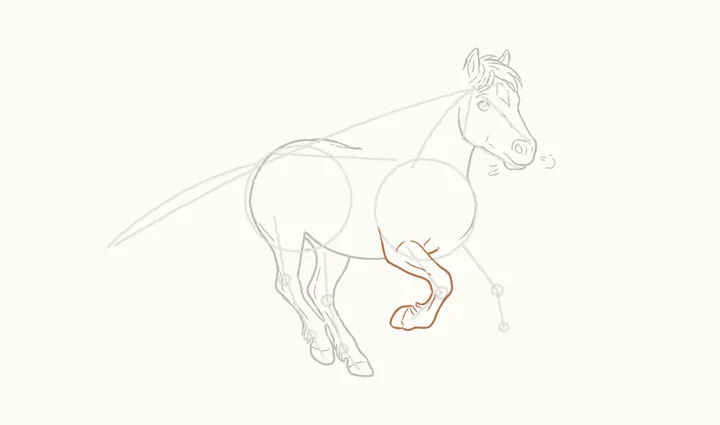
The far foreleg
The far foreleg is folded right up. Along the underside of the forearm to the knee, round the hoof tucked back beneath it, then up the front to the elbow.
-
Step 12 of 43
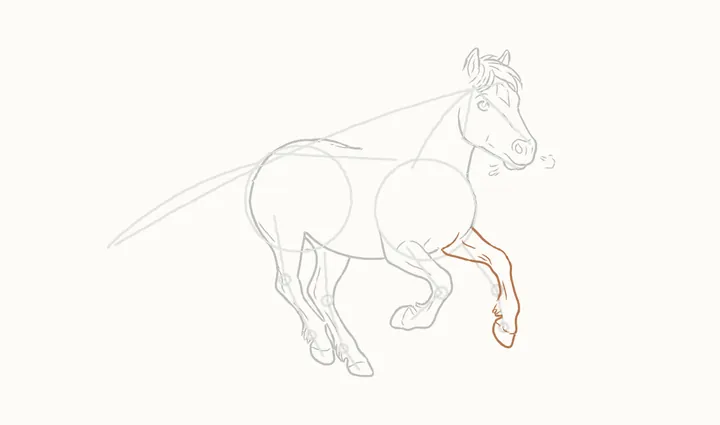
The near foreleg
The near foreleg, folding as it swings forward. The long front edge from the hoof up to the chest, then the back edge from the elbow to the knee, the feathering and the hoof.
-
Step 13 of 43
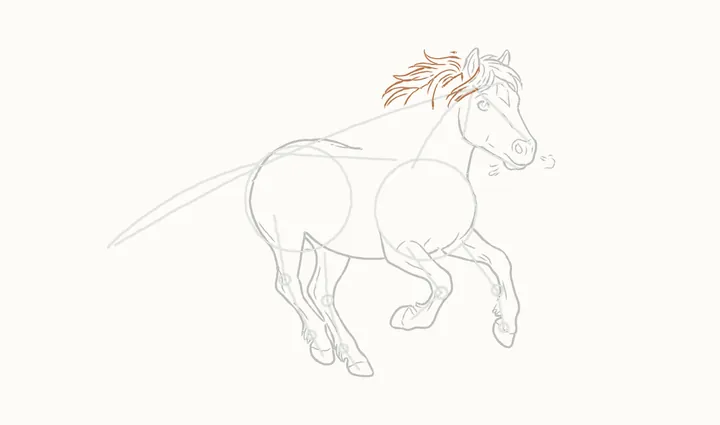
The mane at the top
Now the mane, lock by lock. At the top the wind lifts it straight back: long curves from the crest that flick up at the ends.
-
Step 14 of 43
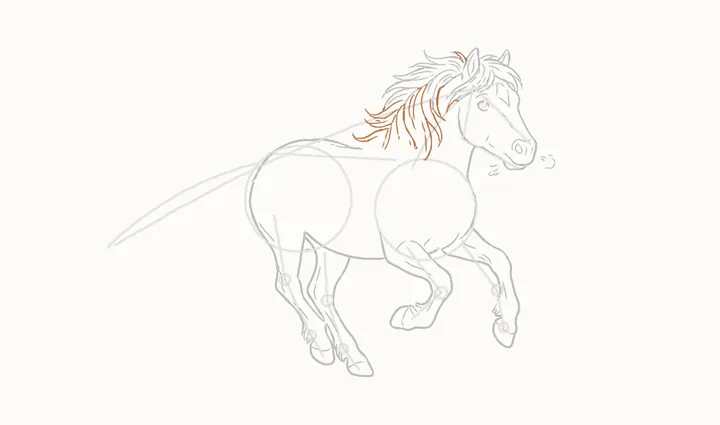
The middle of the mane
Further down, the locks stream back in S curves. Vary their lengths and let a few overlap, so it looks like moving hair, not a comb.
-
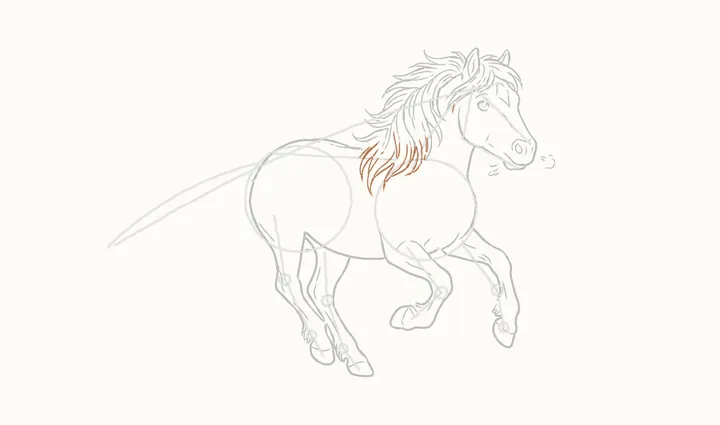
Step 15 of 43
The mane on the neck
The last locks fall over the neck and shoulder, shorter and heavier. Their tips point back, the way she is moving away from them.
-
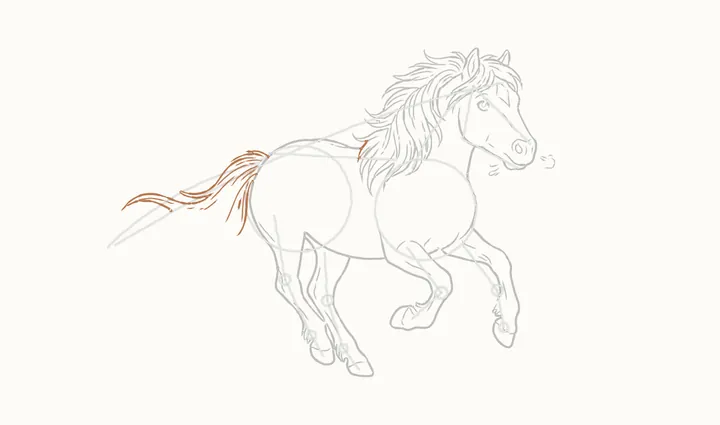
Step 16 of 43
The top of the tail
The tail streams out behind. From the root by the rump, the upper locks sweep out and down in long S curves.
-
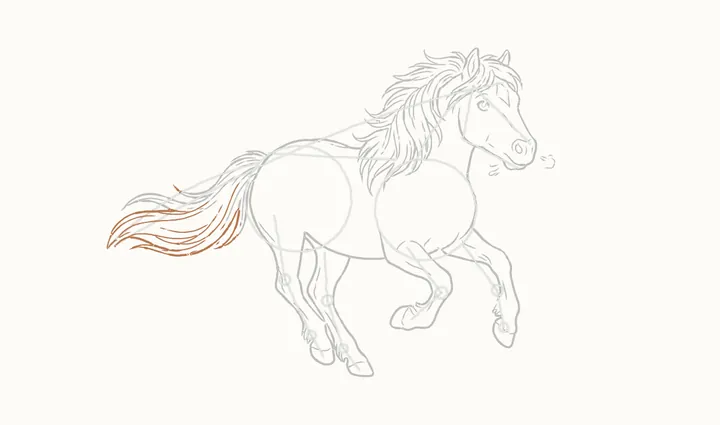
Step 17 of 43
The rest of the tail
Then the lower locks, fanning out to the tip. Keep each lock a flowing curve that thins to nothing.
-
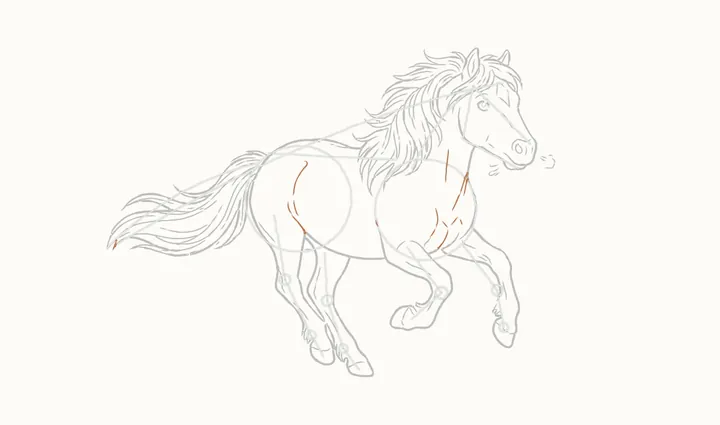
Step 18 of 43
Muscles in motion
Lightly, the muscles at work: the curve of the hip and stifle first, then the shoulder and forearm, and the creases down the neck and chest.
-
Step 19 of 43
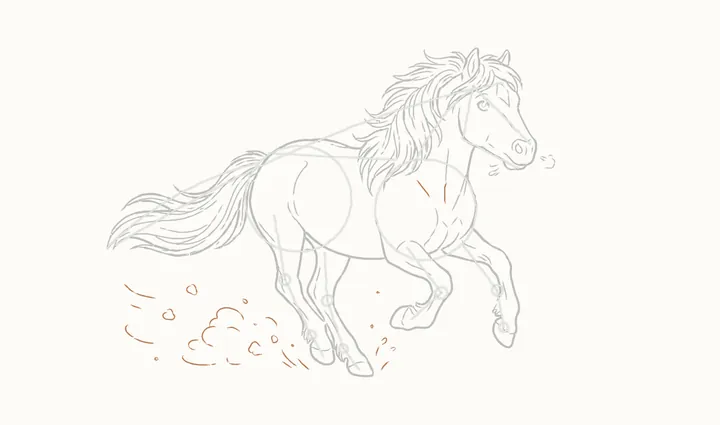
Clods and dust
Now the moor, kept lighter. Clods fly up from her hooves in lumpy little shapes, and behind her a puff of dust and quick speed lines.
-
Step 20 of 43
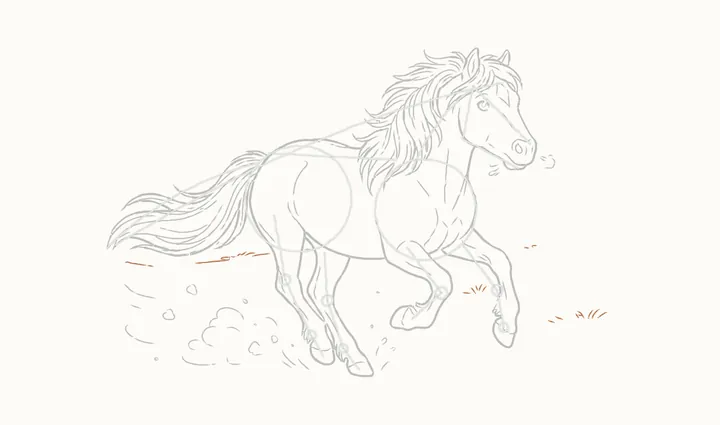
Ground and grass
The ground line on the left, then tufts of grass between and around her, drawn in short, quick flicks upward.
-
Step 21 of 43
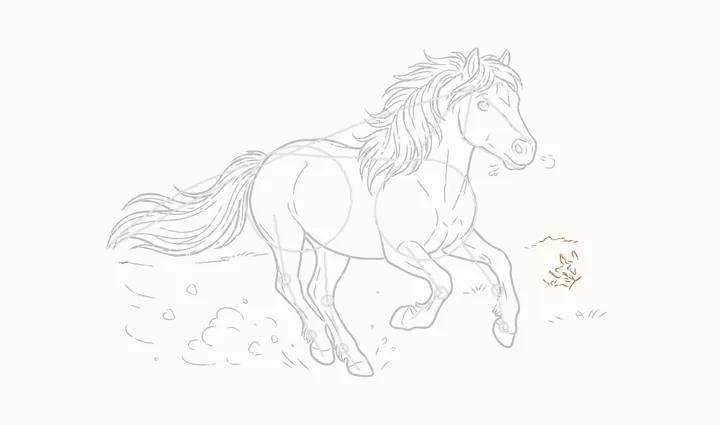
The heather
On the right, a clump of heather: lots of small upright twigs and bumpy tops. Keep it loose.
-
Step 22 of 43
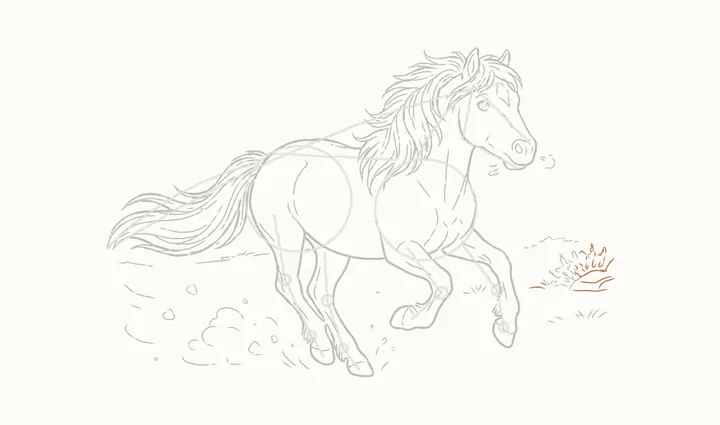
More heather and a low rock
The low, flat rock under the heather: a straight base and a rounded top. Then more heather twigs growing up over it.
-
Step 23 of 43
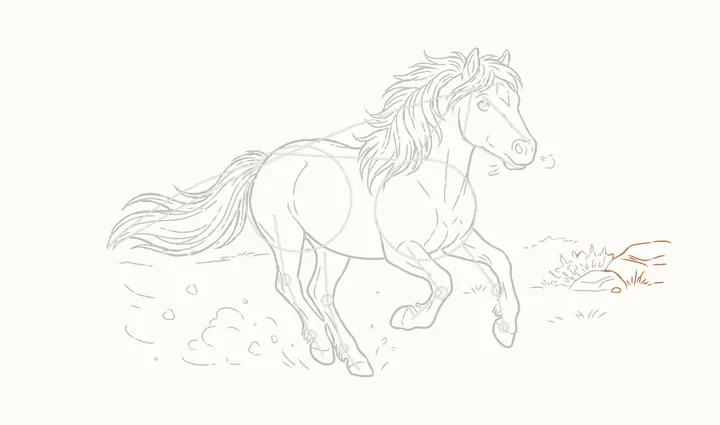
The big rock
Beside it, a big rock: a long, rounded top sloping down to the ground, a crack across its face, and tufts of grass at its foot.
-
Step 24 of 43
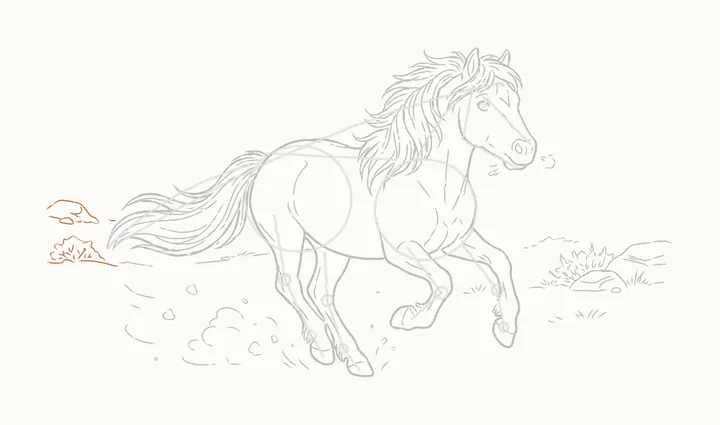
The bush and rocks on the left
Over on the left, the ground line, then a small heather bush with a bumpy top and twigs, and two low rocks behind it. Loose and light, like the rest of the moor.
-
Step 25 of 43
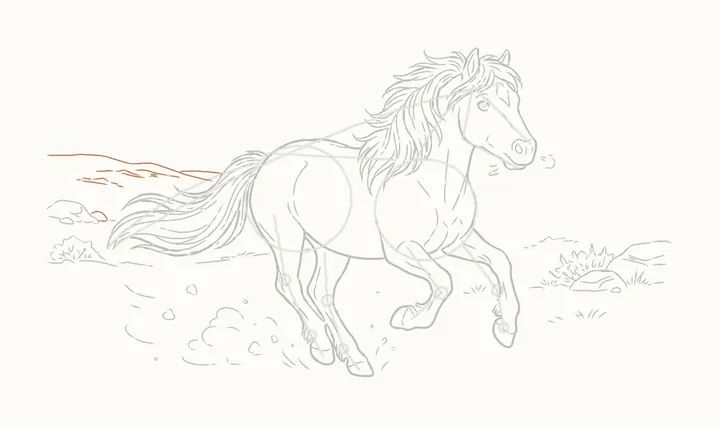
Hills on the left
Behind her, the hills: soft rolling lines, with little marks of heather. Further away means lighter and simpler.
-
Step 26 of 43
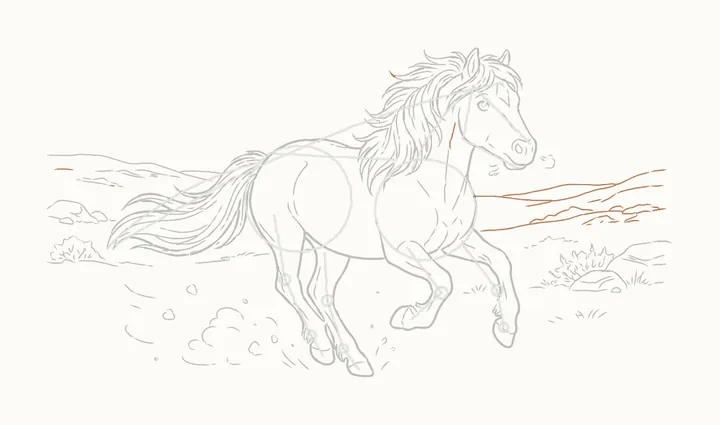
Hills on the right
Then the hills on the right, rising gently away to the horizon, with small clumps of heather along their slopes.
-
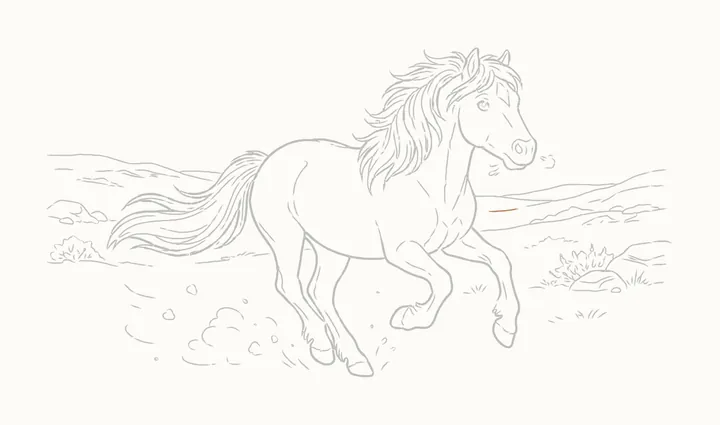
Step 27 of 43
Erase the guides
Rub out the guides. Bramble and the moor stay.
-
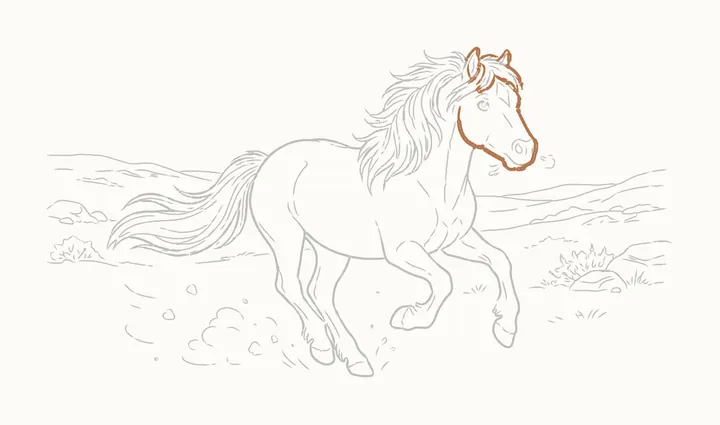
Step 28 of 43
Go over the head
Now press harder round Bramble. Over the ears and forelock, down the face, round the muzzle and back along the jaw. Her eye and face lines stay light.
-
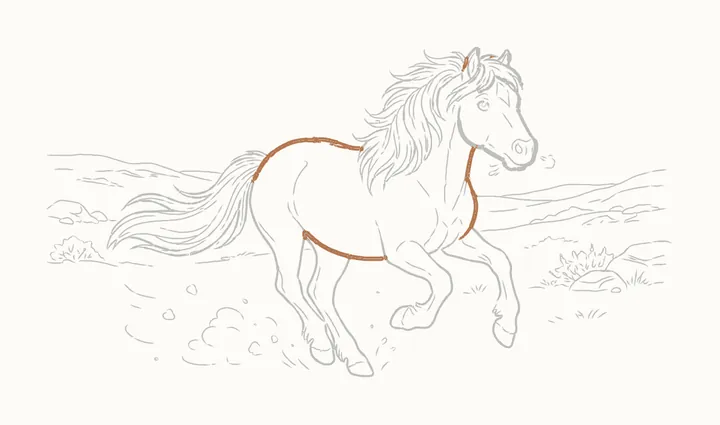
Step 29 of 43
Go over the body
Down the throat and chest, along the back and over the rump, then the belly. One firm, even line.
-
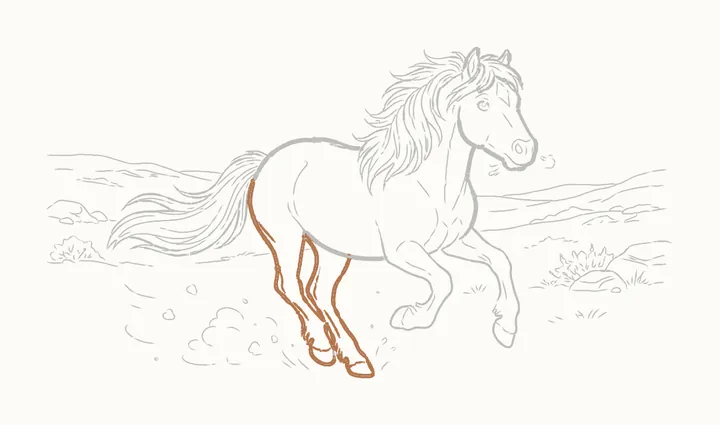
Step 30 of 43
Go over the hind legs
Round the hind legs and hooves, keeping the gap between them crisp.
-
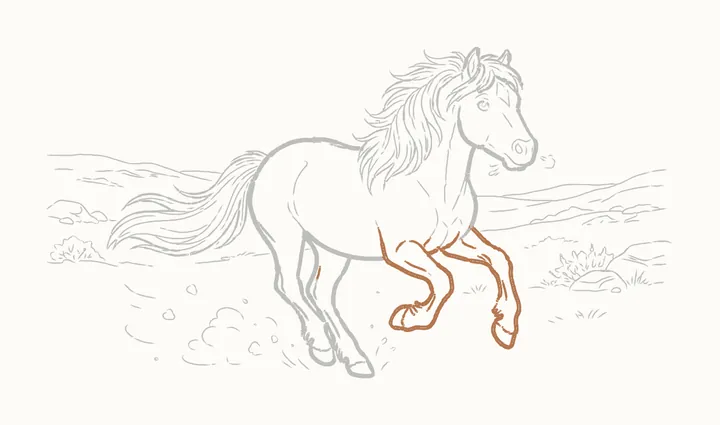
Step 31 of 43
Go over the forelegs
Then the folded forelegs: round each knee and hoof. Bold edges here make the tuck read clearly.
-
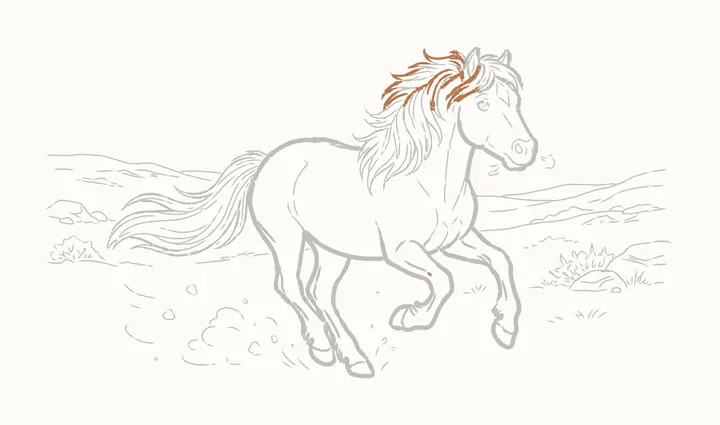
Step 32 of 43
Go over the top of the mane
The mane's outer edge at the top, where the wind lifts it. Press only on the outside; the locks inside stay light.
-
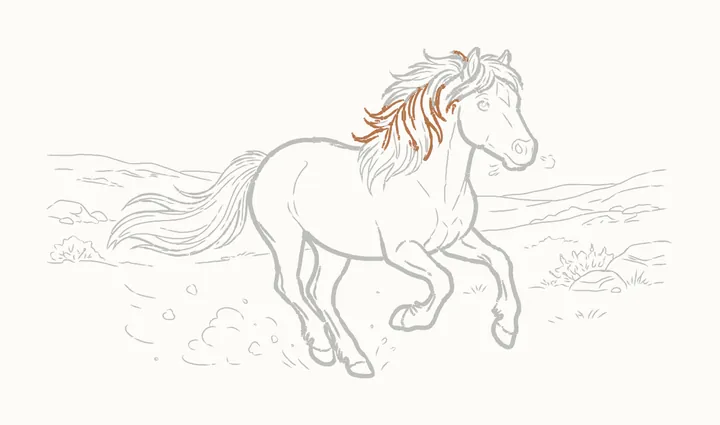
Step 33 of 43
Go over the middle of the mane
Then the middle of the mane, round the tips of the streaming locks as they flick out behind her.
-
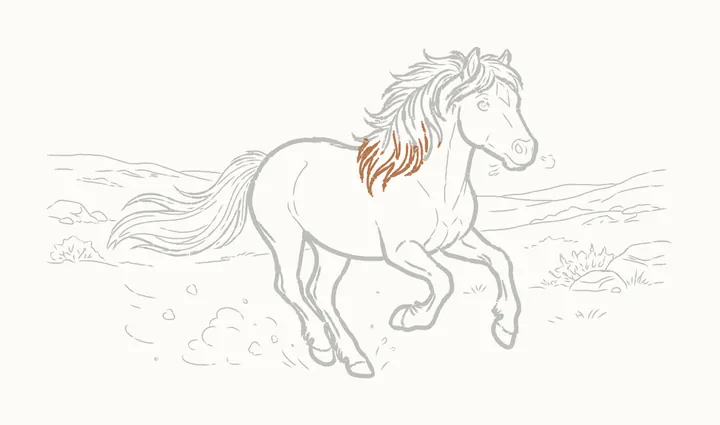
Step 34 of 43
Go over the mane on the neck
And the last locks over her neck and shoulder, down to their points.
-
Step 35 of 43
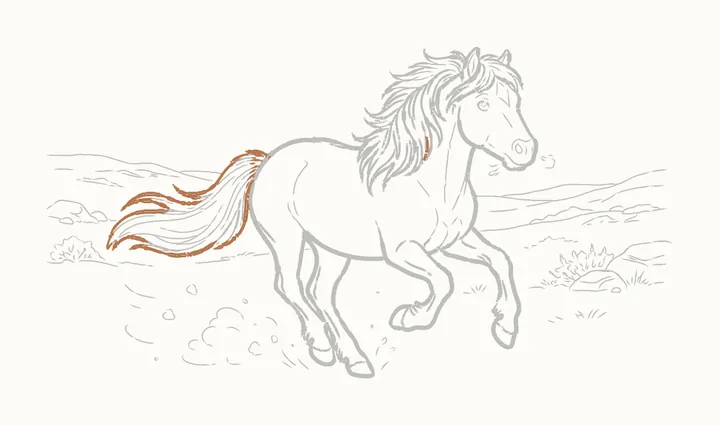
Go over the tail
And the tail's outer edge, out to its tip. Only Bramble is bold; the moor stays light.
-
Step 36 of 43
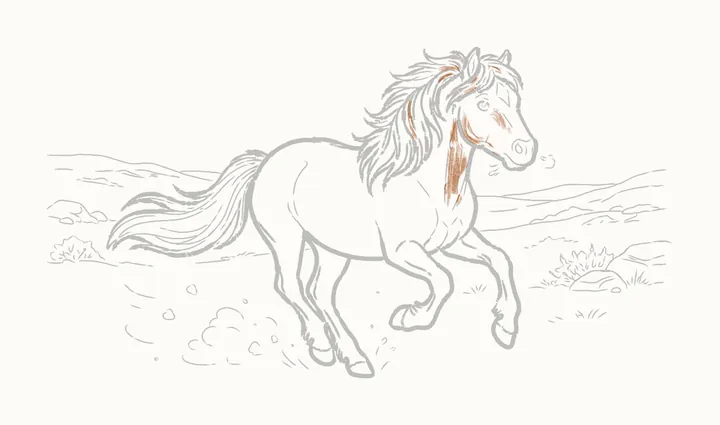
Shading the head and mane
Shading now, with the light from the top left. Shade the side of the face and the mane's underside, the strokes following the locks.
-
Step 37 of 43
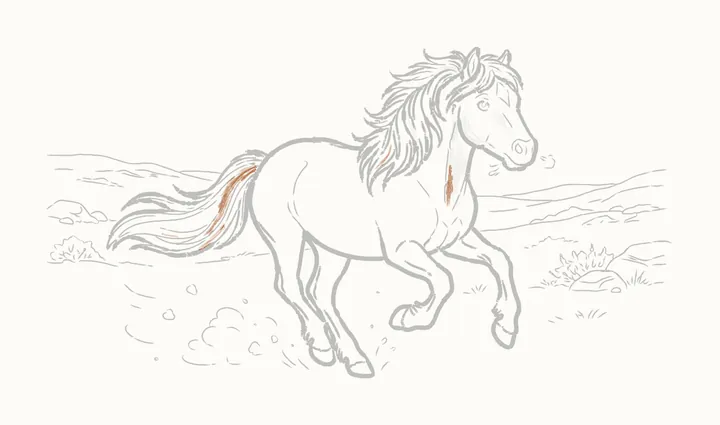
Shading the tail
Shade the tail's inner locks the same way, darker towards the root, so the light locks stand out.
-
Step 38 of 43
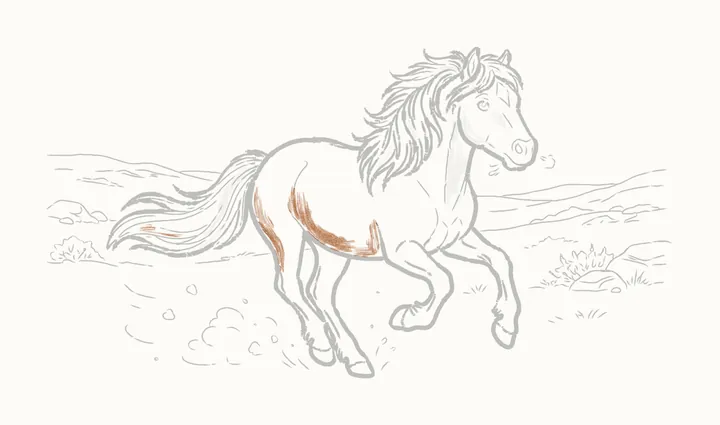
The body
The body: the shadow side of the rump and barrel, and under the chest. Curve the strokes round the form.
-
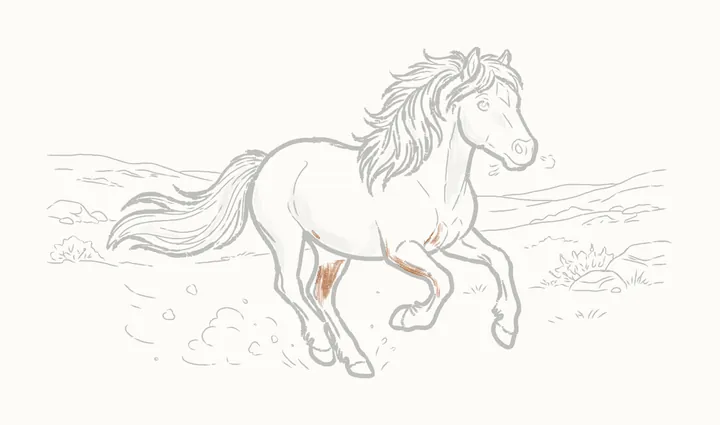
Step 39 of 43
The legs
The legs: the backs and insides away from the light. Contrast between near and far legs gives depth.
-
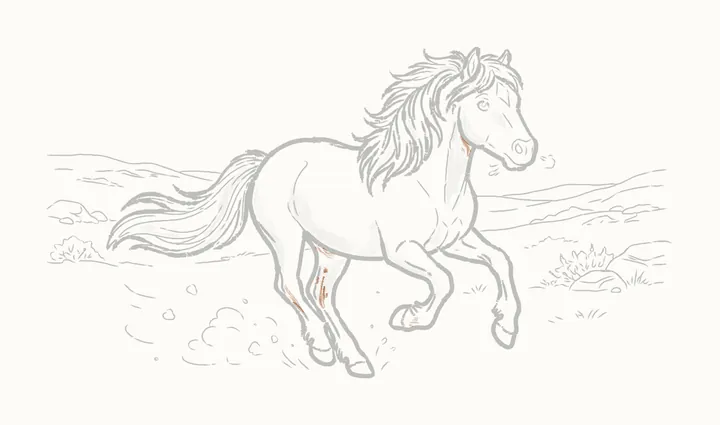
Step 40 of 43
Deep shadows
Press harder in the deepest places: under the jaw, inside the elbows and between the hind legs.
-
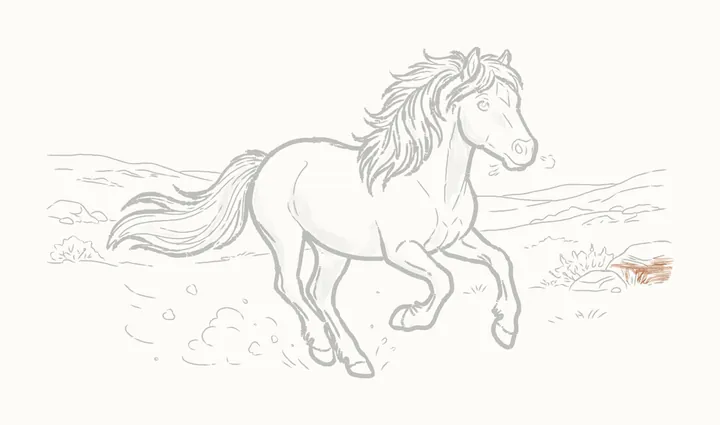
Step 41 of 43
Shading the rock
Then the moor, lightly. The big rock's shadow side first, away from the light, so it sits solid on the ground.
-
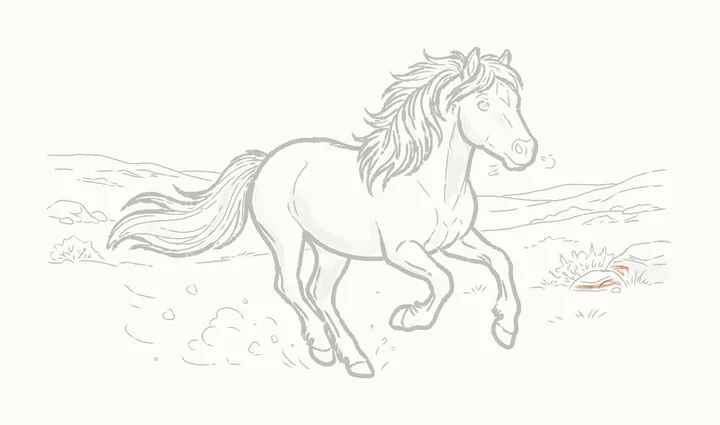
Step 42 of 43
The heather
A soft tone in the heather clump and under the low rock. Leave the hills as bare lines: the furthest things stay lightest.
-
Step 43 of 43
The darks
Last of all, fill the pupil, leaving its glint white. That spark of light makes her eye bright with the joy of the race.
-
Finished
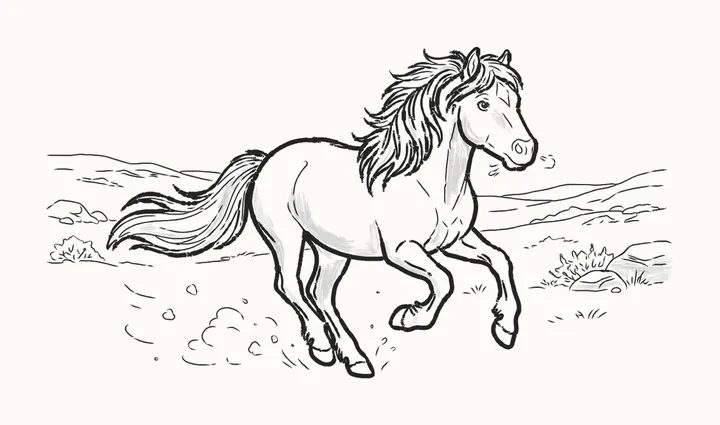
Your finished horse running
That’s Bramble! Go over any lines you want darker, then sign your drawing in the corner.
In the DrawRabbit app
Bramble’s world has 9 more drawings
Every animal has a whole world of narrated drawings in DrawRabbit, each one a little story you draw with a real pencil and paper. The first drawing in every world is free.
 Free to start · iPhone and iPad
 Close to Mum
 The stream crossing
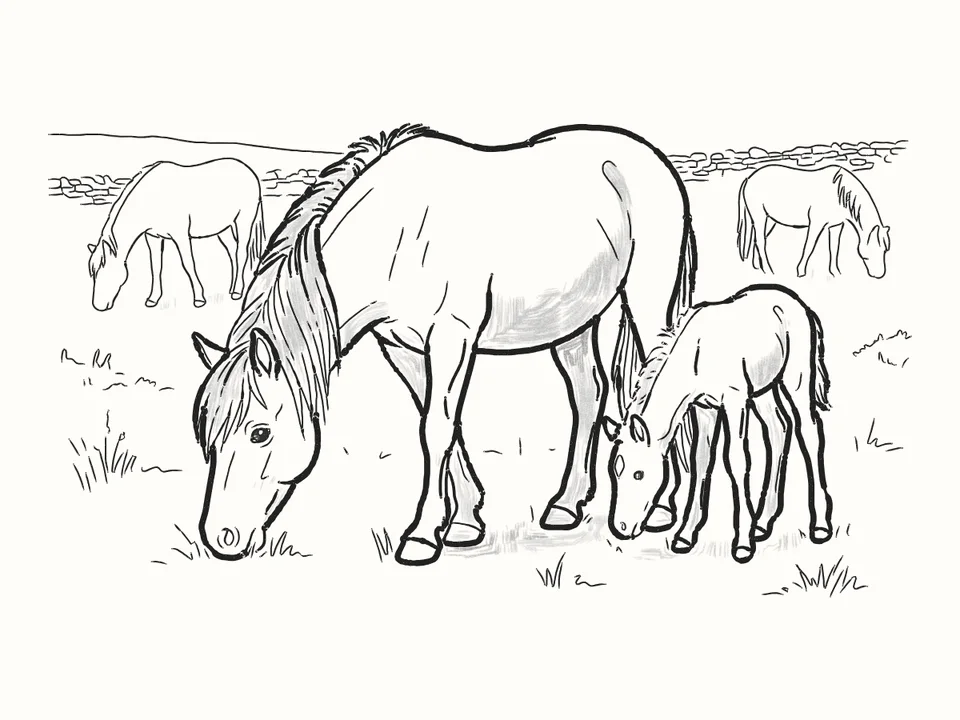 The herd
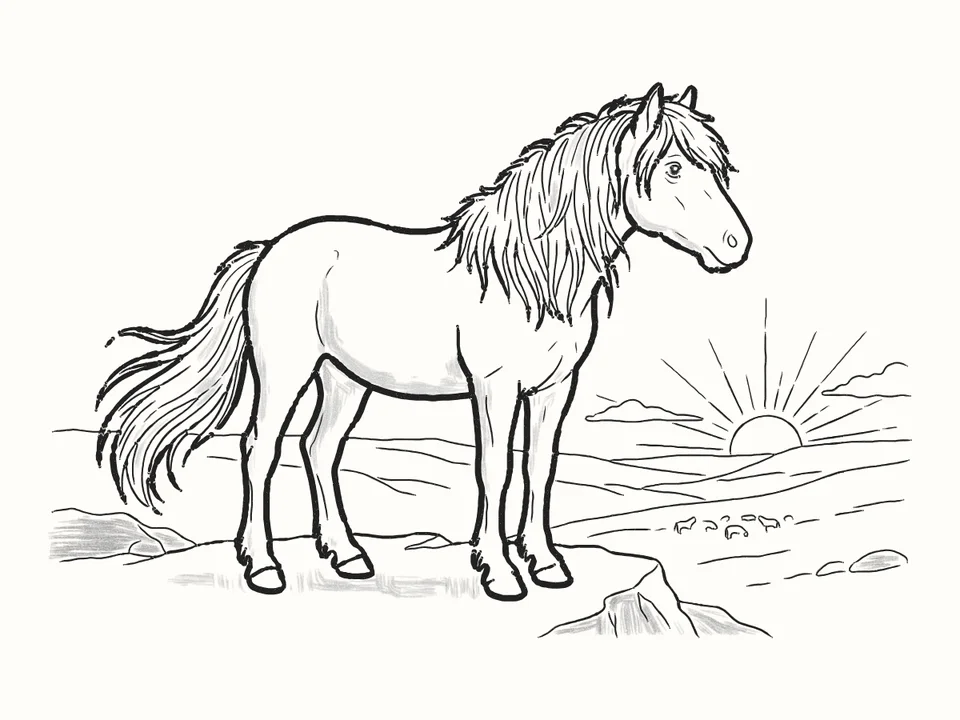 On the ridge at sunset
Tips for a better horse running
Start with the line of action
One long, fast curve from the forehead over the back to the tip of the tail. Everything hangs on it.
Gather the legs
Forelegs folded up, hind legs reaching under her. The gaps between the legs are what separate them, so keep them clear.
Lock by lock
The mane and tail are separate locks in S-curves, each thinning to a point. Vary their lengths so they look like moving hair, not a comb.
Keep the moor light
The horse gets the bold lines; the grass, heather, rocks and hills stay light and simple, lighter the further away they are.
Questions
Is a running horse hard to draw?
It’s our longest guide, but every step is small. One curve for the movement and a few circles set the pose first, so the legs and the mane are easy to place.
What do I need?
A pencil, paper and an eraser. Draw the first steps lightly: the guide lines are rubbed out in step 27.
How do I draw a horse’s legs running?
Draw them at the gathered moment: forelegs folded up under the chest, hind legs reaching forward under the body. A line for each bone with a small circle at each joint first, then the outline round them, keeping a clear gap between each pair.
Can kids draw it?
Yes. It’s made for beginners of any age. If reading the steps is hard, the draw-along talks you through each line while it draws.
What is DrawRabbit?
A drawing app for iPhone and iPad: narrated, step-by-step lessons you follow with a real pencil and paper. 95 drawings in 10 worlds, free to start, no account needed.
Keep drawing · Next guide
How to draw a humpback whale
A humpback whale leaping in 28 easy steps
Start drawing