 DrawRabbit
Drawing guide · Whales
How to draw a humpback whale
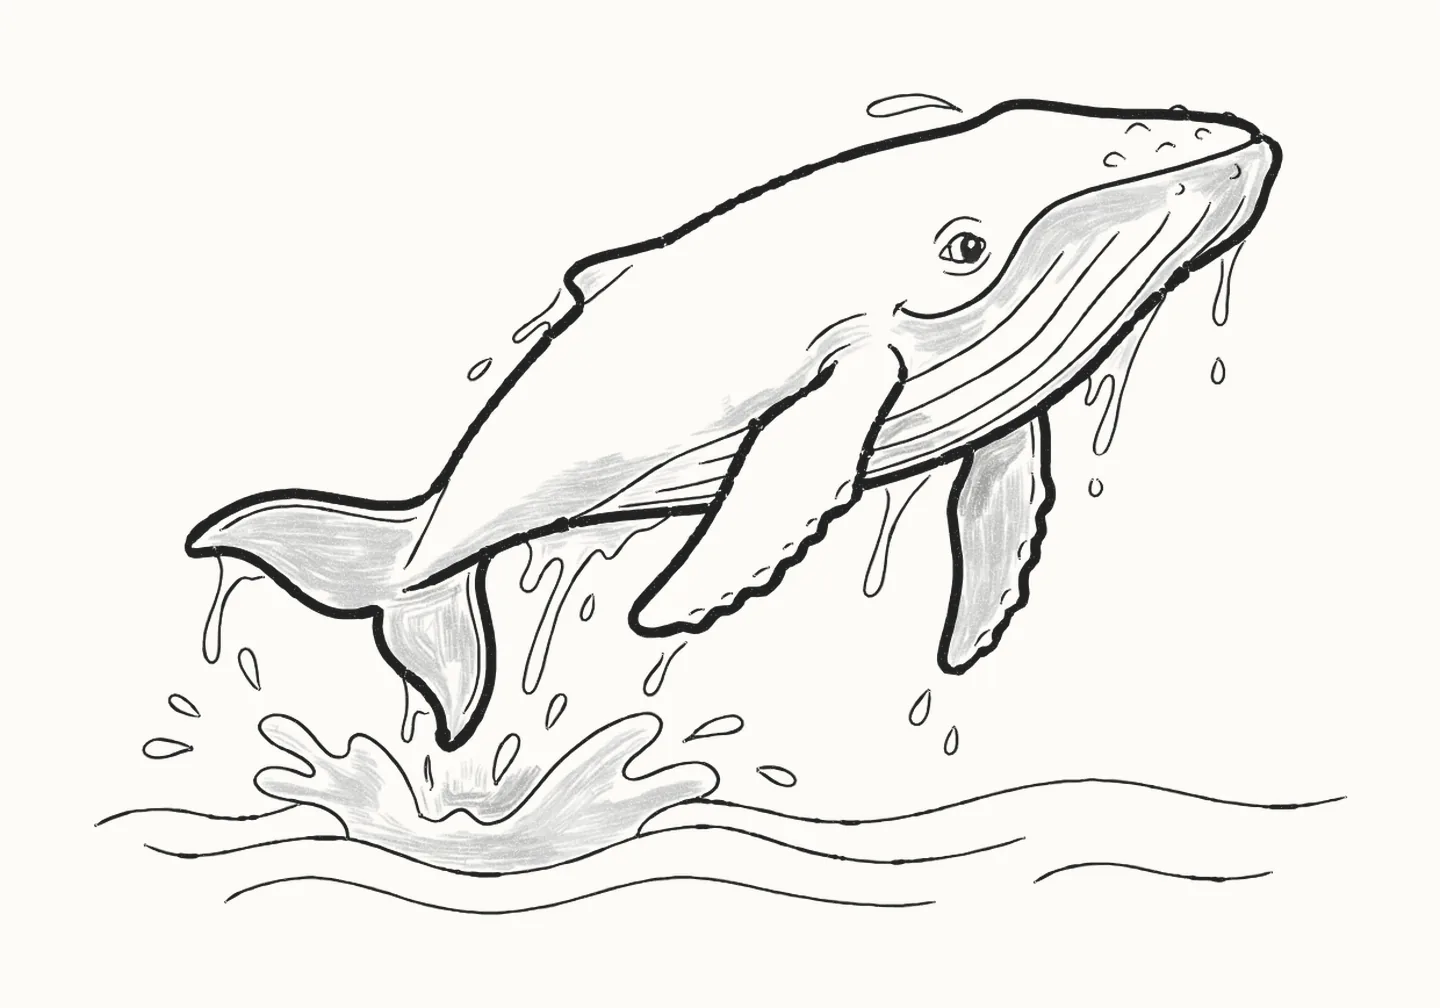
Tide is stronger now, and today she leaps right out of the sea. In 28 easy steps you’ll draw a humpback whale breaching, with water pouring off her, using a pencil and paper: one curve for the leap, then the flippers, the grooves and the splash.
How do you draw a humpback whale?
To draw a humpback whale leaping out of the water, start with one long, light curve from snout to tail for the sweep of the jump. Add a circle for the head, a long arc for the back and a flatter one for the belly, a wide V for the tail fluke and two long blades for the flippers, then a line for the sea. Draw the back over the little fin to the tail, the snout and the long smiling mouth line, the throat and belly, and the fluke. Humpbacks have very long flippers with a knobbly edge, so draw them bump by bump. Add the eye, long grooves down the throat that follow the curve of the body, and little bumps on the head. Then the water: streams pouring off her, round drips, and a splash below the tail. Rub out the guides, go over the whale and shade softly from above. It takes 28 easy steps with a pencil, paper and an eraser.
You need a pencil, paper and an eraser28 stepsBeginner
Draw a humpback whale, step by step
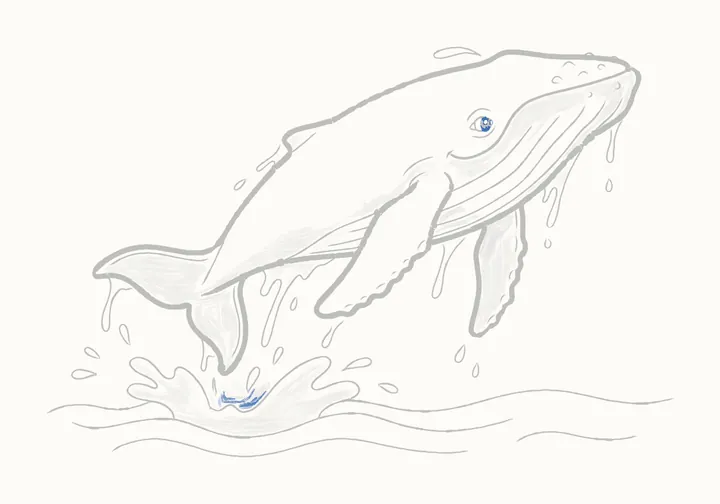
In colour: what to draw nowGrey: already drawn
Draw everything in pencil, lightly at first. Save all 28 steps to Pinterest
-
Step 1 of 28Guide lines
Line of action
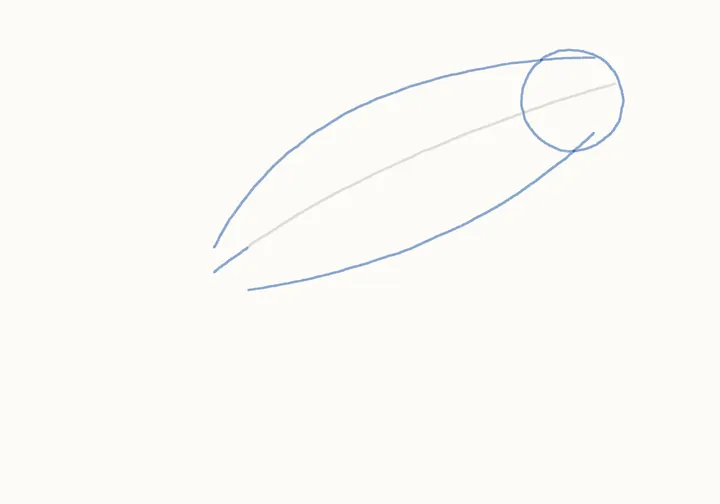
Tide is stronger now, and today she leaps right out of the sea. Start with one long, light curve from snout to tail: the line of action, the sweep of the whole leap.
Draw these lightly: they’re only there to help, and you’ll rub them out in step 17.

-
Step 2 of 28Guide lines
Head and body
A circle for her head at the top of the curve. Then her back, one long arc above the line, and her belly, a flatter one below, both drawing in towards the tail.
Draw these lightly: they’re only there to help, and you’ll rub them out in step 17.
-
Step 3 of 28
Fluke and flippers
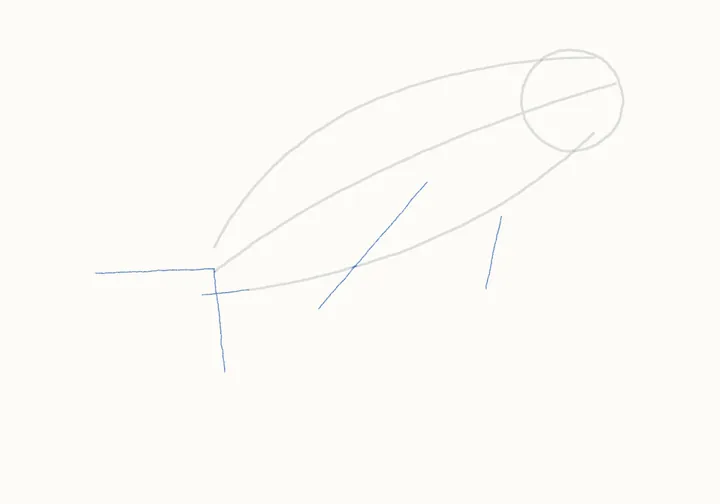
A wide V at the tail end for the fluke, one tip out to the left and one pointing down. Then two long blades for the flippers, the near one sweeping down to the left.
-
Step 4 of 28Guide lines
The sea
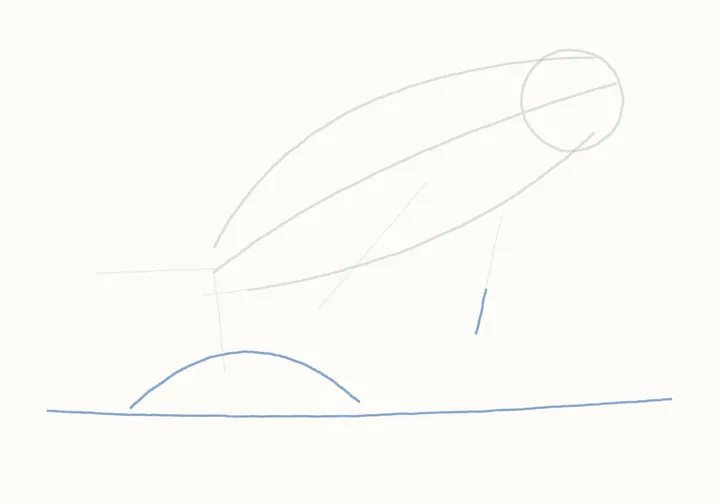
Last, a long, gentle line for the surface of the sea, and a low dome where the splash will rise under her tail.
Draw these lightly: they’re only there to help, and you’ll rub them out in step 17.
-
Step 5 of 28
The back
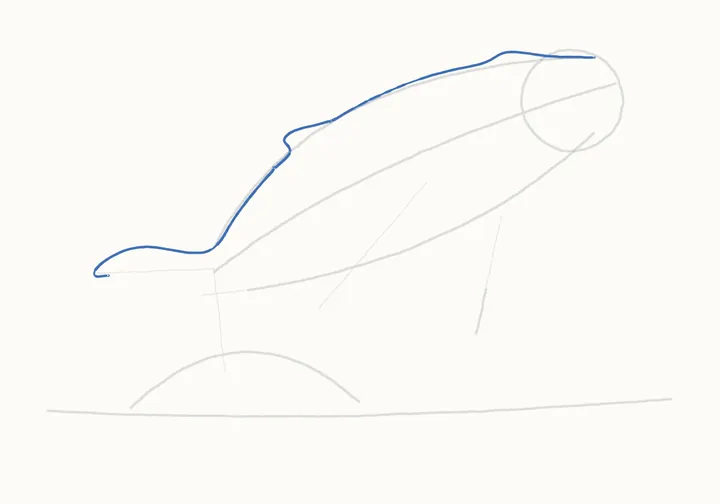
Now the ink. From the top of her head, one long line along her back, over the little fin and down to the tail, out to the fluke's tip. Then the fin's base.
-
Step 6 of 28
The snout and mouth
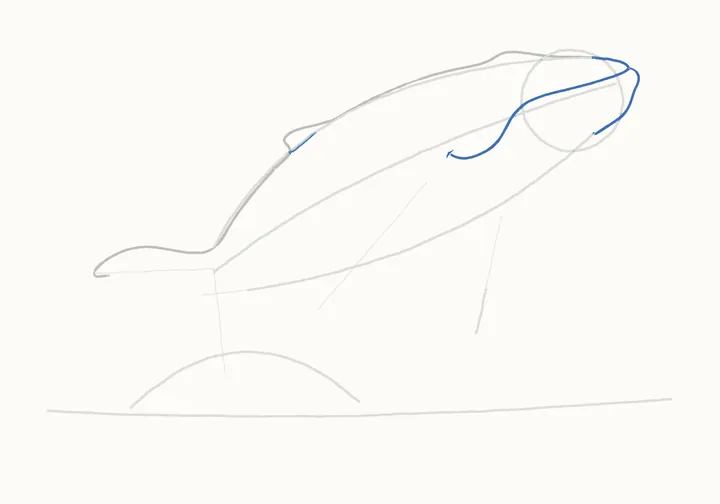
Round the end of her snout and down to the chin. Then the long line of her mouth, from the snout tip back towards the eye, ending in a little smile.
-
Step 7 of 28
Throat and belly
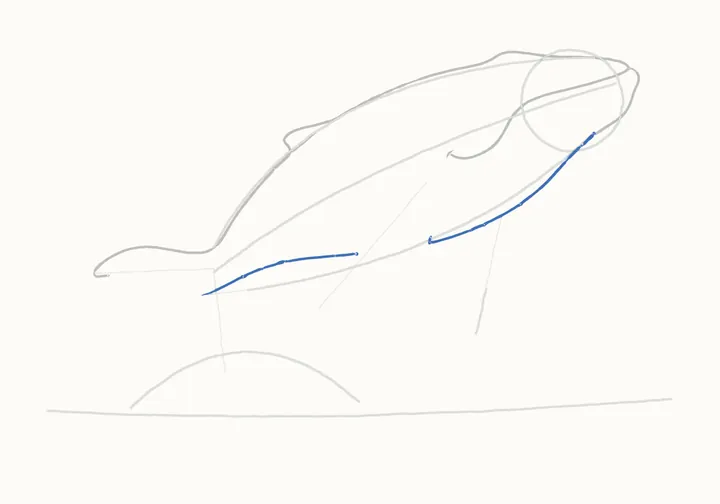
From the chin, follow her throat down to where the near flipper joins, and close the little gap under the chin. Then, from the tail, the belly line forward to the flipper.
-
Step 8 of 28
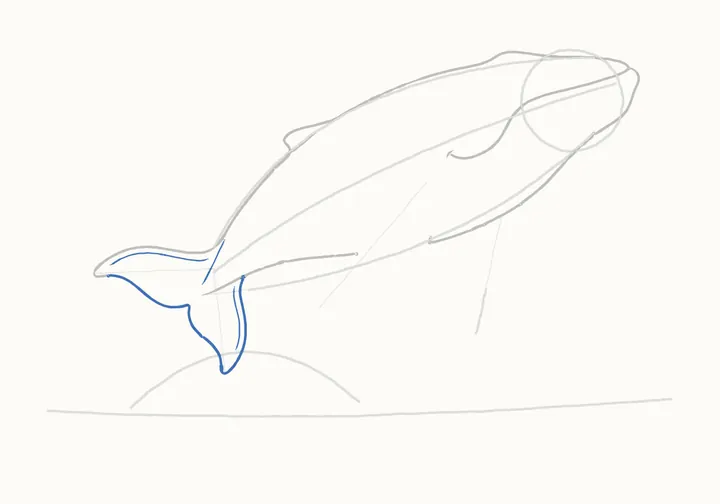
The fluke
The fluke. From under her body, down round the lower tip and up its other side, then along the underside of the left tip, out to its point. Then a few light lines inside.
-
Step 9 of 28
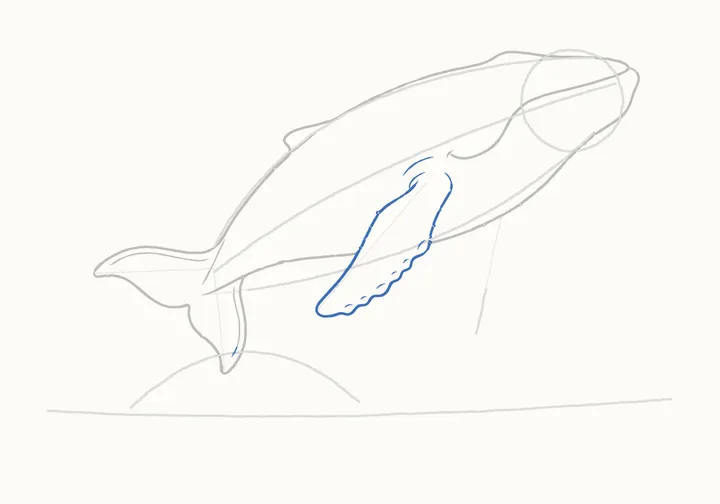
The near flipper
The big flipper, reaching out. Down its front edge to the tip, back up the knobbly edge, bump by bump, then over its shoulder. Then creases at its root and a mark inside each knob.
-
Step 10 of 28
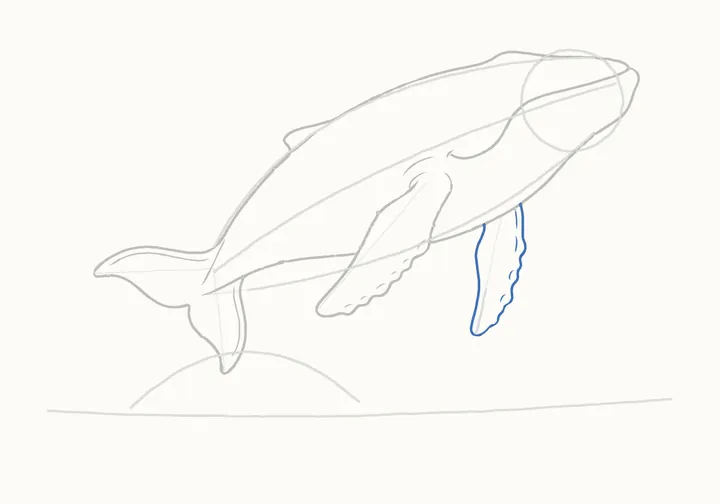
The far flipper
The far flipper, behind her: round its long edge to the tip and up the knobbly side. A light ridge along it and a mark or two in the knobs.
-
Step 11 of 28
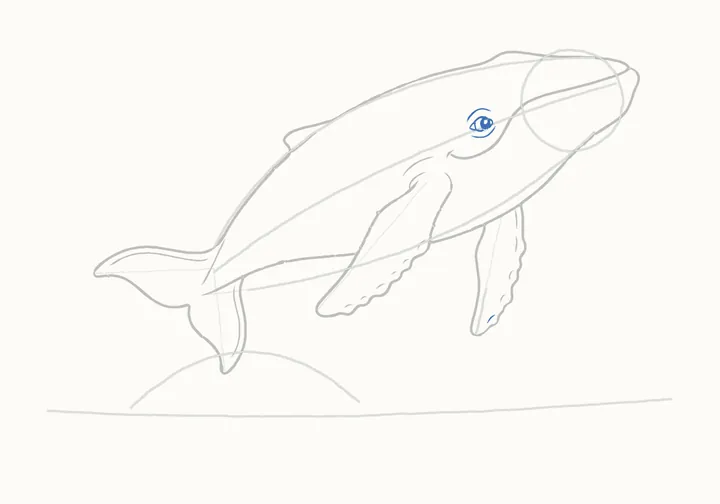
The eye
Her eye, just above the smile: a soft line under it, then the almond shape with the round iris inside, and a curved brow above. The pupil is filled in at the very end.
-
Step 12 of 28
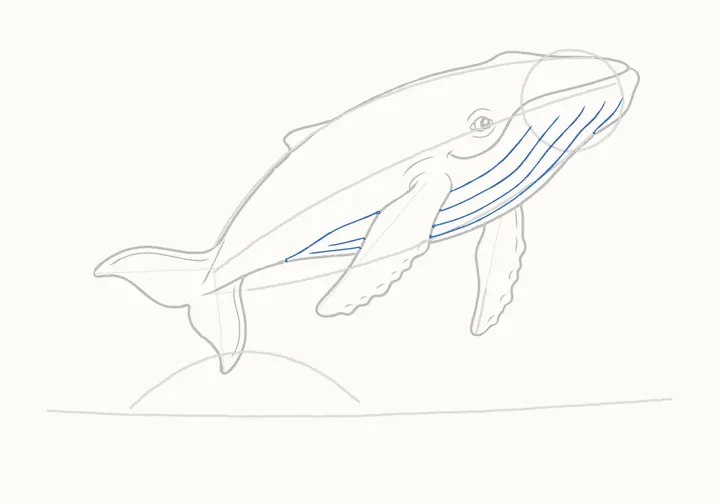
Throat grooves
Long grooves down her throat, from the chin back to the flipper. Let each one follow the curve of her body; they help show which way she bends. Then a few behind the flipper.
-
Step 13 of 28
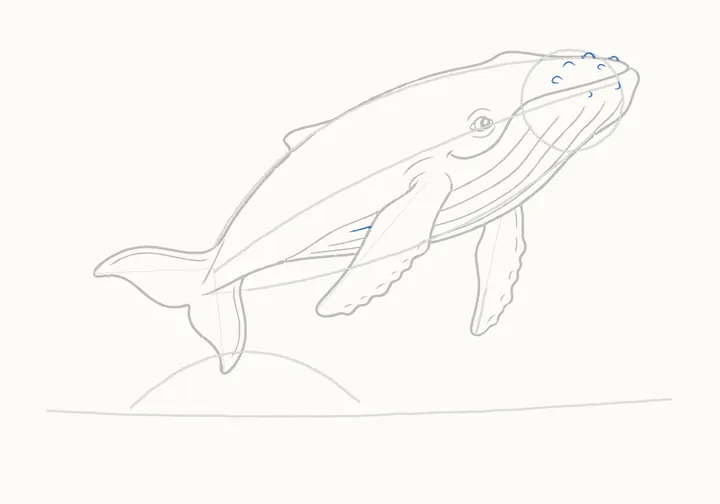
Head bumps
Little bumps on her head, small curves scattered over the snout and a couple on the top edge. Keep them small and light.
-
Step 14 of 28
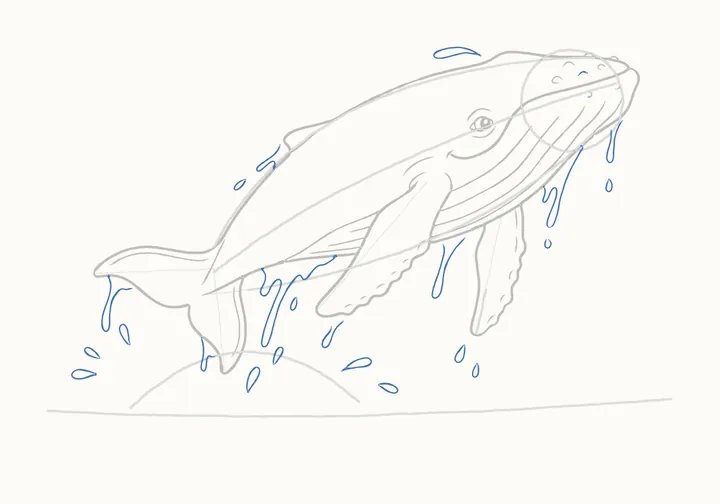
Water pouring off her
Now the water. Streams run off her back, belly and tail, each a few clean shapes with round drips at the ends. Then the loose drops flying round her.
-
Step 15 of 28
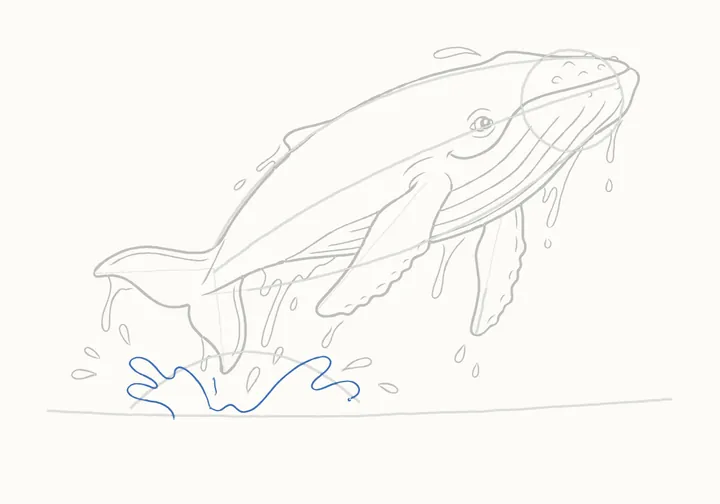
The splash
Below her tail, the splash where she burst out of the sea: a wavy crown of water with rounded tongues, thrown out to either side.
-
Step 16 of 28
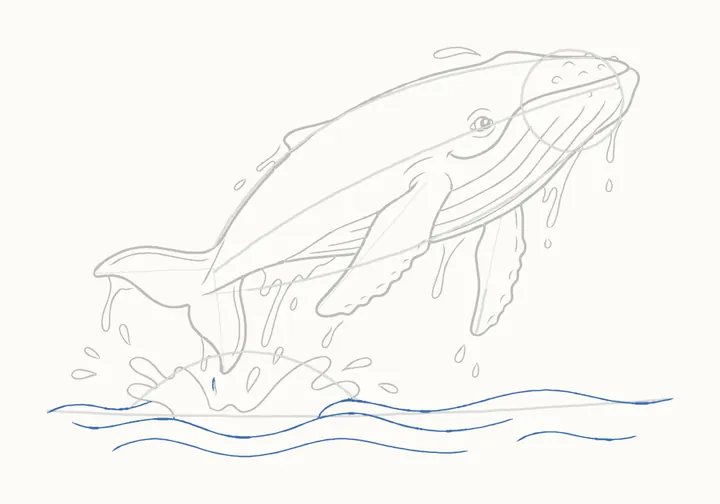
The sea
The sea's surface, a long gentle wave either side of the splash, and a few more wavy lines below it. Keep them light and loose.
-
Step 17 of 28
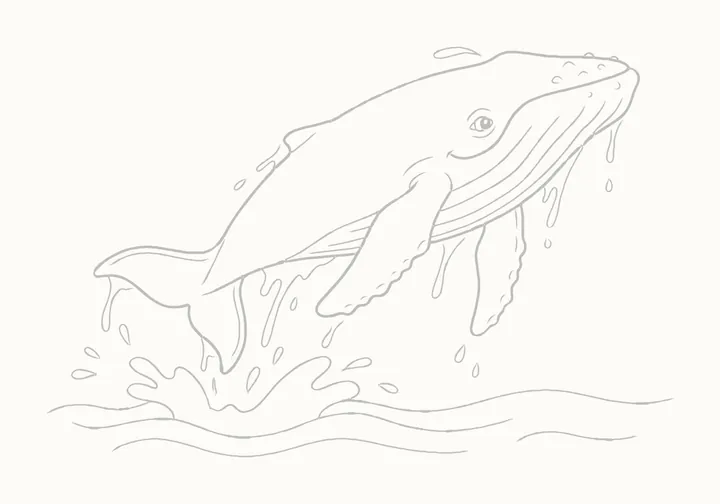
Erase the guides
Rub out the curves, circle and guide lines. Tide, the water and the sea stay.
-
Step 18 of 28
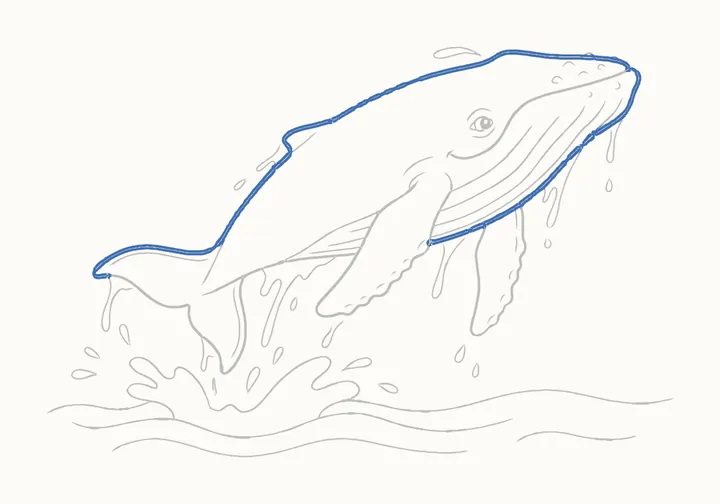
Go over her head and back
Now press harder, on Tide only. From the fluke's tip, up along her back and over the little fin to her head, then round the snout and down her throat.
-
Step 19 of 28
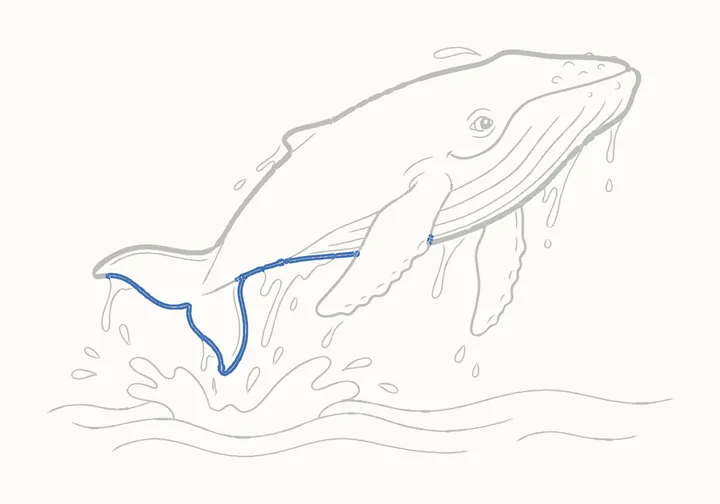
Go over the tail
Then the fluke: under the left tip and round the lower one, then the belly line forward to the flipper. The water streams crossing her stay light.
-
Step 20 of 28
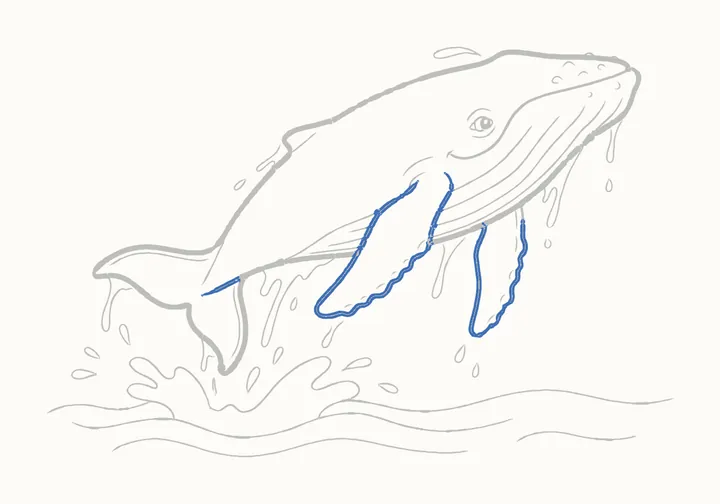
Go over the flippers
And both flippers, the near one first, knobs and all. The grooves, the water and the sea stay light, so she stands out.
-
Step 21 of 28
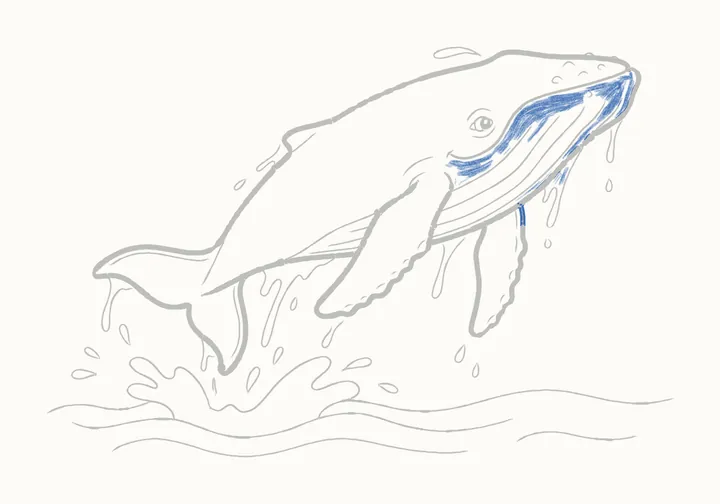
Head and throat
Shading now, soft and light. The light comes from above, so a gentle tone under her jaw and down the throat, between the grooves. Leave her back bright.
-
Step 22 of 28
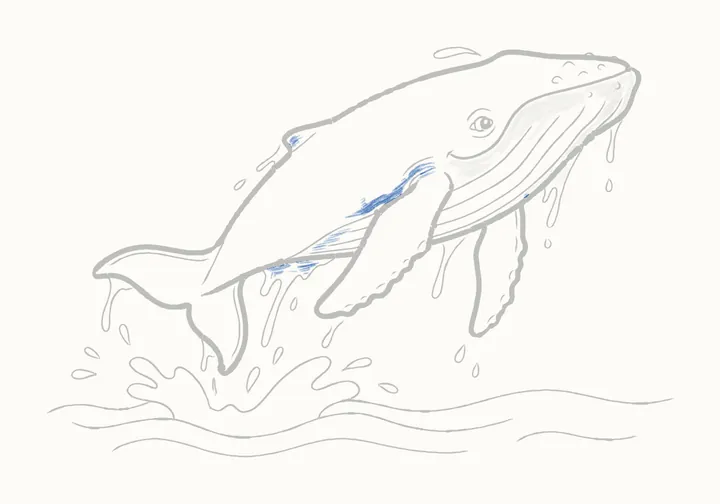
Along her body
Carry the tone down her side, under the flipper's root and along the belly behind it. Follow the curve of her body.
-
Step 23 of 28
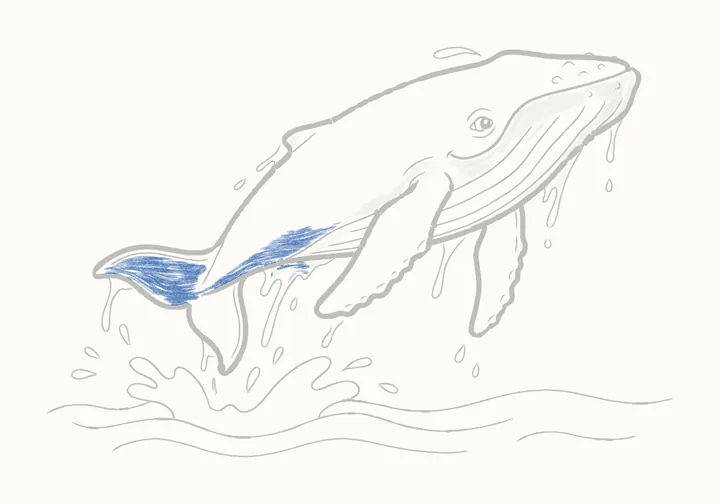
The tail
Then the tail: a soft tone along the fluke's left tip and the tail stock, darker where it turns under.
-
Step 24 of 28
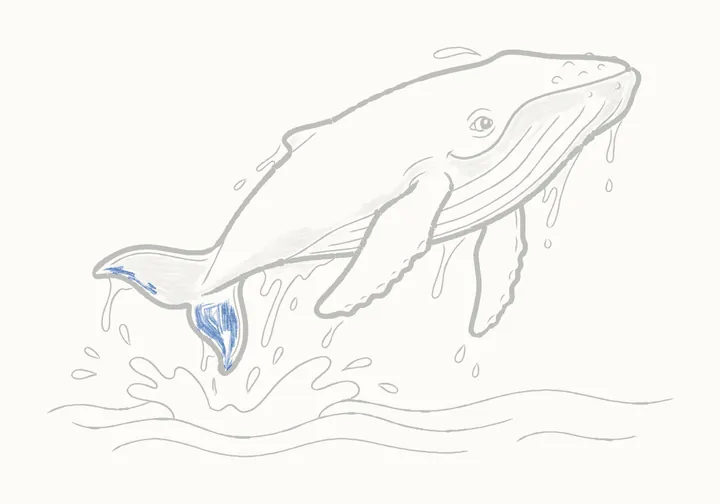
The lower tip
And down the lower tip of the fluke, the side turned away from the light.
-
Step 25 of 28
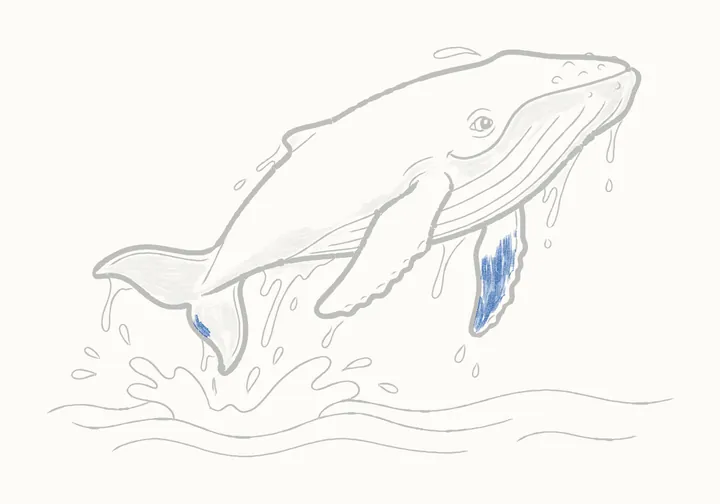
The far flipper
The far flipper is behind her, so it is a little darker all over.
-
Step 26 of 28
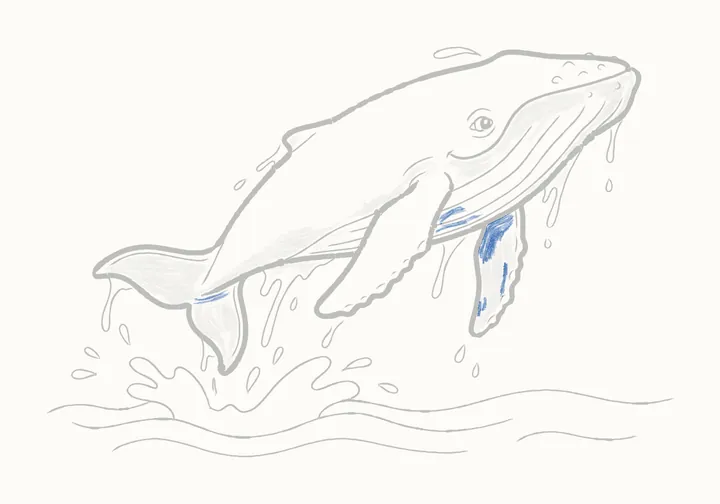
The deepest shadows
Press a little harder in the deepest places: under her throat where the flipper joins, the top of the far flipper, and where the fluke meets her body.
-
Step 27 of 28
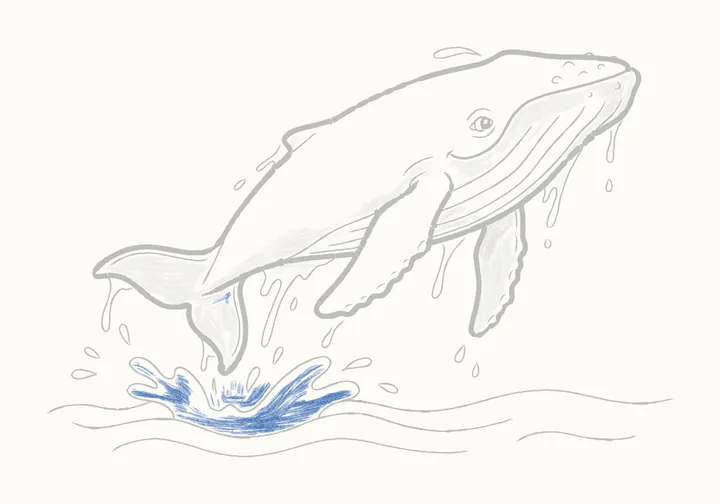
Shading the splash
Inside the splash, a soft tone, darker in the hollow under her tail. Leave the edges of the tongues white, so the water looks bright.
-
Step 28 of 28
The darks
Last of all, fill in her pupil, leaving the glint white. Tide hangs in the air for a moment, then down she comes.
-
Finished
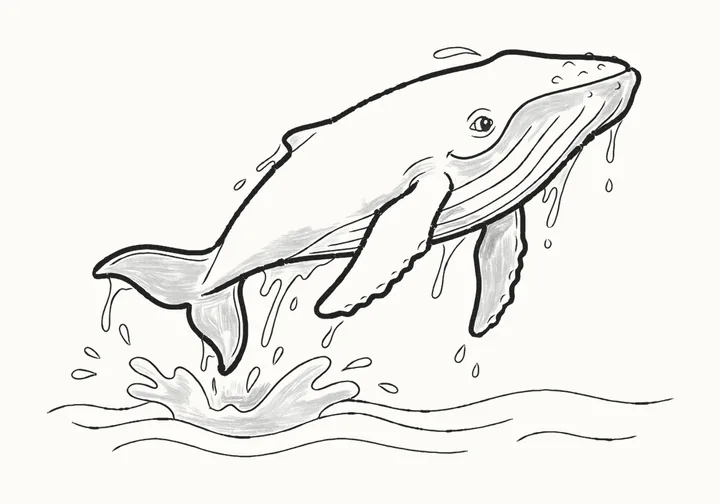
Your finished humpback whale
That’s Tide! Go over any lines you want darker, then sign your drawing in the corner.
In the DrawRabbit app
Tide’s world has 9 more drawings
Every animal has a whole world of narrated drawings in DrawRabbit, each one a little story you draw with a real pencil and paper. The first drawing in every world is free.
 Free to start · iPhone and iPad
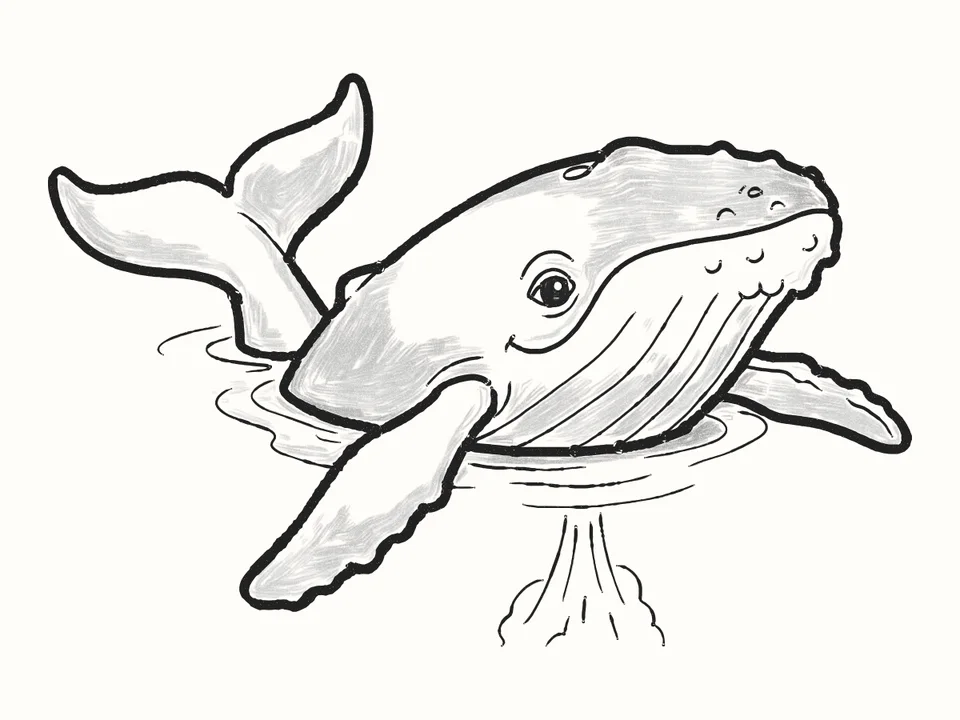 First breath
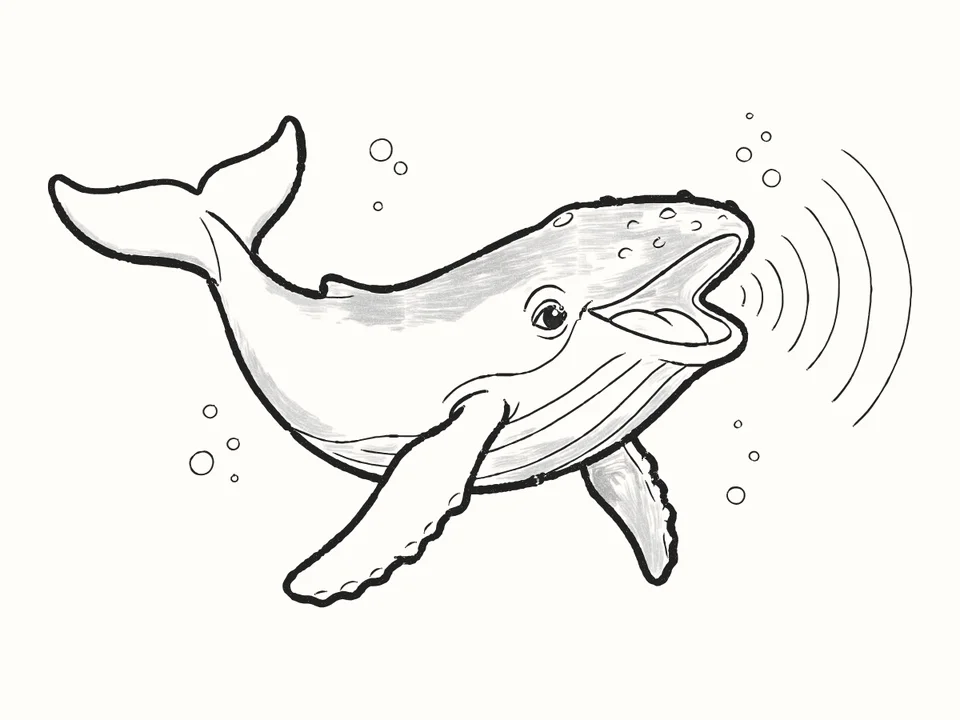 The song
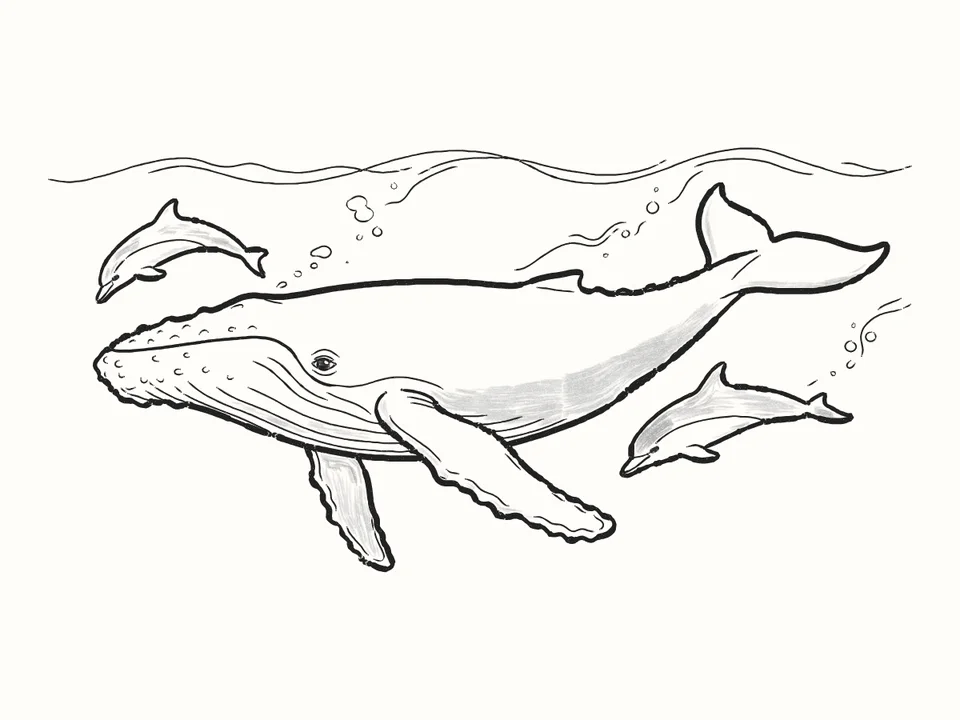 Racing the dolphins
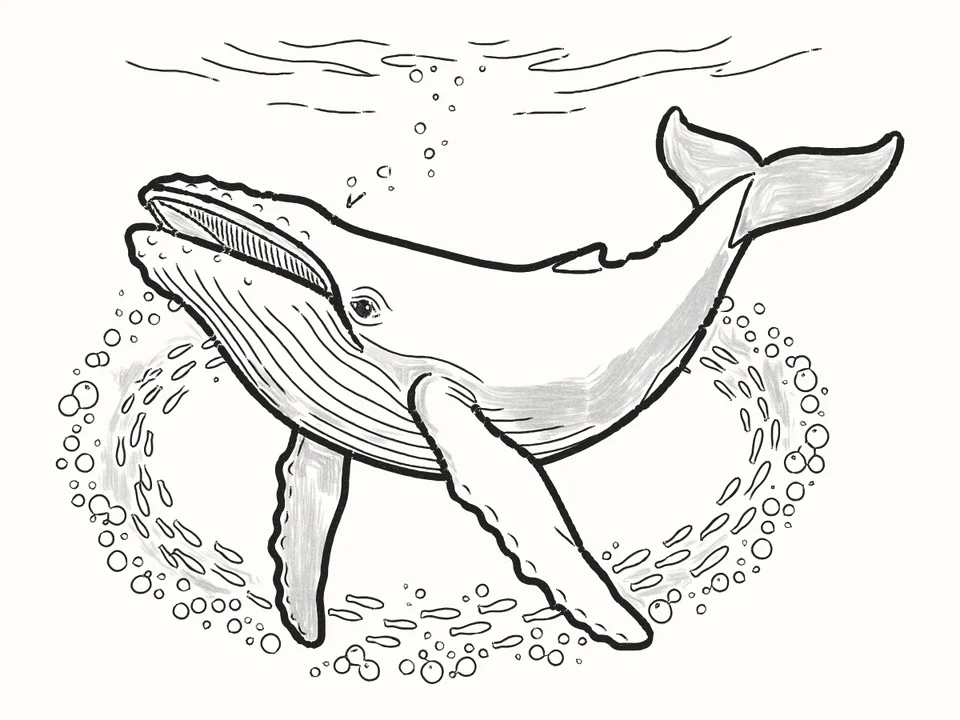 Bubble-net feeding
Tips for a better humpback whale
One curve for the leap
A single long curve from the snout to the tail gives the whole jump its sweep. Hang the head, back and belly on it.
Knobbly flippers
Draw the long flippers bump by bump along one edge: it’s what tells you it’s a humpback.
Grooves follow the body
The throat grooves follow the curve of her body, so they show which way she bends.
Keep the water bright
Clean shapes for the streams with round drips at the ends, and leave the edges of the splash white.
Questions
Is a humpback whale easy to draw?
Yes. One curve for the leap, a circle for the head and two arcs for the back and belly set the whole shape, and each step adds a little.
What do I need?
A pencil, paper and an eraser. Draw the first steps lightly: the guide lines are rubbed out in step 17.
What makes a whale look like a humpback?
Its very long flippers with a knobbly front edge, the grooves running down its throat, and the little bumps on its head. Draw those three and it reads as a humpback.
Can kids draw it?
Yes. It’s made for beginners of any age. If reading the steps is hard, the draw-along talks you through each line while it draws.
What is DrawRabbit?
A drawing app for iPhone and iPad: narrated, step-by-step lessons you follow with a real pencil and paper. 95 drawings in 10 worlds, free to start, no account needed.