 DrawRabbit
Drawing guide · Rabbits
How to draw a lop-eared bunny
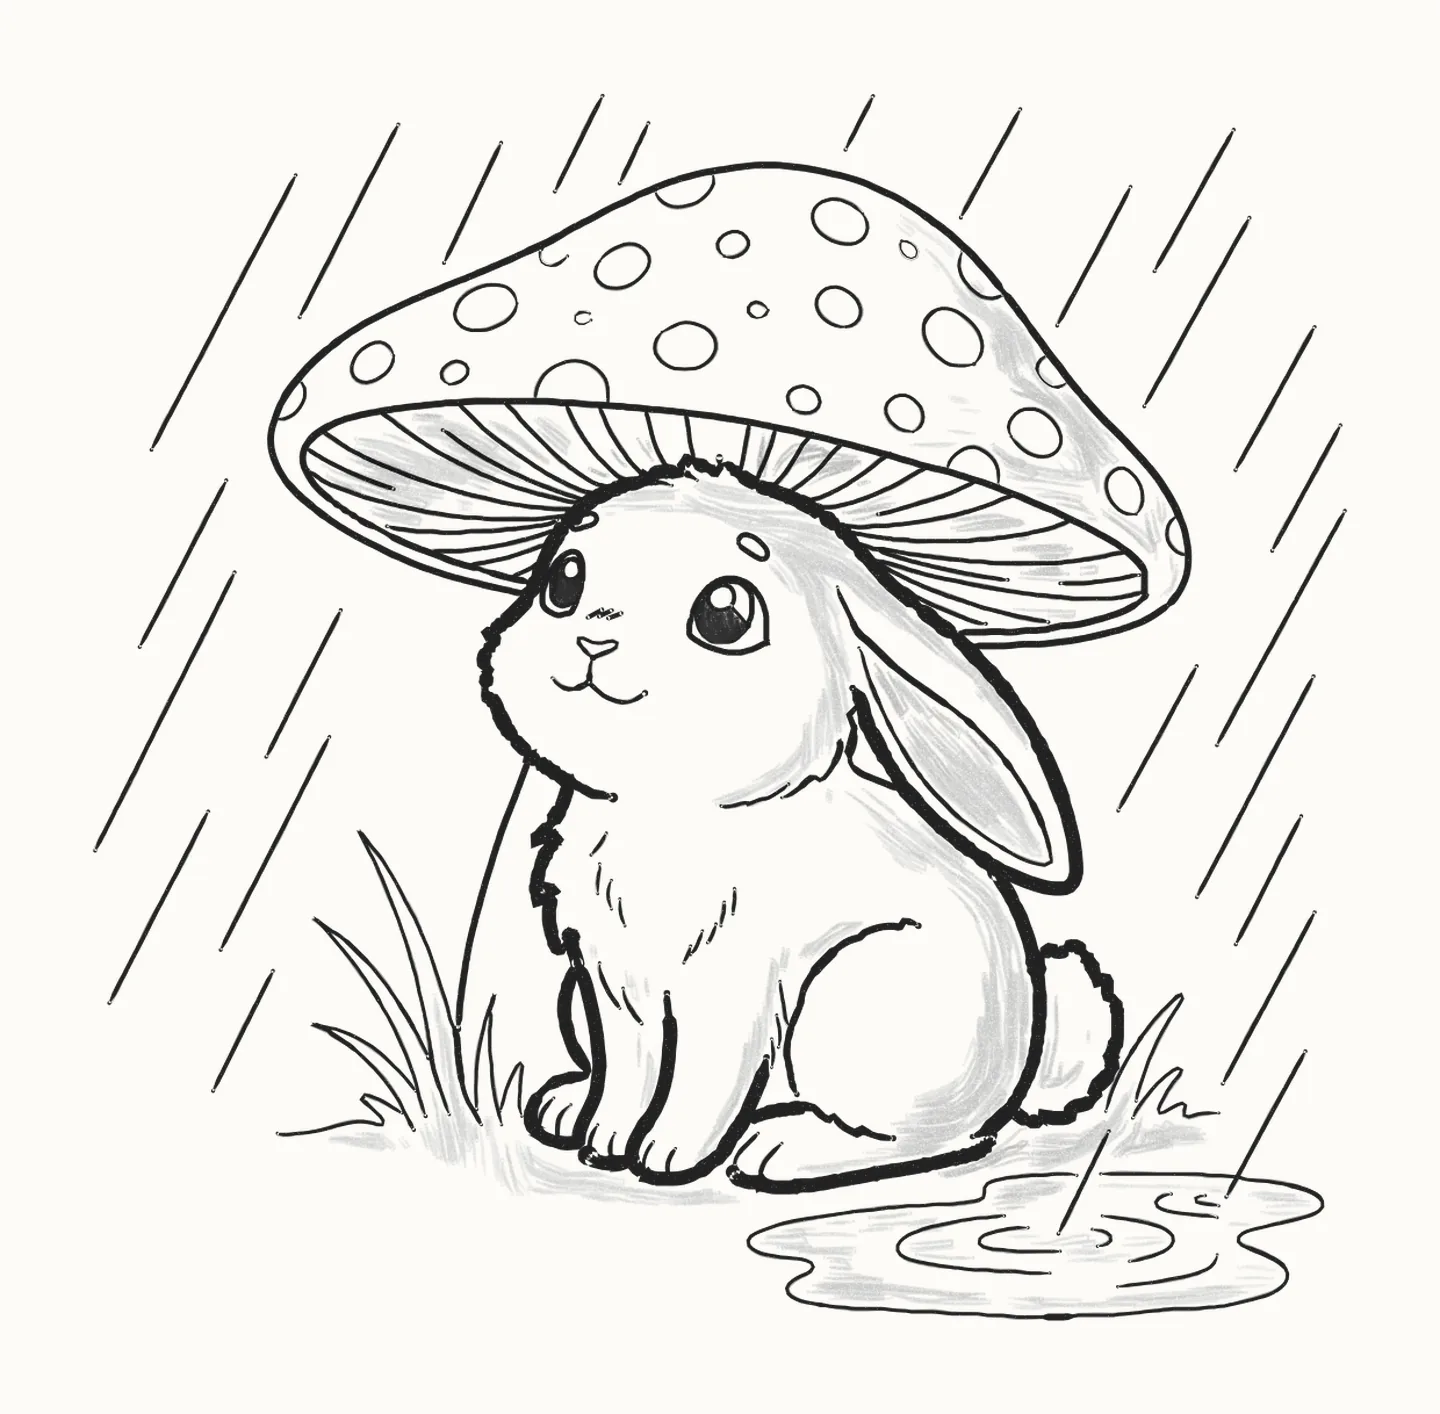
A summer shower, and Clover has found a toadstool to shelter under. In 44 steps you’ll draw a lop-eared bunny, sitting snug and dry while the rain comes down, using a pencil and paper: a circle and two ovals for her to start, then her face and fur, and last the spotted toadstool, the grass, a puddle and the rain.
How do you draw a lop-eared bunny?
To draw a bunny with floppy ears, start light: a circle for her head, a body oval half as wide again below it, and a long, thin oval for her ear hanging down the right side of her head. Draw her head with two fluffy points, the floppy ear with a loop inside it and the zigzag of fur under it. Give her a tall, narrow eye on the left and a big round eye on the right, each with a glint and a brow, then a little rounded-triangle nose, a smile and three dashes of blush. Add her fluffy chest, three paws with their toe lines, the round haunch, her back, the back foot and the cotton tail, then short strokes of fur. Rub out the guides. Then the toadstool over her, with no guides: the wide cap, the rim, thirty gills fanning in to her head and twenty-four spots, then grass, the stem, a puddle with ripples and the rain, every drop slanting the same way. Go over Clover’s outline and leave the toadstool light. The light comes from the top left, so shade down the right of the cap and where its shadow falls on her, then her body, the ground, the shine in the puddle and, last, her eyes. It takes 44 steps with a pencil, paper and an eraser.
You need a pencil, paper and an eraser44 stepsBeginner
Draw a lop-eared bunny, step by step
In colour: what to draw nowGrey: already drawn
Draw everything in pencil, lightly at first. Save all 44 steps to Pinterest
-
Step 1 of 44Guide lines
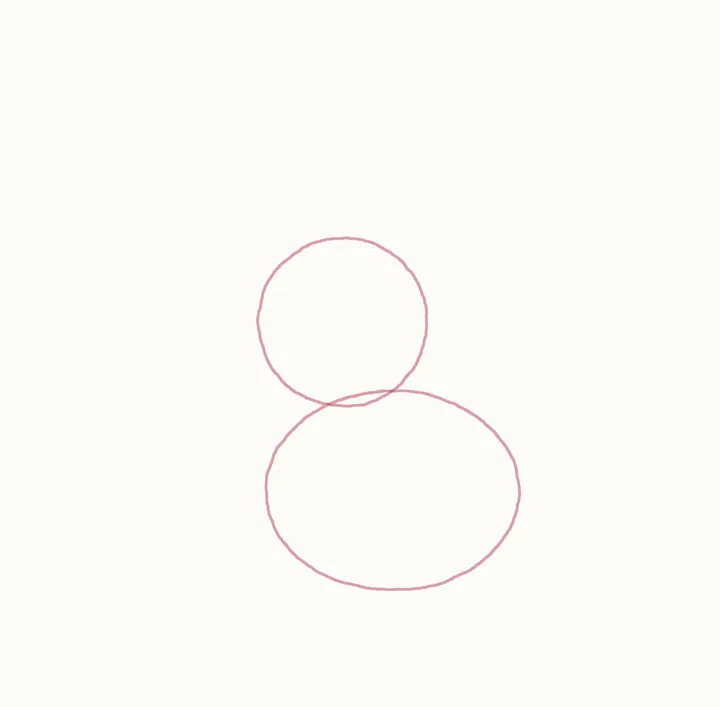
Head and body guides
A summer shower, and Clover has found a toadstool to shelter under. Start light: a circle for her head, then a body oval half as wide again, its top overlapping the circle's bottom.
Draw these lightly: they’re only there to help, and you’ll rub them out in step 21.
-
Step 2 of 44Guide lines
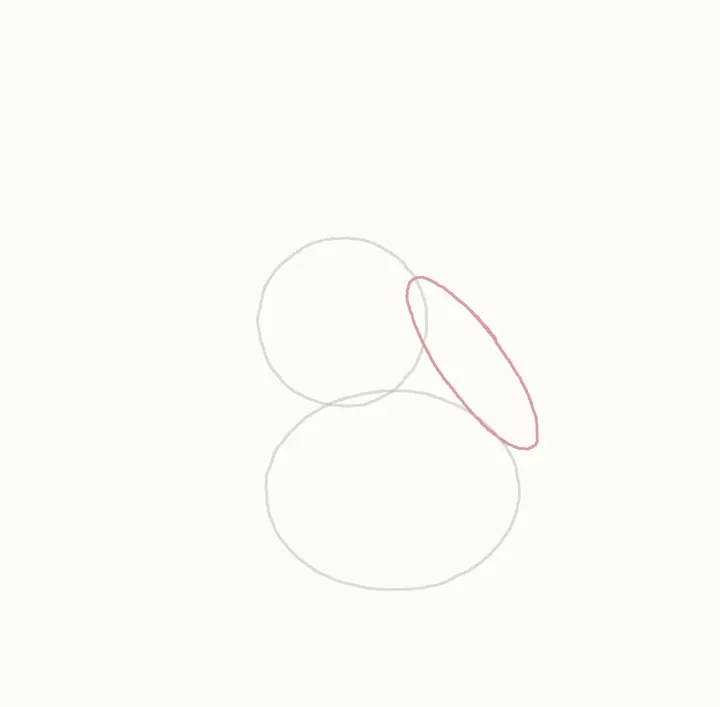
The ear guide
Her ear flops down the right side of her head. Sketch a long, thin oval for it, from the top right of the head circle down past the body oval's edge.
Draw these lightly: they’re only there to help, and you’ll rub them out in step 21.
-
Step 3 of 44
Her head
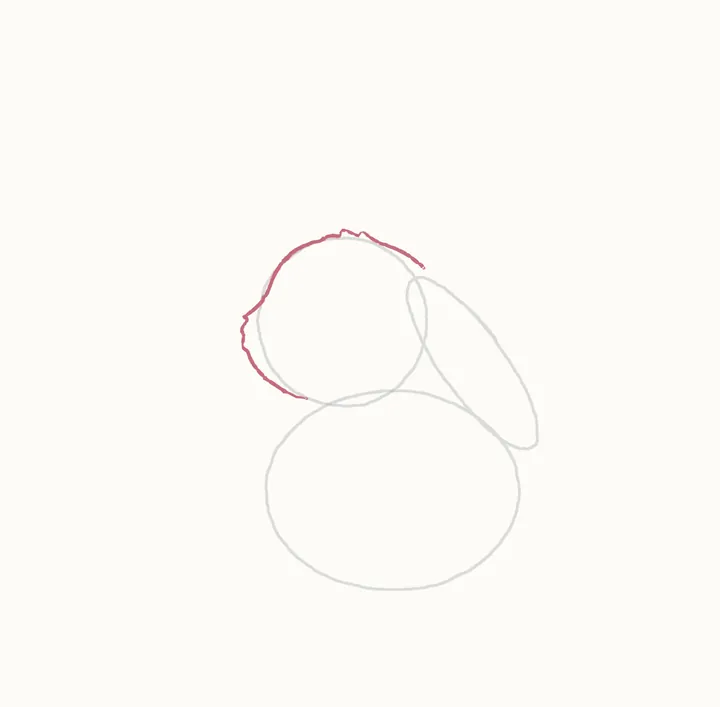
Now the real lines. From under her chin, round to the left and up the side of her face, out to two fluffy points, over the top of her head and down to the ear.
-
Step 4 of 44
The ear
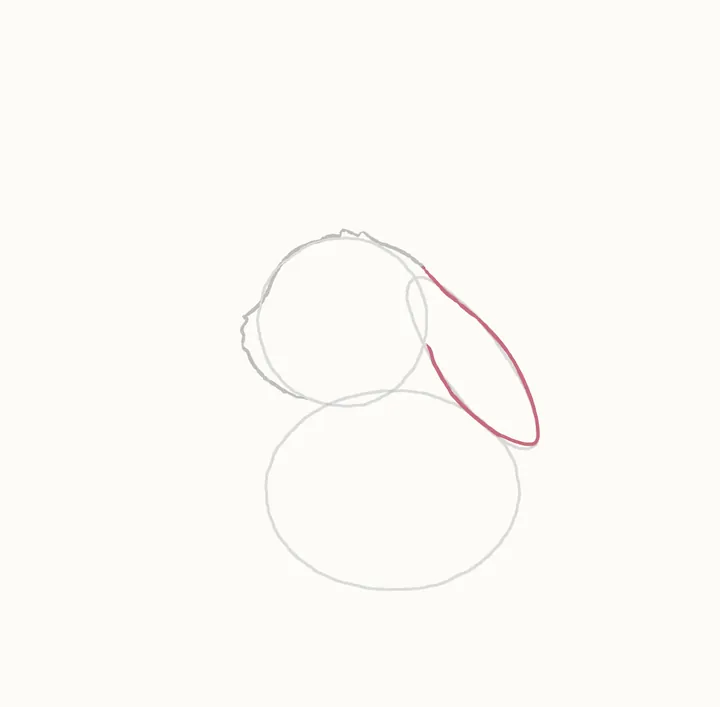
Her floppy ear, along the guide: from the top of her head, down its outside edge to the round tip, then back up its front edge to her cheek.
-
Step 5 of 44
Inside the ear
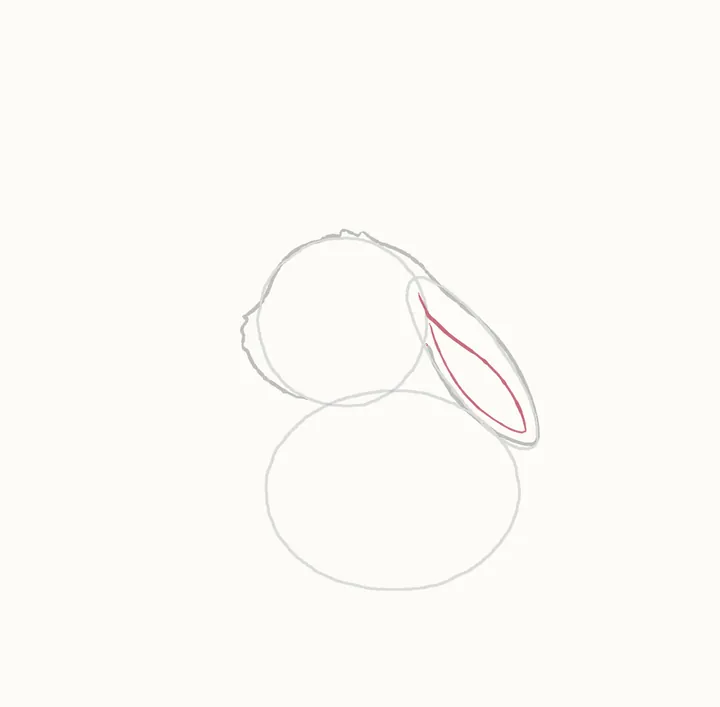
A long loop inside the ear: from near its top, down to the tip and back up.
-
Step 6 of 44
Her cheek
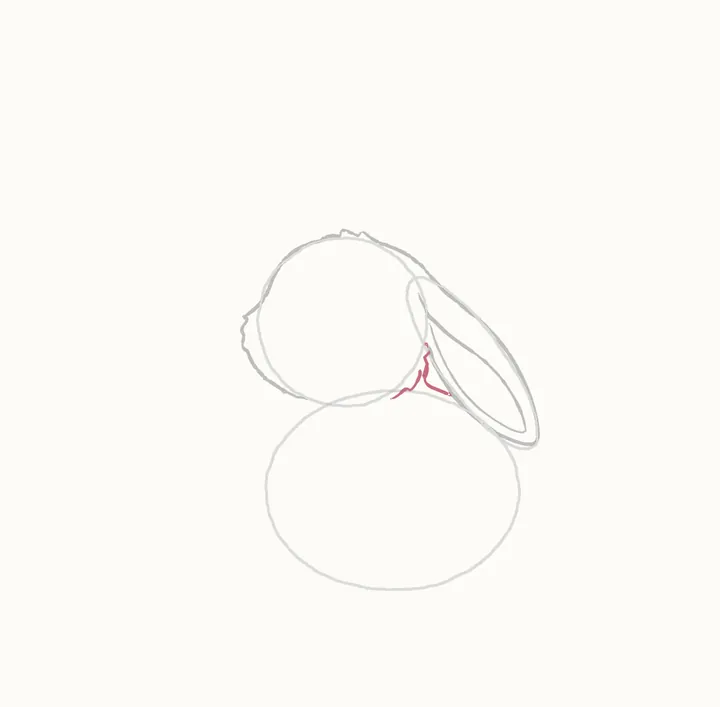
Under the ear, the fluffy bottom of her cheek: a zigzag of points from her cheek up to the ear's edge. Then a line from the zigzag's middle down to the ear.
-
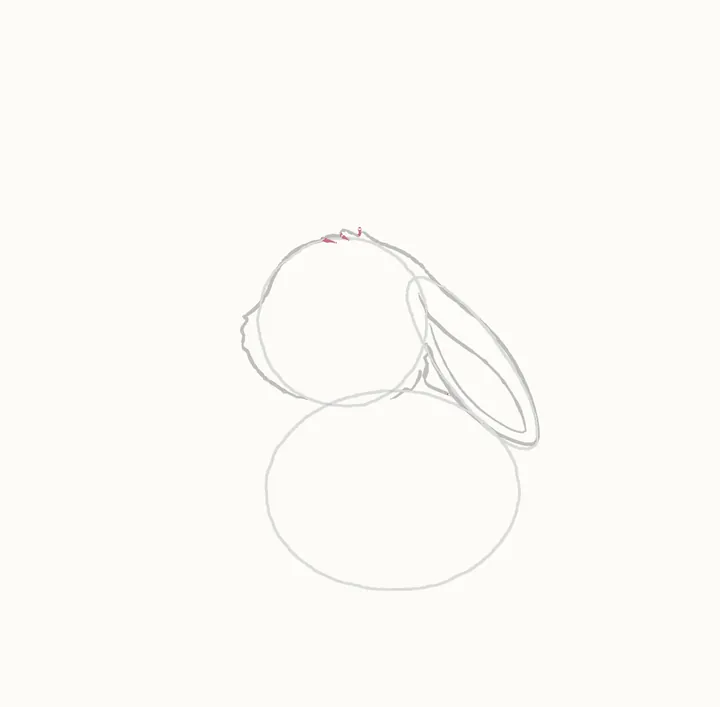
Step 7 of 44
Hair on top
Three tiny hairs at the top of her head, just under its line: two little ticks curling to the right, then a tiny spike up into the bump.
-
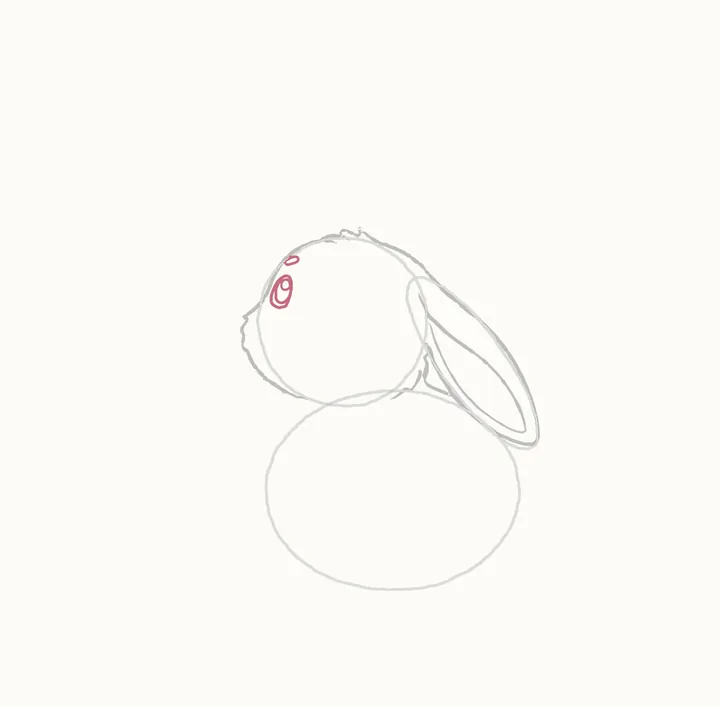
Step 8 of 44
The eye on the left
Now her face: the left eye, a tall, narrow oval from the side nearer the other eye, the iris nearly filling it. A glint ring, then a slanted oval brow on her head's edge.
-
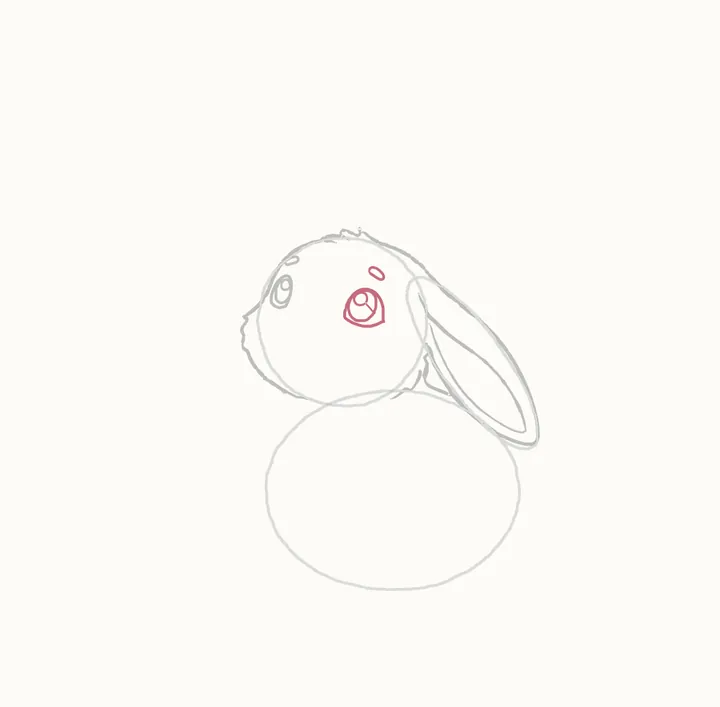
Step 9 of 44
The eye on the right
The right eye is big and round: outline from the side nearer the other eye, the iris filling most of it, the glint running down to the iris's edge. Then a slanted oval brow.
-
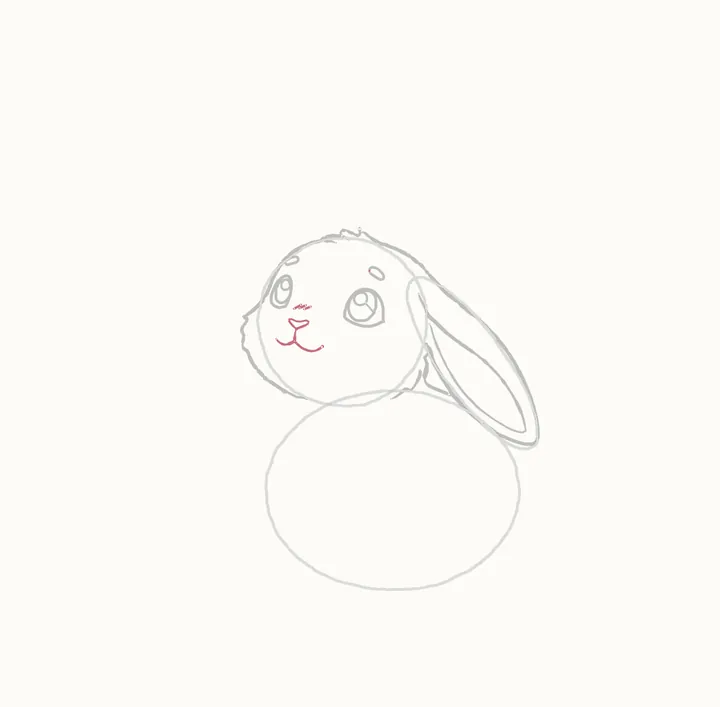
Step 10 of 44
Nose, mouth and blush
A small rounded triangle for her nose between the eyes, a short line down, a smile out to each side. Three tiny slanted dashes of blush just below and right of the left eye.
-
Step 11 of 44
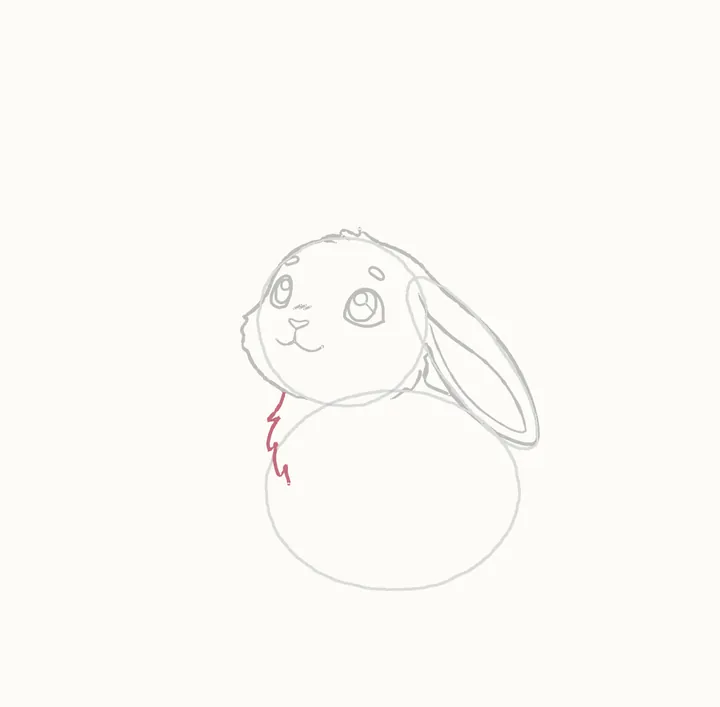
Her chest
From under her chin, down the left of her chest in a zigzag of fluffy tufts, to where her front leg begins.
-
Step 12 of 44
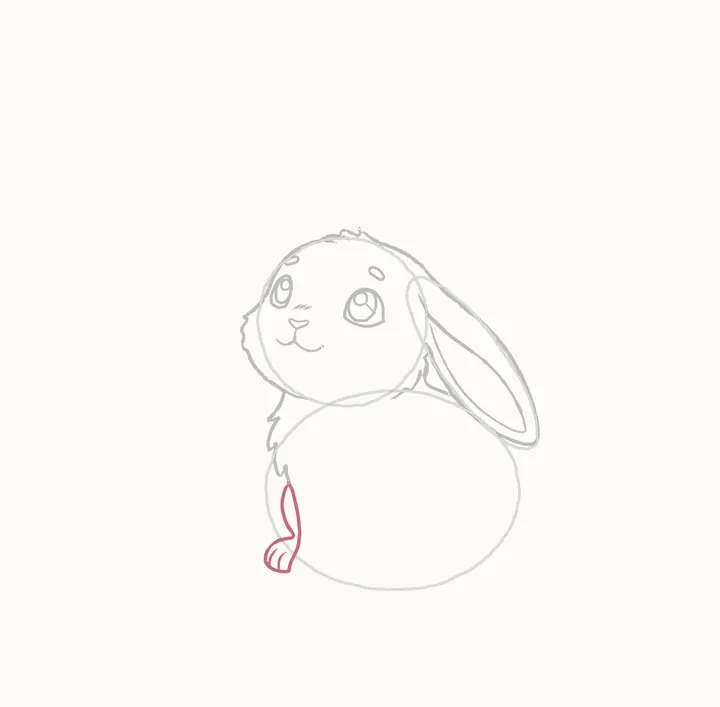
The leg on the left
From the bottom of the chest, down the leg on the left, round its paw and along under it, then back up the inside of the leg. Two toe lines, each up from the bottom.
-
Step 13 of 44
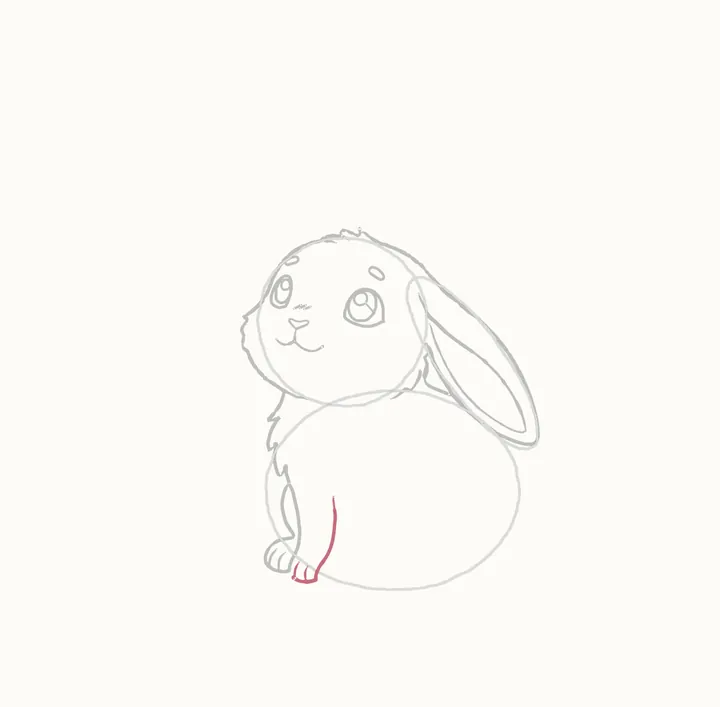
The middle leg
From the bottom of that leg, along under the middle paw, then up its right edge into her chest. Two toe lines.
-
Step 14 of 44
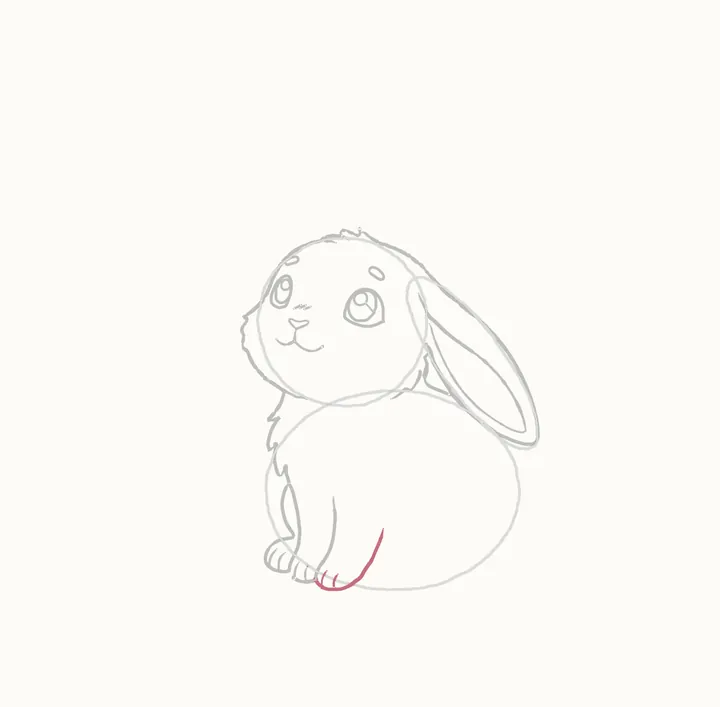
The leg on the right
Back at the bottom of the middle paw: along under the paw on the right, then up its right edge to the bottom of the body oval. Two toe lines, each up from the bottom.
-
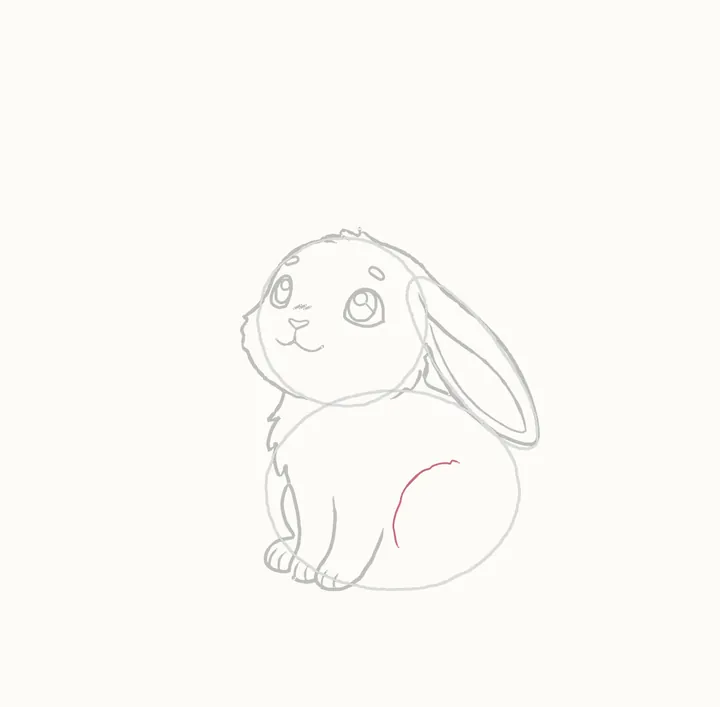
Step 15 of 44
Her haunch
Her round haunch: start just right of and a little below where the leg on the right ended. One big curve up and over to the right, flicking out into a tuft.
-
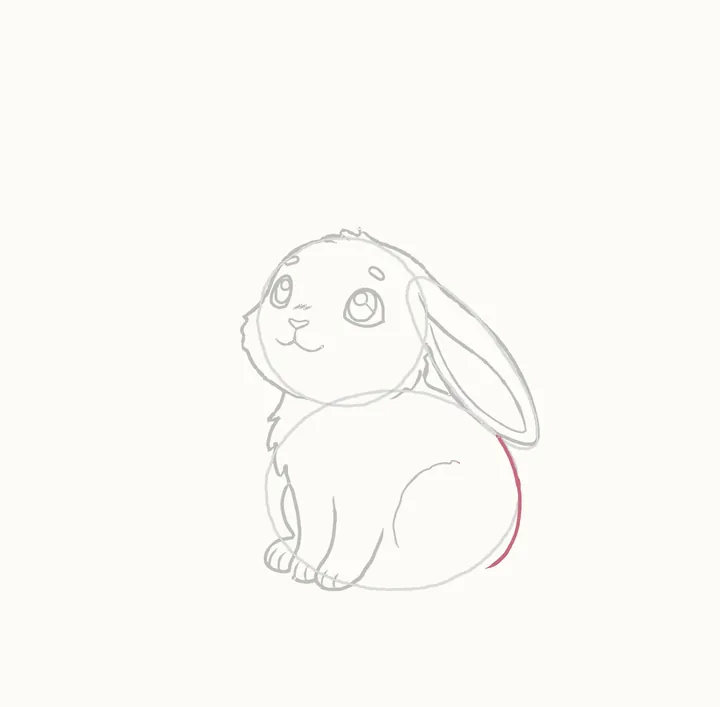
Step 16 of 44
Her back
Her back: from under the ear, down the right edge of the body oval to the ground.
-
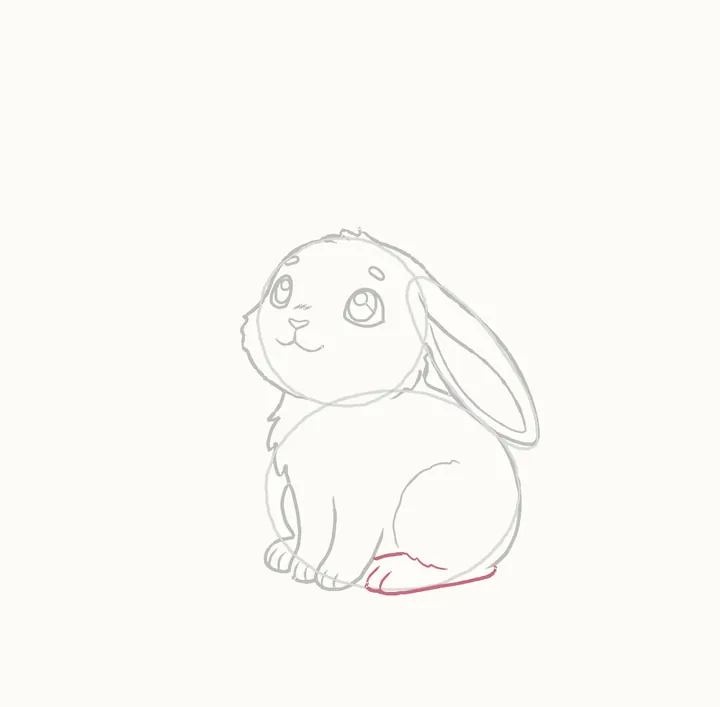
Step 17 of 44
Her back foot
Her back foot pokes out under the haunch: its top line from under the haunch's tuft to the leg on the right, then its bottom from that leg along to her back. Two toe lines.
-
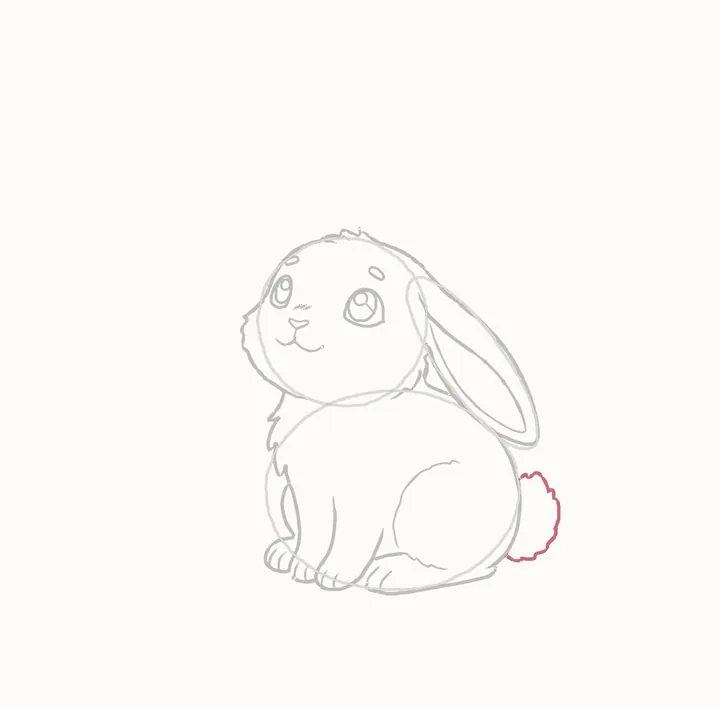
Step 18 of 44
Her tail
A fluffy cotton tail on her back: from the back, up and round in little bumps, down to the bottom and back in.
-
Step 19 of 44
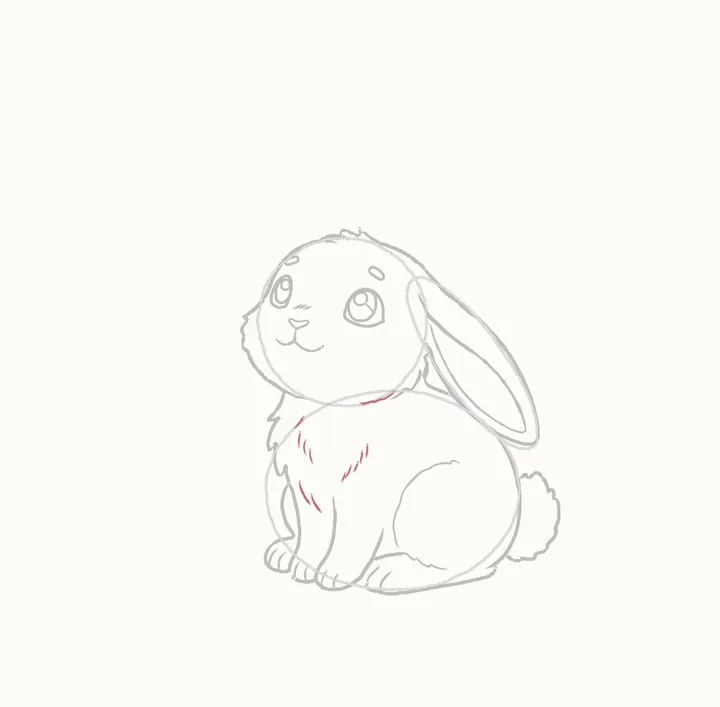
Fur on her chest
Now her fur. Twelve short strokes on her chest: one under her cheek, then five in a row below it on the right; four down the left, flicked down; two at the bottom.
-
Step 20 of 44
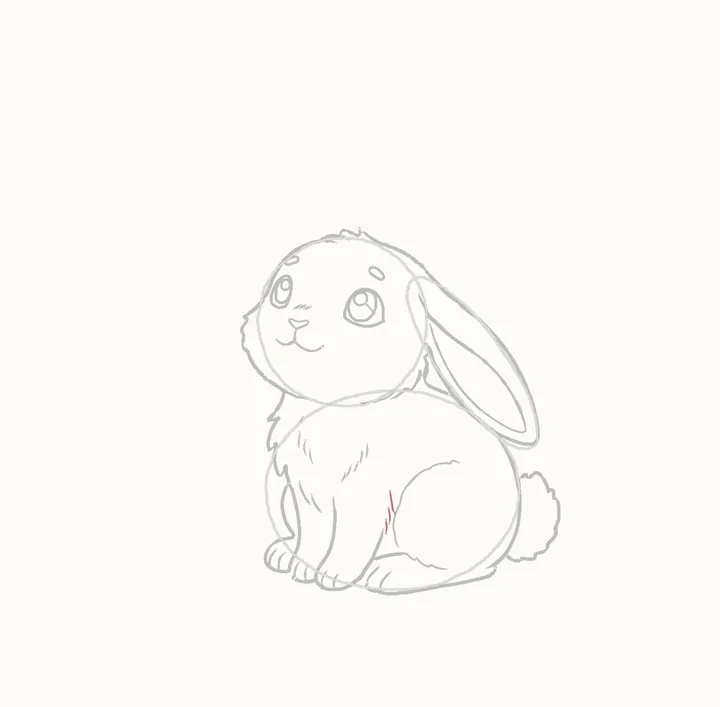
Fur on the haunch
Three short strokes of fur down the haunch's left edge, top to bottom.
-
Step 21 of 44
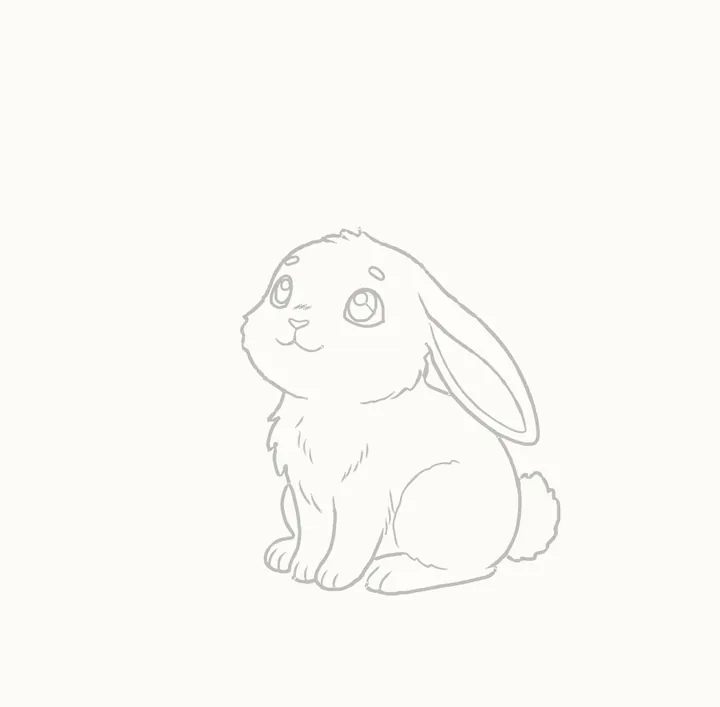
Erase the guides
Rub out the circle and the ovals. Only Clover's own lines stay.
-
Step 22 of 44
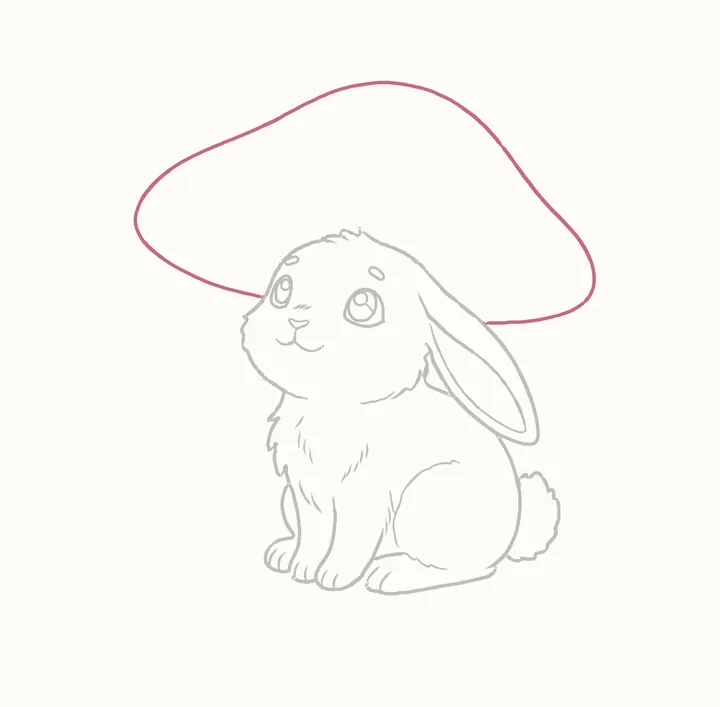
The toadstool's cap
Now the toadstool, far wider than Clover. From her ear out to the right, round the cap's right end level with her eyes, over a dome a head-height above her, down beside her left eye.
-
Step 23 of 44
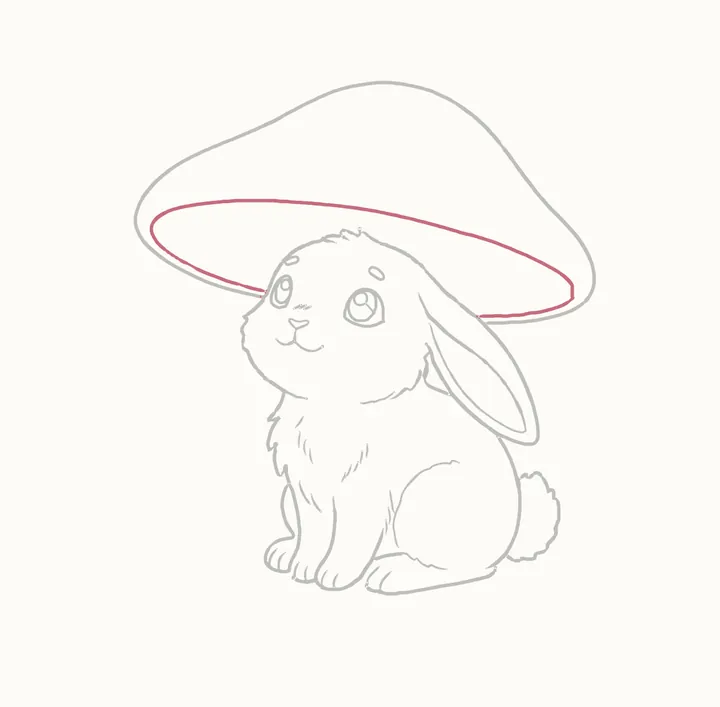
The rim
Inside its bottom edge, the rim: from her ear out along to the right end, round it, back along the top of the underside, round the left end and in to her head.
-
Step 24 of 44
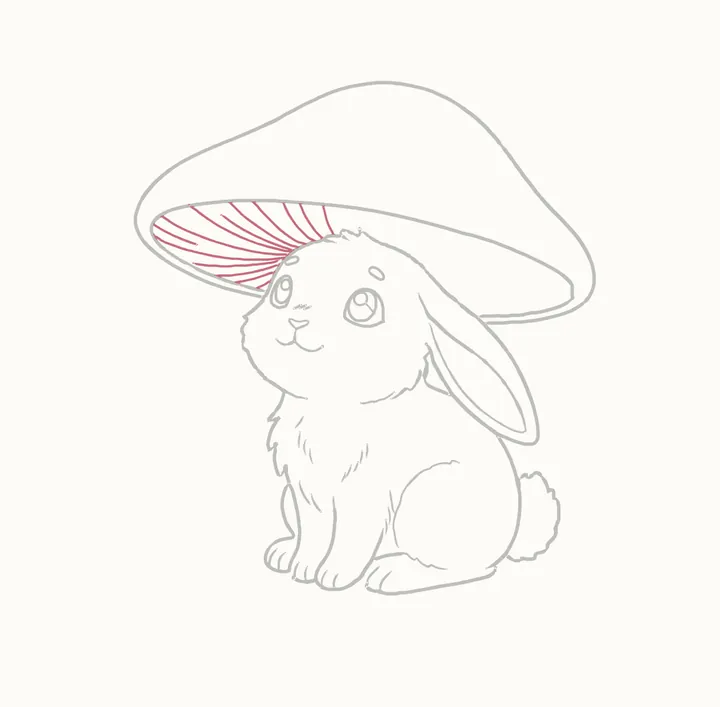
Gills on the left
Gills fan out under the cap. Fourteen on the left, each from the rim in to her head (two are short), from the bottom of the left end round to the top.
-
Step 25 of 44
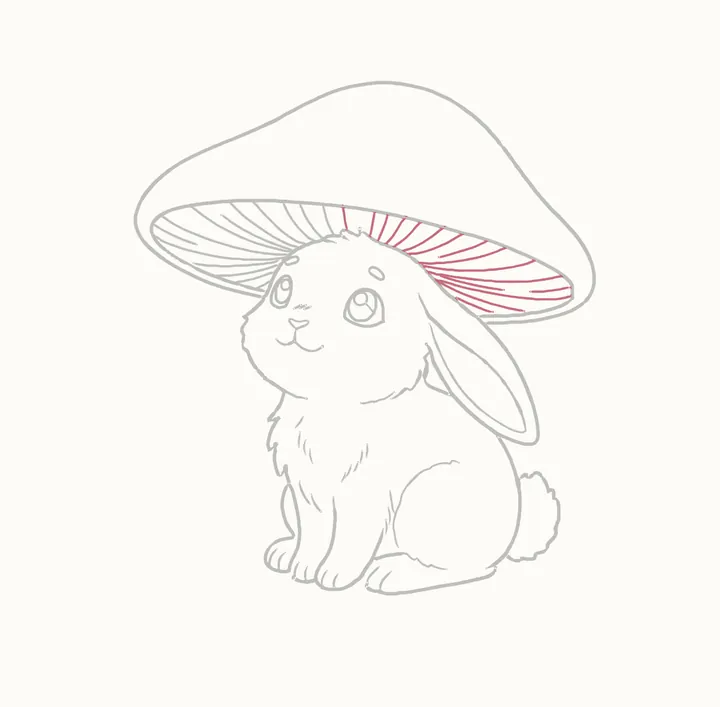
Gills on the right
Then sixteen on the right, from the top round to the right end, each from the rim in to her head or her ear; one near the end stops short.
-
Step 26 of 44
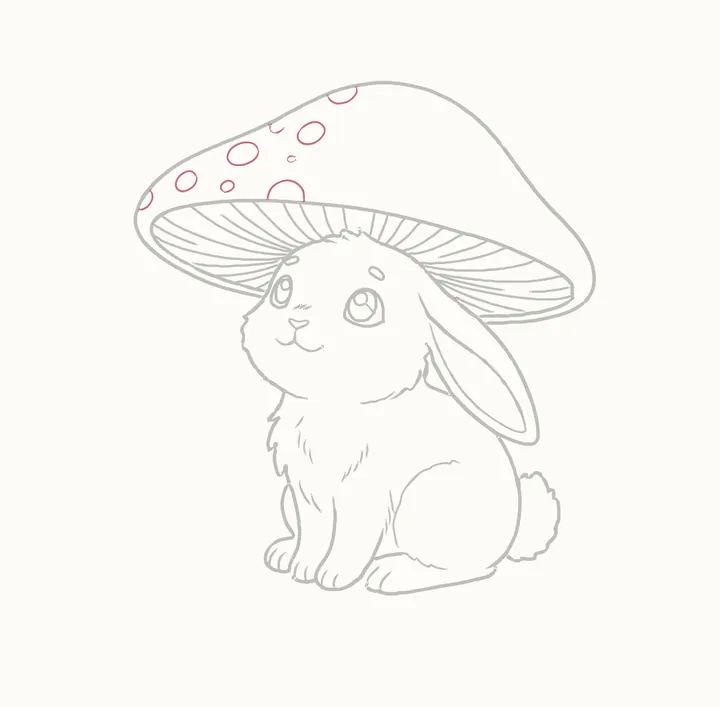
Spots on the left
Spots on the cap, each one a circle, big and small; the ones at the edges are cut off. Nine on the left half, working up from the rim.
-
Step 27 of 44
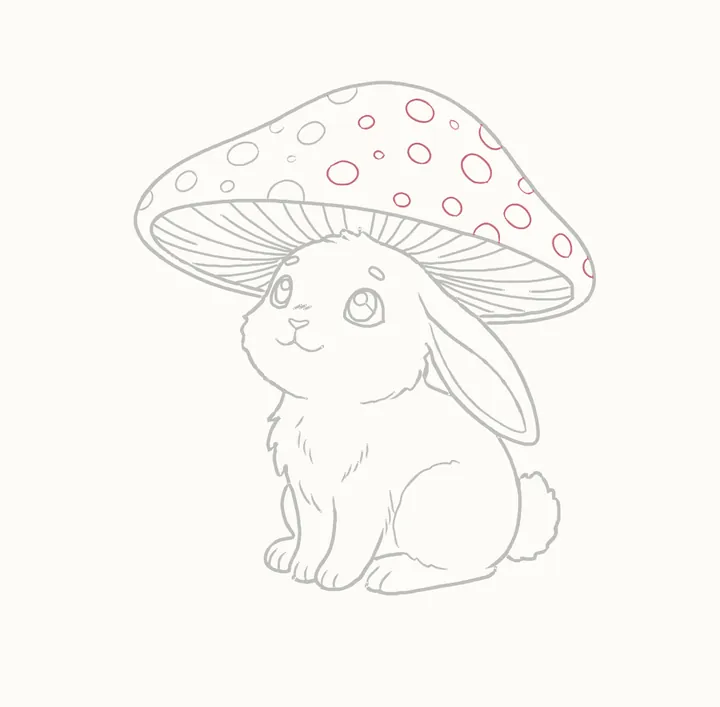
Spots on the right
Then fifteen on the right half: the top row first, then the middle, then the ones near the rim.
-
Step 28 of 44
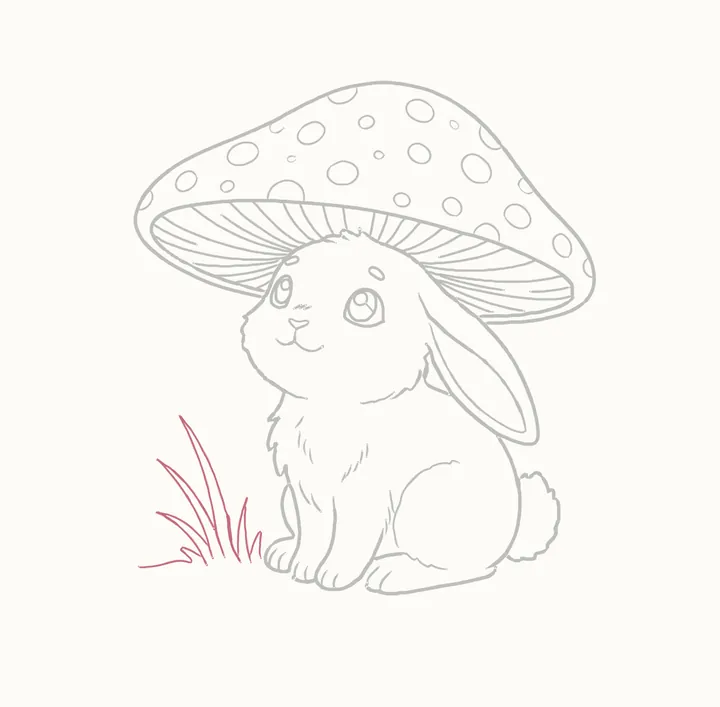
Grass on the left
Grass left of her paws: a little blade at the right, up and back down, then on left along the ground. Then blades, each up and down: short, tallest, one behind it, two short.
-
Step 29 of 44
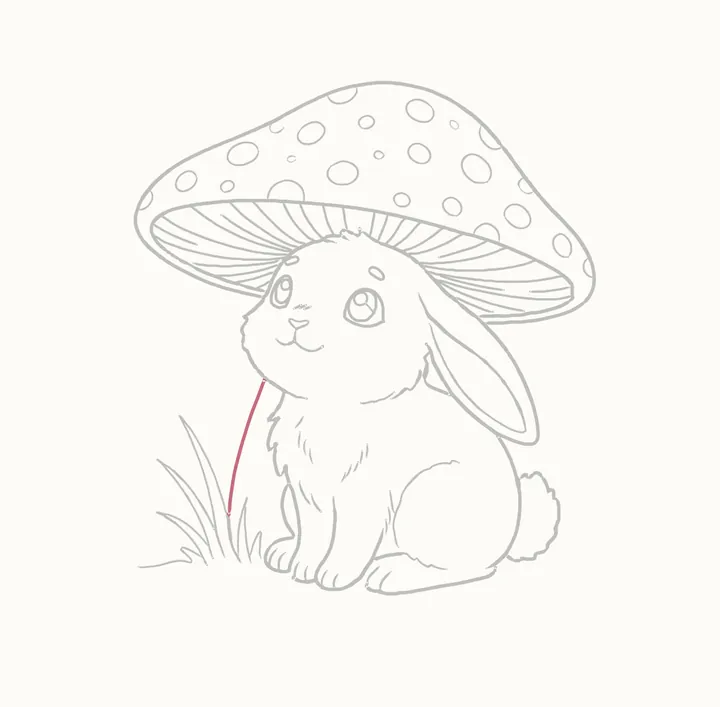
The stem
Only one line of the toadstool's stem shows: from under her chin, down past her chest to the grass.
-
Step 30 of 44
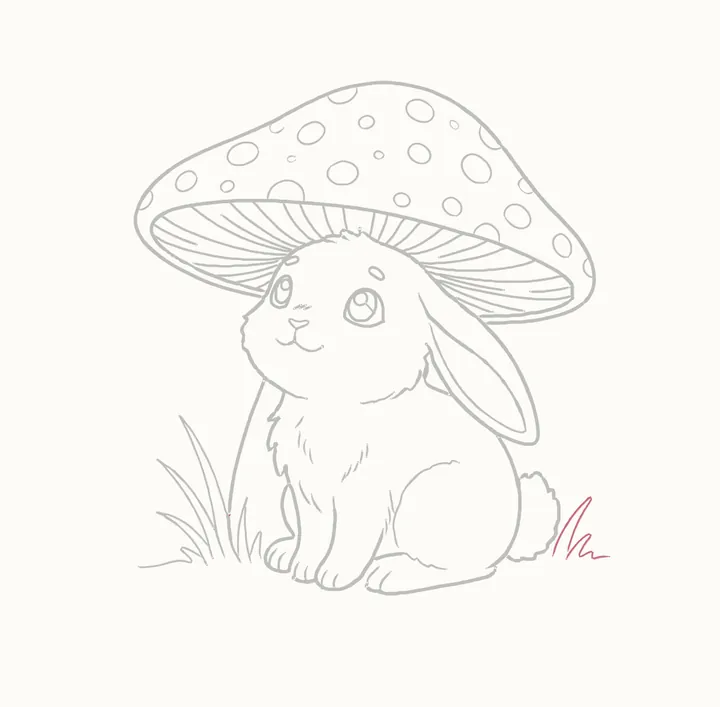
Grass by her tail
Two blades right of her tail: first the one in front, up to its tip, back down and on in a zigzag along the ground. Then a taller one behind it, on the left.
-
Step 31 of 44
The puddle
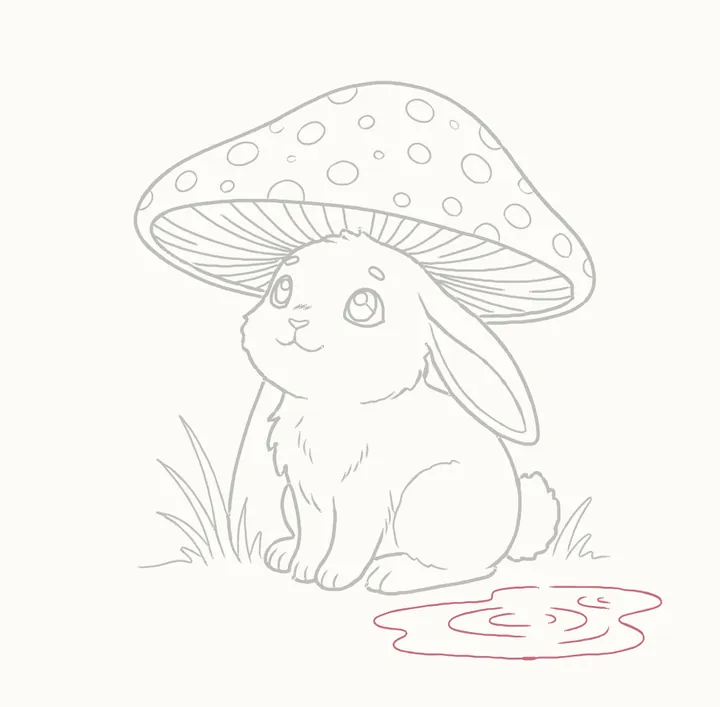
Below her tail, a wide puddle: one wobbly loop. Ripples left to right: two curves, a small one, a big curve, a line low down, a short curve at the top, a tiny ring.
-
Step 32 of 44
Rain on the left
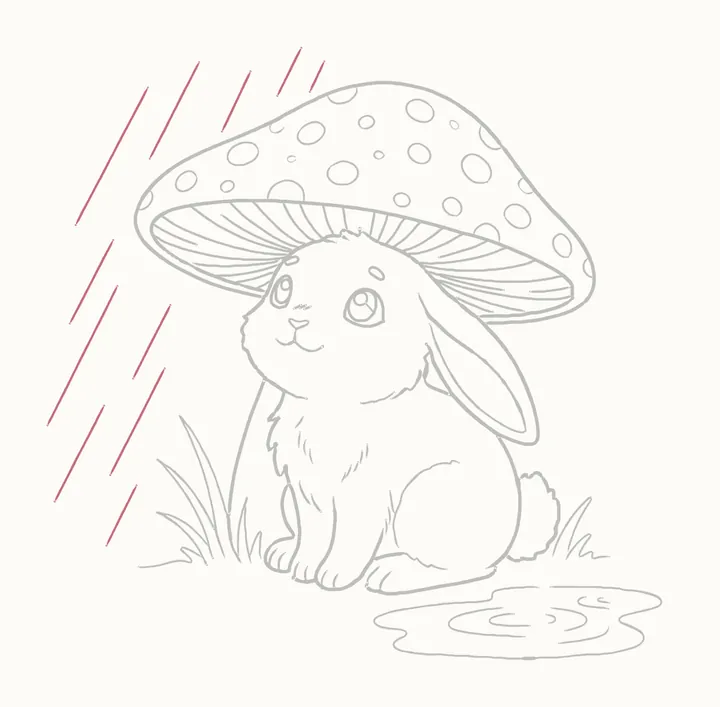
Now the rain, every line slanting the same way, light and quick: eleven drops on the left, from the top of the page down, each from its top.
-
Step 33 of 44
Rain on the right
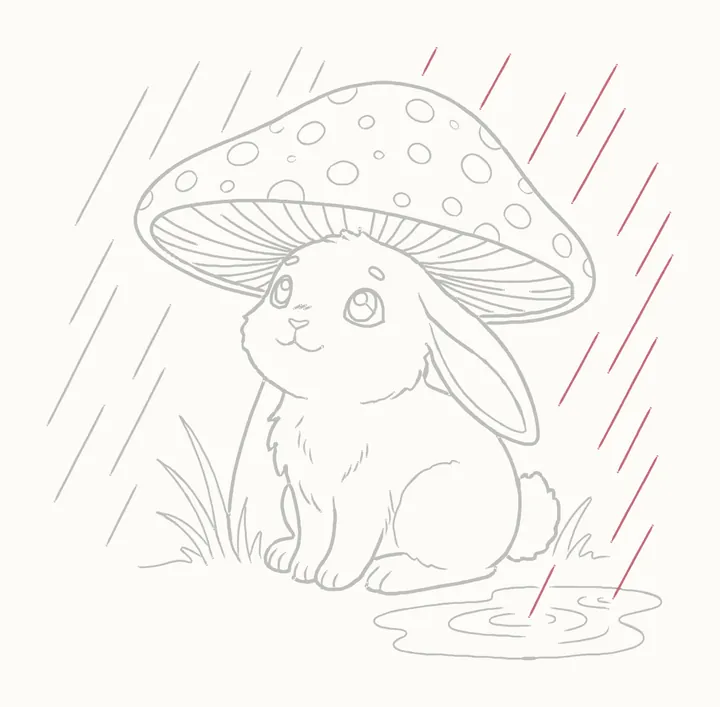
Then fourteen on the right, from the top of the page down, each from its top; the last two fall right into the puddle.
-
Step 34 of 44
Go over her head
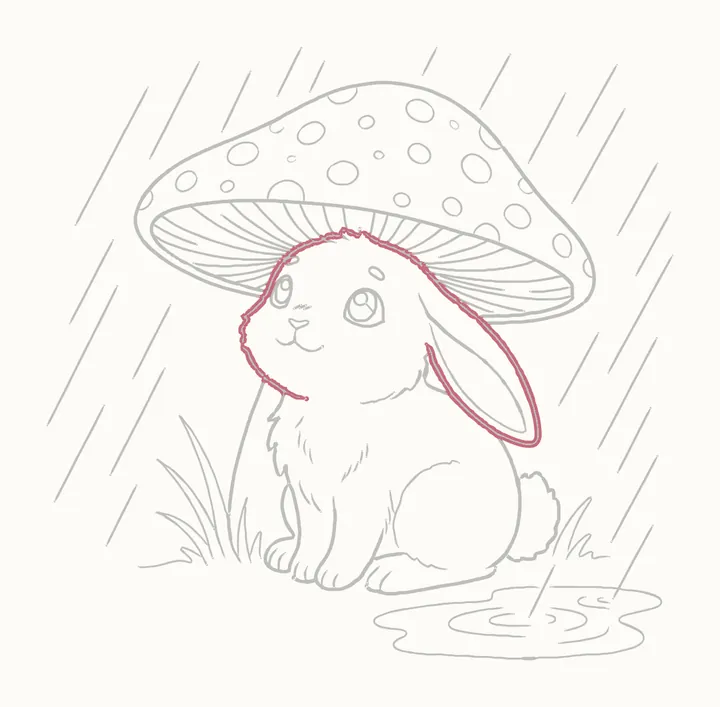
Press harder round her outside edge: from the front of the ear, down round its tip, up its back, over her head and down to her chin.
-
Step 35 of 44
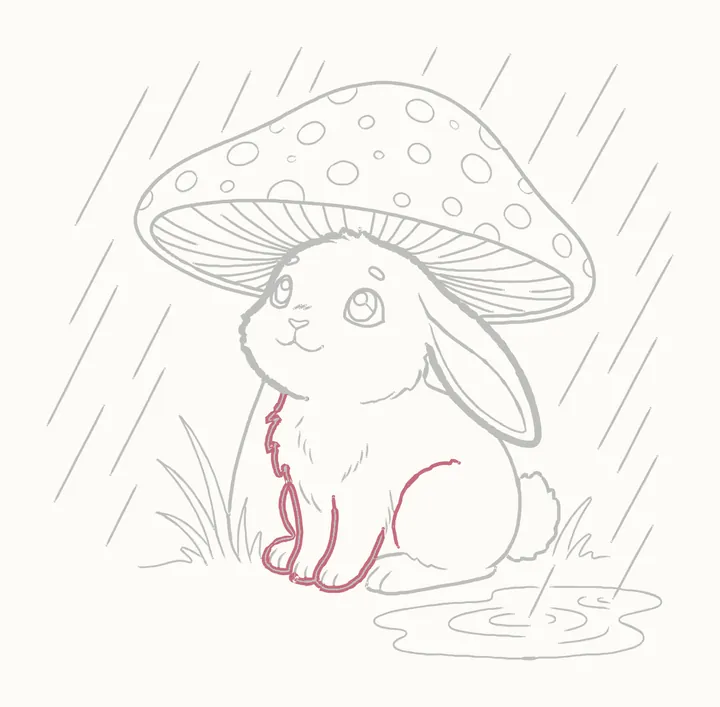
Go over her front
Then her front: down the chest, round the left paw and back up inside it; down the middle leg; under the right paw and up its edge; last the haunch, from its foot.
-
Step 36 of 44
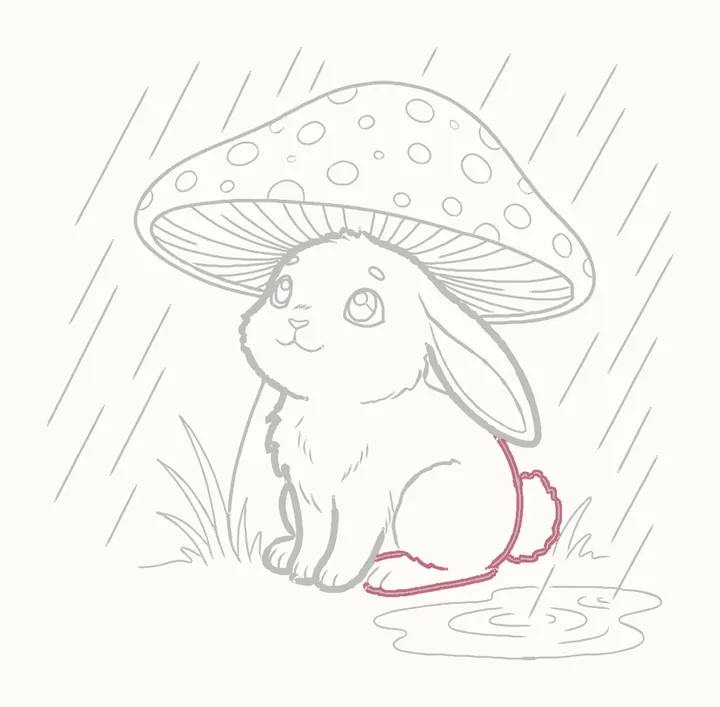
Go over her back
Last, the back foot: its top line, then along under it and up her back to the ear; then round the tail from its top. Leave the toadstool light.
-
Step 37 of 44
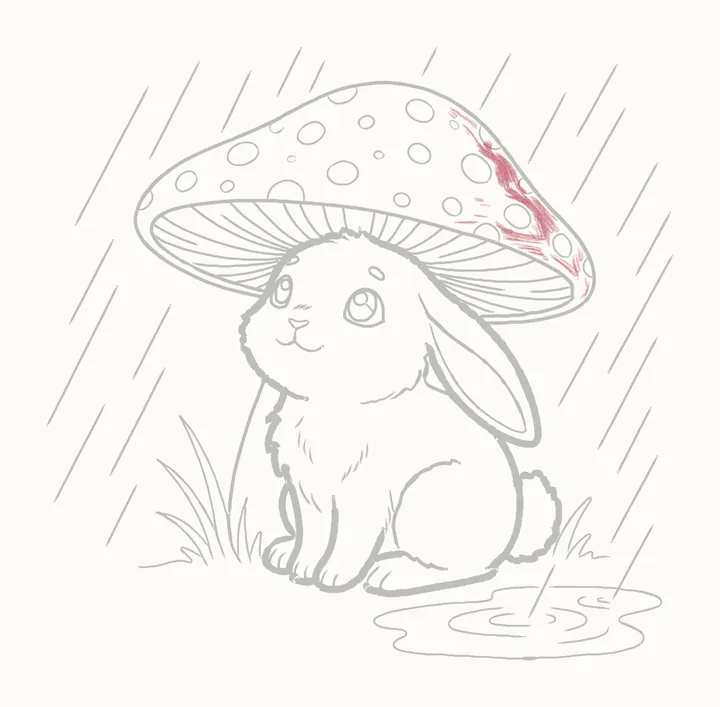
Shading the cap
The light comes from the top left, so the shadows sit on the right. Shade softly down the right side of the cap, round the spots, and a small patch above the rim.
-
Step 38 of 44
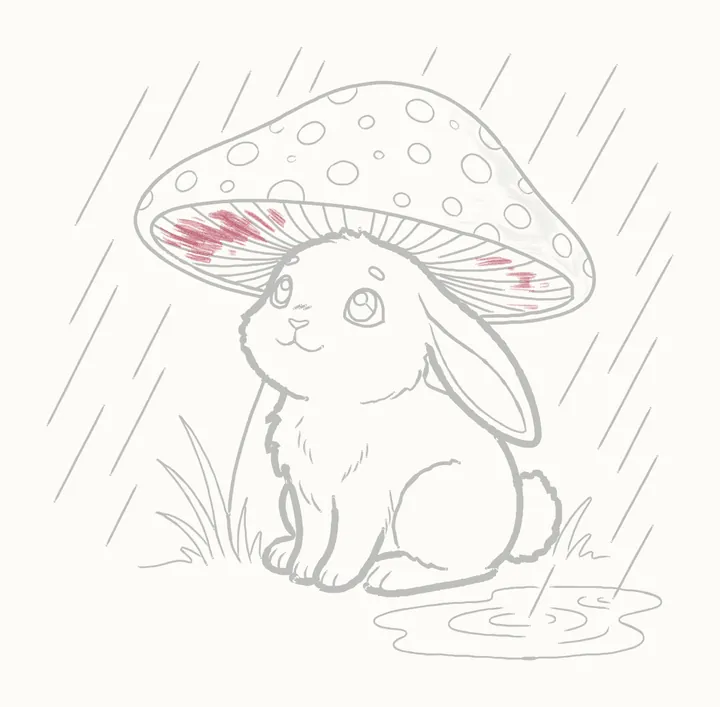
Under the cap
Under the cap, a soft tone over the gills at its left end, then two strips along the rim on the right.
-
Step 39 of 44
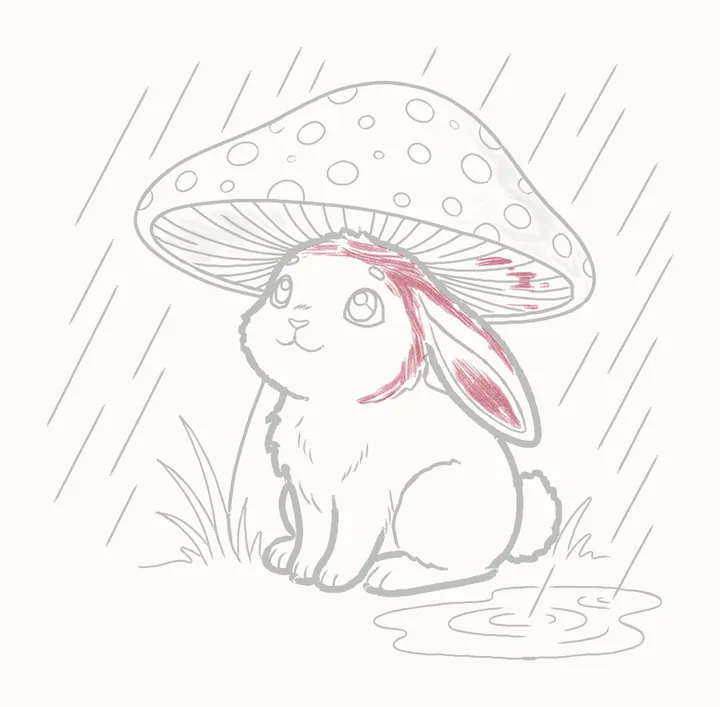
Shading her head and ear
On Clover, a soft tone where the cap's shadow falls: over the right of her head, down beside the ear to her cheek. Then inside the bottom of the ear.
-
Step 40 of 44
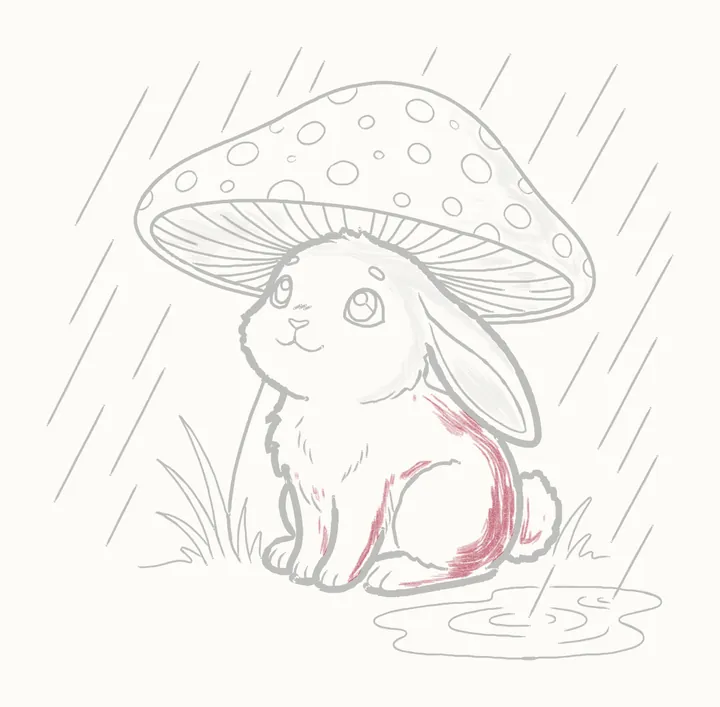
Shading her body
Then her body, on the side away from the light: down her back, along the haunch's left edge, low on her chest, on the tail, and between her legs.
-
Step 41 of 44
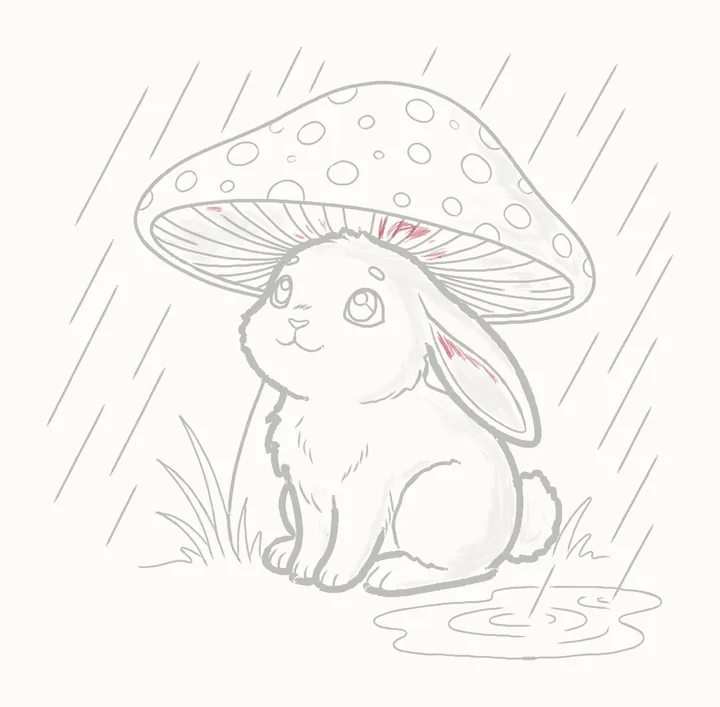
Deep shadows
Press a little harder in the darkest places: under the rim on the left, three spots where the gills meet her head, and at the top inside the ear.
-
Step 42 of 44
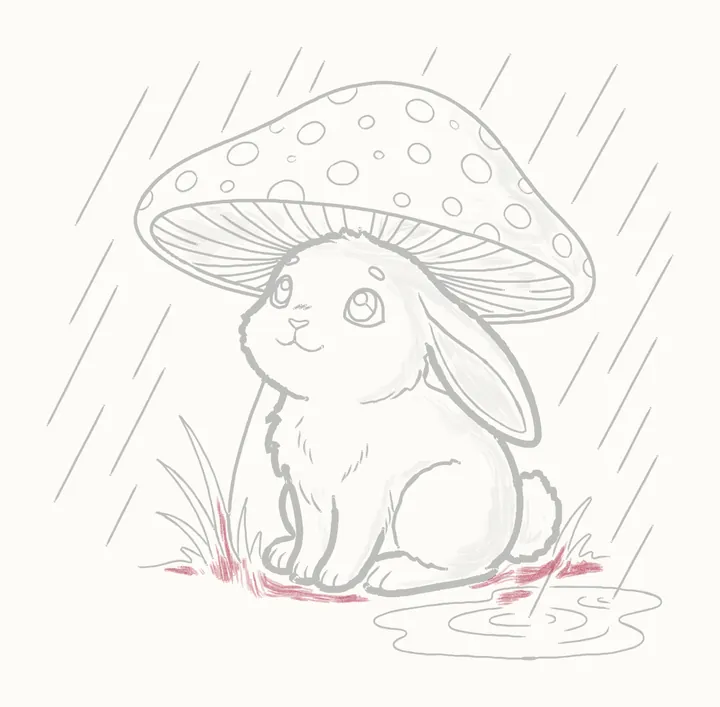
Shadows on the ground
A soft shadow on the ground under her paws and the grass, then under her tail. Press harder right under her back foot.
-
Step 43 of 44
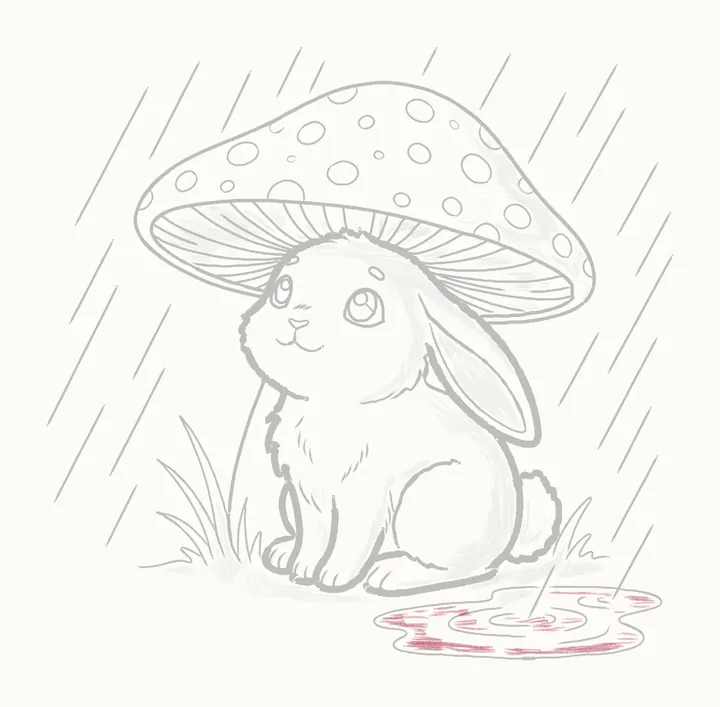
The puddle's shine
Then a light tone in the puddle, in the bands between the ripples, leaving thin white streaks so the water shines.
-
Step 44 of 44
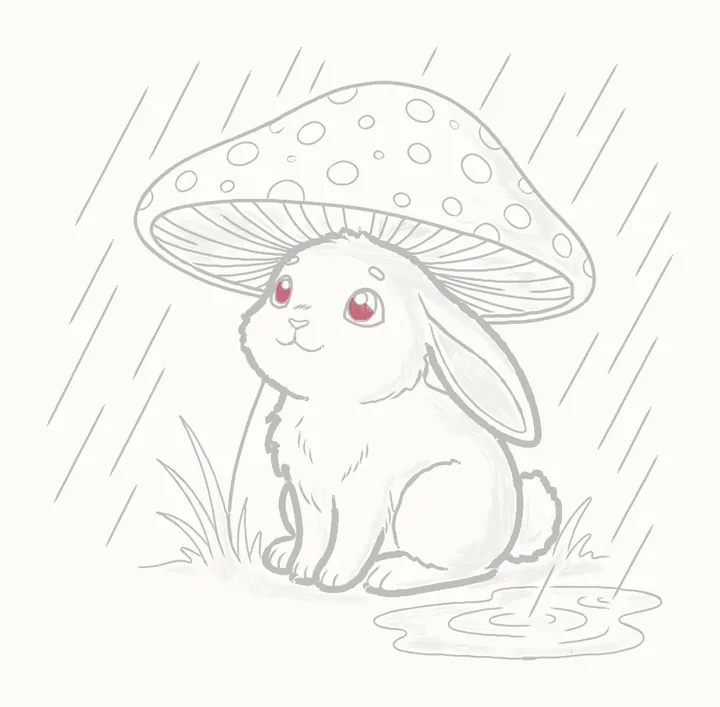
The darks
Last of all, fill in her irises dark, leaving the glints white, and in the right eye leave the little slice beside the shine line light.
-
Finished
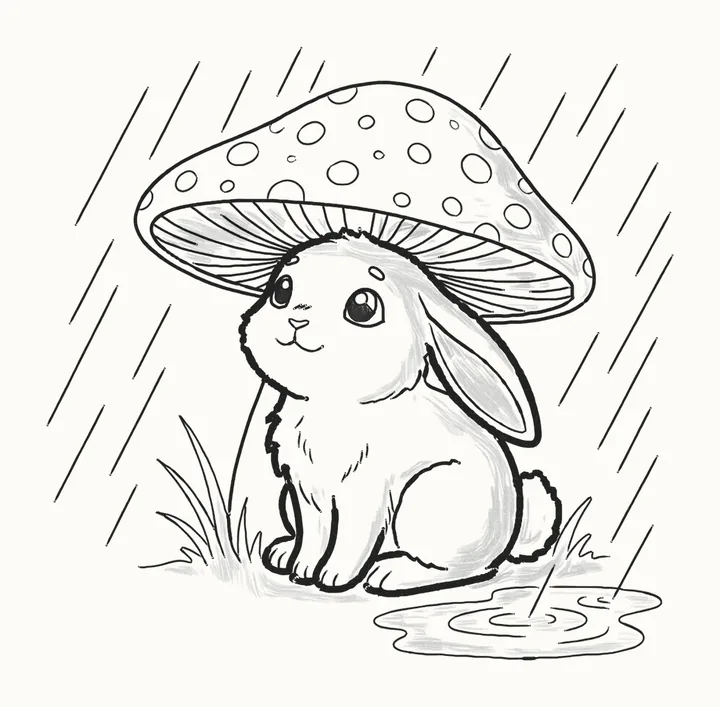
Your finished lop-eared bunny
That’s Clover! Go over any lines you want darker, then sign your drawing in the corner.
In the DrawRabbit app
Clover’s world has 9 more drawings
Every animal has a whole world of narrated drawings in DrawRabbit, each one a little story you draw with a real pencil and paper. The first drawing in every world is free.
 Free to start · iPhone and iPad
 The big leap
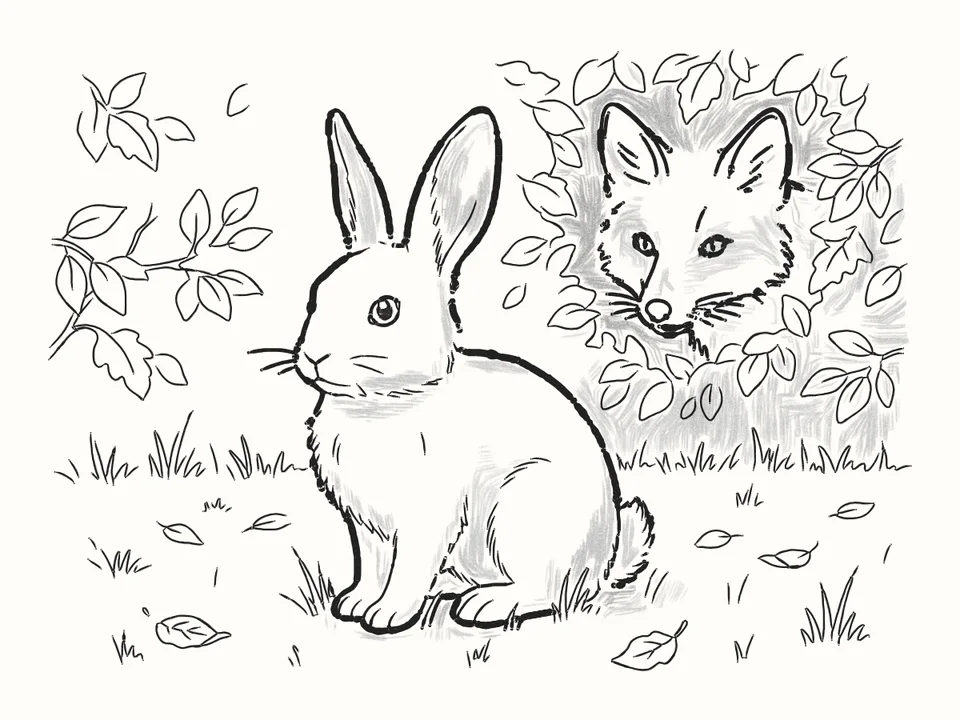 The fox in the hedge
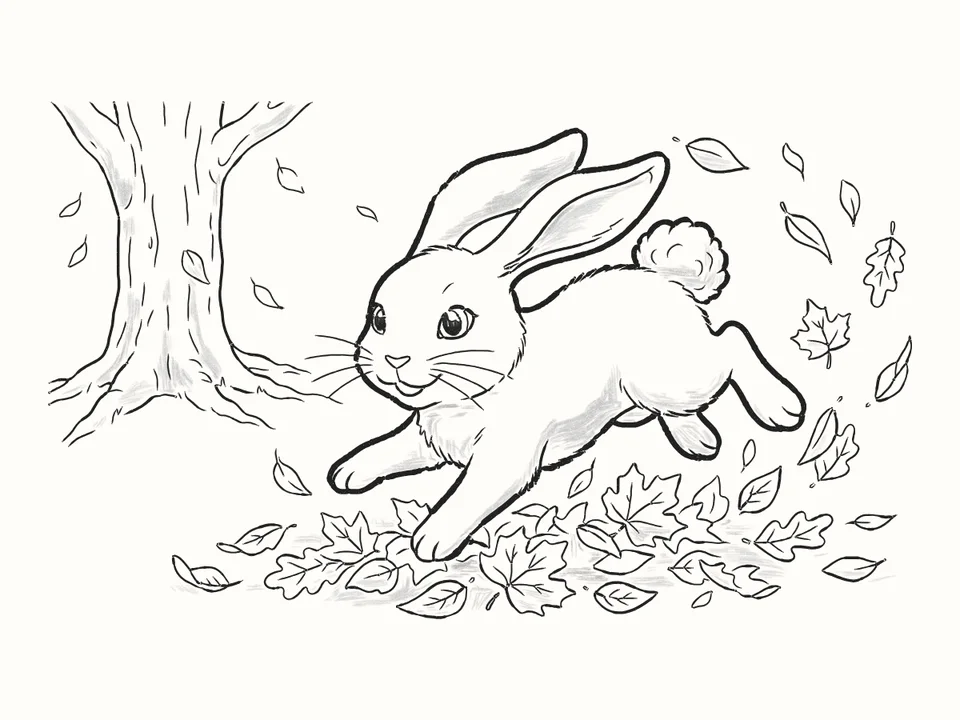 Autumn leaves
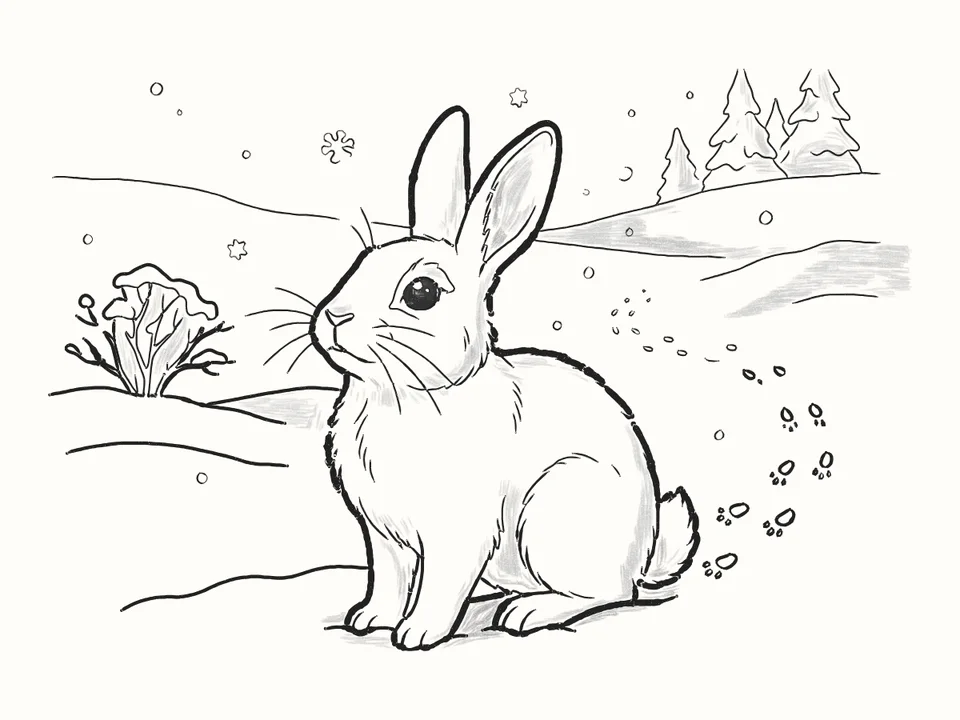 First snow
Tips for a better lop-eared bunny
An ear that hangs down
Her ear flops down the right side of her head, past the edge of her body. Draw it from the top of her head down to the round tip, and back up to her cheek.
A narrow eye and a big eye
The eye on the left is a tall, narrow oval and the eye on the right is big and round. That difference is what turns her head.
Rain all one way
Every raindrop slants the same way: light, quick lines from the top of the page down. Eleven on the left, fourteen on the right, and the last two fall right into the puddle.
Light from the top left
So the shadows sit on the right: down the right of the cap, and on Clover where the cap’s shadow falls, over the right of her head and down beside her ear. In the puddle, leave thin white streaks so the water shines.
Questions
How do I draw a floppy bunny ear?
Start with one long, thin oval hanging down the right side of her head, from the top right of the head circle to past the edge of her body. Draw down its outside edge to the round tip and back up its front edge to her cheek, then a long loop inside it. Under the ear, a zigzag of fur for the bottom of her cheek.
What do I need?
A pencil, paper and an eraser. Draw the first steps lightly: the guide lines are rubbed out in step 21. The toadstool comes after that, drawn round her head and ear, so it needs no guides.
How do I draw a toadstool?
A wide dome for the cap, far wider than Clover, then the rim along its bottom edge. Fan the gills out under the cap, each from the rim in to her head, and put round spots on top, big and small, with the ones at the edges cut off. One line is all that shows of the stem.
Can kids draw it?
Yes. It’s made for beginners of any age. If reading the steps is hard, the draw-along talks you through each line while it draws.
What is DrawRabbit?
A drawing app for iPhone and iPad: narrated, step-by-step lessons you follow with a real pencil and paper. 95 drawings in 10 worlds, free to start, no account needed.
Keep drawing · Next guide
How to draw a fox and a rabbit
A rabbit and a fox in 69 steps
Start drawing