 DrawRabbit
Drawing guide · Fishes
How to draw a goldfish
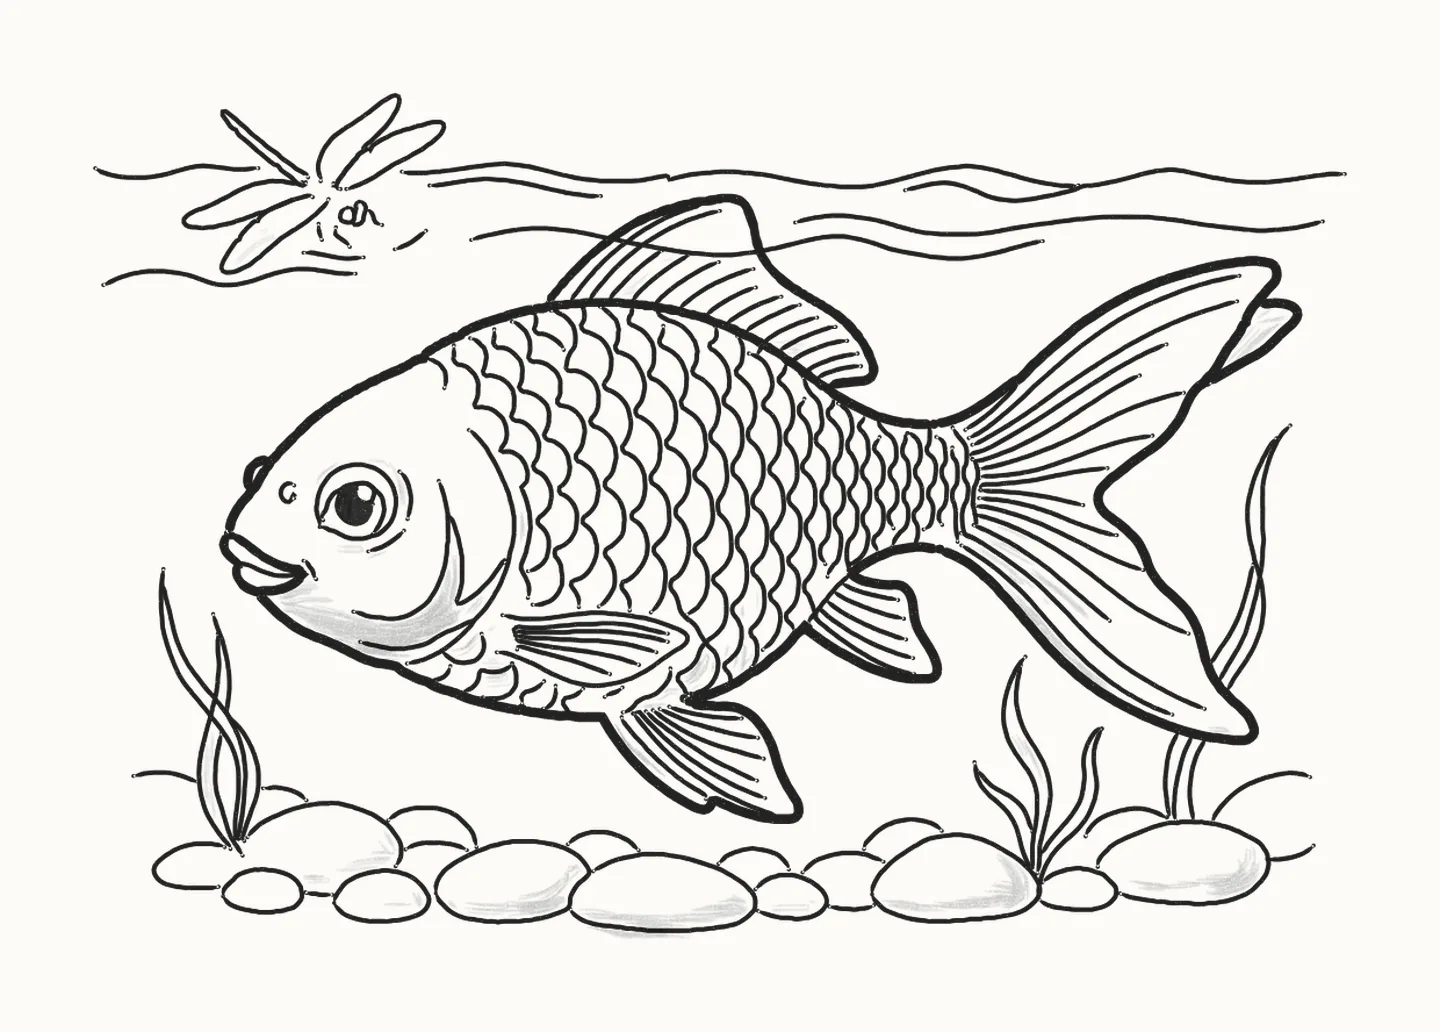
Pip has left the pond and is swimming down a clear stream. In 45 steps you’ll draw a goldfish with a big round eye, flowing fins and rows of scales, using a pencil and paper: an oval and a circle to start, then the fins and scales, and last a dragonfly, pebbles and water weed around him.
How do you draw a goldfish?
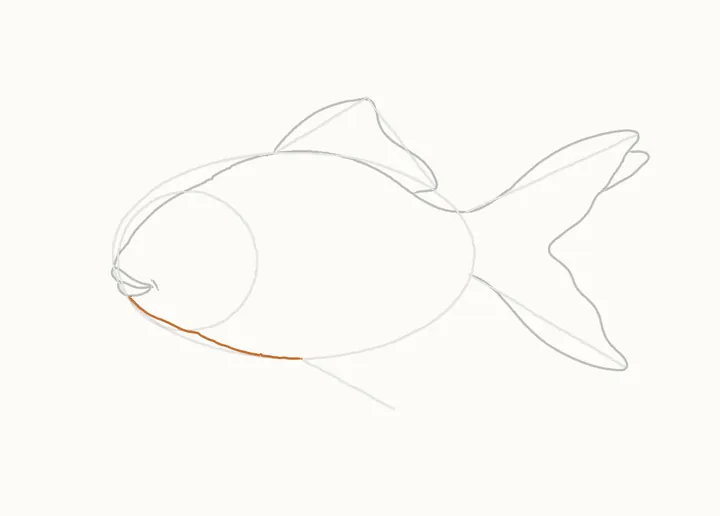
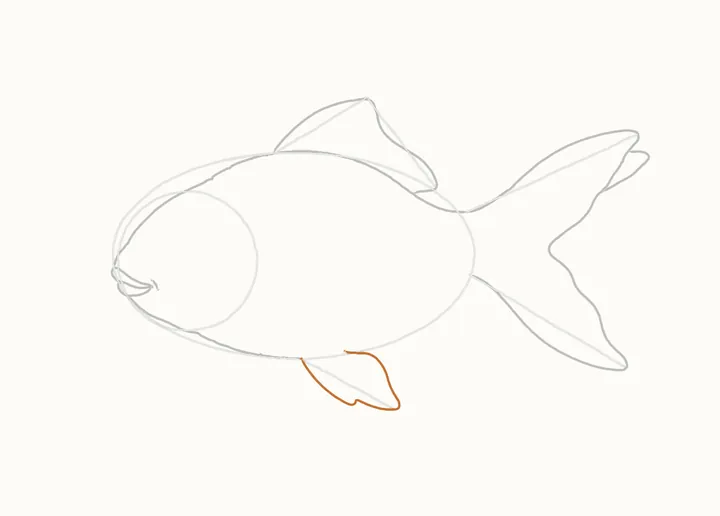
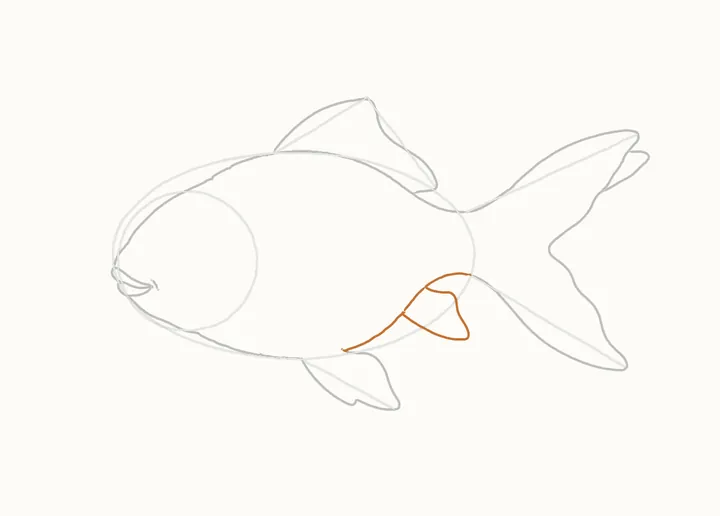
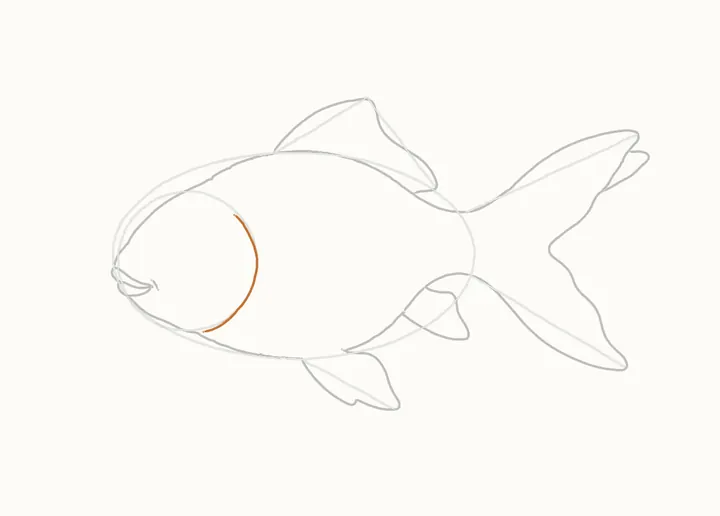
To draw a goldfish, start light: a long oval for his body and a circle inside its front end for his head, then a tent for the top fin, two lines fanning out for the tail and one slanting down for the big fin. Draw his lips, his head and back, the wavy top fin, the tail with its notch and fold, his chin and belly, the big fin underneath, the small fin, and one long curve where his head ends. Rub out the guides. Then a little bump and a nostril, his big eye with its glint and pupil, his cheek and the side fin. Fill his body with scales like roof tiles, row by row back to the tail, and draw thin lines on every fin and the tail. Around him, a dragonfly skimming over the water, the water’s surface, pebbles along the stream bed, water weed swaying between them and more pebbles behind. Go over Pip’s outline only, then shade in light layers round his eye, along his cheek and belly and on his tail. Keep the stream lighter than Pip, and fill in his pupil last. It takes 45 steps with a pencil, paper and an eraser.
You need a pencil, paper and an eraser45 stepsBeginner
Draw a goldfish, step by step
In colour: what to draw nowGrey: already drawn
Draw everything in pencil, lightly at first. Save all 45 steps to Pinterest
-
Step 1 of 45Guide lines
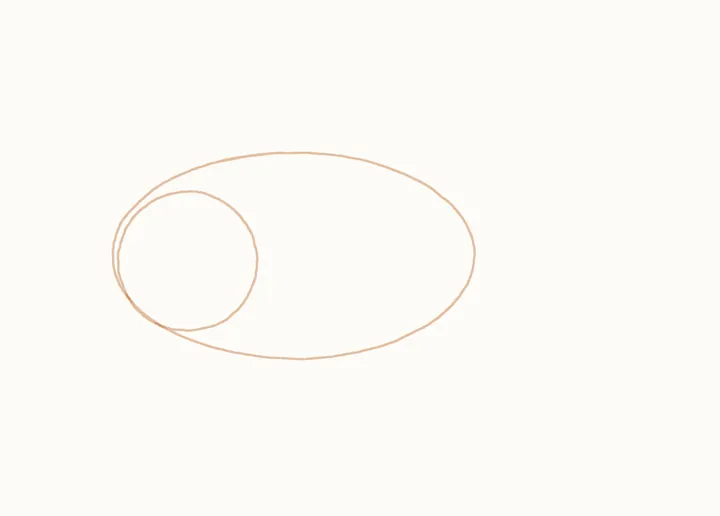
Pip's guides
Pip has left the pond and is swimming down a clear stream. Start light: a long oval for his body, and a circle inside its front end for his head.
Draw these lightly: they’re only there to help, and you’ll rub them out in step 11.
-
Step 2 of 45Guide lines
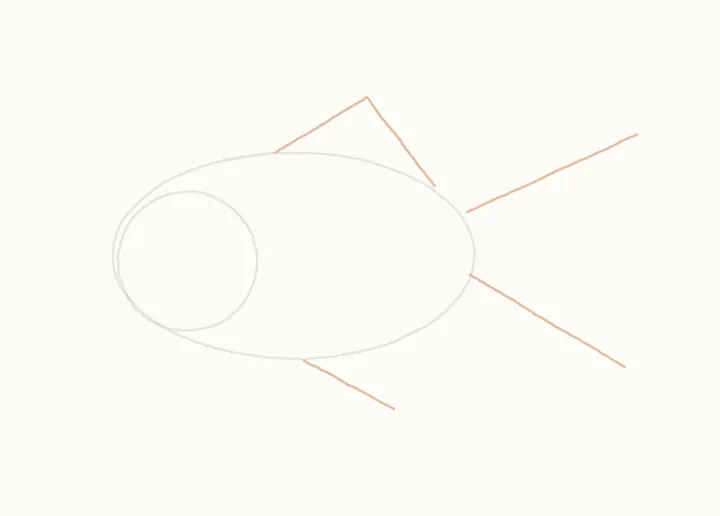
Fin and tail guides
A tent for the top fin, its peak above the oval's back third. Two lines fanning from the oval's back end for the tail, and one slanting down from its bottom for the big fin.
Draw these lightly: they’re only there to help, and you’ll rub them out in step 11.
-
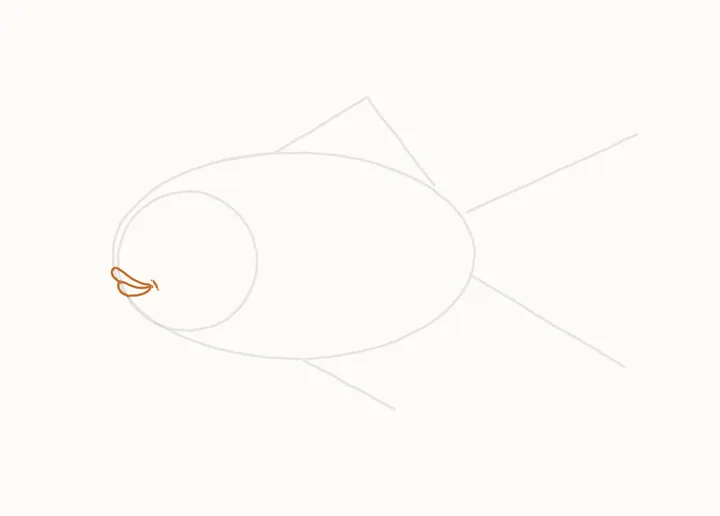
Step 3 of 45
His lips
Now the ink, at the front of the oval. His top lip is one long loop from the corner of his mouth; then the bottom lip under it, and a tiny smile line.
-
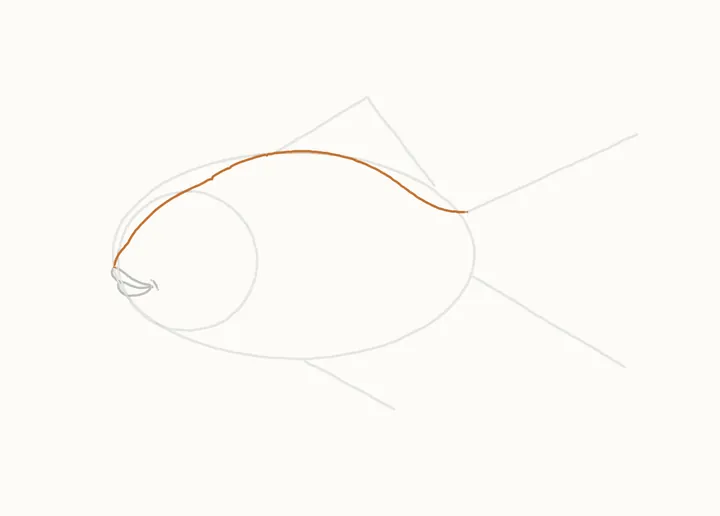
Step 4 of 45
His head and back
From the top of his lips, curve up just outside the head circle and over its top. Then along his back, just inside the top of the oval, to where the top tail line begins.
-
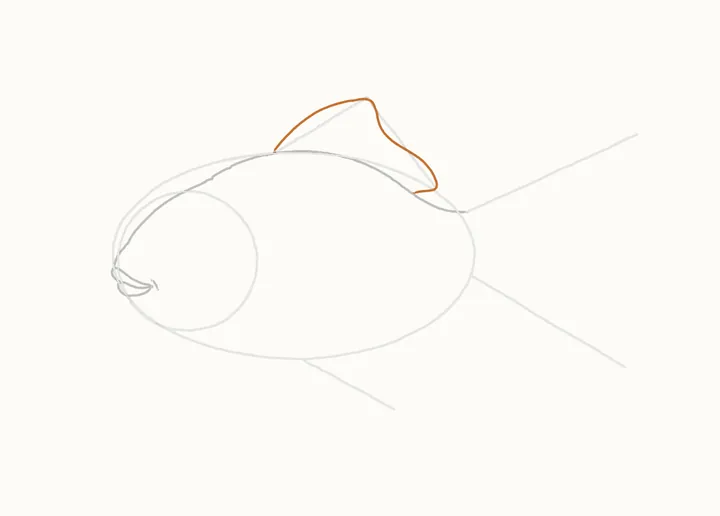
Step 5 of 45
The top fin
Now the top fin, on the tent: from its front corner on his back, up the long front edge to its point, then down its wavy back edge to his back again.
-
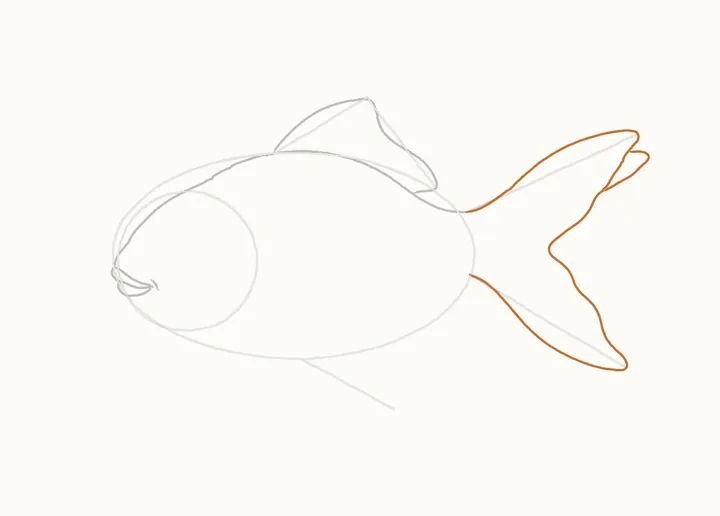
Step 6 of 45
The tail
The tail: from his back out along the top line to its point, in to the notch, out to the bottom point and back along the lower line. Then a fold under the top point.
-
Step 7 of 45
His chin and belly
From under his bottom lip, curve down under his chin and along his belly, round the bottom of the oval, to the slanting fin guide.
-
Step 8 of 45
The fin underneath
Under his belly, the big fin on its line: from the end of his belly, down its front edge, along its wavy bottom to the point, and back up under the oval.
-
Step 9 of 45
The small fin
From the back of the big fin, carry his belly lifting away inside the oval to where the low tail line starts, going round a small fin halfway. Then a short line across its top.
-
Step 10 of 45
Where his head ends
One long curve round the right side of the head circle, from near its top down to his chin.
-
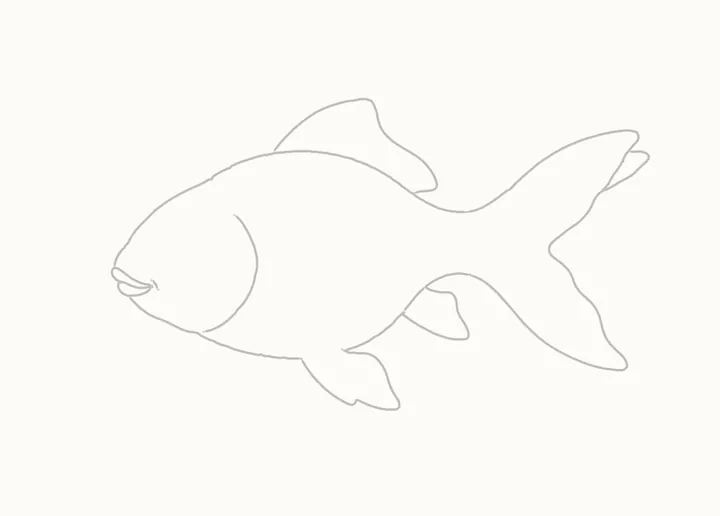
Step 11 of 45
Erase the guides
Rub out the guide shapes now, before the details go on top of them. His outline and the curve where his head ends stay.
-
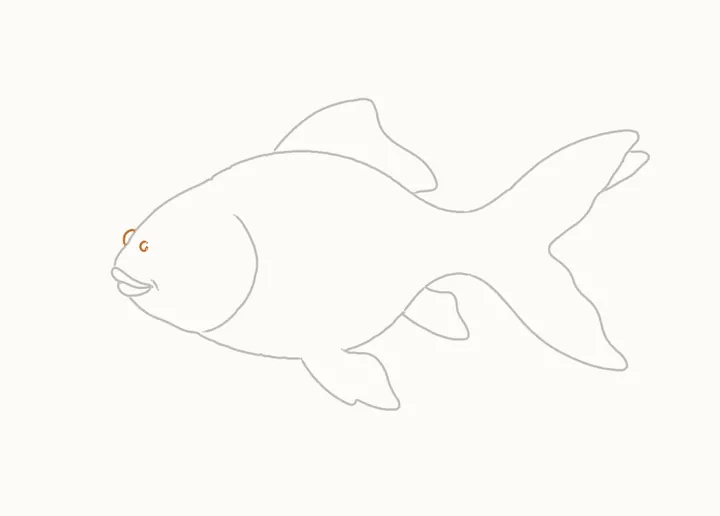
Step 12 of 45
A bump and a nostril
A little round bump on his forehead, just above his lips, and behind it a small open oval for his nostril.
-
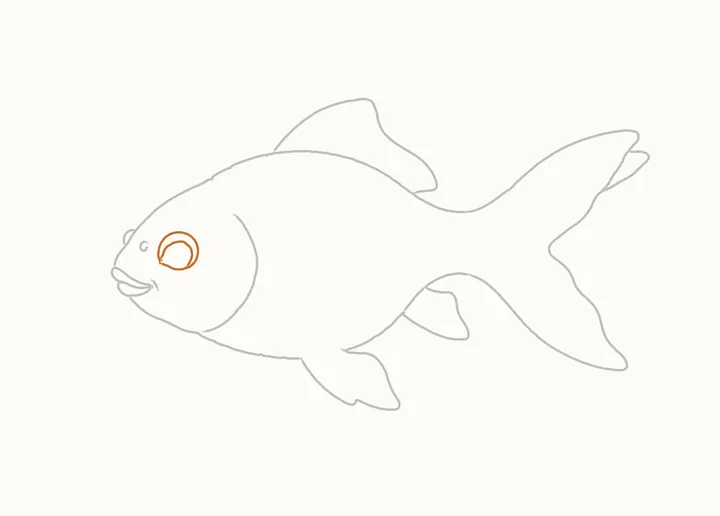
Step 13 of 45
His eye
His big eye: the outline from its pointed corner, round and back. Inside, the iris: an open ring from near that corner, up over the top and down the right side.
-
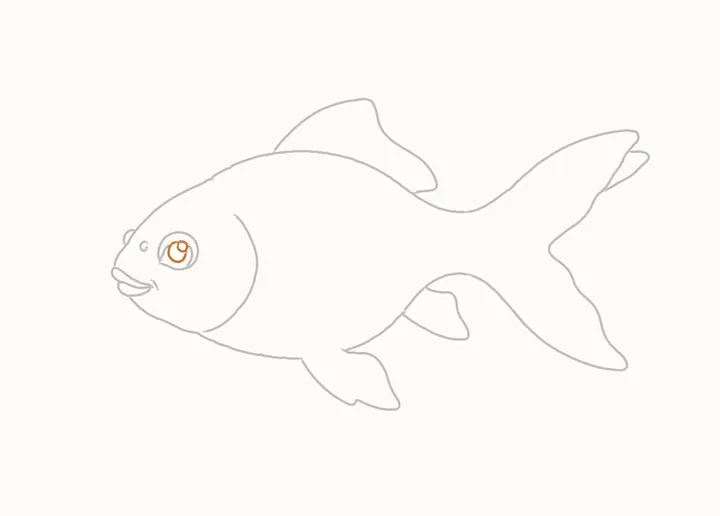
Step 14 of 45
The glint and pupil
A small glint circle at the top right of the iris. Then the pupil, from the glint's top round to the left, under and back up to the glint.
-
Step 15 of 45
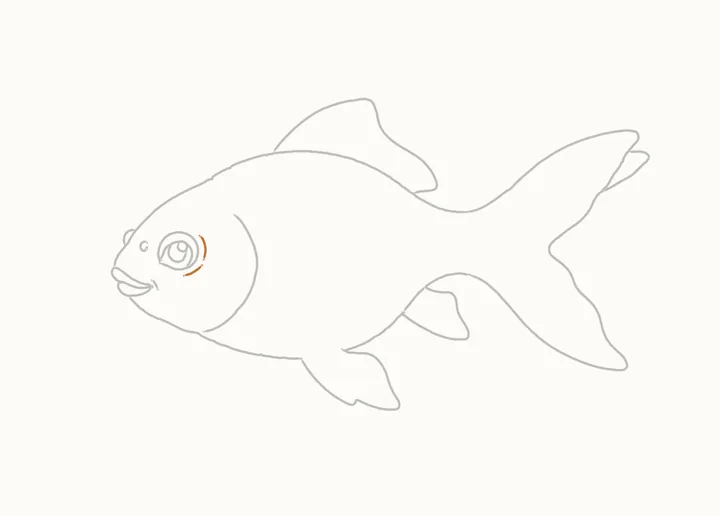
Round his eye
Two short curves just outside his eye: one down its right side, and one under it, rising to the right.
-
Step 16 of 45
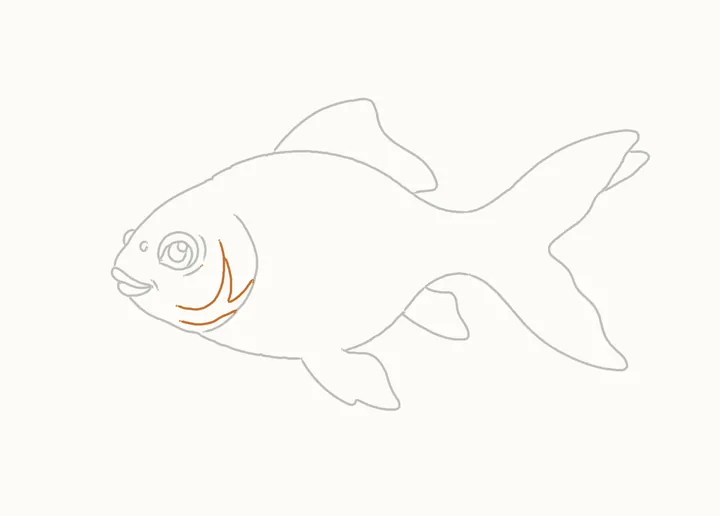
His cheek
His cheek: a curve from the eye's top right, round under the eye. Then a V from partway down it to the head's edge, and below it a line from that edge, under his cheek.
-
Step 17 of 45
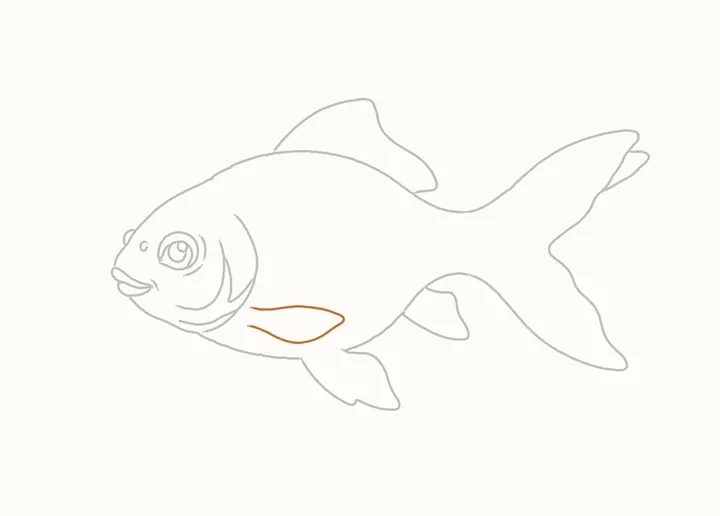
The side fin
The side fin lies across his body, starting just behind his cheek. From its front corner, along its top edge to the point, then back along its bottom edge.
-
Step 18 of 45
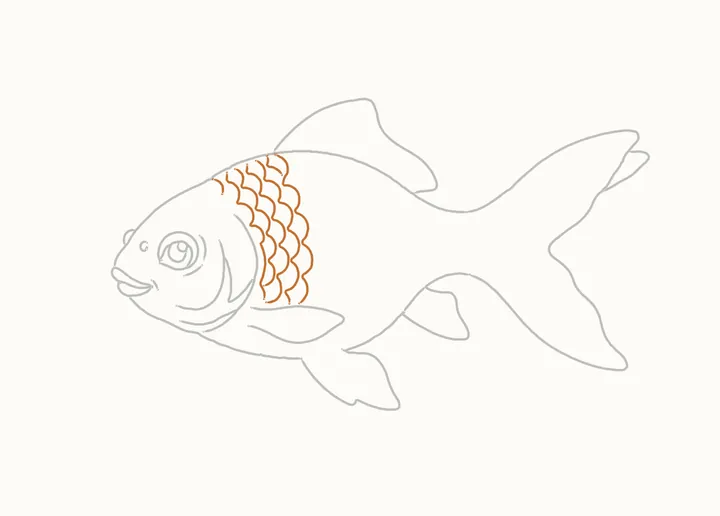
The first scales
Now the scales, like roof tiles. Behind the curve where his head ends: a short row up top, four long wavy rows down and up, a short one, then a last long one.
-
Step 19 of 45
More scales
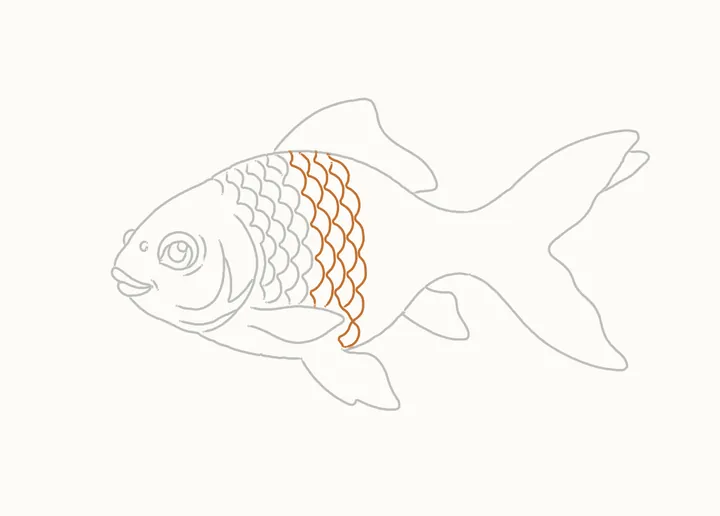
Five more rows under the front half of the top fin, down one and up the next, between his back and the side fin or his belly.
-
Step 20 of 45
Scales under the side fin
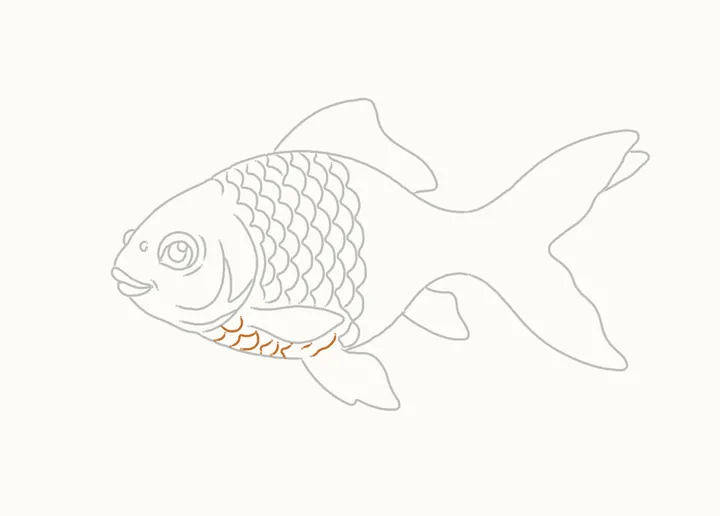
Nine little scales under the side fin, along his belly, from the front: small curves hooking down.
-
Step 21 of 45
Further back
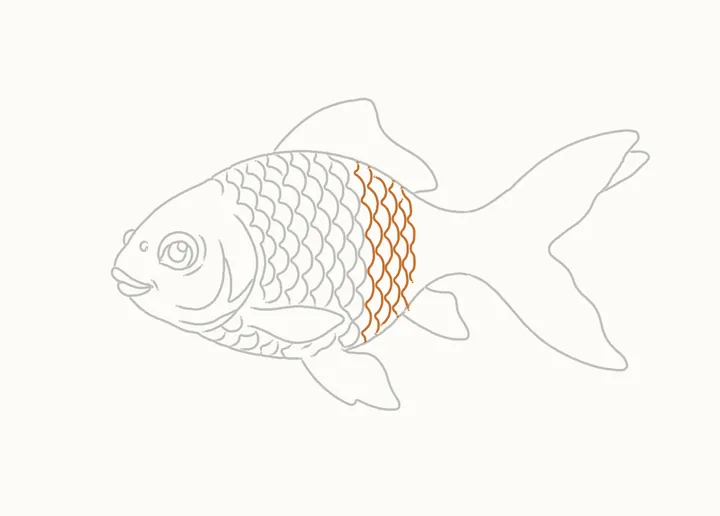
Six rows under the back half of the top fin, down and up again. His body gets narrower, so the bumps get a little smaller.
-
Step 22 of 45
The last scales
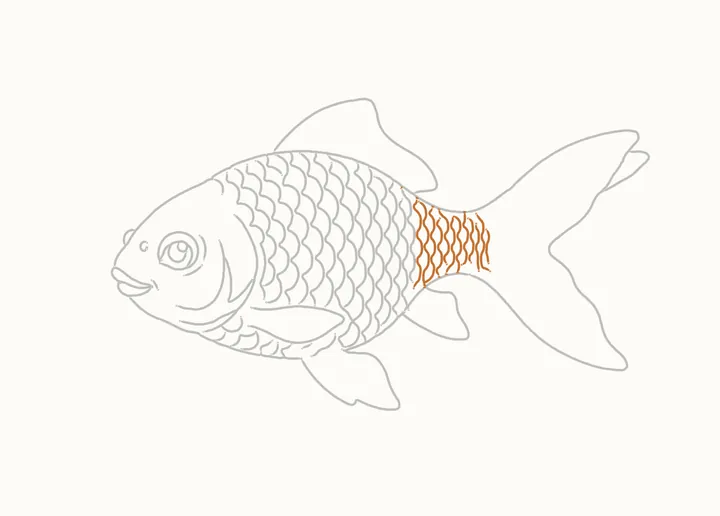
Twelve short rows of small scales, down and up, on to where the tail begins.
-
Step 23 of 45
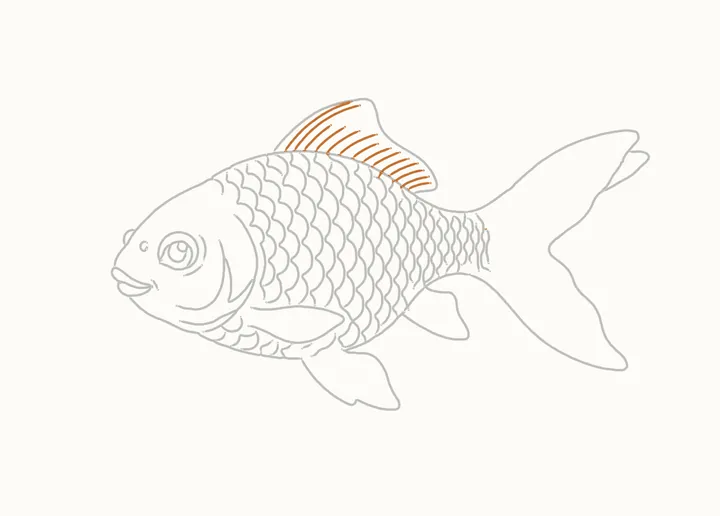
Lines on the top fin
Fourteen thin lines on the top fin, each from his back out towards its edge, the front one first.
-
Step 24 of 45
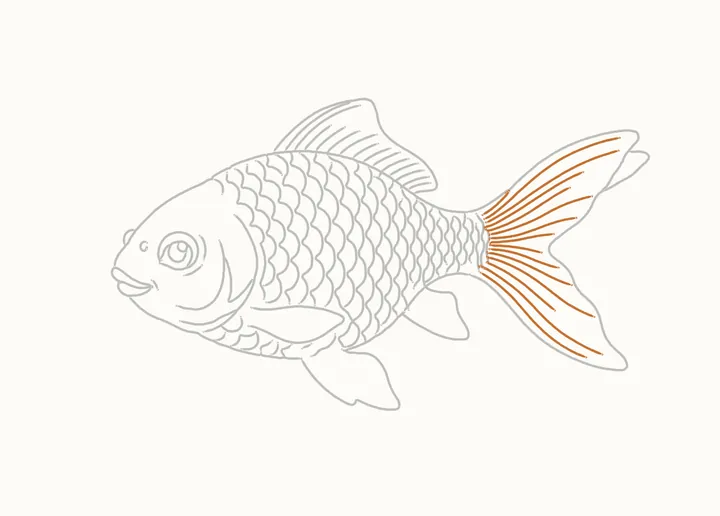
Lines on the tail
Fifteen long lines fanning out from where the tail begins, top to bottom.
-
Step 25 of 45
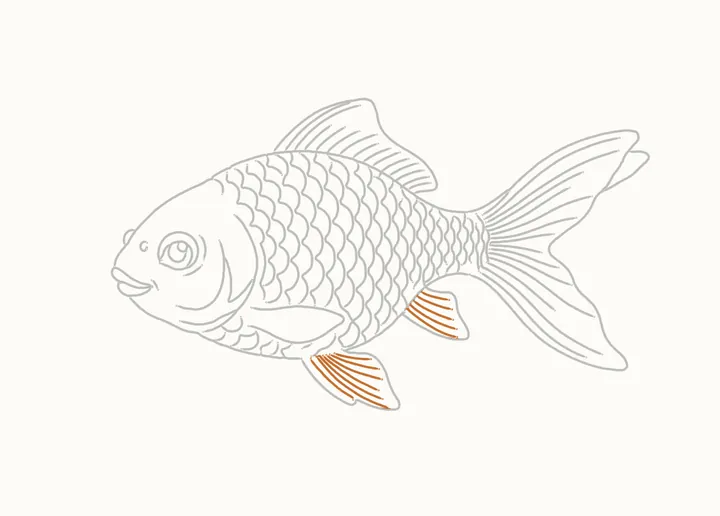
Lines on the fins underneath
Five lines across the small fin, each from where it joins him, then seven down the big fin underneath, from its front edge back.
-
Step 26 of 45
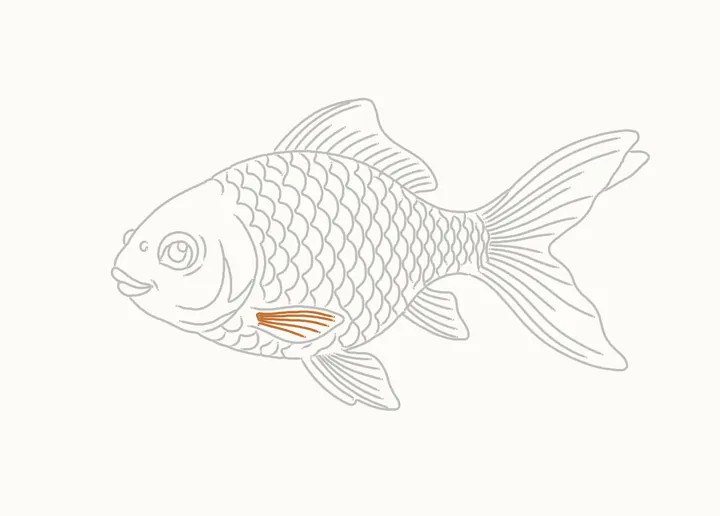
Lines on the side fin
Five lines along the side fin, each from where it joins his body out towards its point, the top one first.
-
Step 27 of 45
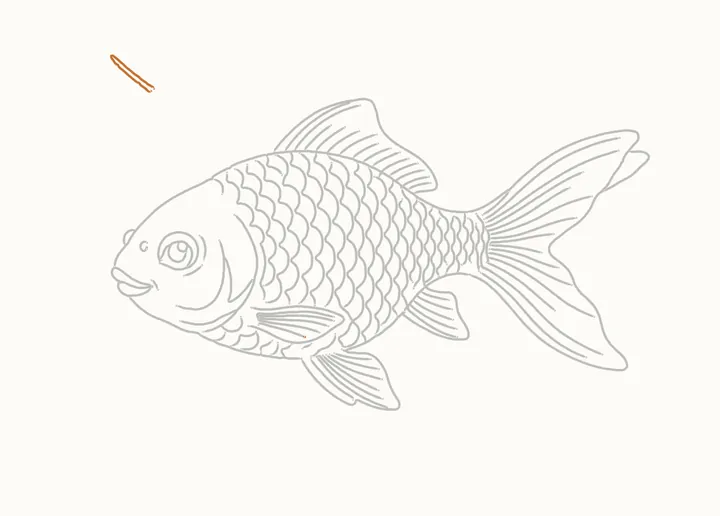
The dragonfly
Above the water at the top left, a dragonfly skims along. Its long thin body is a narrow loop from its lower right end, slanting up to the left.
-
Step 28 of 45
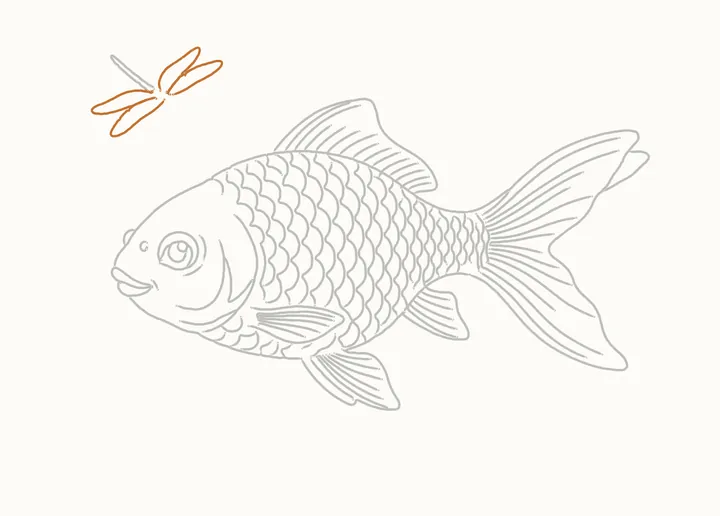
Its wings
Four wings from the body's lower right end: one up to the right and one out to the right, then one out to the left under the body and one down to the left.
-
Step 29 of 45
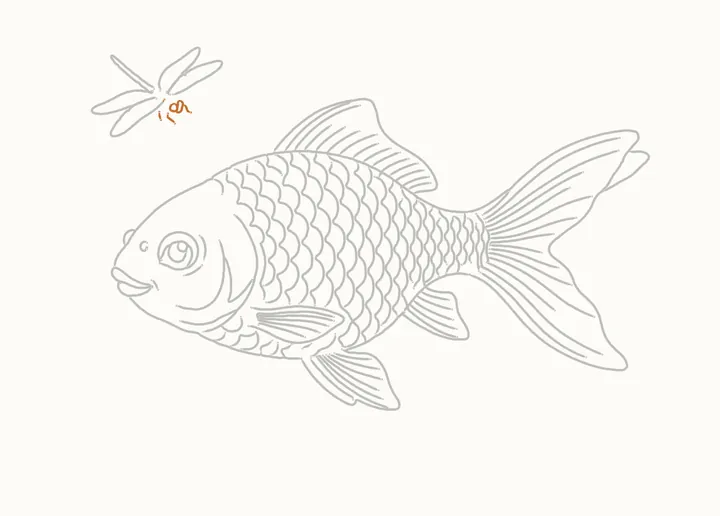
Its eyes and legs
At the dragonfly's lower right end, two little round eyes side by side. Then three thin legs: two hanging under its body, and one from the second eye's side.
-
Step 30 of 45
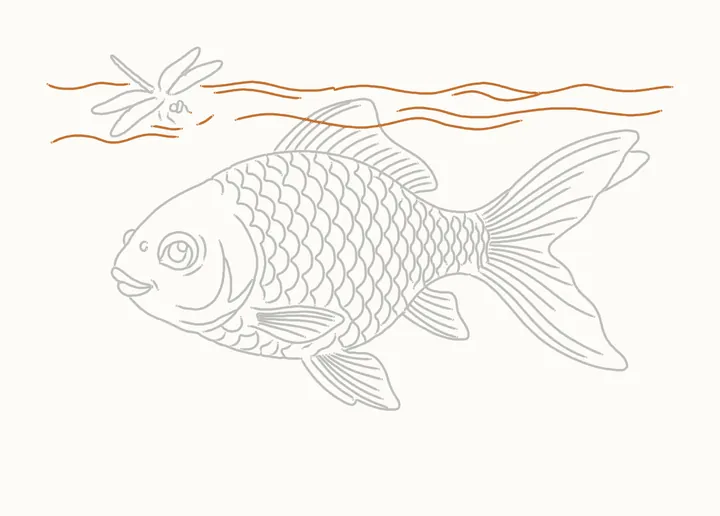
The water's surface
The surface: two wavy lines on top from the left, a short one under the second, a third to the right. Lower: a line at the left, two ripples under the dragonfly, two lines right.
-
Step 31 of 45
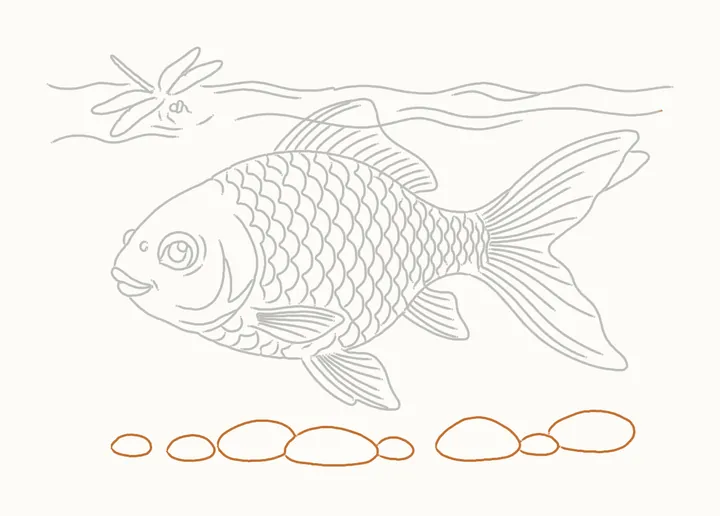
Pebbles in front
The stream bed. Eight smooth pebbles along the bottom, left to right, each a soft round loop; where one sits against the one before, start and stop on that pebble's edge.
-
Step 32 of 45
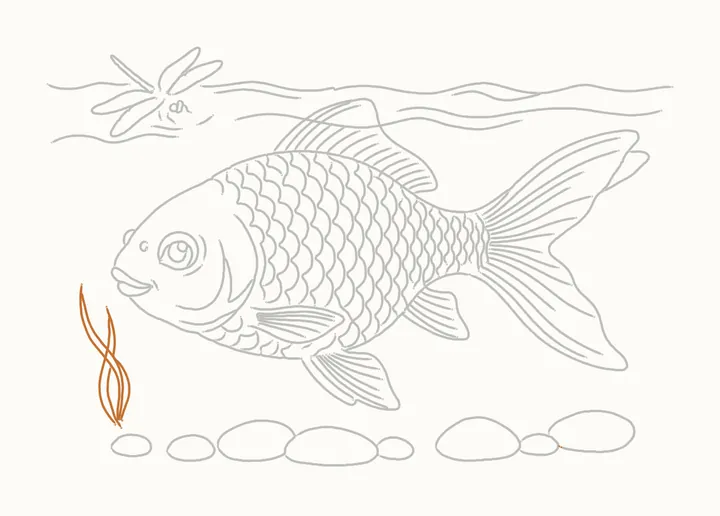
Weed on the left
Water weed grows up between the pebbles. On the left, five long strands that cross as they sway, each from its foot up to its tip.
-
Step 33 of 45
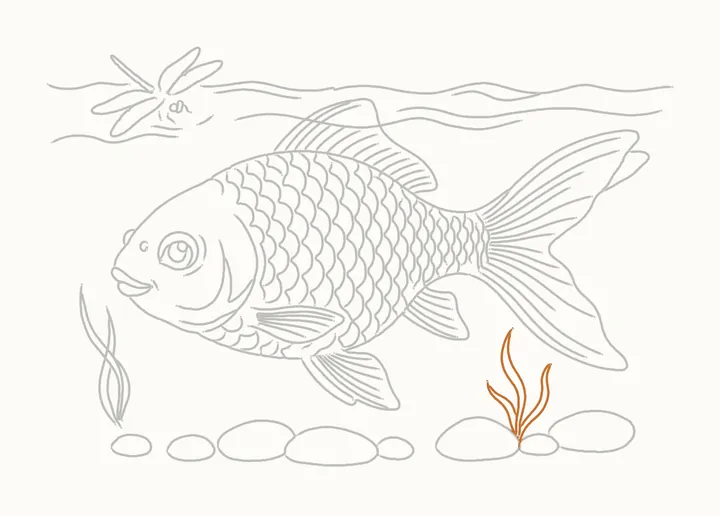
Weed in the middle
Under the tail, three blades of weed from one root, left to right: a short one leaning left, a tall one, one curling right. Draw each as its two edges, root to tip.
-
Step 34 of 45
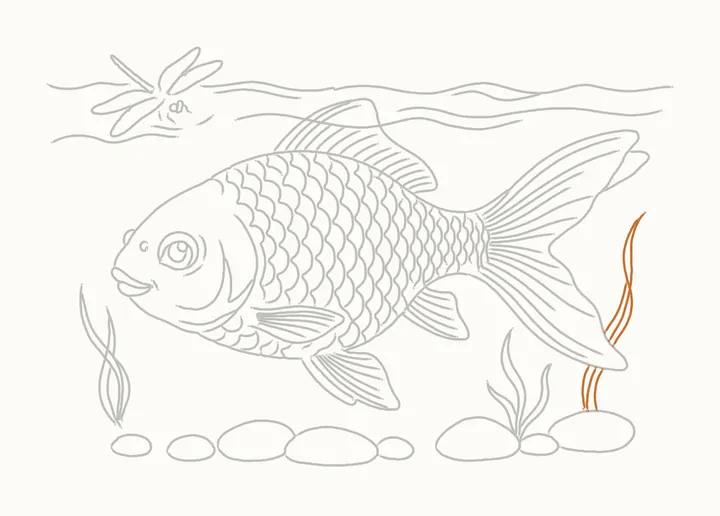
Strands behind the tail
From the big pebble on the right, three short strands go up to the tail. Above it, two long strands crossing as they climb to their tips, then a short one leaning in to them.
-
Step 35 of 45
Pebbles behind
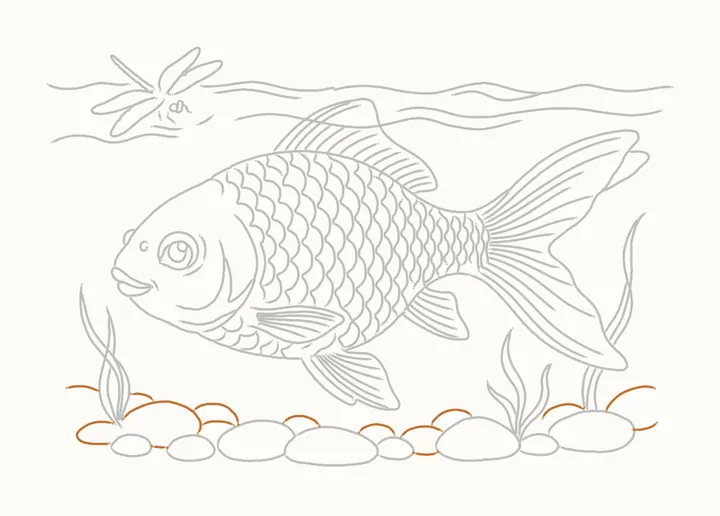
The stream bed behind, left to right: a short line at the far left, half a pebble above the others, twelve pebble curves peeping over and between the front ones, two lines at the right.
-
Step 36 of 45
Go over his lips and bump
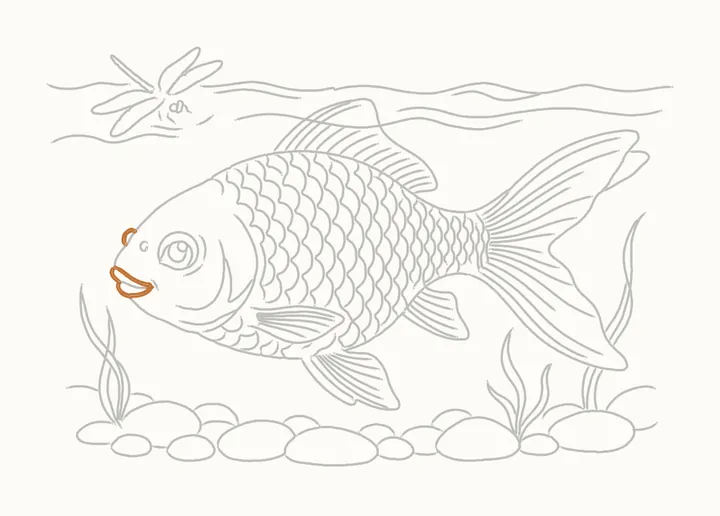
Now press harder, on Pip only: round his lips from their front to the corner, then the little bump on his forehead. The tiny smile line stays light.
-
Step 37 of 45
Go over his head and back
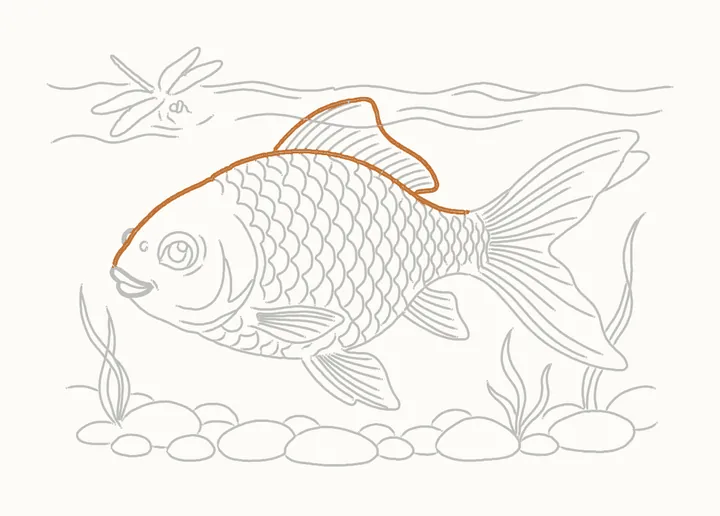
From the front of his lips, up over his head and along his back, then over the top fin from its back end.
-
Step 38 of 45
Go over his tail
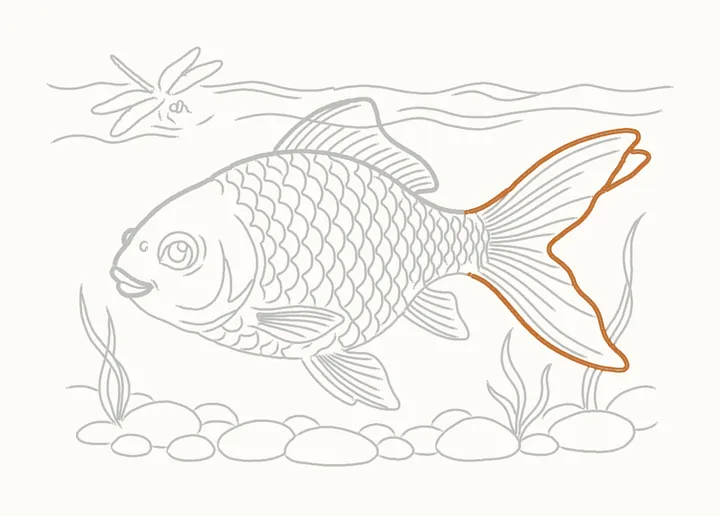
Then the little fold under the tail's top point. Then from where his back ends, round the tail to the bottom of its root.
-
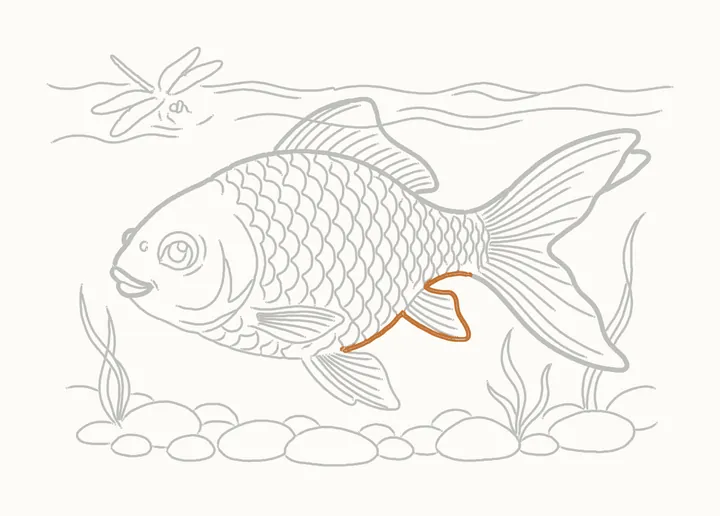
Step 39 of 45
Go over his belly
From the bottom of the tail's root, back along his belly and round the small fin, to the big fin.
-
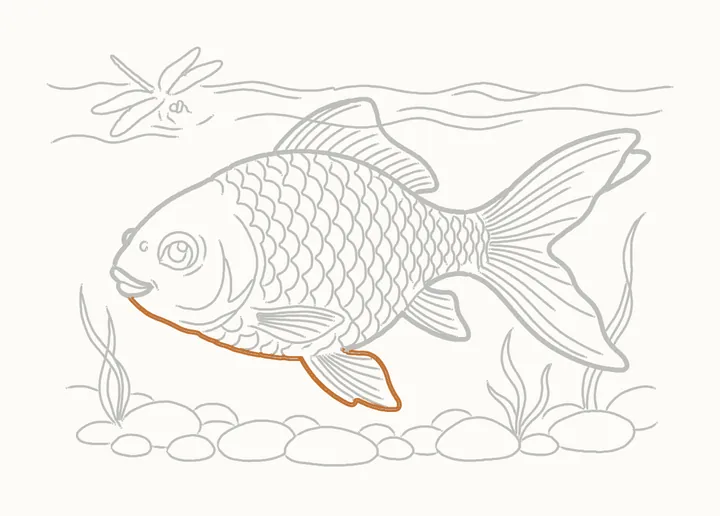
Step 40 of 45
Go over the big fin and chin
Then round the big fin underneath and along his chin to his lips. The scales and fin lines stay lighter.
-
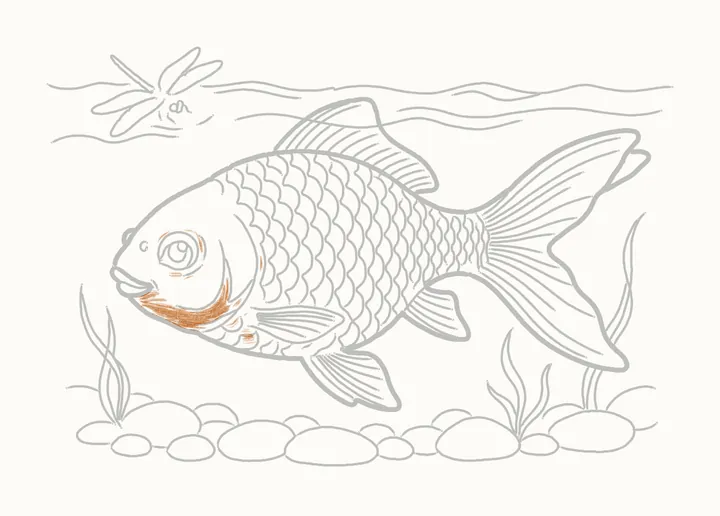
Step 41 of 45
Shading his head
Shading now, in light layers: soft tones round the top of his eye and under it, a band along his cheek, and a strip behind the curve where his head ends, darker at its foot.
-
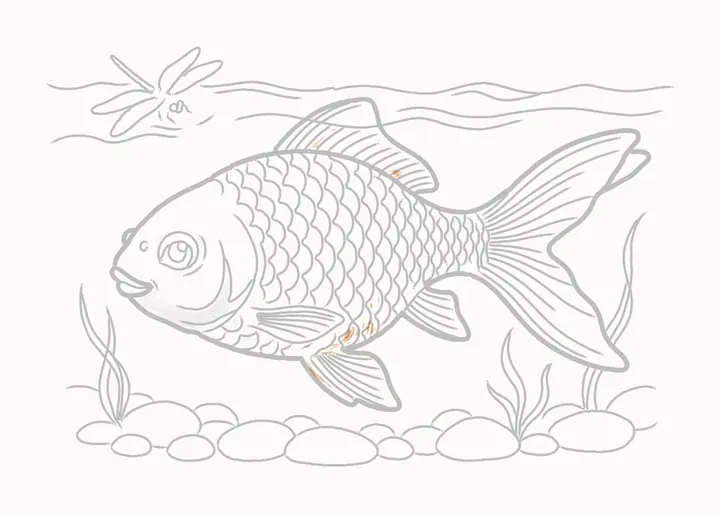
Step 42 of 45
Shading his body
On his body: a touch in the top fin, soft patches along his belly between the two fins, and a darker line down the front edge of the big fin underneath.
-
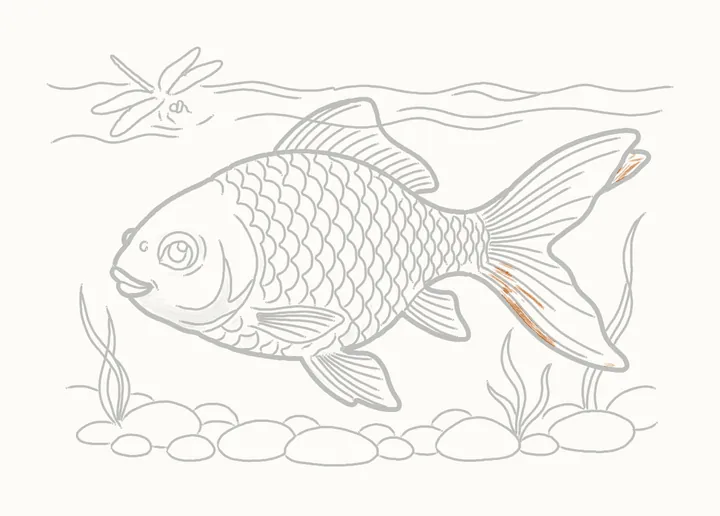
Step 43 of 45
Shading his tail
On the tail: a tone in the flap behind the top point, long streaks along its lower half, and a touch at the bottom point.
-
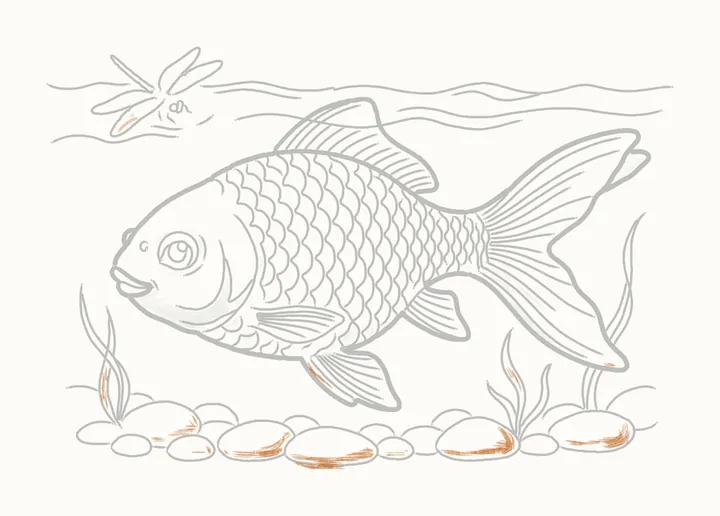
Step 44 of 45
Shading the stream
The stream stays lighter than Pip, so he stands out: a touch on the dragonfly's lower wing, down one side of each weed, and along the bottom of each pebble.
-
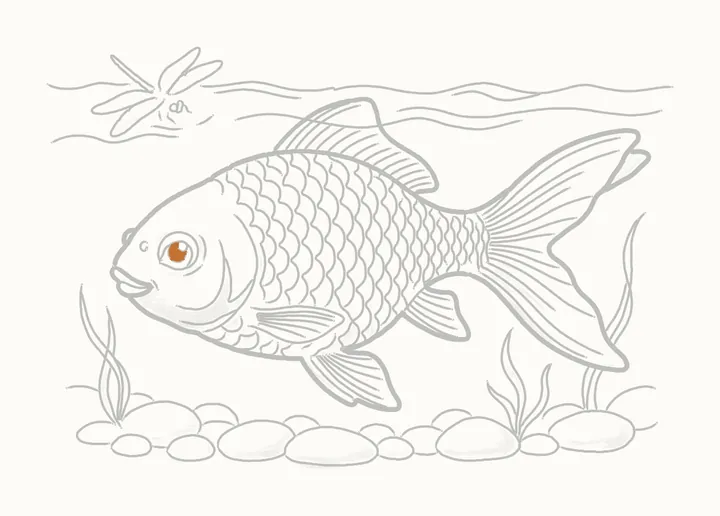
Step 45 of 45
The darks
Last of all, fill in Pip's pupil, leaving the glint white.
-
Finished
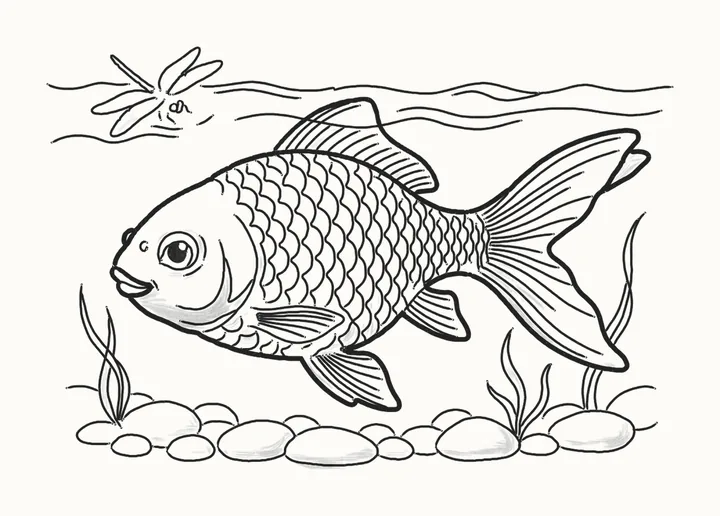
Your finished goldfish
That’s Pip! Go over any lines you want darker, then sign your drawing in the corner.
In the DrawRabbit app
Pip’s world has 9 more drawings
Every animal has a whole world of narrated drawings in DrawRabbit, each one a little story you draw with a real pencil and paper. The first drawing in every world is free.
 Free to start · iPhone and iPad
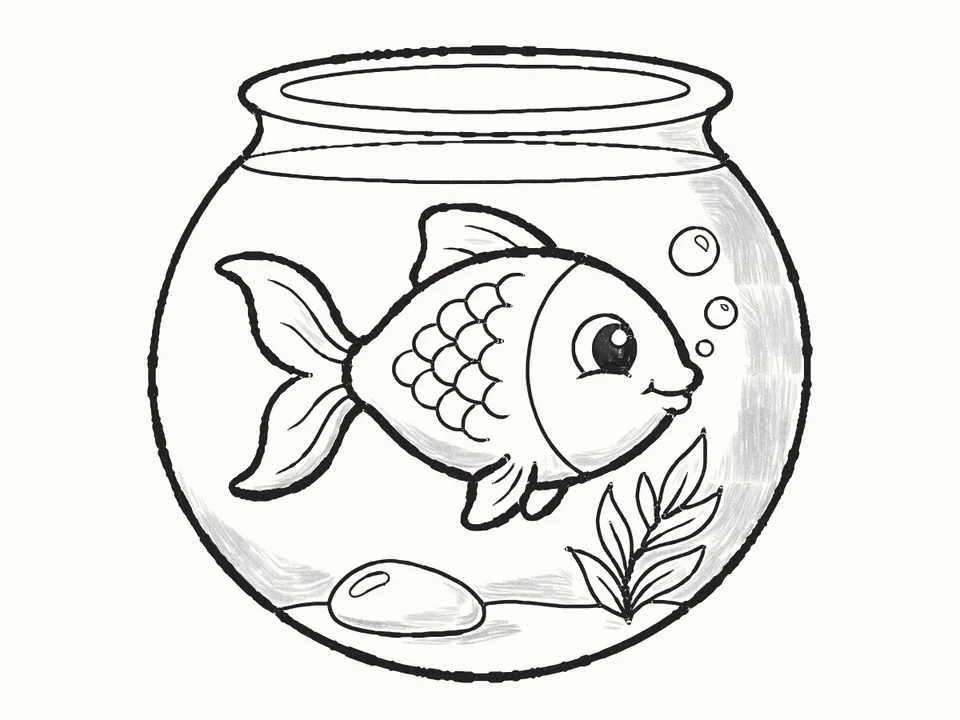 The fishbowl
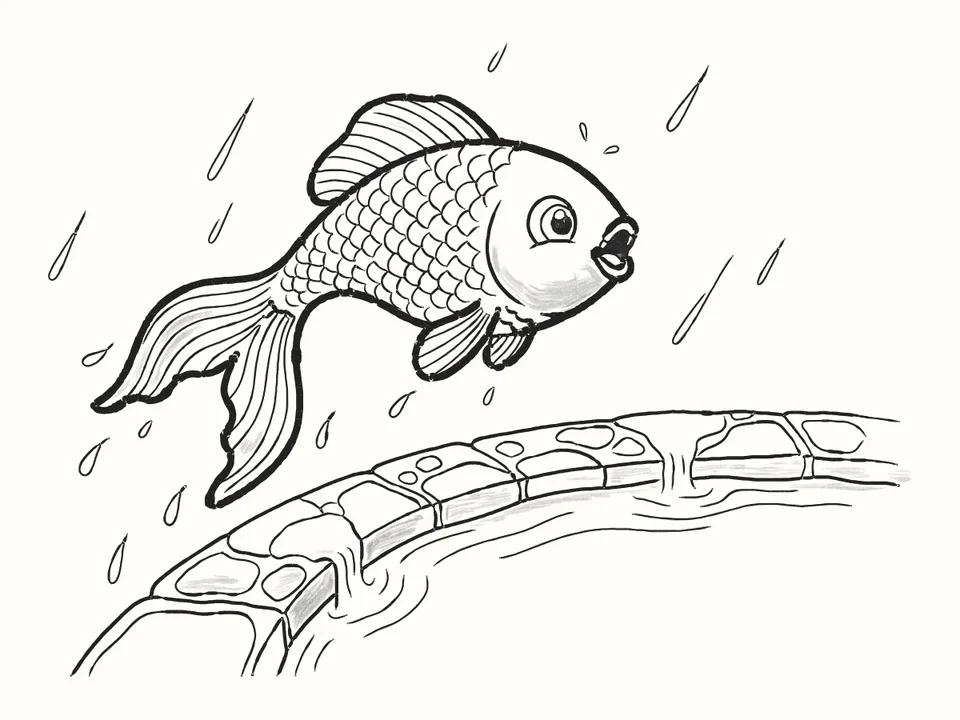 Over the edge
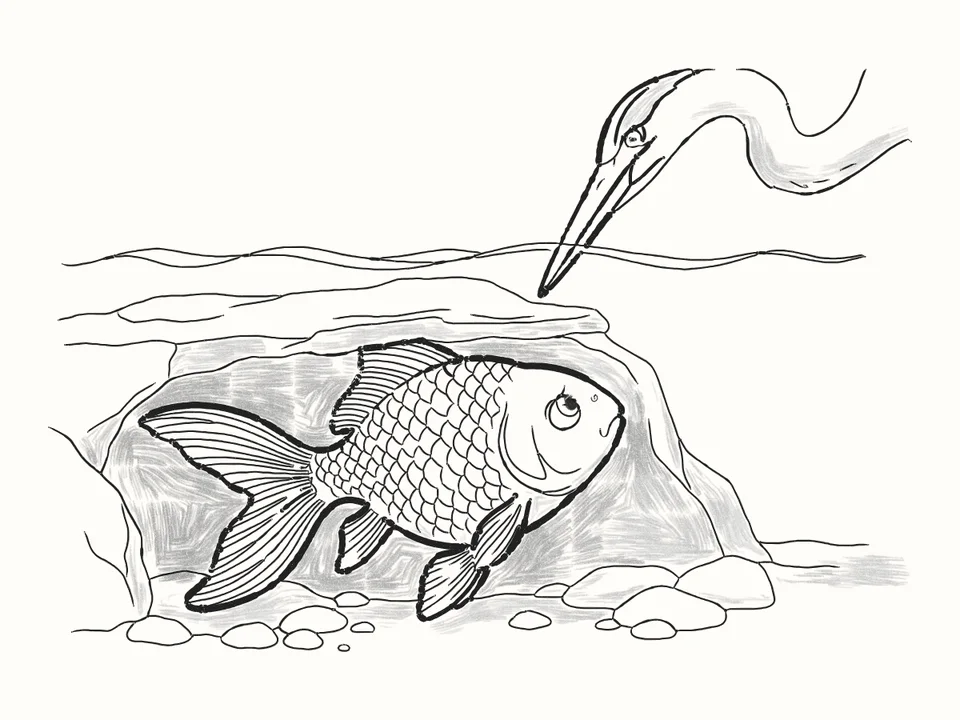 The heron
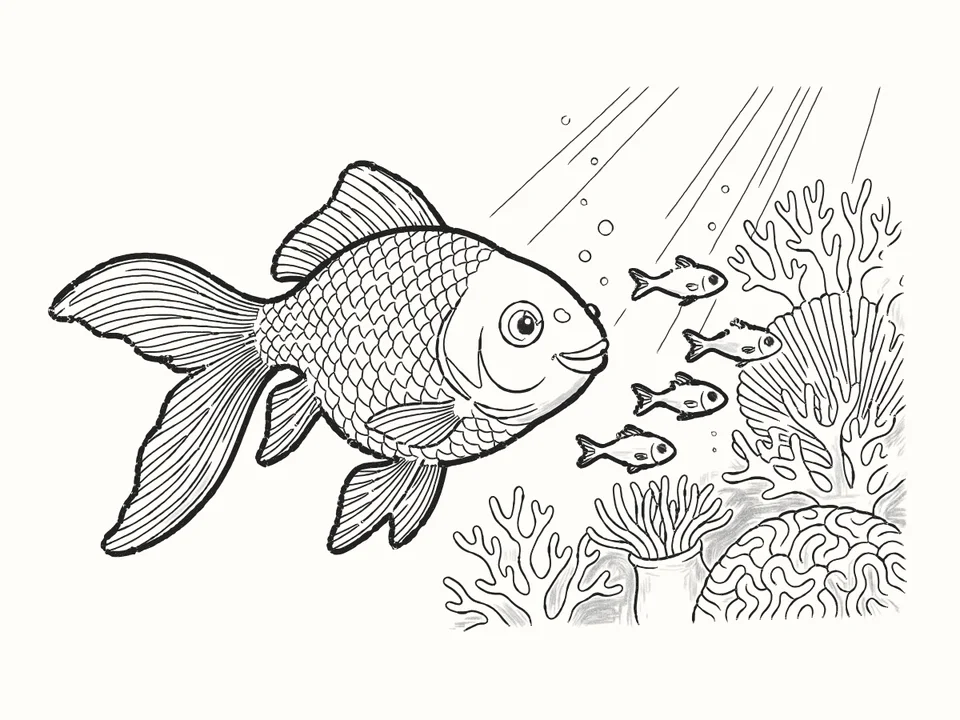 The reef
Tips for a better goldfish
Rub out early
The guides go in step 11, as soon as his outline is drawn. Then the eye, the scales and the fin lines go on clean paper, and nothing you draw later gets rubbed away.
Scales like roof tiles
Wavy rows, down one and up the next, from behind his head back to the tail. Each row’s bumps get a little smaller as his body narrows.
Thin lines on every fin
Each line runs from where the fin joins him out towards its edge: fourteen on the top fin, fifteen on the tail, then the fins underneath and the side fin.
The stream stays lighter
Press harder only on Pip’s outline, and keep the scales, the fin lines and the stream light, so he stands out.
Questions
How do I draw goldfish scales?
Like roof tiles: wavy rows, down one and up the next, starting just behind the curve where his head ends and working back to the tail. His body gets narrower towards the tail, so the bumps get a little smaller as you go.
What do I need?
A pencil, paper and an eraser. Draw the first steps lightly: the guide lines are rubbed out in step 11, before the eye and the scales go on.
How do I draw a goldfish tail?
Start with two lines fanning out from the back of the body oval. Draw out along the top line to its point, in to the notch, out to the bottom point and back along the lower line, then a little fold under the top point. Fifteen long lines fanning out from where the tail begins finish it.
Can kids draw it?
Yes. It’s made for beginners of any age. If reading the steps is hard, the draw-along talks you through each line while it draws.
What is DrawRabbit?
A drawing app for iPhone and iPad: narrated, step-by-step lessons you follow with a real pencil and paper. 95 drawings in 10 worlds, free to start, no account needed.
Keep drawing · Next guide
How to draw a fish in water
A fish hiding underwater in 54 steps
Start drawing