 DrawRabbit
Drawing guide · Foxes
How to draw a fox face
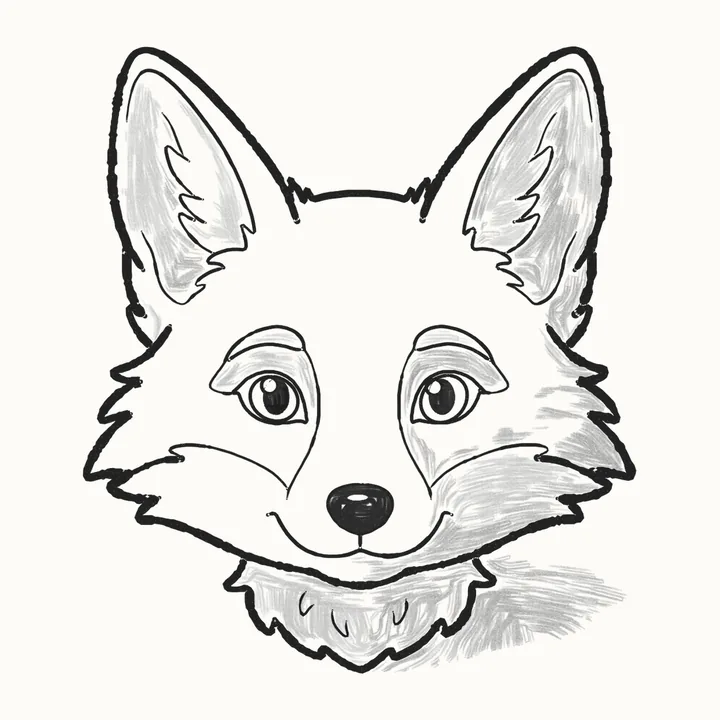
This is Rusty, face on. In 23 easy steps you’ll draw a cute fox face with big pointed ears, fluffy cheeks and a fluffy ruff, using a pencil and paper: a few rough shapes to start, then the fur tuft by tuft, then soft shading.
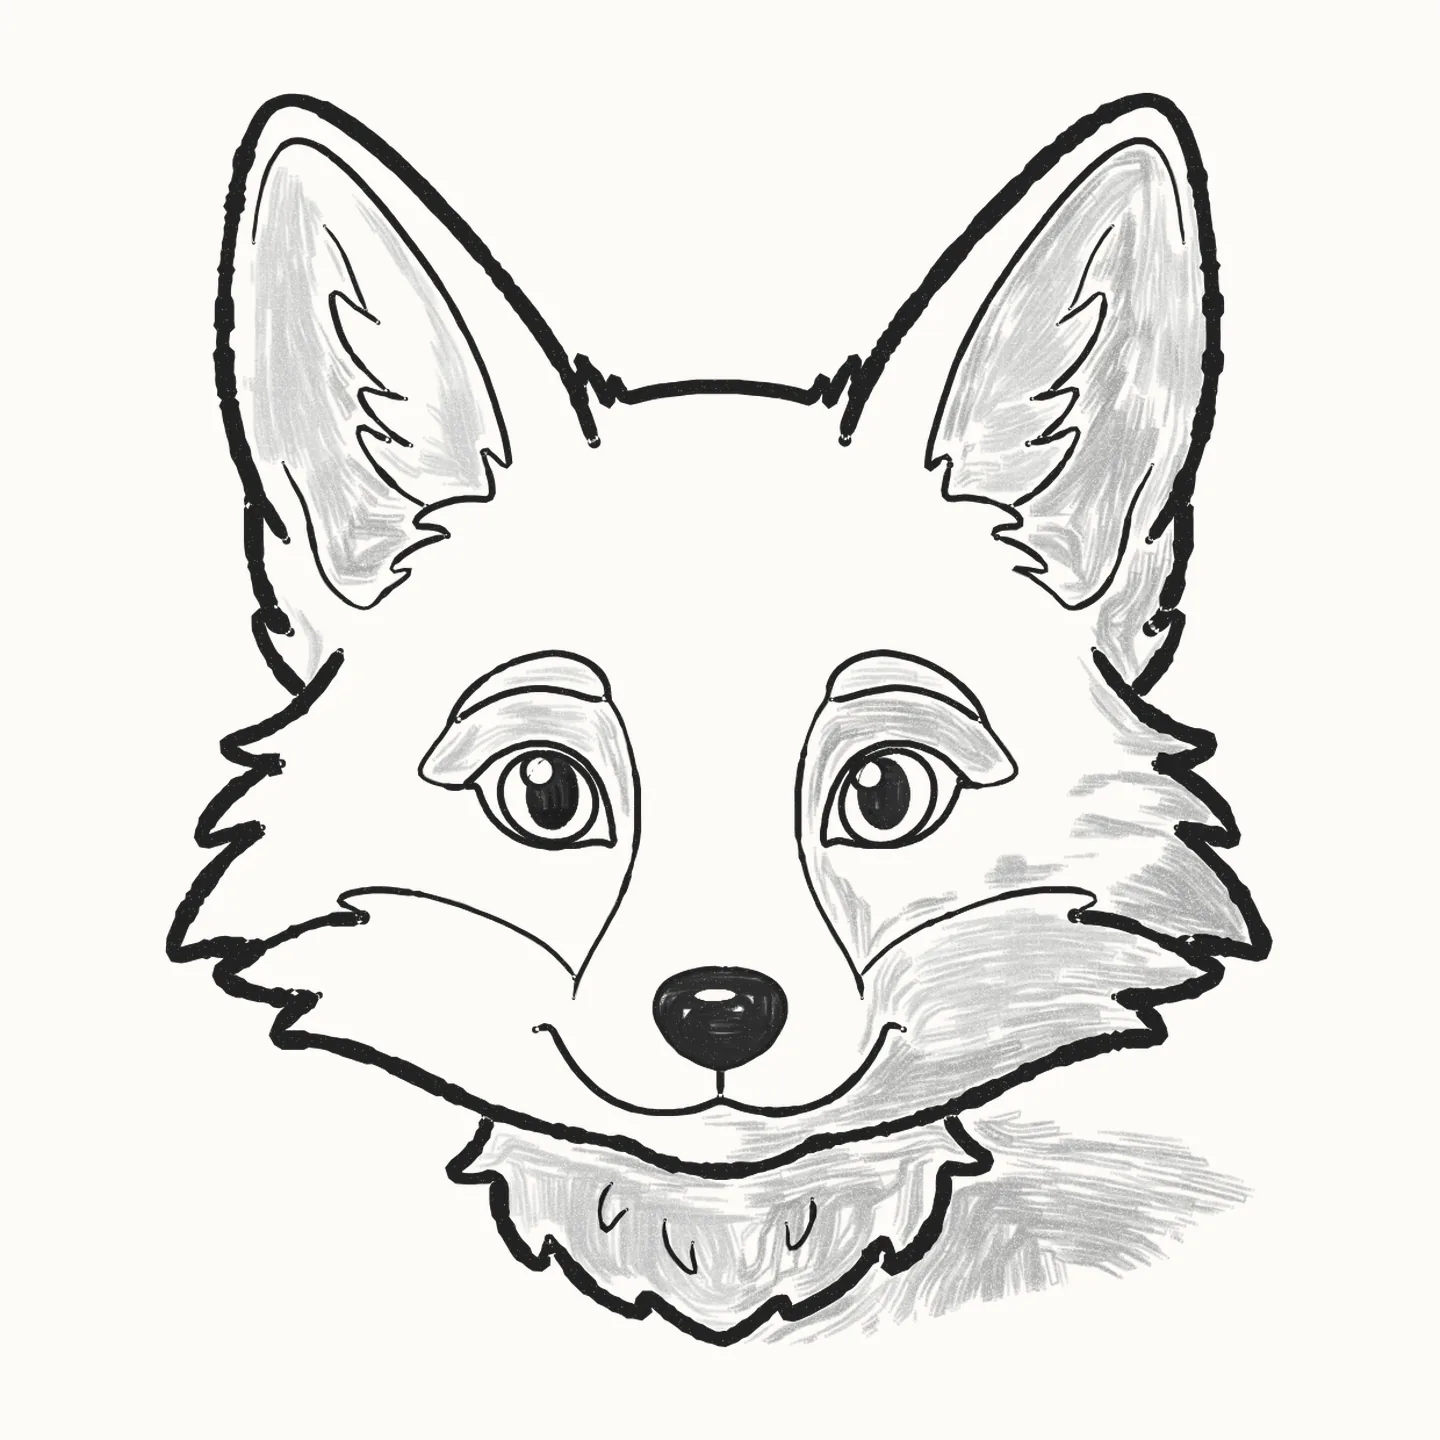
How do you draw a fox face?
To draw a fox face, start light with rough shapes: a big oval for the head, a line down the middle and a line across where the eyes go, then a tall triangle for each ear, a small muzzle oval, a pointed cheek shape each side and a shield below for the ruff. Draw the ears, the top of the head, the eyes on the eye line, the brows, the nose and smile, the cheeks, the fur up each side and the ruff. Rub out the guides, go over the outline and shade softly, with the light from the left. It takes 23 steps with a pencil, paper and an eraser.
You need a pencil, paper and an eraser23 stepsBeginner
Draw a fox face, step by step
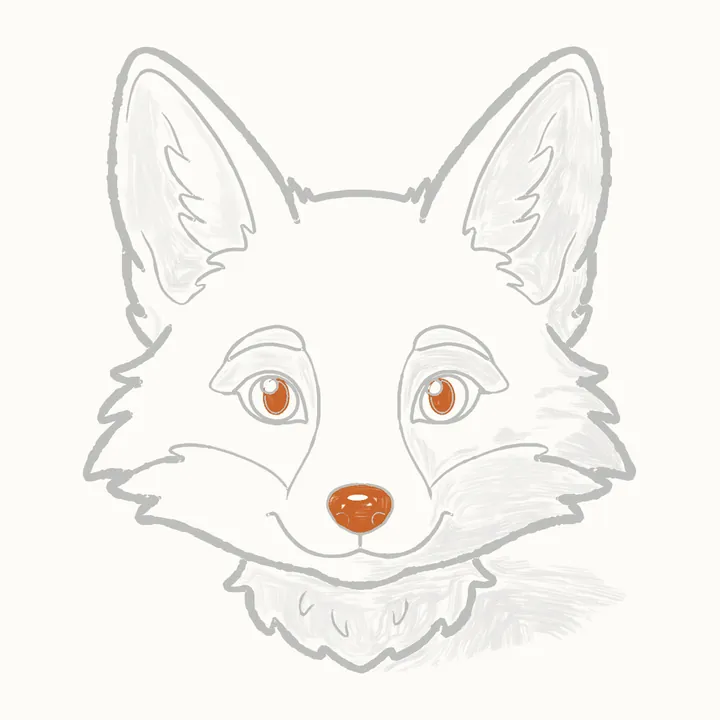
In colour: what to draw nowGrey: already drawn
Draw everything in pencil, lightly at first. Save all 23 steps to Pinterest
-
Step 1 of 23Guide lines
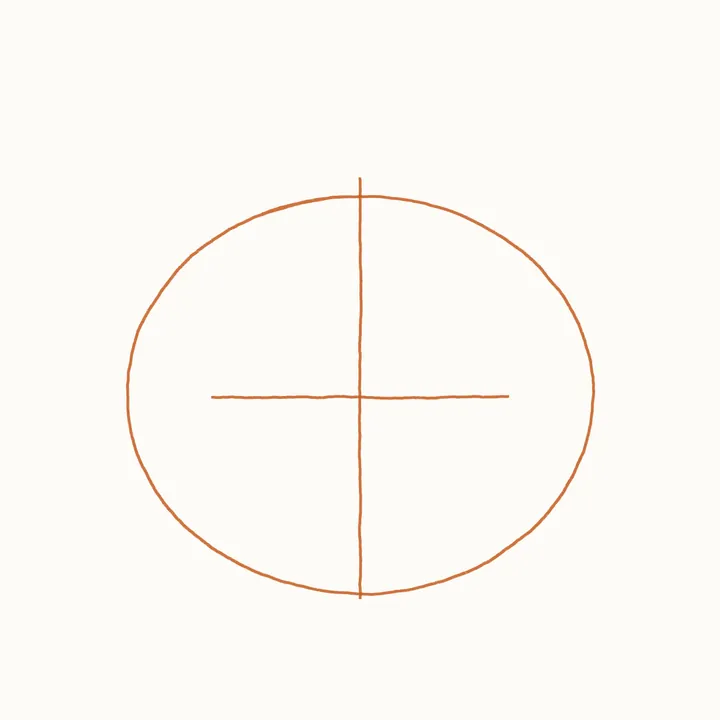
Head guides
This is Rusty. Start light: a big oval for his head, a line down the middle so both sides match, and a line across it where his eyes go.
Draw these lightly: they’re only there to help, and you’ll rub them out in step 13.
-
Step 2 of 23Guide lines
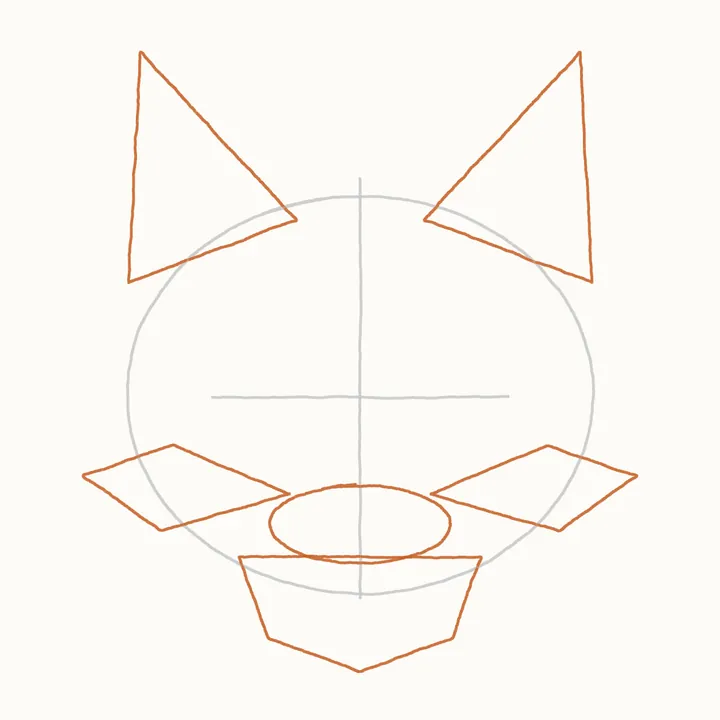
Ear, muzzle, cheek and ruff guides
A tall triangle for each ear, the same distance from the middle line. A small muzzle oval, a flat pointed cheek shape out from each side, and a shield below for his ruff.
Draw these lightly: they’re only there to help, and you’ll rub them out in step 13.
-
Step 3 of 23
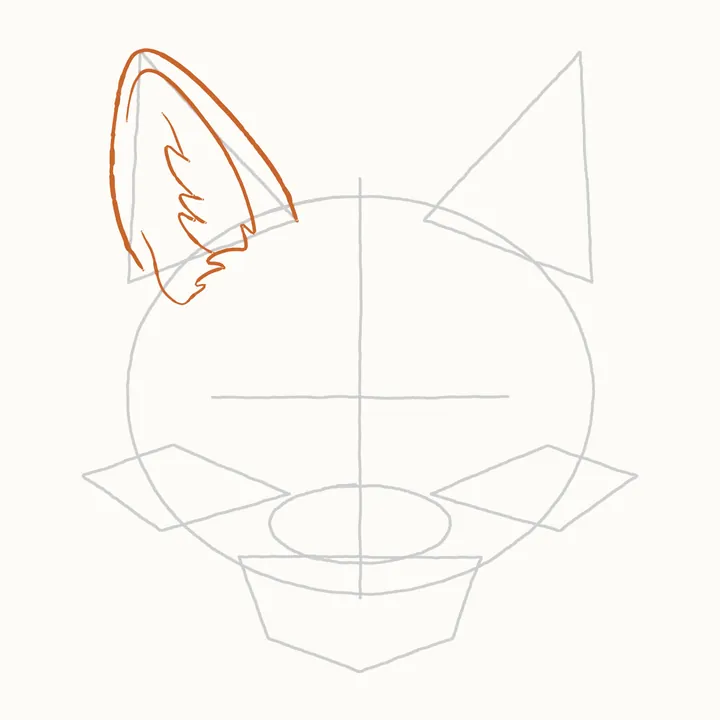
The left ear
Over the left triangle: up the outside, over the point and down to his head. Then a second arch just inside it, ending in fluffy tufts, and a few tufts up the middle.
-
Step 4 of 23
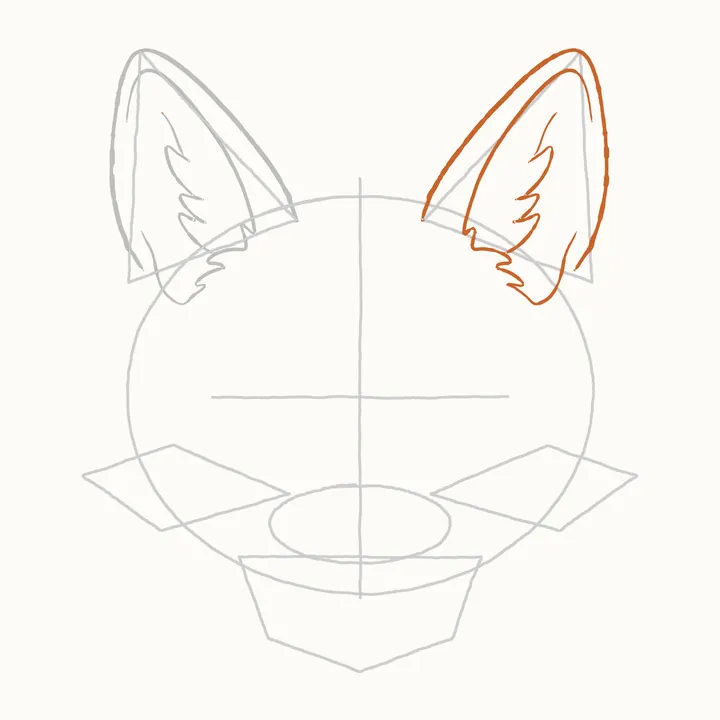
The right ear
Now the right ear the same way: up the outside, over the point and down. Then the arch just inside, its fluffy tufts, and a few tufts up the middle.
-
Step 5 of 23
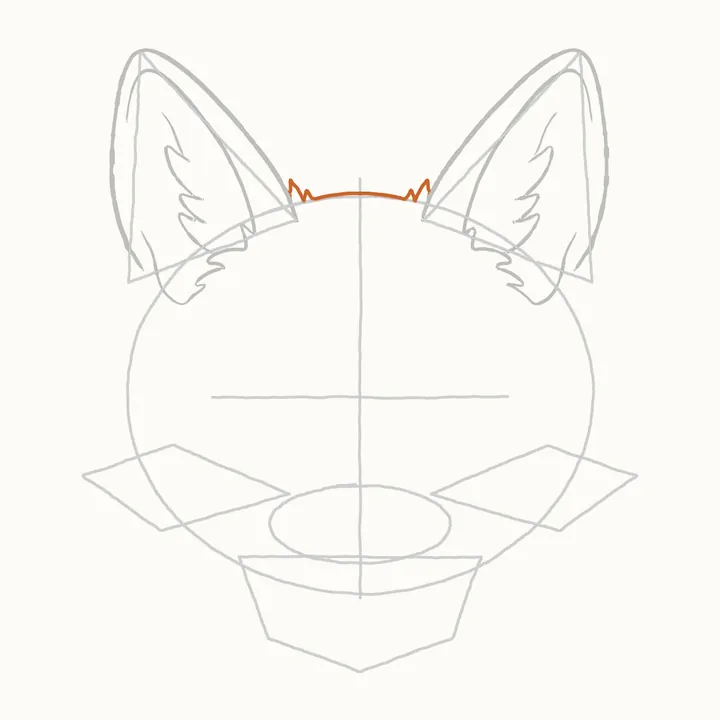
The top of his head
Join the ears with a gentle curve over the top of the head oval, with a little zigzag tuft at each end.
-
Step 6 of 23
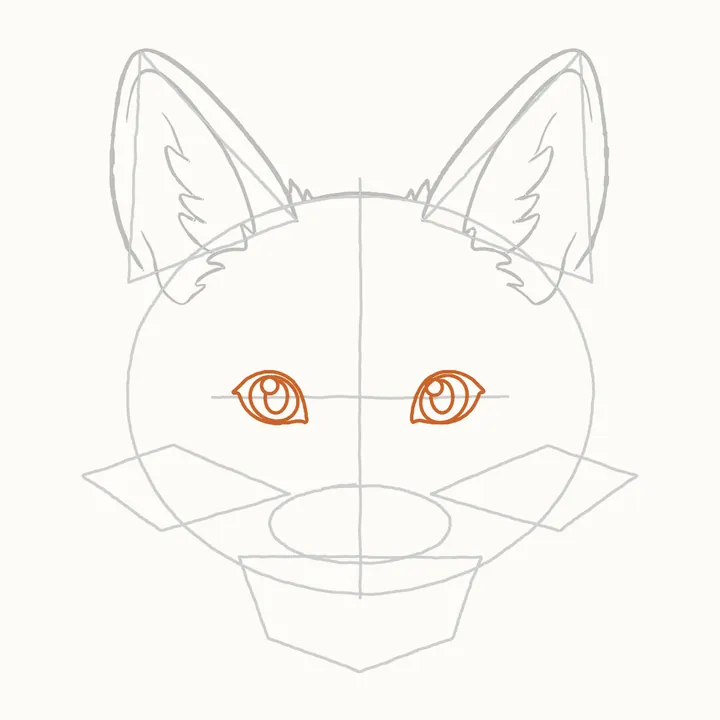
The eyes
On the eye line, the left eye: an almond, a big round iris, a small glint circle near its top, then an oval pupil hanging from the glint. The right eye the same.
-
Step 7 of 23
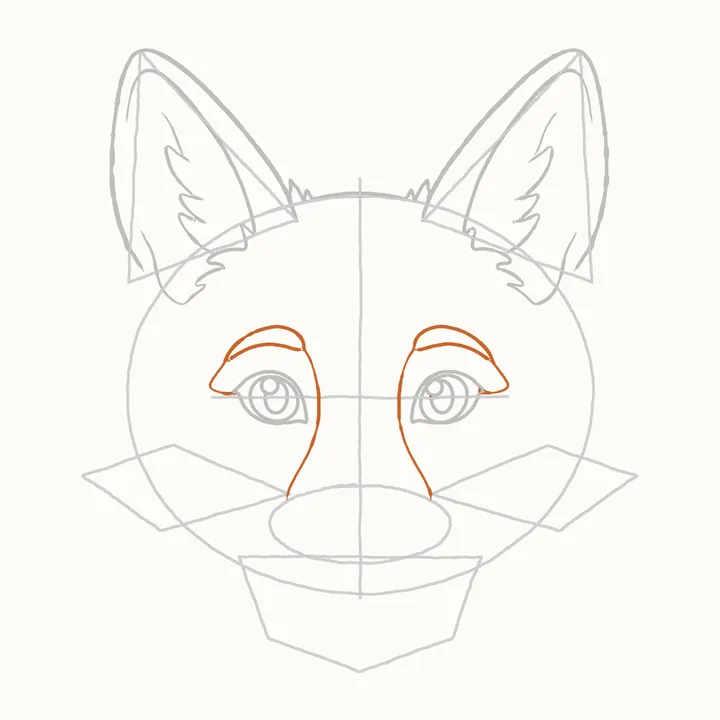
The brows
From the left eye's outer corner, flick out to a point, sweep up over the eye and down to the cheek shape's inner point, then a curve under the brow. The same on the right.
-
Step 8 of 23
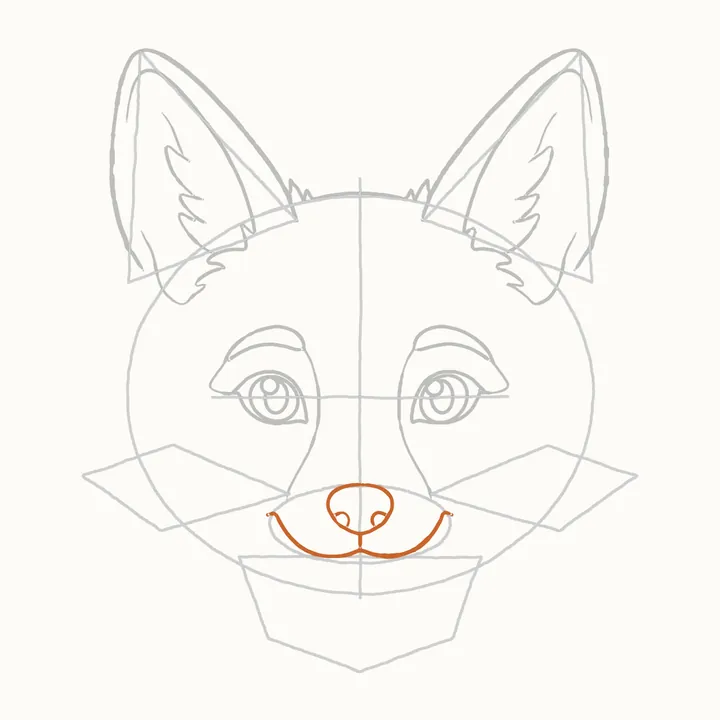
The nose and smile
A round nose at the top of the muzzle oval, with two nostril curls. Then a soft W along the bottom for his smile, and a line from the nose down to its middle.
-
Step 9 of 23
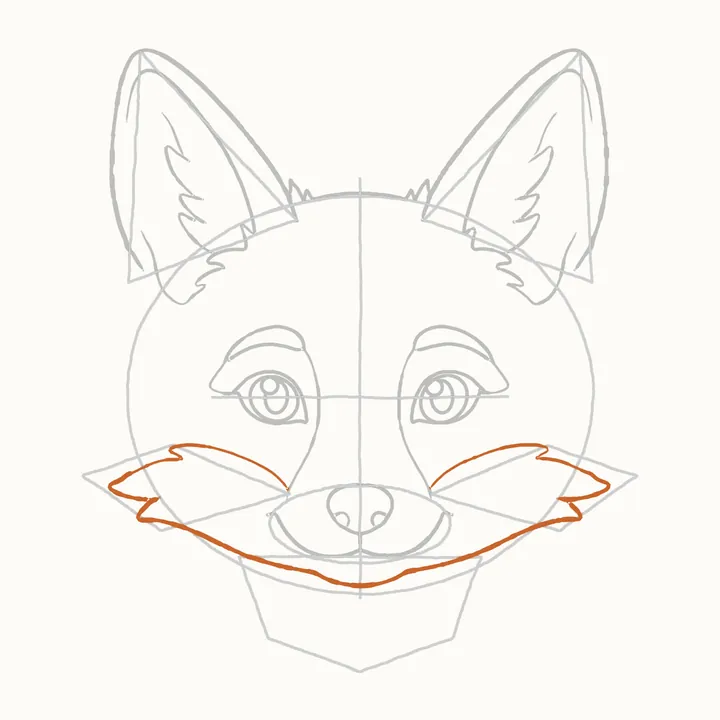
The cheeks
From the left brow line's end, fur out along the cheek shape's top, then pointed tufts back round inside it. A curve under his smile, then round the right cheek's tufts and back in.
-
Step 10 of 23
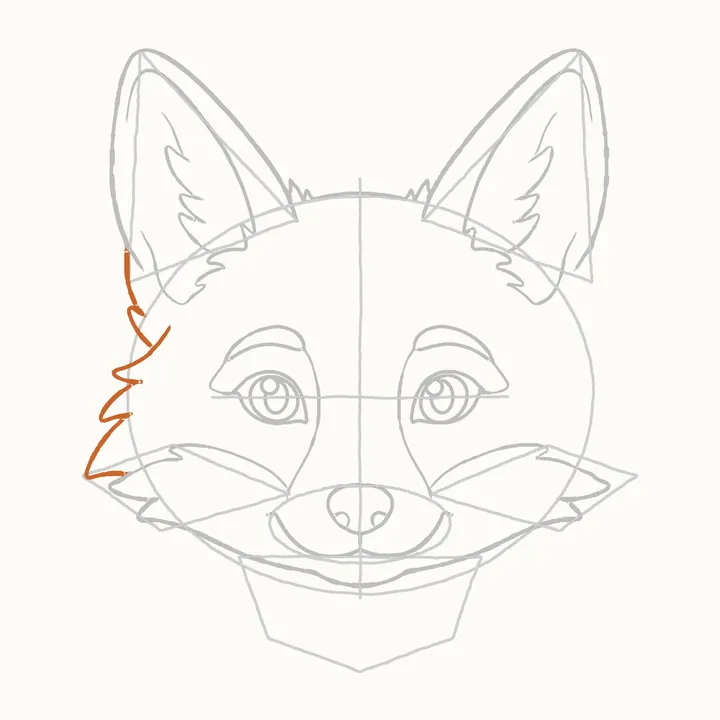
The left side of his head
Up the left side of the head oval from the cheek to the ear: the first tuft out to the cheek shape's point, then a zigzag of pointed fur tufts.
-
Step 11 of 23
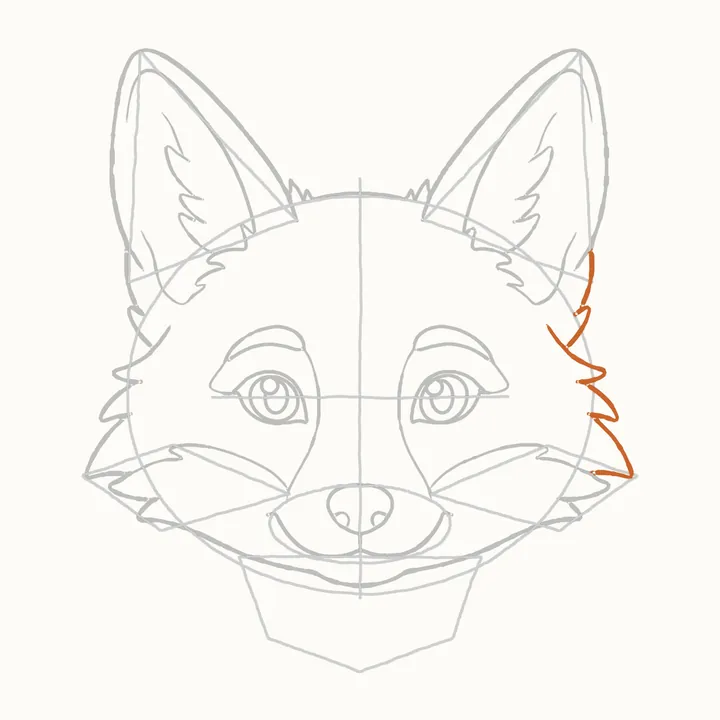
The right side of his head
The same on the right: the first tuft out to the cheek shape's point, then a zigzag of fur tufts up to the ear.
-
Step 12 of 23
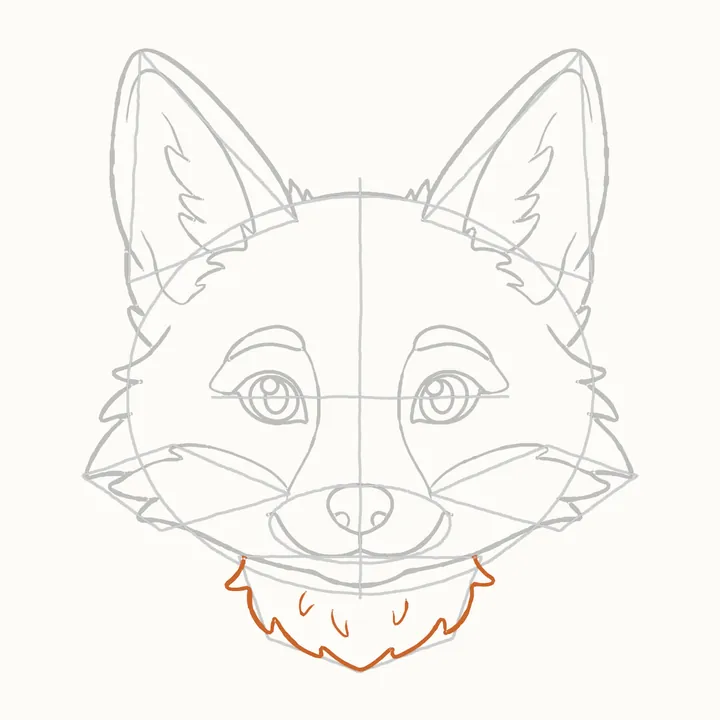
The ruff
Under his chin, a fluffy ruff along the shield: down the left side, a zigzag along the bottom to a point, and up the right. Then three little fur flicks inside.
-
Step 13 of 23
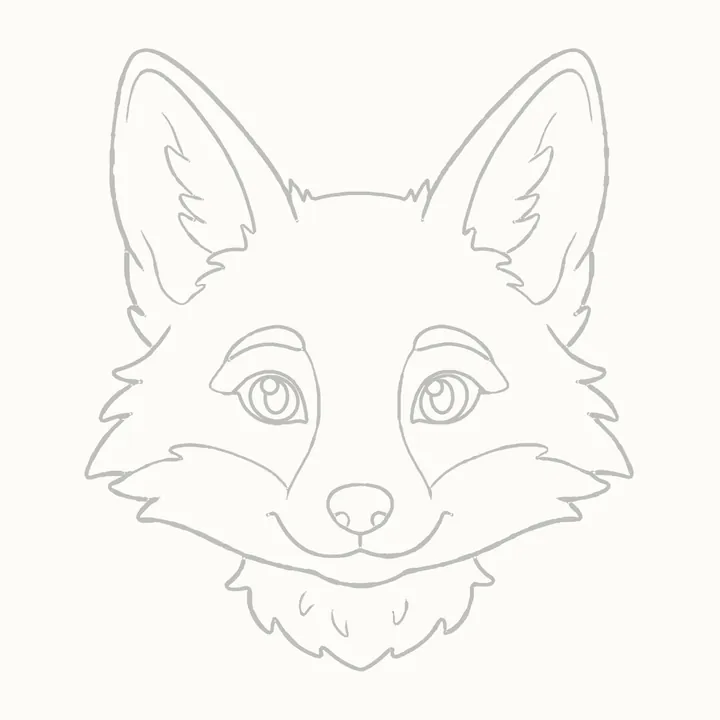
Erase the guides
Rub out all the guide shapes. Only Rusty's face stays.
-
Step 14 of 23
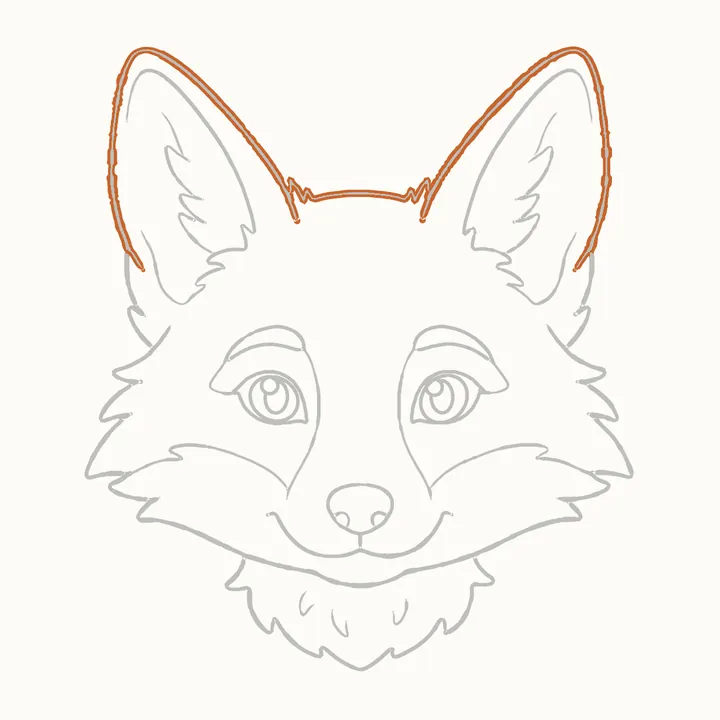
Go over the ears
Now press harder round the outside: up the left ear, over its point and down to his head, across the top, then up over the right ear and down its outside.
-
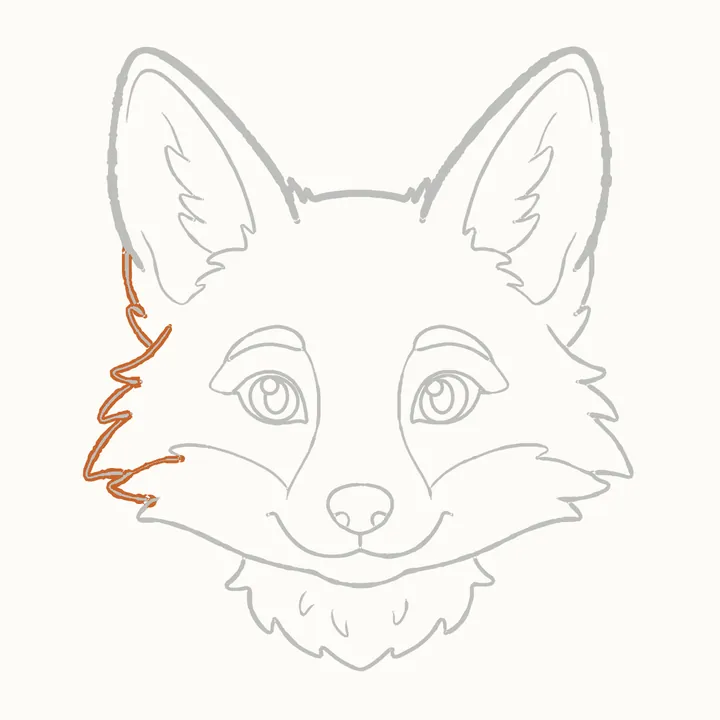
Step 15 of 23
Go over the left side
Press harder down the left side of his head, tuft by tuft. Then round the left cheek's tufts, starting from the bottom where the chin curve begins.
-
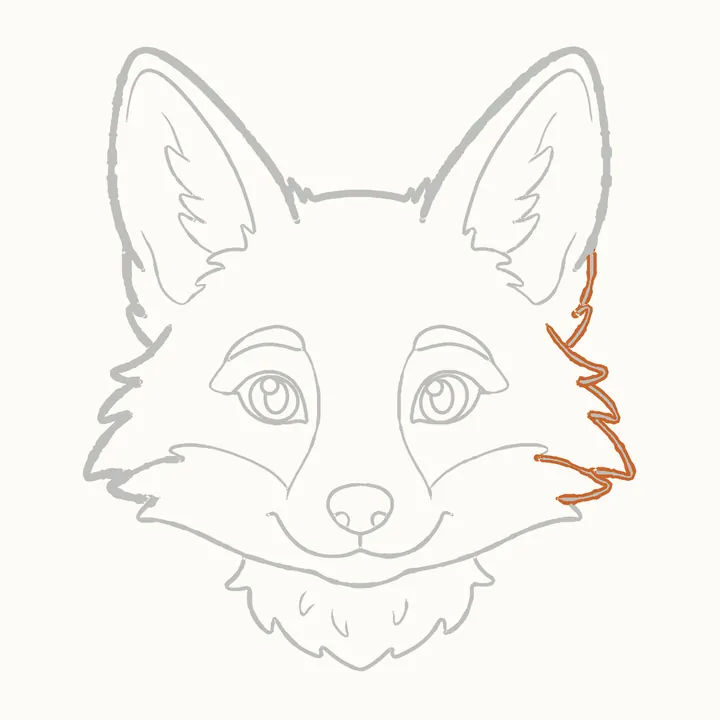
Step 16 of 23
Go over the right side
The same on the right: down the side of his head, then round the right cheek's tufts from the bottom up.
-
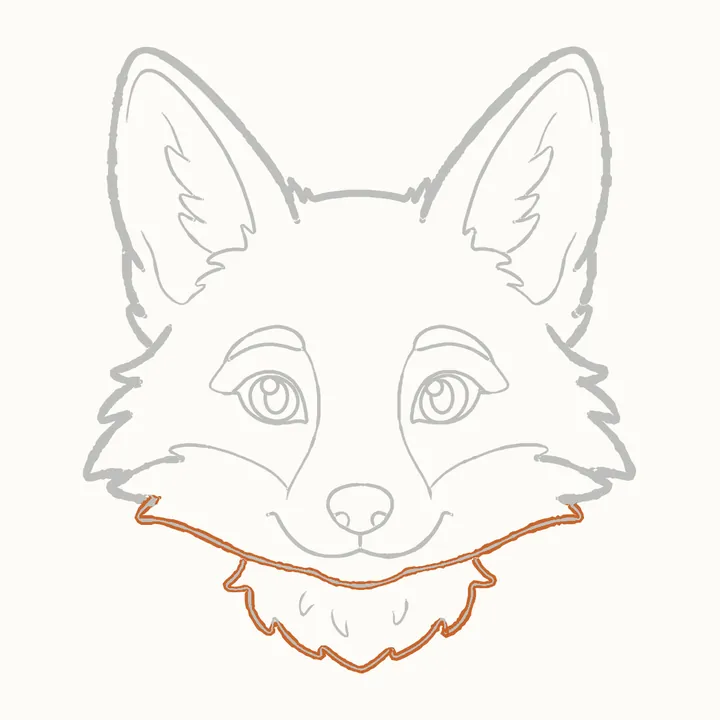
Step 17 of 23
Go over the chin and ruff
Last, press harder along the curve under his chin, left to right, then back round the fluffy ruff from the right, zigzag and all.
-
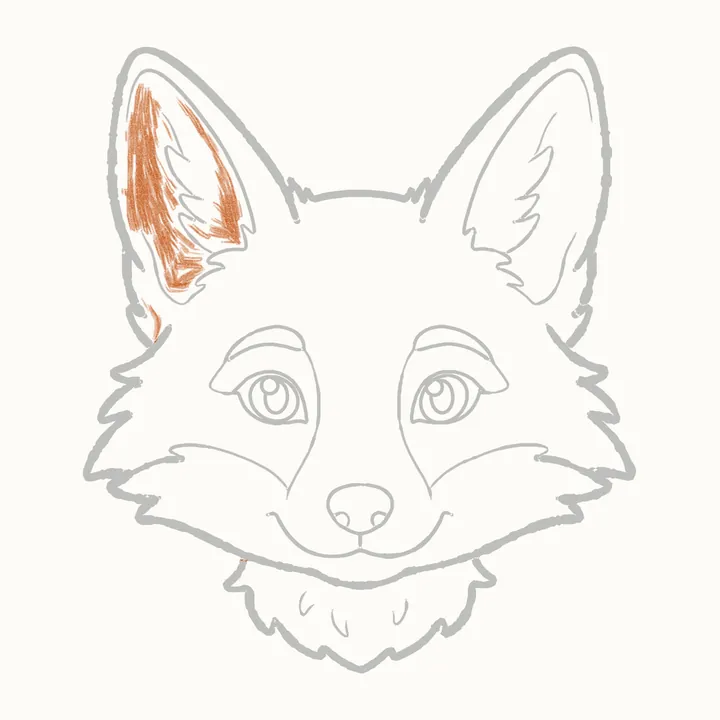
Step 18 of 23
Shade the left ear
The light comes from the left. Shade softly inside the left ear, along its outer side and round the tufts.
-
Step 19 of 23
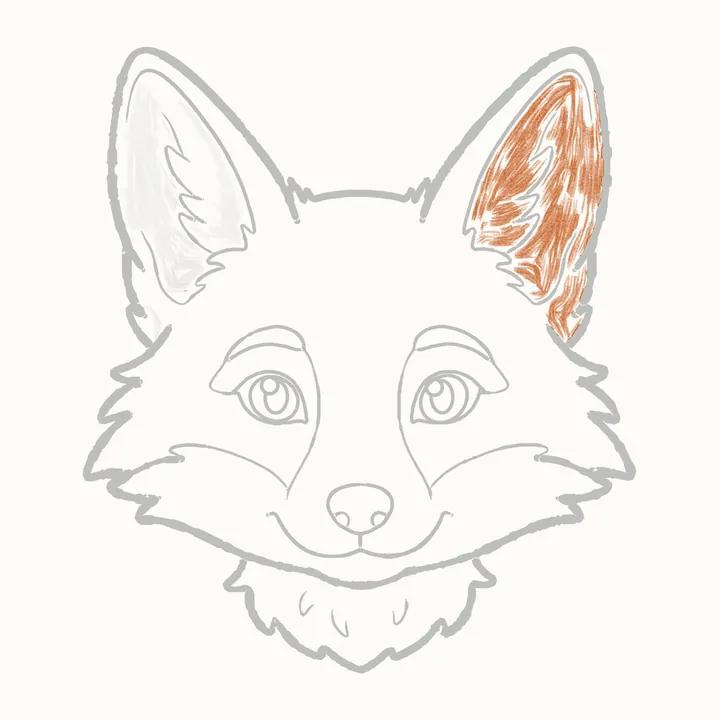
Shade the right ear
The right ear is in shadow: shade inside it a little darker, and down the outside edge below it.
-
Step 20 of 23
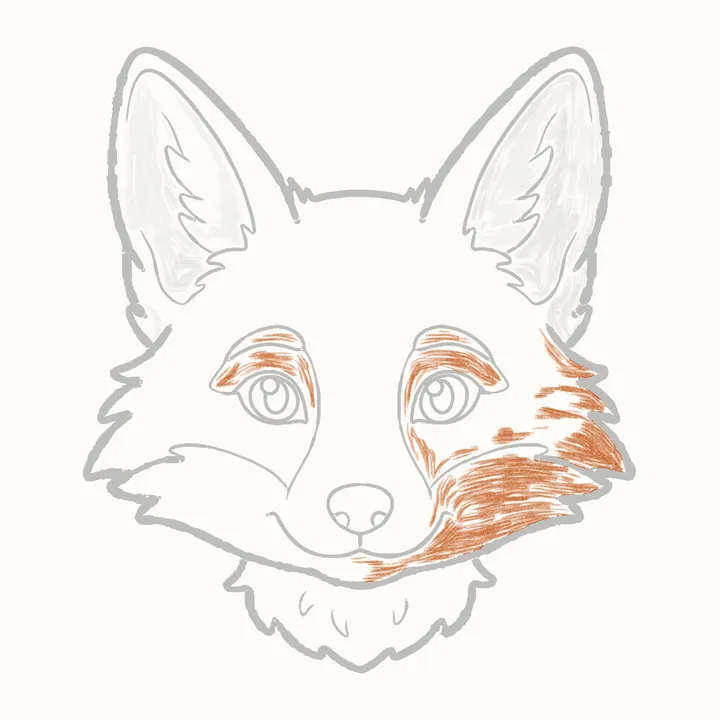
Shade over the eyes
A soft tone over each eye, under the brow curve, and down the right side of his face and cheek, which is in shadow.
-
Step 21 of 23
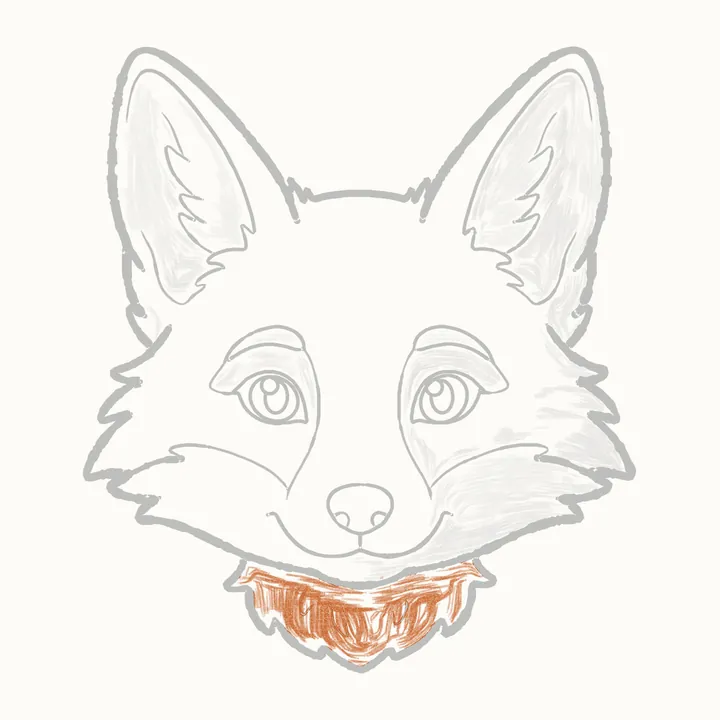
Shade under the chin
Shade softly under his chin and down the right side of the ruff.
-
Step 22 of 23
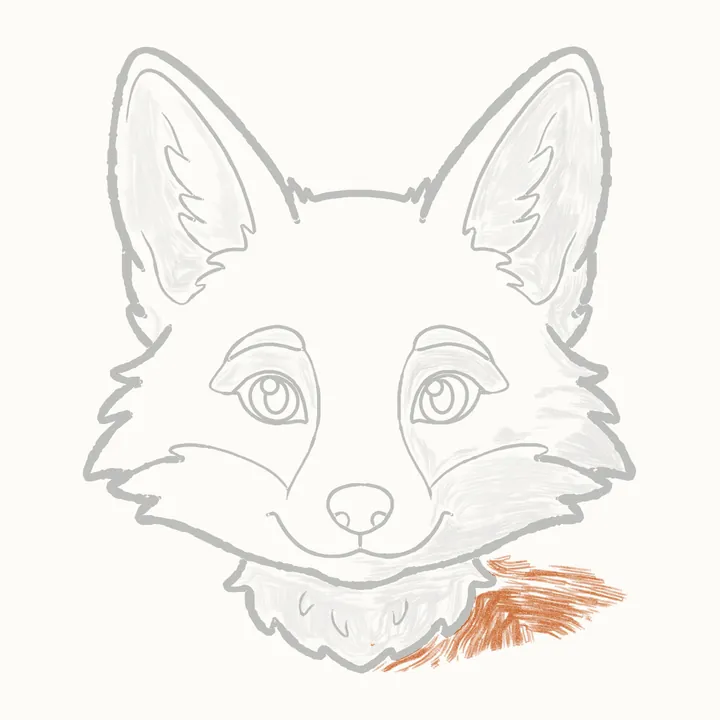
Cast shadow
A soft shadow on the paper at the lower right, under his ruff.
-
Step 23 of 23
The darks
Last of all, fill each pupil dark, leaving its glint white, then colour his nose dark with a white highlight across the top.
-
Finished
Your finished fox face
That’s Rusty! Go over any lines you want darker, then sign your drawing in the corner.
In the DrawRabbit app
Rusty lives in Clover’s hedge
Every animal has a whole world of narrated drawings in DrawRabbit, each one a little story you draw with a real pencil and paper. The first drawing in every world is free.
 Free to start · iPhone and iPad
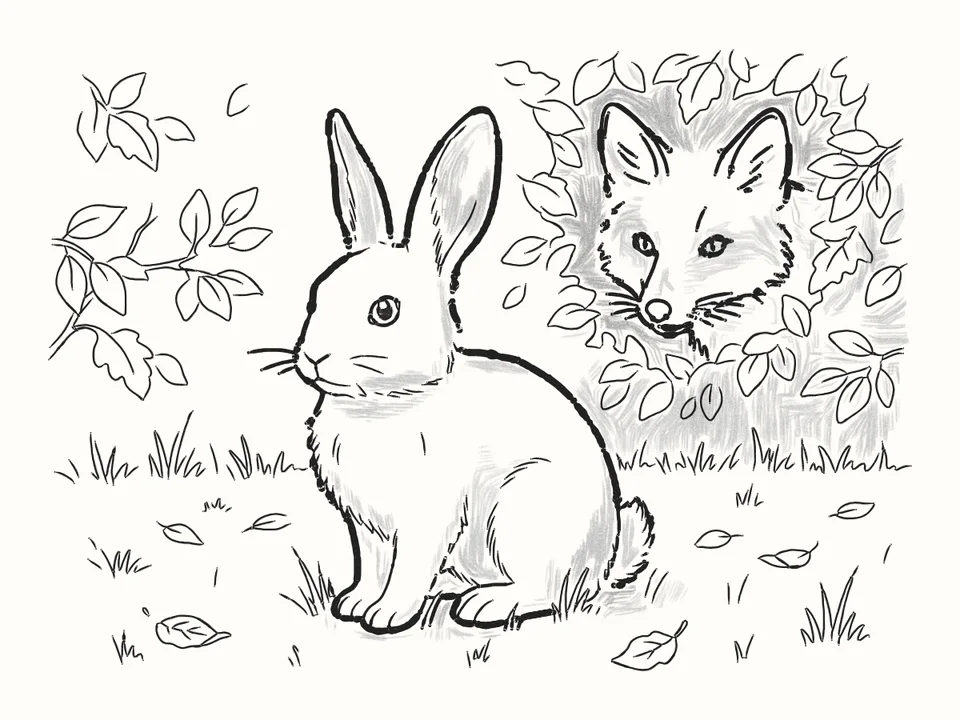 The fox in the hedge
 The dandelion
 The big leap
 First snow
Tips for a better fox face
The middle line keeps it even
A face drawn face on needs both sides to match. Sketch a line down the middle first and measure each ear and eye from it.
Ears first
Draw both ears before the face: the outside line, a second arch just inside it, and a few tufts up the middle.
The cheek shape is the target
Each cheek's fur fans out along the flat pointed shape beside the muzzle, and the first tuft up the side of the head reaches its point.
Leave the glints white
Fill the pupils and the nose dark last of all, and leave the small glint circles white so the eyes shine.
Questions
Is a fox face easy to draw?
Yes. It starts with a few rough shapes: a big oval for the head, a line down the middle and one across for the eyes, triangles for the ears, a small muzzle oval, a cheek shape each side and a shield for the ruff.
What do I need?
A pencil, paper and an eraser. Draw the first two steps lightly: the guide shapes are rubbed out in step 13.
How do I make both sides match?
Use the line down the middle. Keep each ear the same distance from it, put the eyes on the line across, one each side, and draw the right side the same way as the left.
How do I draw fox fur?
Draw it as zigzags of pointed tufts along the edge: up each side of the head, round the cheeks and along the ruff. Each tuft is a quick flick out to a point and back in.
Can kids draw it?
Yes. It’s made for beginners of any age. If reading the steps is hard, the draw-along talks you through each line while it draws.
What is DrawRabbit?
A drawing app for iPhone and iPad: narrated, step-by-step lessons you follow with a real pencil and paper. 95 drawings in 10 worlds, free to start, no account needed.
Keep drawing · Next guide
How to draw a flying dragon
A dragon flying through the clouds in 16 easy steps
Start drawing