 DrawRabbit
Drawing guide · Cats
How to draw a sitting cat
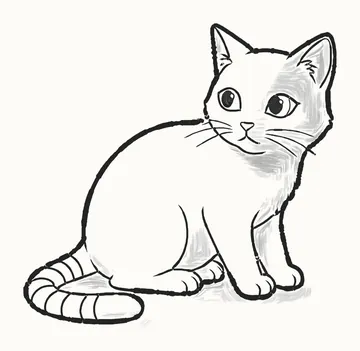
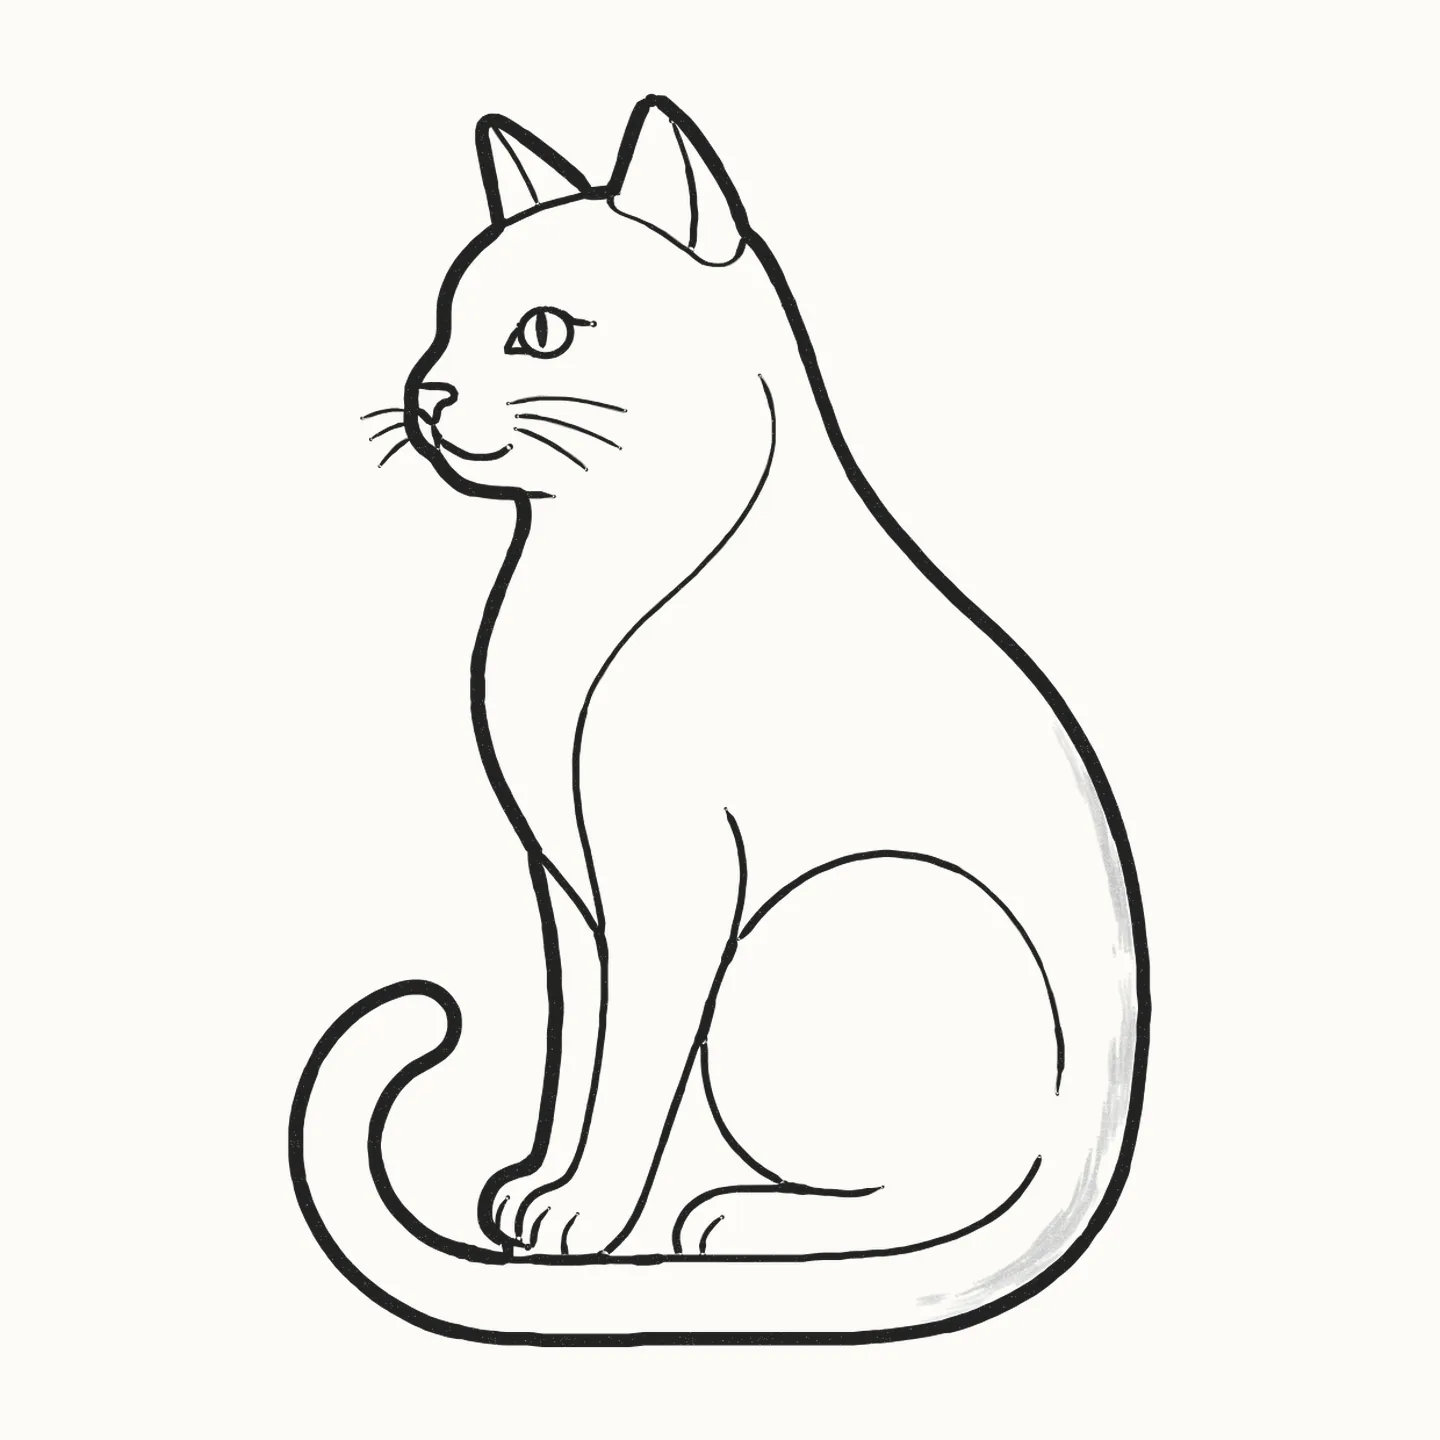
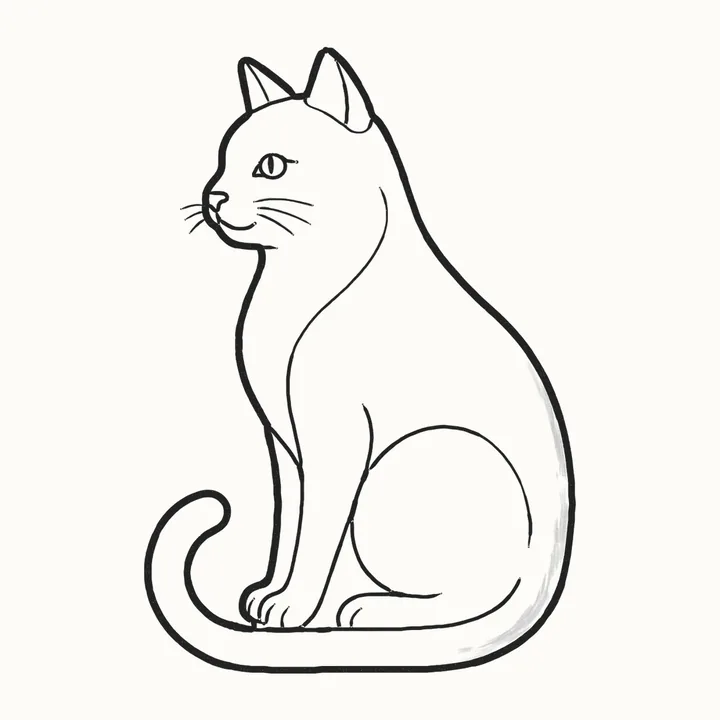
A cat sitting tall, seen from the side, with its long tail curled round in front of its paws. In 14 easy steps you’ll draw it with a pencil and paper, starting from just two circles, a floor line and the path of the tail, so the shape is right before any real line goes down.
How do you draw a sitting cat?
To draw a sitting cat, start light: a circle for the head, a bigger circle low on the right for the folded back leg, a flat floor line for the paws and the path of the tail. Then draw the real line over the head, down past the nose and chin, and on down the chest to a front paw. Add the ears, one eye with a tall slit pupil, the nose and a small smile. Draw the long line of the back, swelling out well clear of the back-leg circle and on round the curled tail. Then the front legs, the haunch and the whiskers. Rub out the guides, go over the outside in one trip, add one soft shadow round the rump, and fill in the pupil. It takes 14 easy steps with a pencil, paper and an eraser.
You need a pencil, paper and an eraser14 stepsBeginner
Draw a sitting cat, step by step
In colour: what to draw nowGrey: already drawn
Draw everything in pencil, lightly at first. Save all 14 steps to Pinterest
-
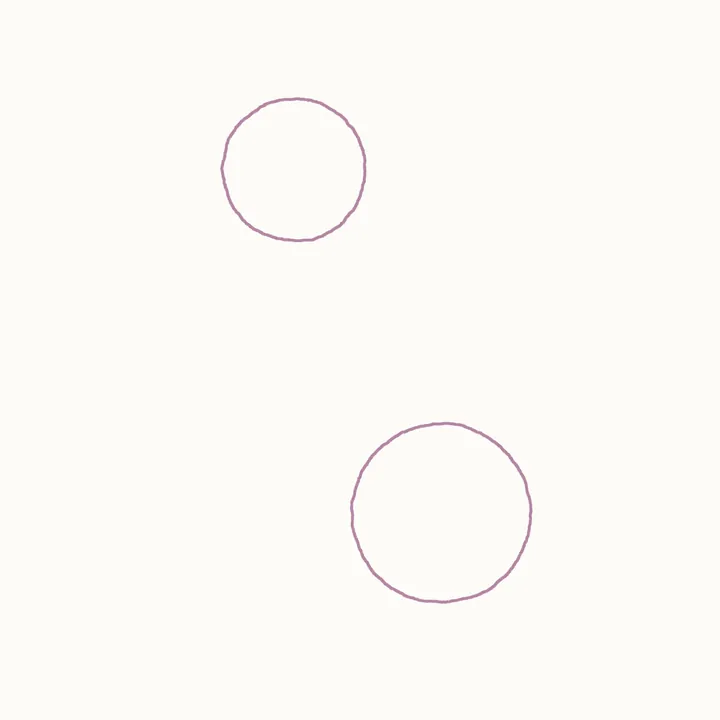
Step 1 of 14Guide lines
Head and back leg
Very lightly, a circle for the round skull; the nose and chin poke just past its left edge. Then a big circle low on the right for the folded back leg.
Draw these lightly: they’re only there to help, and you’ll rub them out in step 11.
-
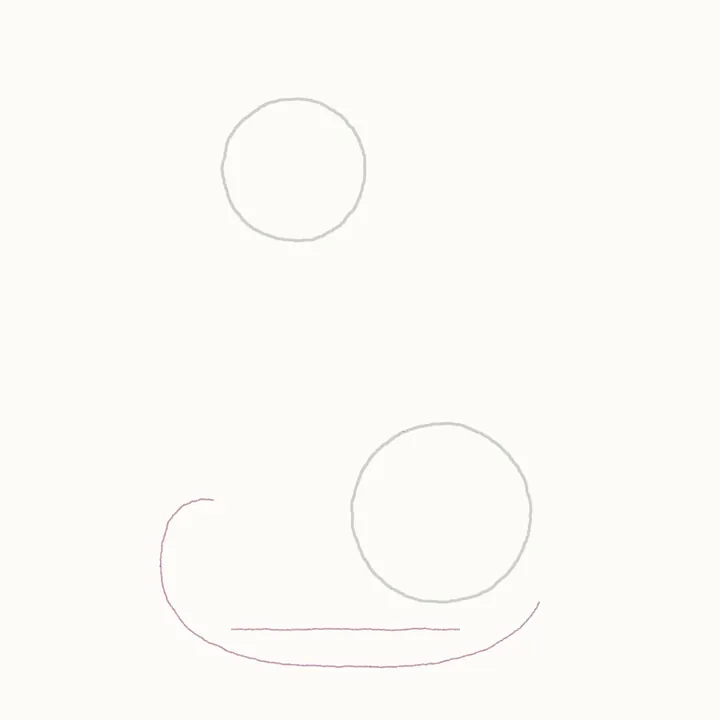
Step 2 of 14
Floor and tail
A flat line under the body for all three paws. Then the tail's path: from below the back-leg circle, along just under the floor line and up into a curl.
-
Step 3 of 14
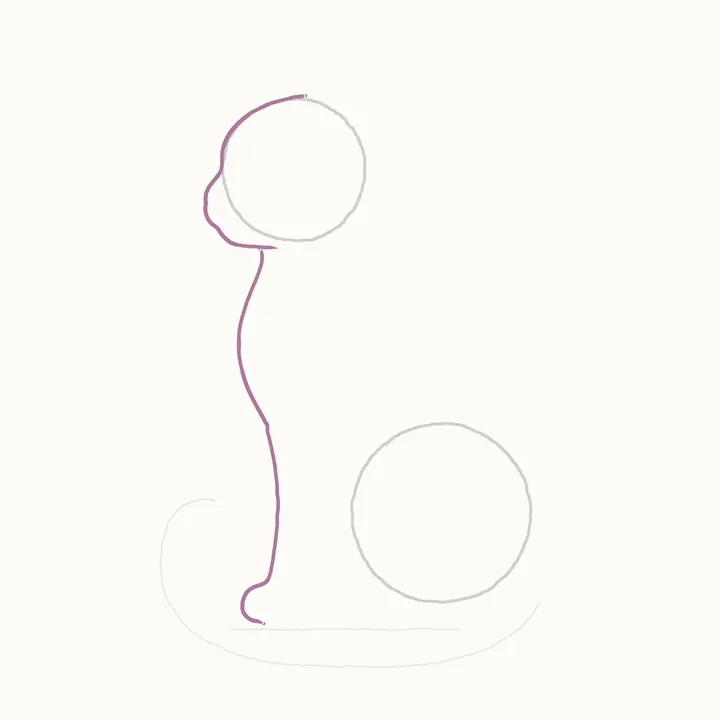
Head and chest
Now the real line: from the top of the head circle, over it, down the brow, past the nose and under the chin. Then the chest, curving down to a front paw on the floor.
-
Step 4 of 14
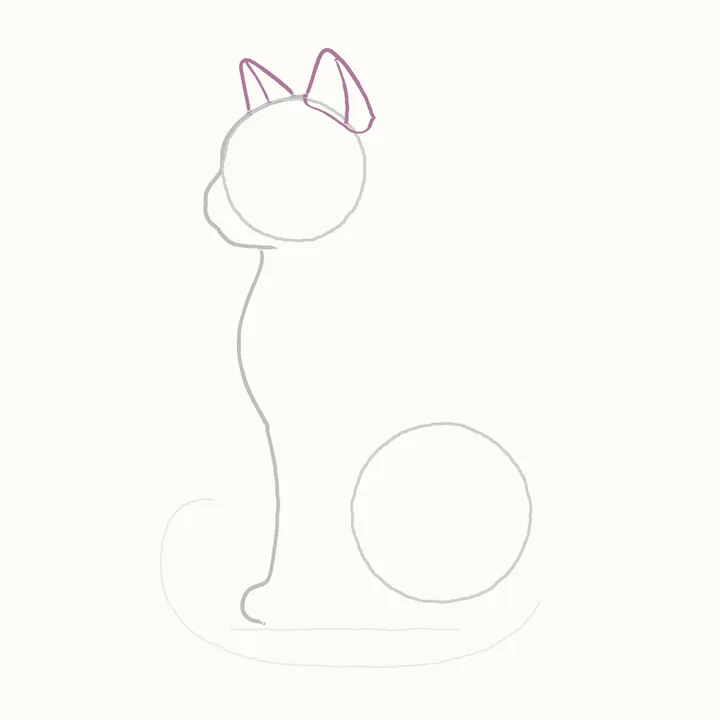
The ears
The near ear: up to its tip, down the back, a rounded curve along its base and a line inside. Then the far ear behind it: over its tip, and its inner line.
-
Step 5 of 14
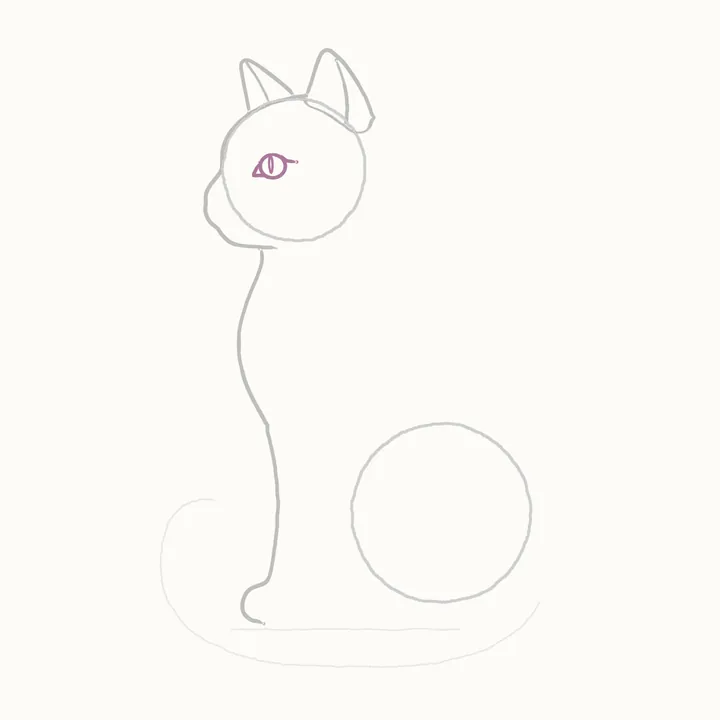
The eye
Just left of the head circle's middle: a round eye, a pointed corner towards the nose, and the lid along the top, flicking out at the back. Inside, a tall slit.
-
Step 6 of 14
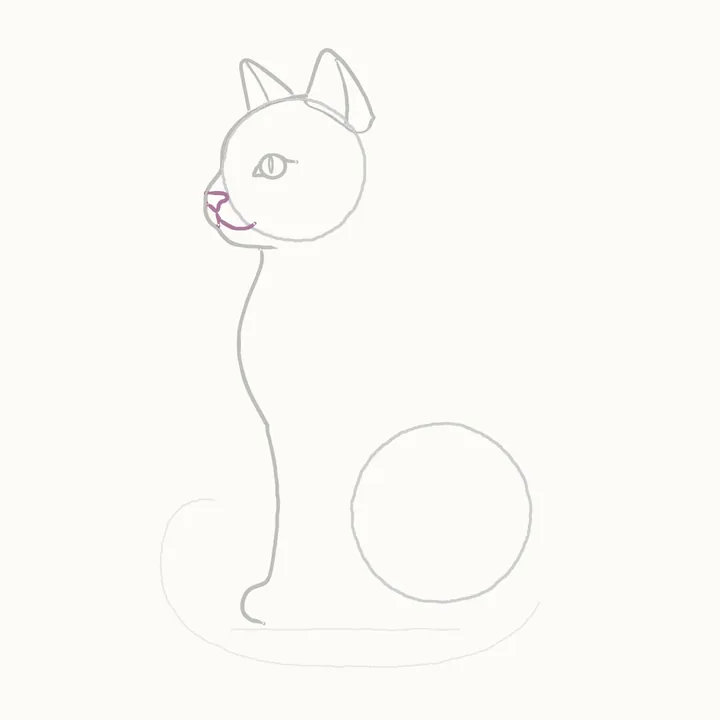
Nose and mouth
From the tip of the nose, along its top, round its back end and under it to the tip. Then a short line down to the chin, and a soft smile curving out from it.
-
Step 7 of 14
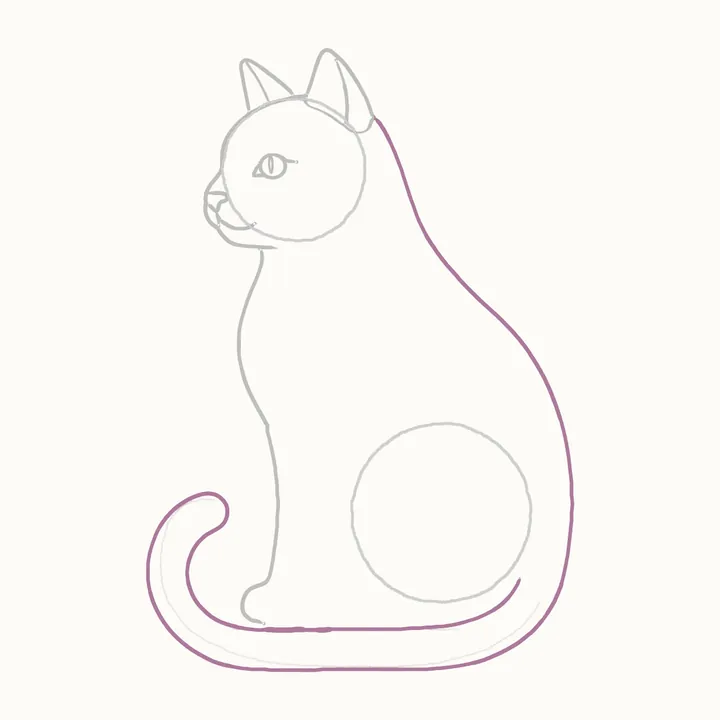
The back and tail
Now the long back: from behind the ear, swelling out well clear of the back-leg circle, then round the outside of the tail path, round the curl and back along the floor line.
-
Step 8 of 14
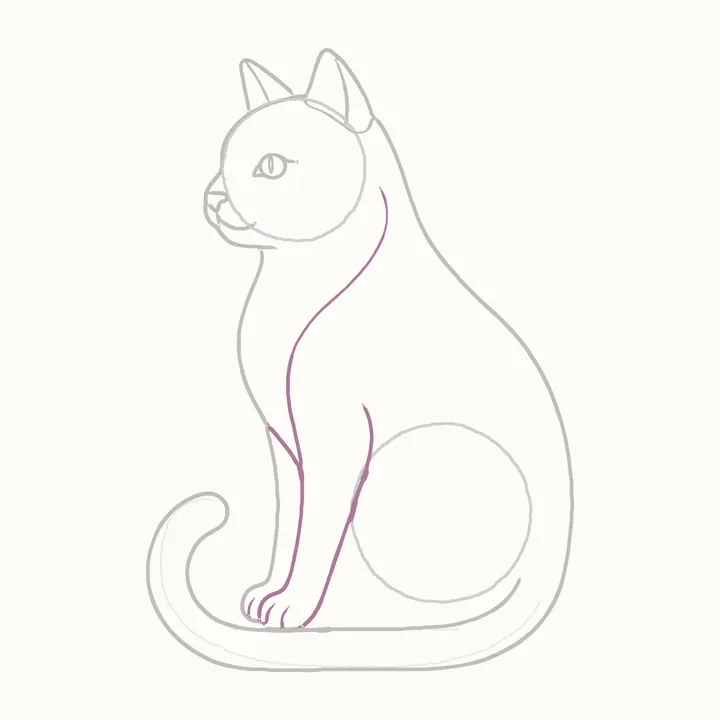
The front legs
The near leg: from under the back of the head, curve the shoulder line down to the paw. Two toes, then its back edge up from the floor. The far leg: its back edge, a toe.
-
Step 9 of 14
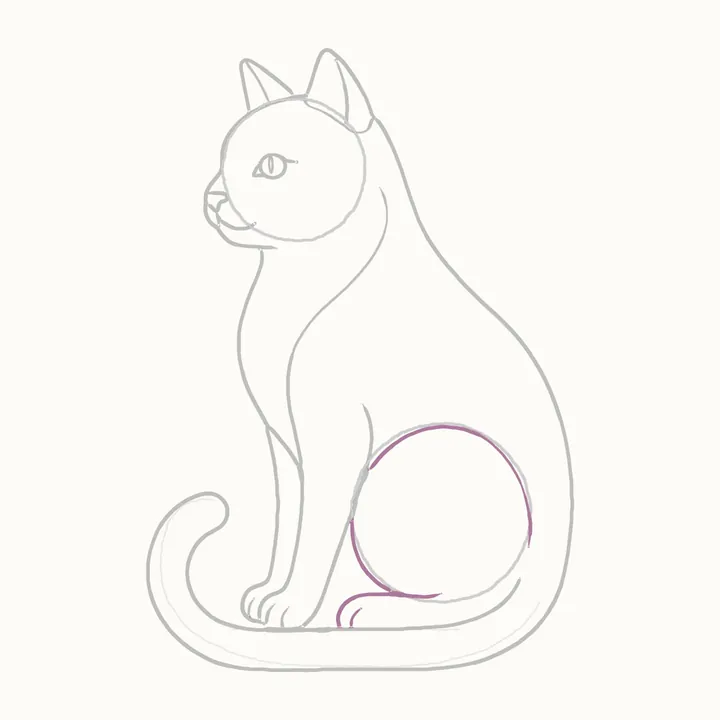
The haunch
The back paw first, on the floor line. Then the haunch: a big arc from the leg, round the top of the back-leg circle, its lower curve down to the paw, and a toe line.
-
Step 10 of 14
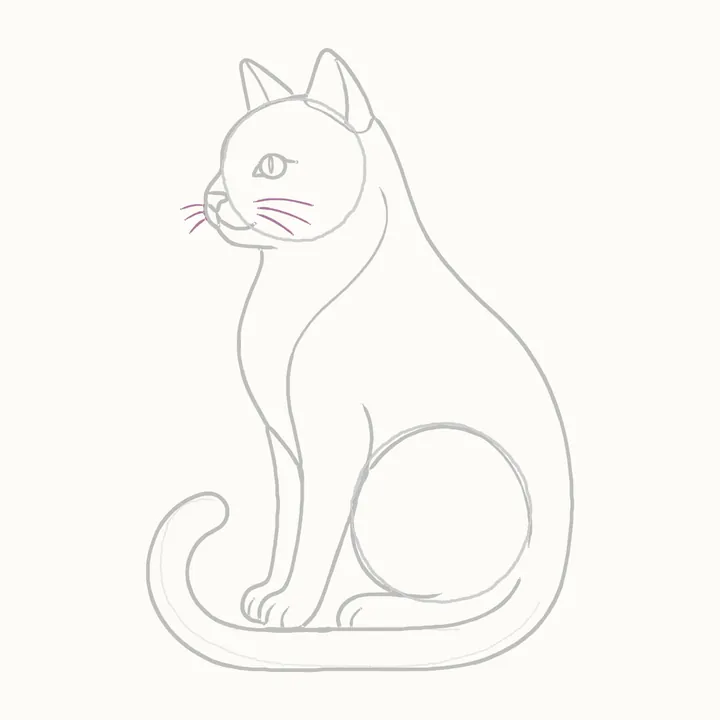
The whiskers
Last of the details, the whiskers: three short ones out to the left from the edge of the muzzle, then three longer ones from the cheek to the right, fanning out a little.
-
Step 11 of 14
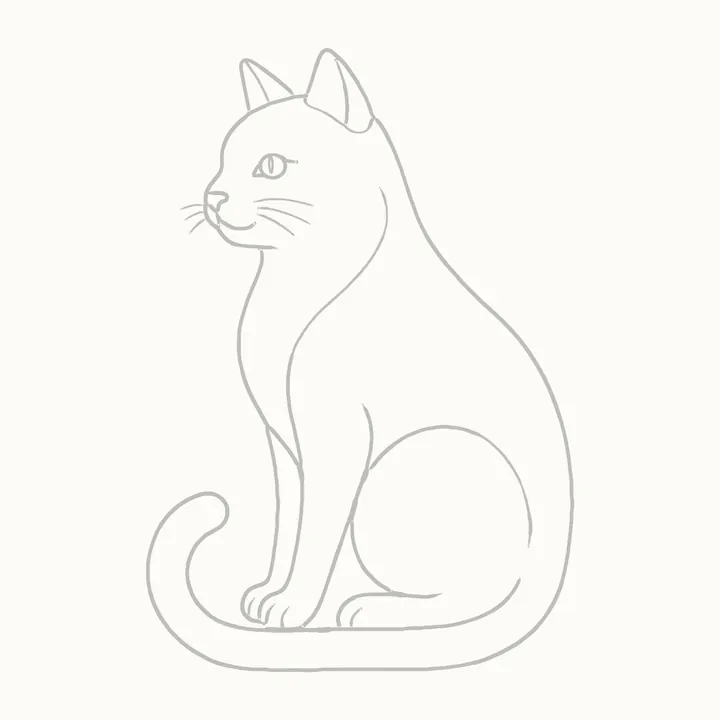
Erase the guides
Rub out the guide shapes gently, so only the clean lines are left.
-
Step 12 of 14
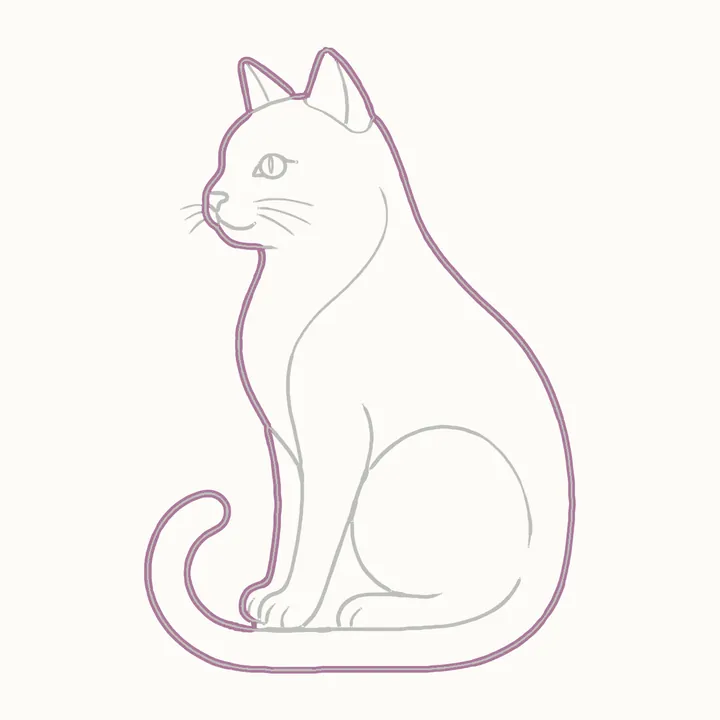
Go over the outline
Now press harder round the outside, in one trip: from the near ear's tip over both ears, down the face and chest, round the far paw and the tail, and up the back.
-
Step 13 of 14
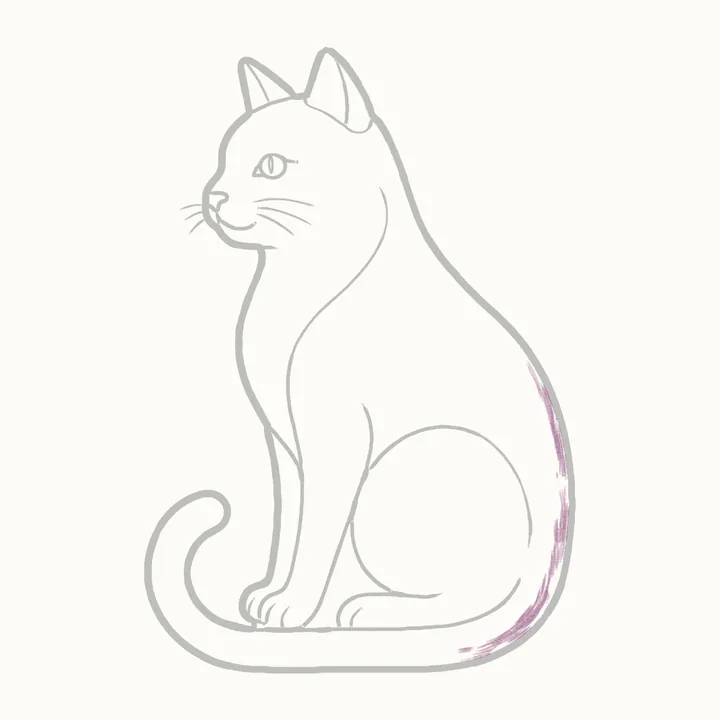
A soft shadow
Just one soft, light tone, inside the line of the back where the body turns away from the light: from halfway down the back, round the rump to the tail.
-
Step 14 of 14
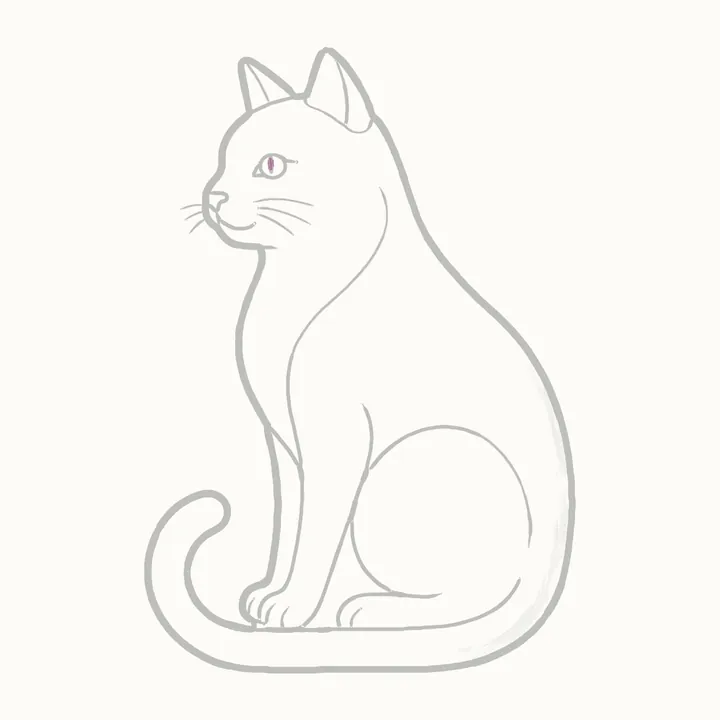
The darks
Last of all, fill in the slit of the pupil, dark and solid.
-
Finished
Your finished sitting cat
That’s Smudge! Go over any lines you want darker, then sign your drawing in the corner.
In the DrawRabbit app
Smudge’s world has 10 more drawings
Every animal has a whole world of narrated drawings in DrawRabbit, each one a little story you draw with a real pencil and paper. The first drawing in every world is free.
 Free to start · iPhone and iPad
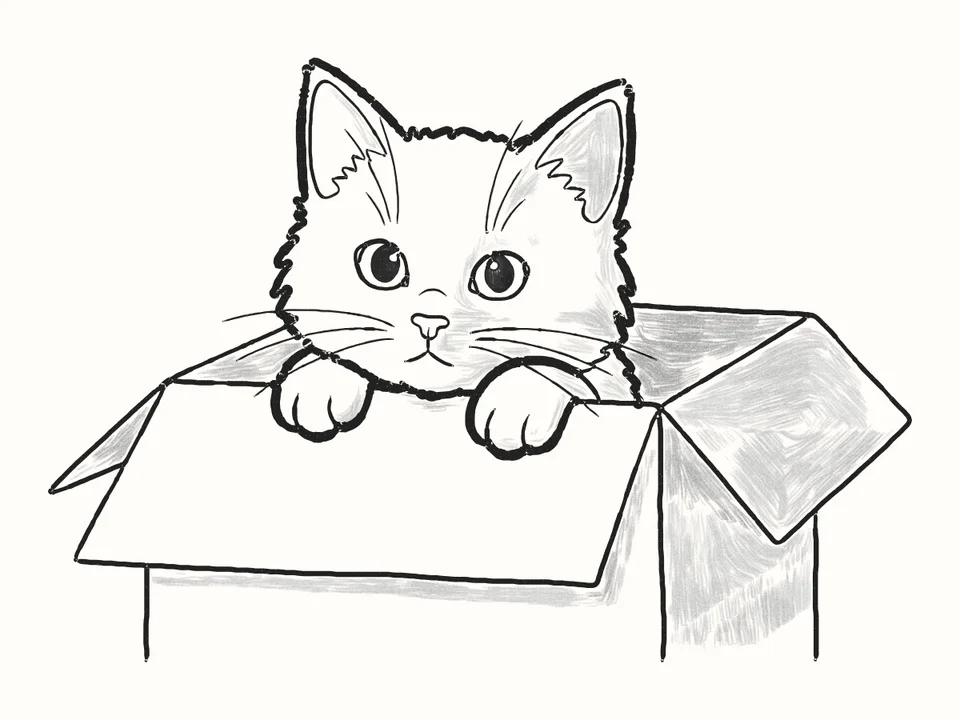 In the box
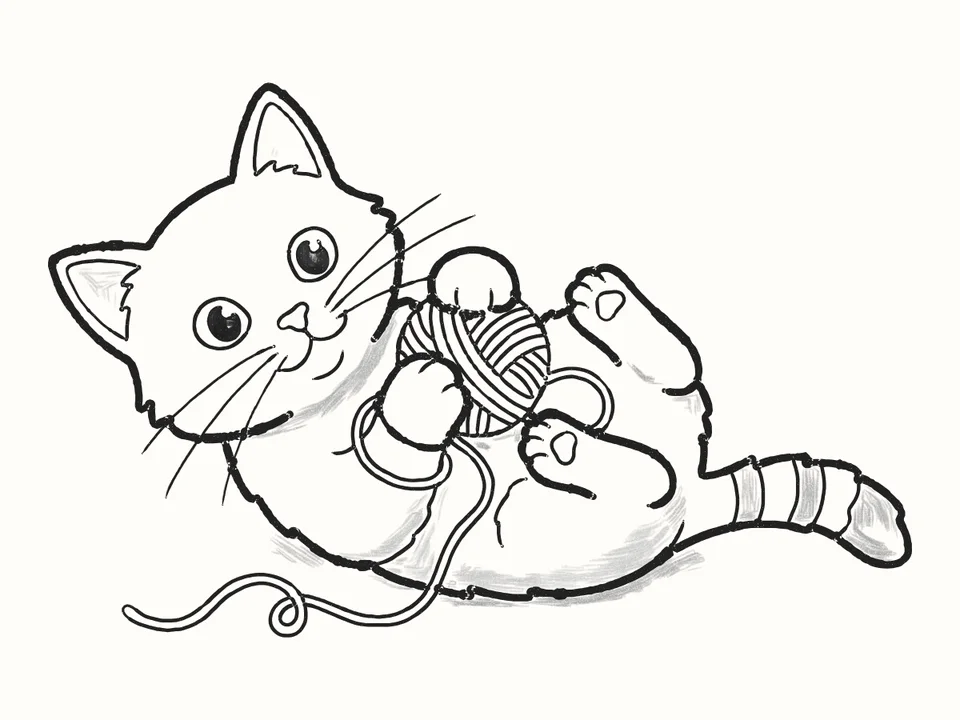 The ball of wool
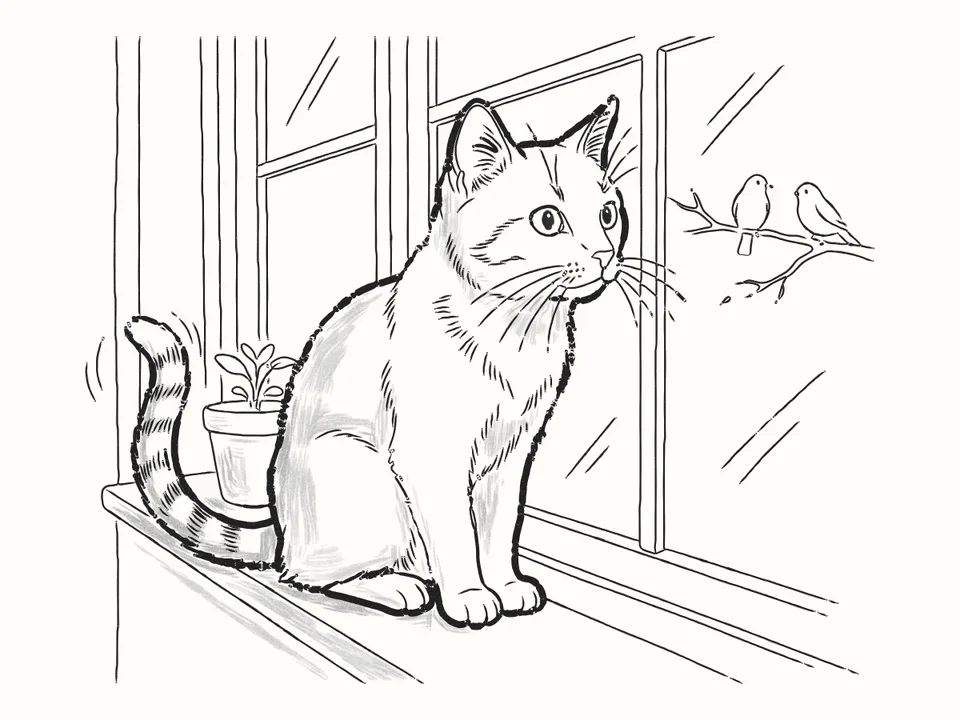 The window sill
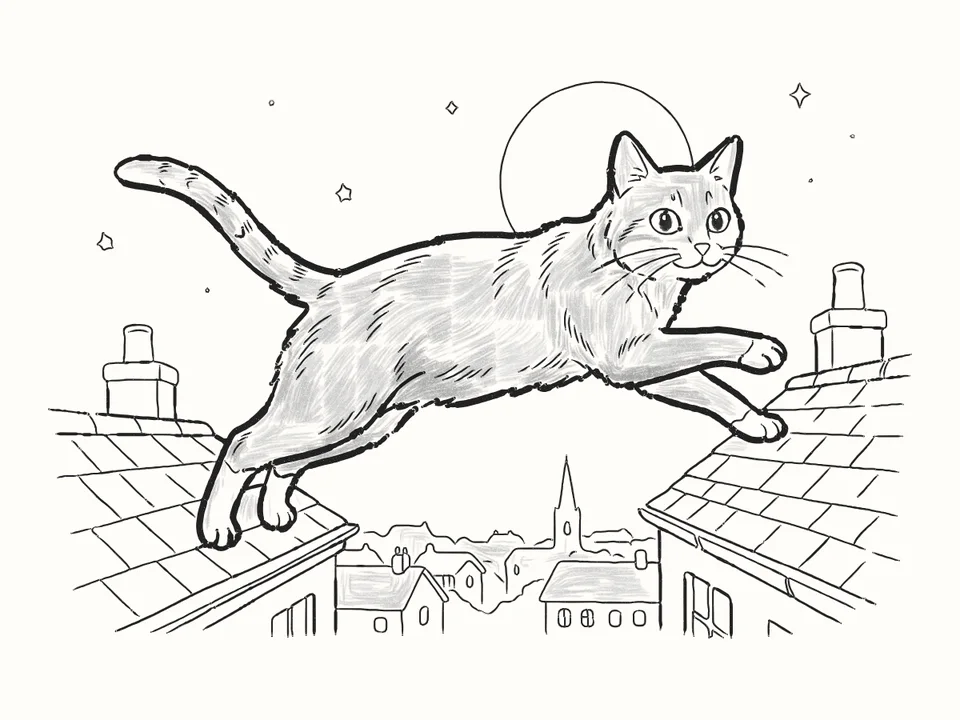 Over the rooftops
Tips for a better sitting cat
Two circles first
A circle for the round head, and a bigger one low on the right for the folded back leg. Keep them light.
Swing the back out wide
The line of the back swells out well clear of the back-leg circle. If it hugs the circle, the cat looks skinny.
Three paws on one line
Both front paws and the back paw sit on the floor line, so the cat sits steady.
One soft shadow
Add a single light tone inside the back, round the rump, where the body turns away from the light.
Questions
Is this cat easy to draw?
Yes, if you’re ready for a cat that looks less like a cartoon. Four light guides come first: a circle for the head, a circle for the folded back leg, a floor line for the paws and the path of the tail. They put everything in the right place before you draw a real line.
What do I need?
A pencil, paper and an eraser. Draw the guides lightly: they’re rubbed out in step 11.
How do I draw the cat’s eye?
From the side you only see one eye. Draw it a little left of the middle of the head circle: a round eye, a pointed corner towards the nose and the lid flicking out at the back. Put a tall slit inside for the pupil, and fill it in at the very end.
Can kids draw it?
Yes. It suits older kids and grown-up beginners. If reading the steps is hard, the draw-along talks you through each line while it draws.
What is DrawRabbit?
A drawing app for iPhone and iPad: narrated, step-by-step lessons you follow with a real pencil and paper. 95 drawings in 10 worlds, free to start, no account needed.