 DrawRabbit
Get the app
Easy drawing · step by step
How to draw a shark
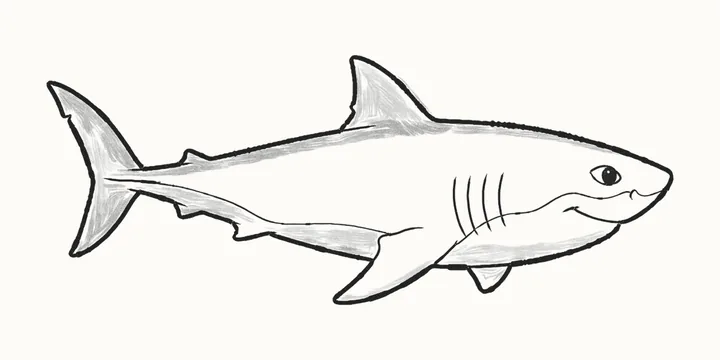
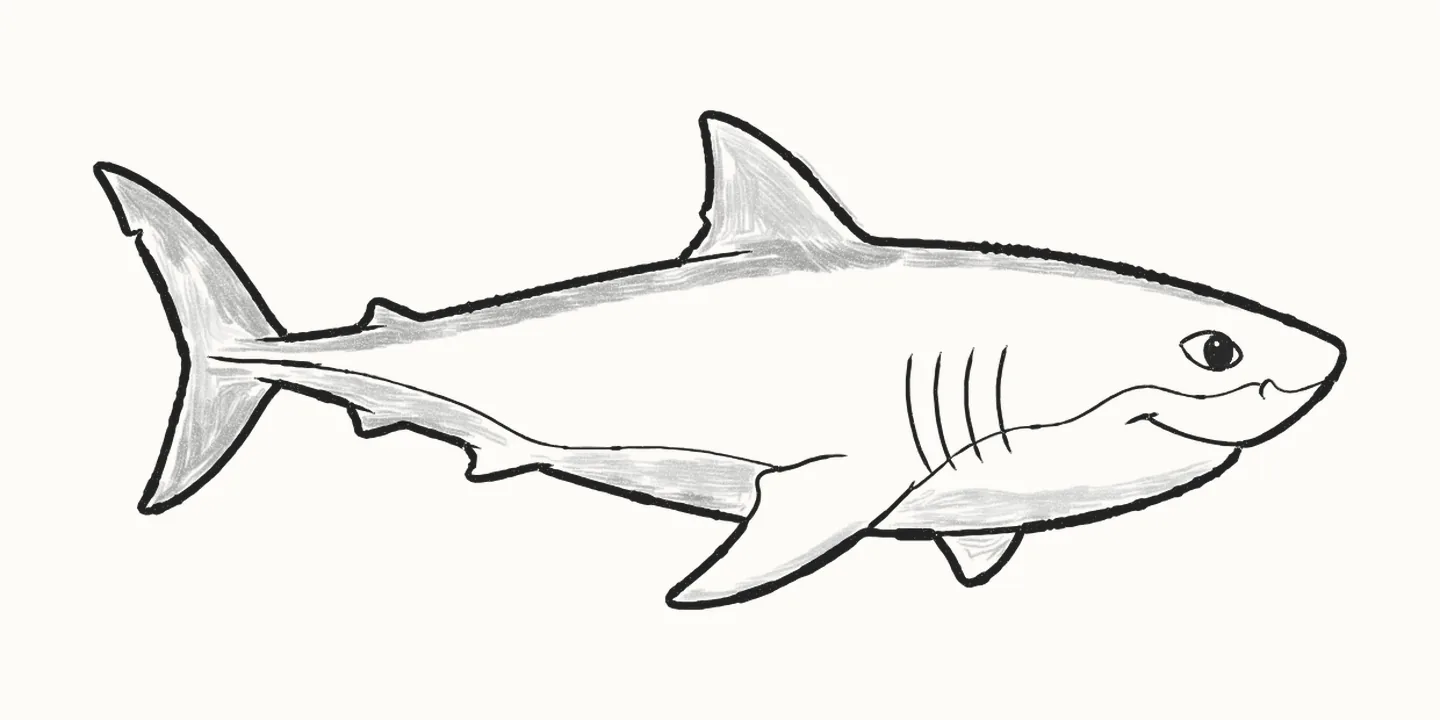
Meet Reggie, a friendly great white. In 16 easy steps you’ll draw a shark with a tall back fin, a crescent tail and a big smile, using a pencil and paper: two long curves to start, then the fins, the gills and the shading.
- 16 steps
- Beginner
- Pencil and paper
- A pencil (an HB is fine)
- Paper
- An eraser
Draw a shark, step by step
- This step’s lines
- Already drawn
Draw everything in pencil: the blue only shows what’s new in each step. Save all 16 steps to Pinterest
-
 STEP 1Guide lines
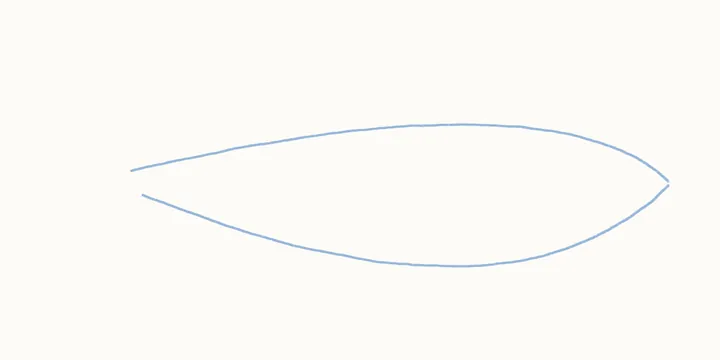
Body guides
Start light: one long curve over the top from the tip of the snout to the tail, for the back, and a deeper curve underneath for the belly.
Draw these lightly: they’re only there to help, and you’ll rub them out in step 12.
-
 STEP 2Guide lines
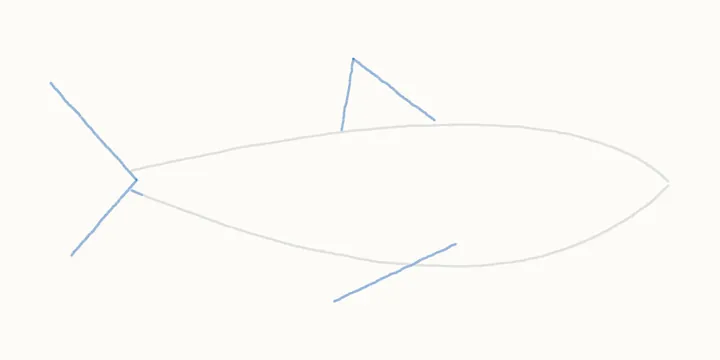
Fin and tail guides
A tall tent shape on the back for the back fin, a long line slanting down from the chest for the side fin, and a V at the end for the tail.
Draw these lightly: they’re only there to help, and you’ll rub them out in step 12.
-
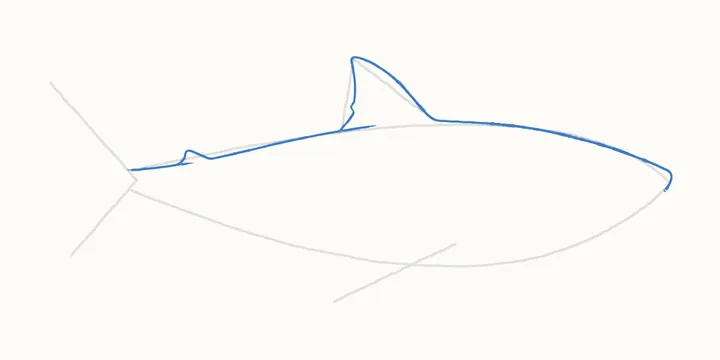 STEP 3Outline
The back and back fin
Now the outline. From the tip of the snout, go along the top of the head and the back, up over the tall back fin and down its steep back edge. Carry on along the back, over a little second fin, out to the tail. Last, a short line along the back where each fin sits.
-
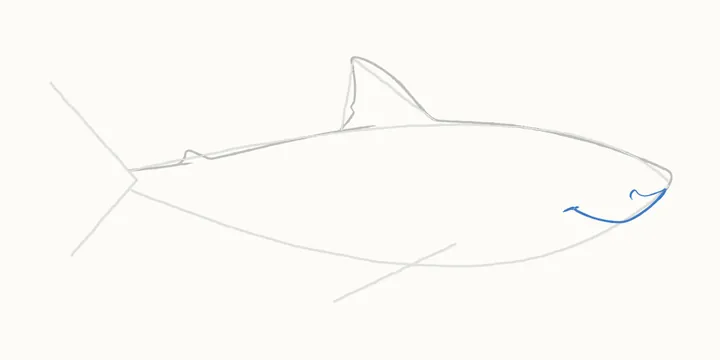 STEP 4Outline
The smile
From the tip of the snout, go down round the chin and back up into a big smile, with a little tick at the corner. Then from the snout again, a short line back to a small curl for the top lip.
-
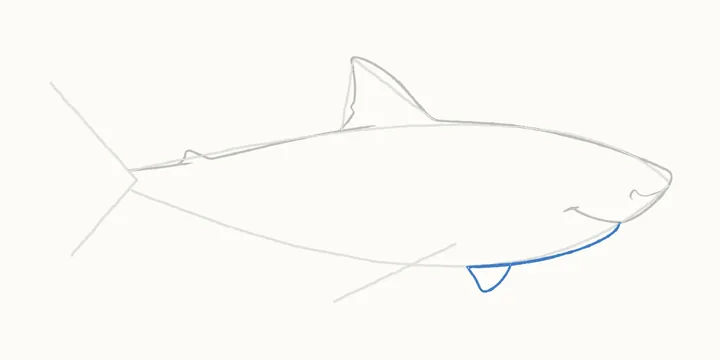 STEP 5Outline
The belly
From the chin, one long curve back along the belly. Carry it on a little past where the small fin goes, then come back and draw the small fin hanging underneath, with a rounded point.
-
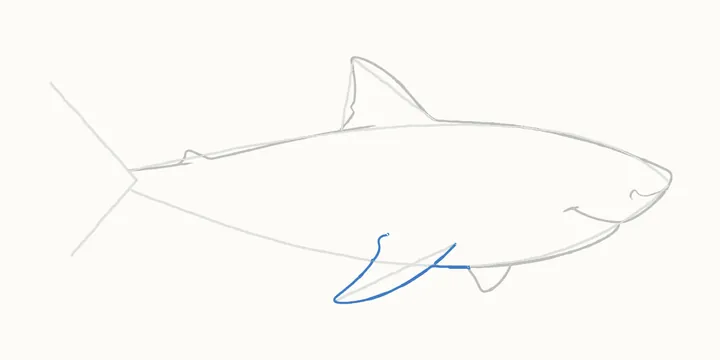 STEP 6Outline
The side fin
From the small fin, carry the belly on a short way, then go down the long front edge of the side fin to its point, and back up the other edge, curling up into the body at the top. Then finish the front edge, up into the body.
-
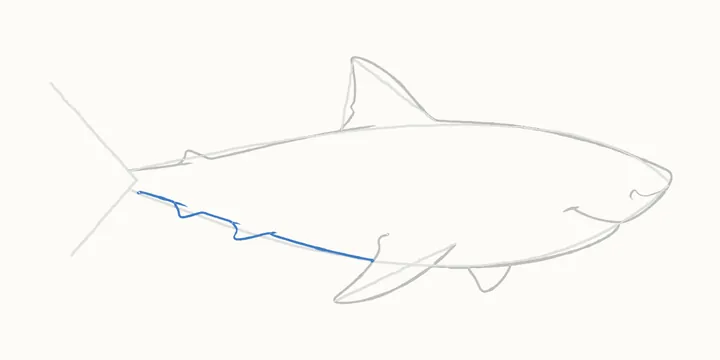 STEP 7Outline
Under the tail
From the back of the side fin, along the underside towards the tail. On the way, go over two small fins, each with a little wiggle. Then add a tiny flick where each small fin joins the body.
-
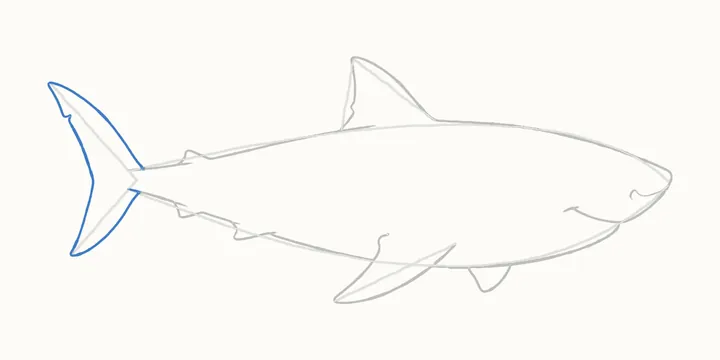 STEP 8Outline
The tail
The tail is shaped like a crescent moon. From the end of the back, go up the long top edge to the top point, then back down the inside edge, past a little notch, to the middle. Out to the bottom point, and back up to the underside.
-
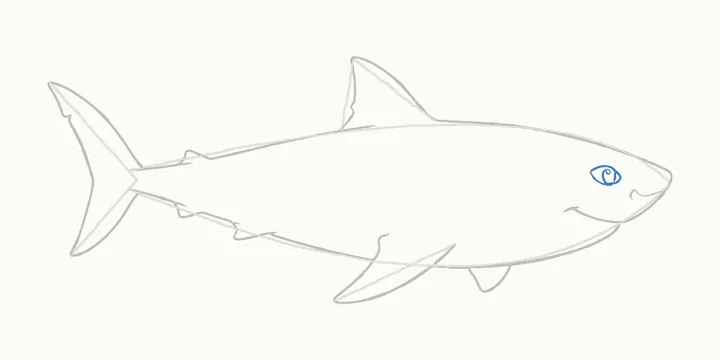 STEP 9Outline
The eye
Now the eye, an almond shape. Start at the bottom, go round the left corner and over the top, round the pointed right corner and back along the bottom. Inside it, a tall oval pupil touching the top and bottom, and a small circle near its top for the glint. Just outlines for now.
-
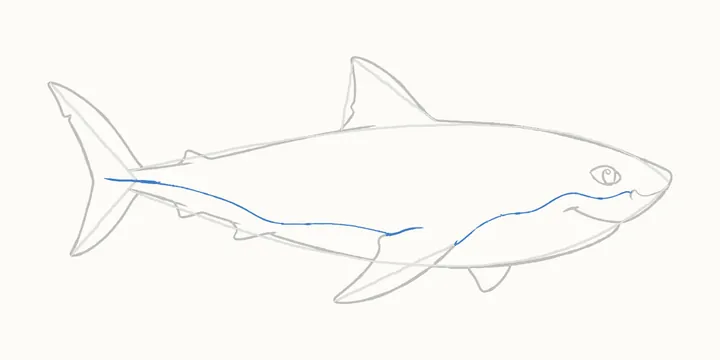 STEP 10Outline
The belly line
This line shows where the pale belly starts. From the curl of the lip, a gentle wavy line back under the eye to the side fin. Then from the top of the side fin, a short line forward, and a long one all the way back to the middle of the tail.
-
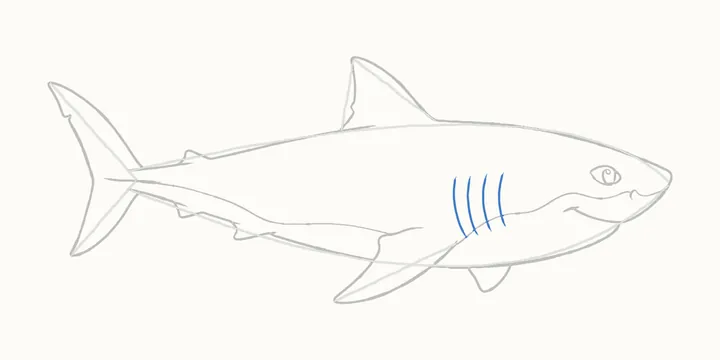 STEP 11Outline
The gills
Four curved gill slits behind the head. Start with the one nearest the eye: draw it up from the belly line, then add its short tail below the line. Then the next one along, and the next, each a little further back.
-
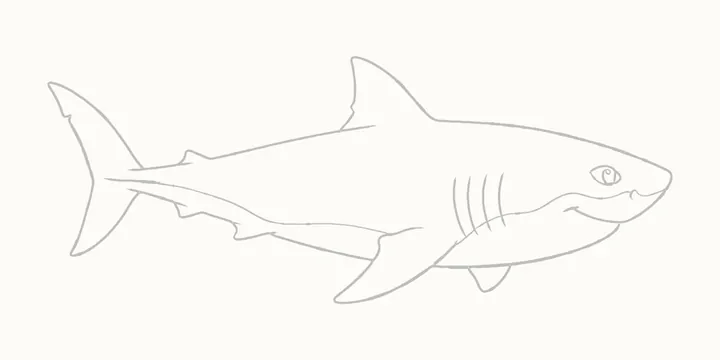 STEP 12Clean lines
Erase the guides
Rub out the guide lines. Only the shark stays.
-
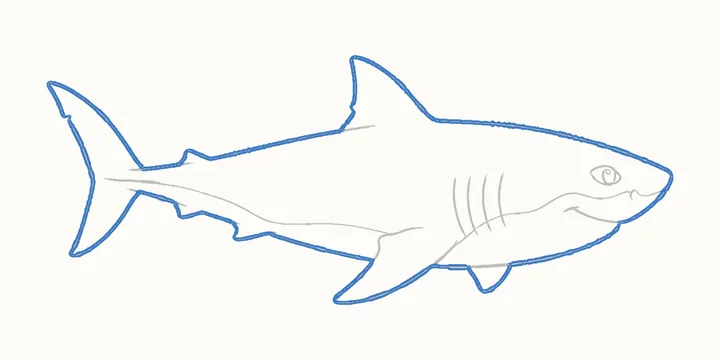 STEP 13Clean lines
Go over the outline
Now press harder and go over the outside edge of the whole shark, so it stands out from the lines inside.
-
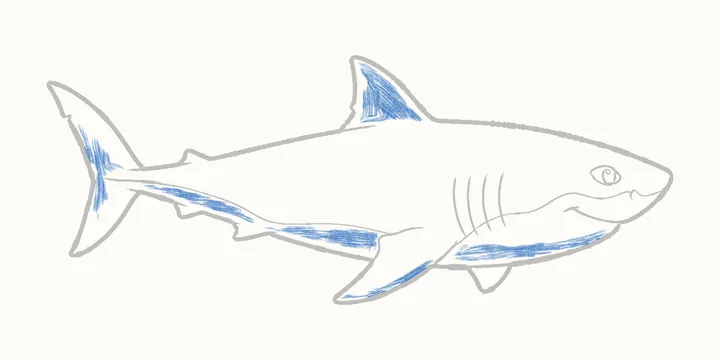 STEP 14Shading
Shadow side
Now a soft, even tone: inside the back fin, the side fin and the tail, and a band along the belly and under the tail. Keep the rest of the shark white.
-
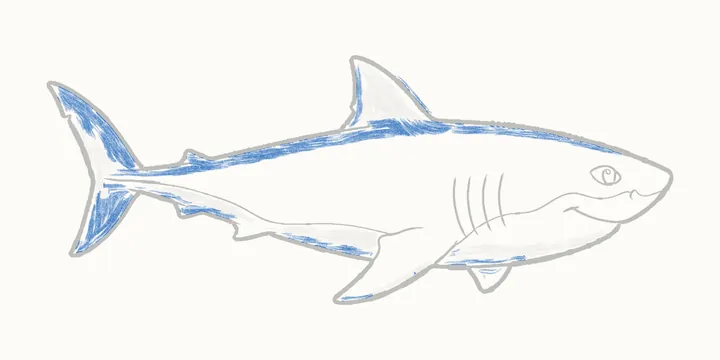 STEP 15Shading
Deep shadows
Press a little harder: a dark band all along the top of the back, where a great white is grey, and the edges of the fins, the tail and the belly.
-
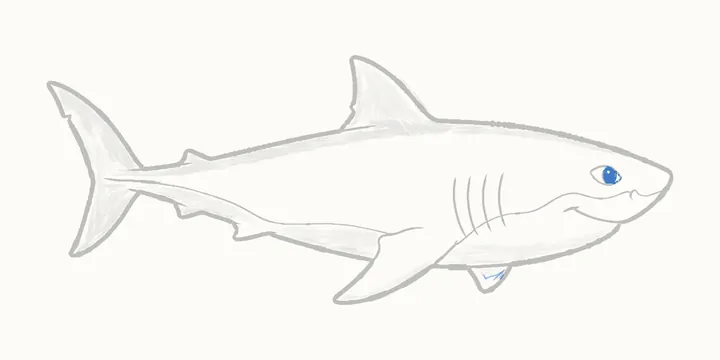 STEP 16Shading
The darks
Last of all, fill in the pupil, leaving the glint white.
Tips for a better shark
Two long curves
One long curve over the top for the back and a deeper one underneath for the belly. Keep them light: they get rubbed out in step 12.
A tall tent for the fin
The back fin starts as a tall tent shape: draw it up and down its steep back edge.
A big friendly smile
Round the chin and back up into a smile with a little tick at the corner: Reggie is friendly.
Four curved gills
Four curved gill slits behind the head, each a little further back than the last.
Grey on top, pale below
A great white is grey along its back: shade a dark band along the top, and keep the belly pale.
Watch it come together
The whole drawing, from the first circle to the last bit of shading, in a few seconds.
Reggie’s world has 9 more drawings
DrawRabbit has 95 narrated drawings in 10 worlds, from axolotls to dragons. You draw each one with a real pencil and paper, and the first drawing in every world is free.
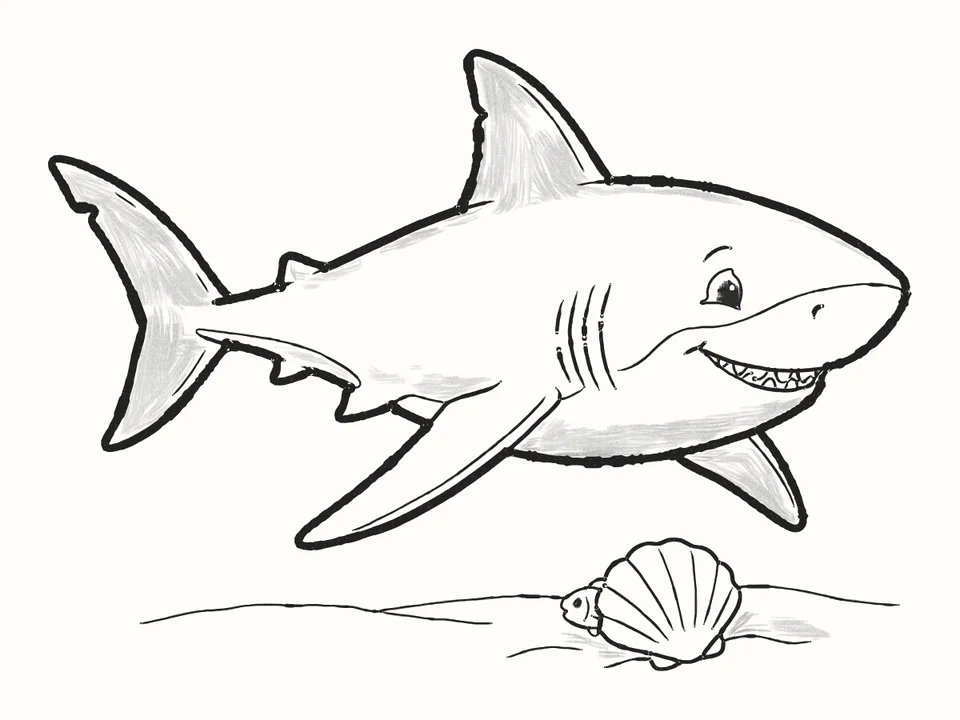
The toothy grin 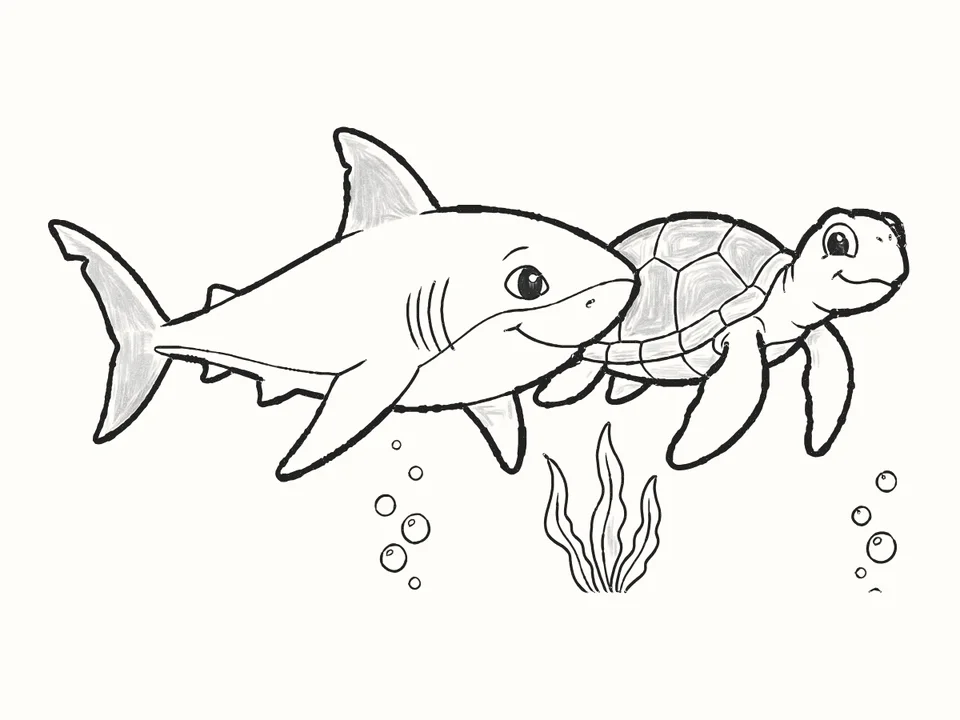
Turtle friend 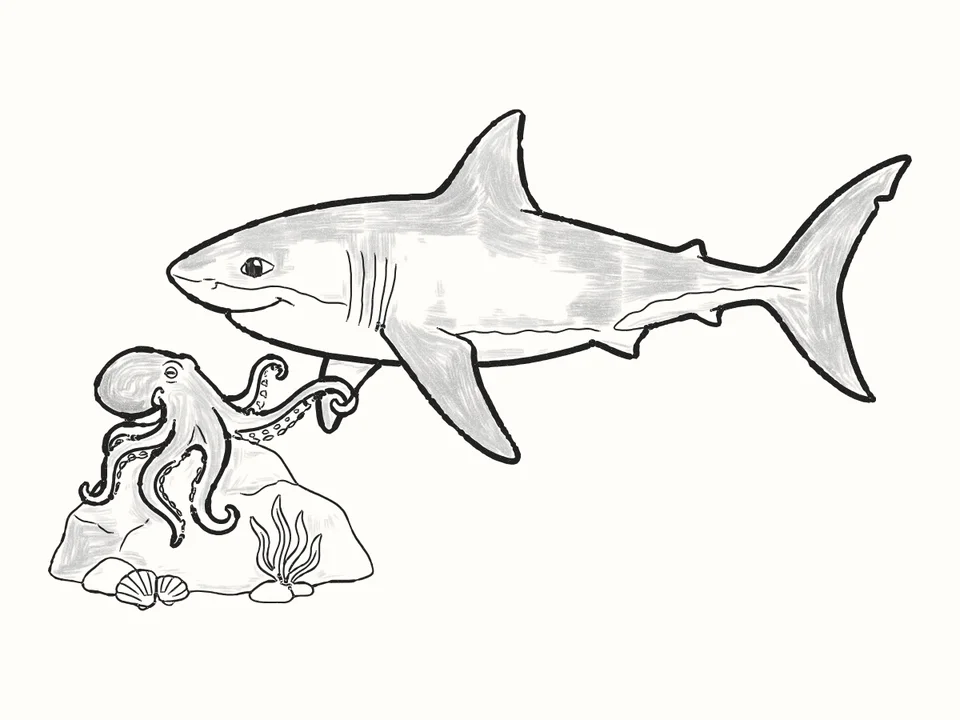
The octopus 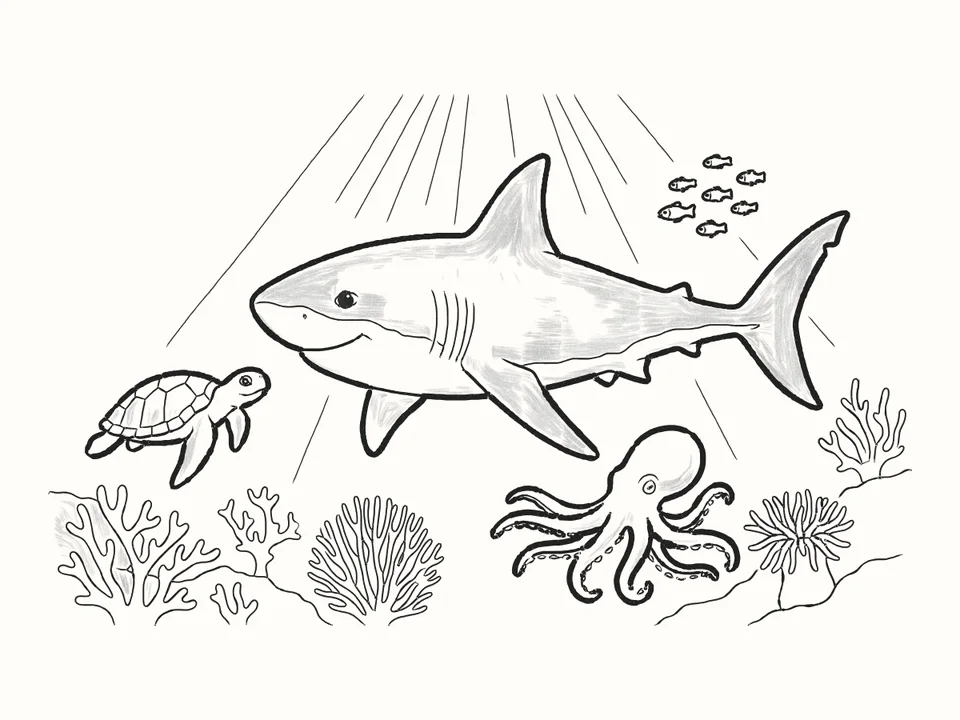
The gentle giant
 Free to start · iPhone and iPad
Questions
Is this shark easy to draw?
Yes. It starts with two long curves and a few guide lines, so the shape is right before you add any detail, and each step only adds a little.
What do I need?
A pencil, paper and an eraser. Draw the first steps lightly: the guide lines are rubbed out in step 12.
How do I draw a shark’s tail?
It’s shaped like a crescent moon: from the end of the back, up the long top edge to the top point, back down the inside edge past a little notch, then out to the bottom point and back to the body.
Can kids draw it?
Yes. It’s made for beginners of any age. If reading the steps is hard, the draw-along talks you through each line while it draws.
What is DrawRabbit?
A drawing app for iPhone and iPad: narrated, step-by-step lessons you follow with a real pencil and paper. 95 drawings in 10 worlds, free to start, no account needed.
Keep drawing
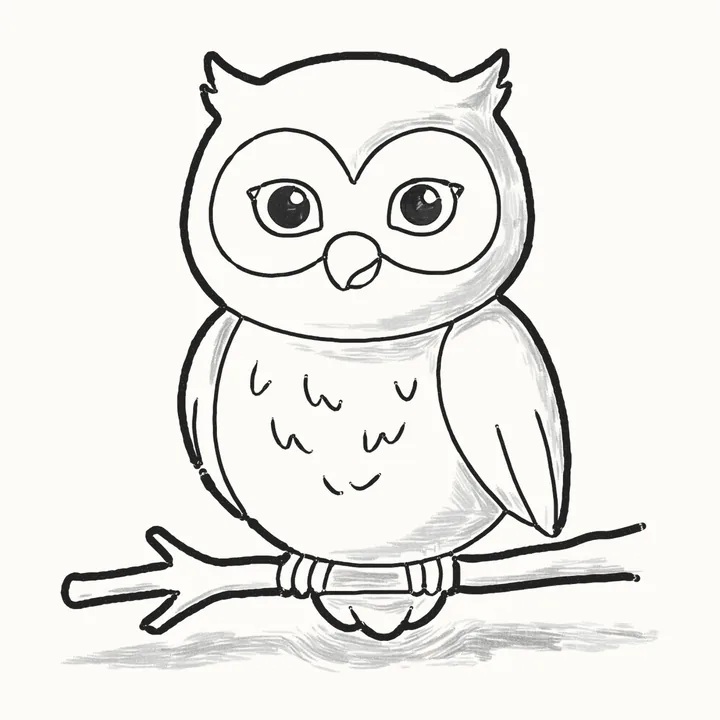 Next guideHow to draw an owlAn owl on a branch in 16 easy stepsStart drawing →
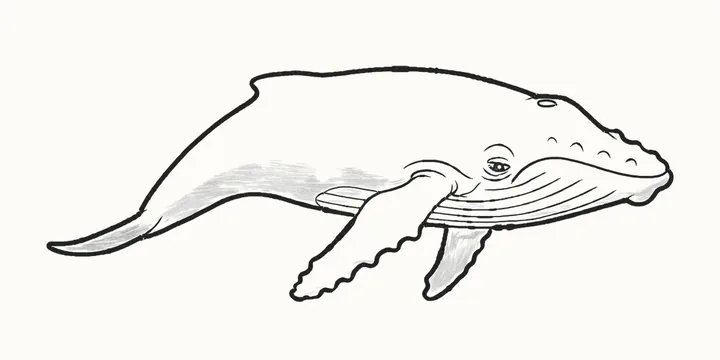 How to draw a whale
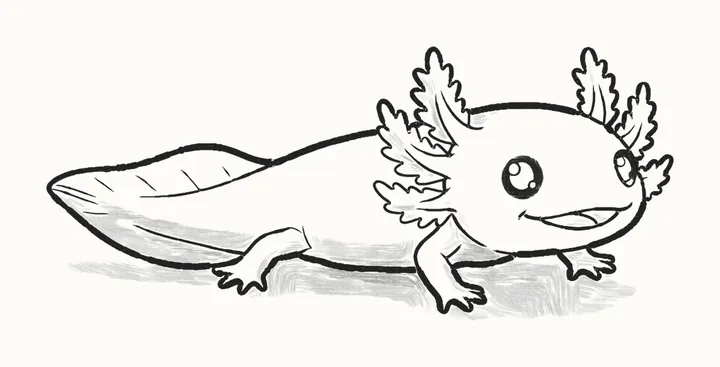 How to draw an axolotl
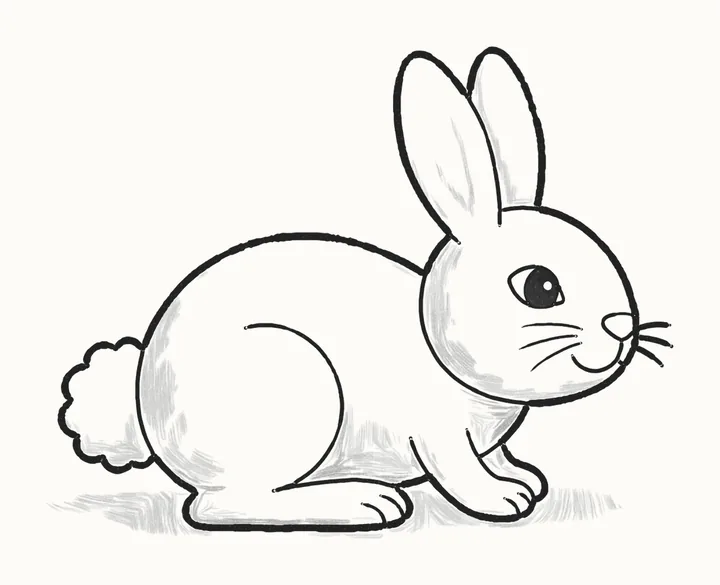 How to draw a bunny
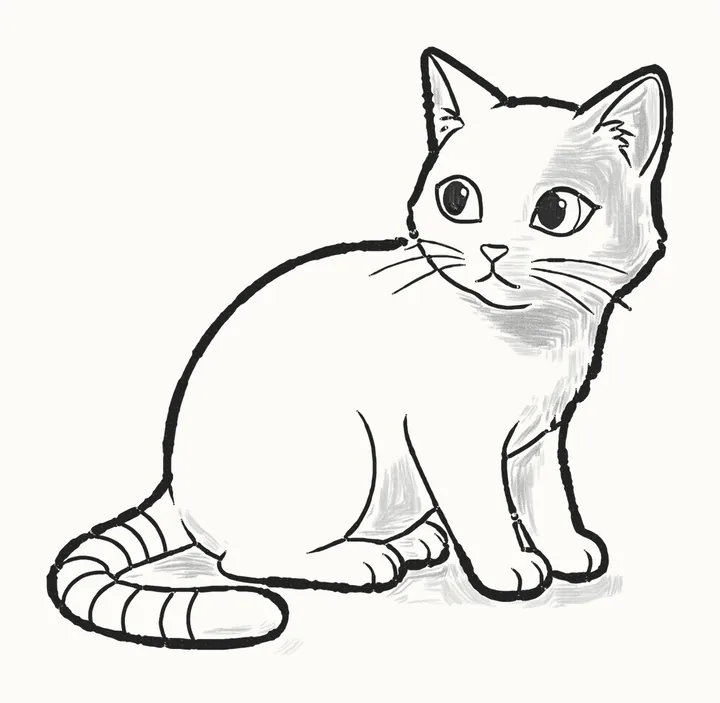 How to draw a cat